TECH: Install Non-Dimpled Bars w/ Stock HD Controls

Collapse

Desktop Ad Forum Top

Collapse

Mobile ad top forum

Collapse
X
 
  • Time
  • Show
Clear All
new posts
  • billdozer
    • Apr 2024

    TECH: Install Non-Dimpled Bars w/ Stock HD Controls

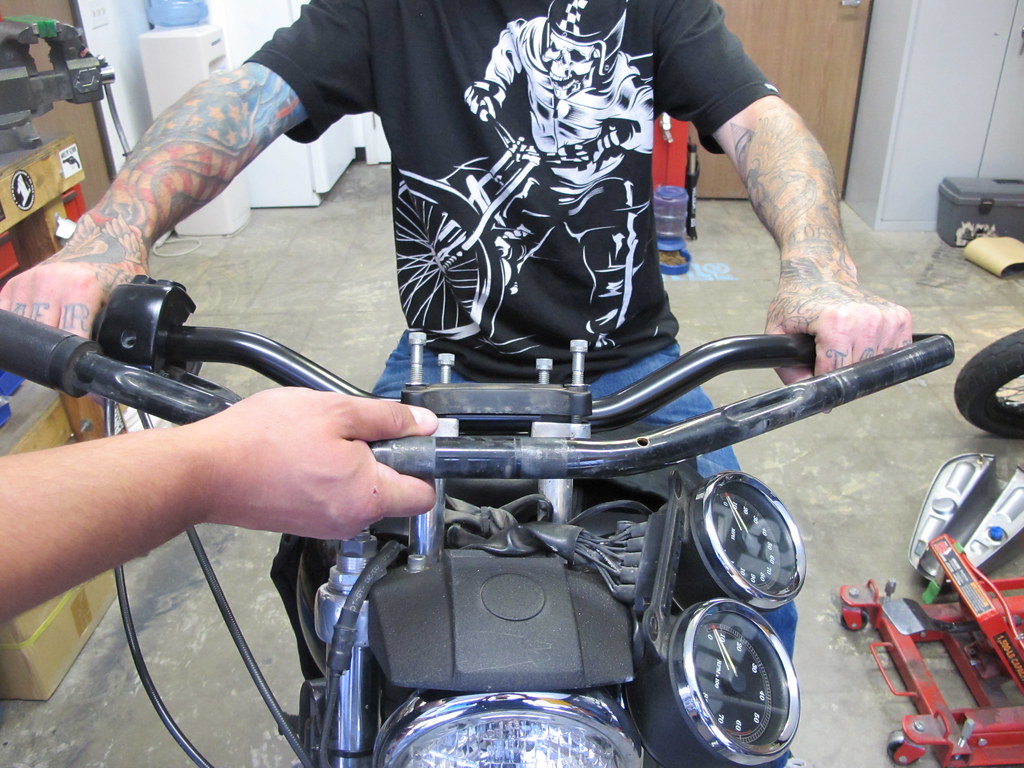
    We get a lot of questions about bar installs. Hopefully this little tutorial will help someone. There are a lot of ways to do it, but this is the simplest way we know, with the simplest of hand tools. We jacked around a lot and still did it in 90 minutes.

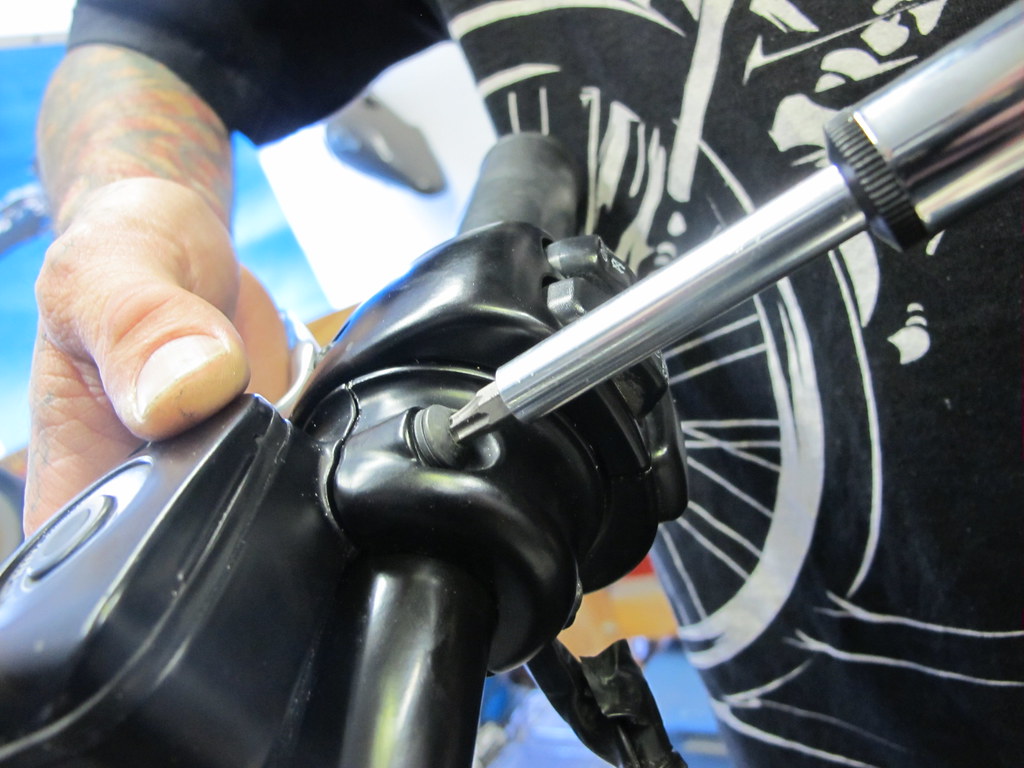
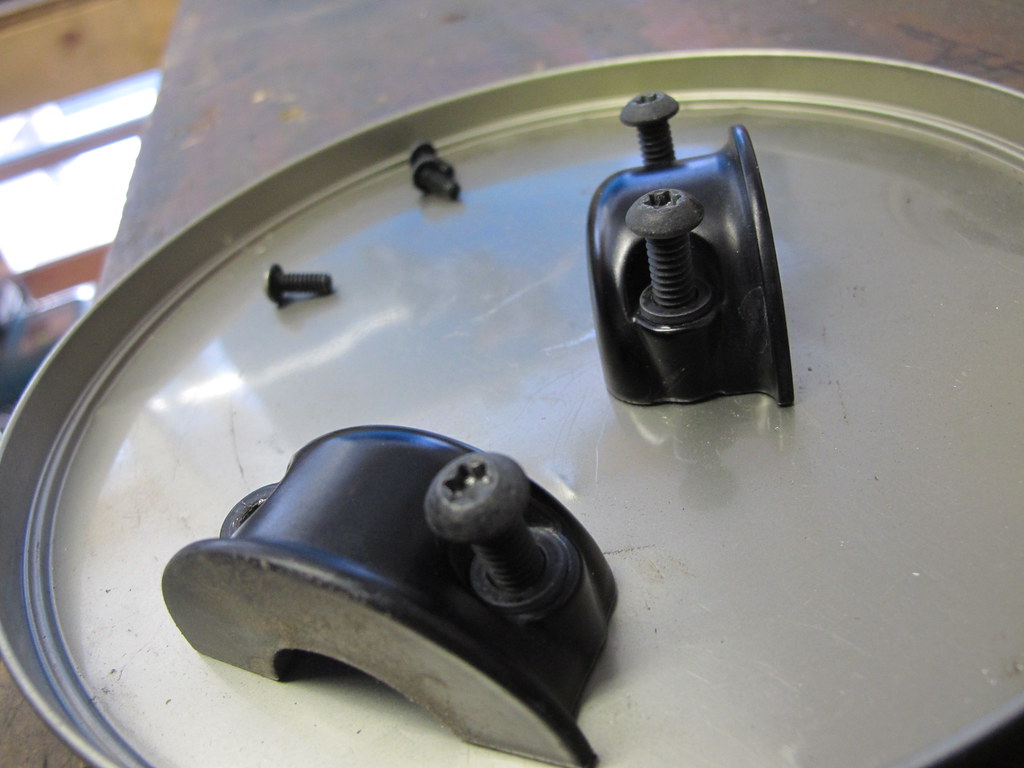
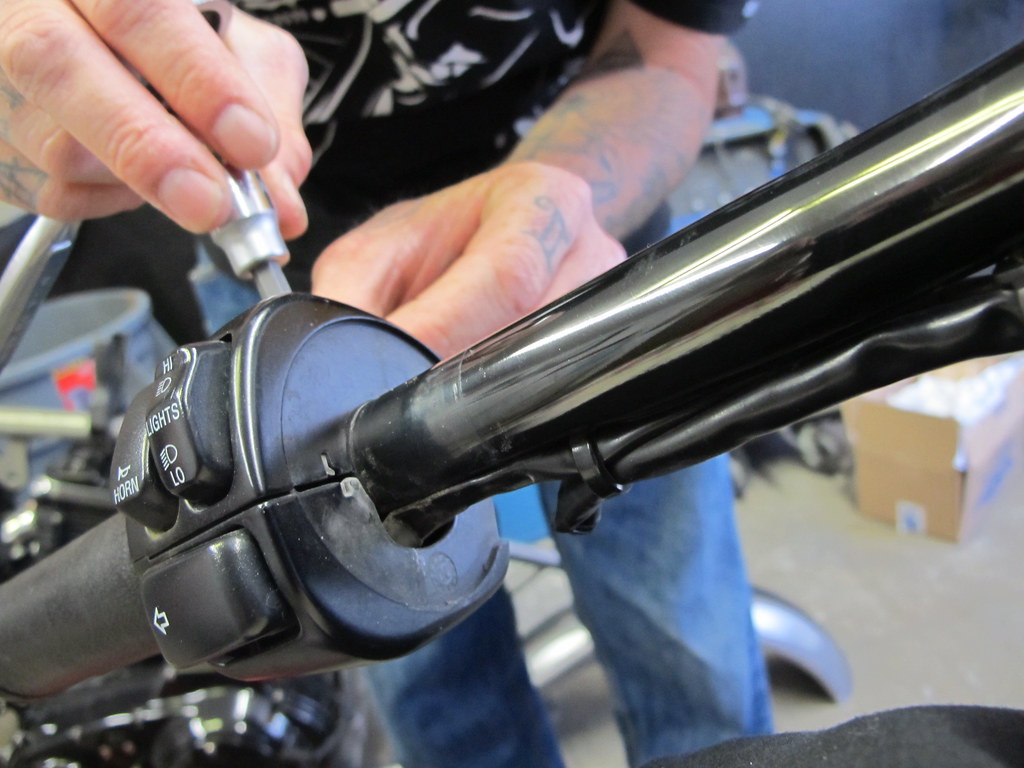
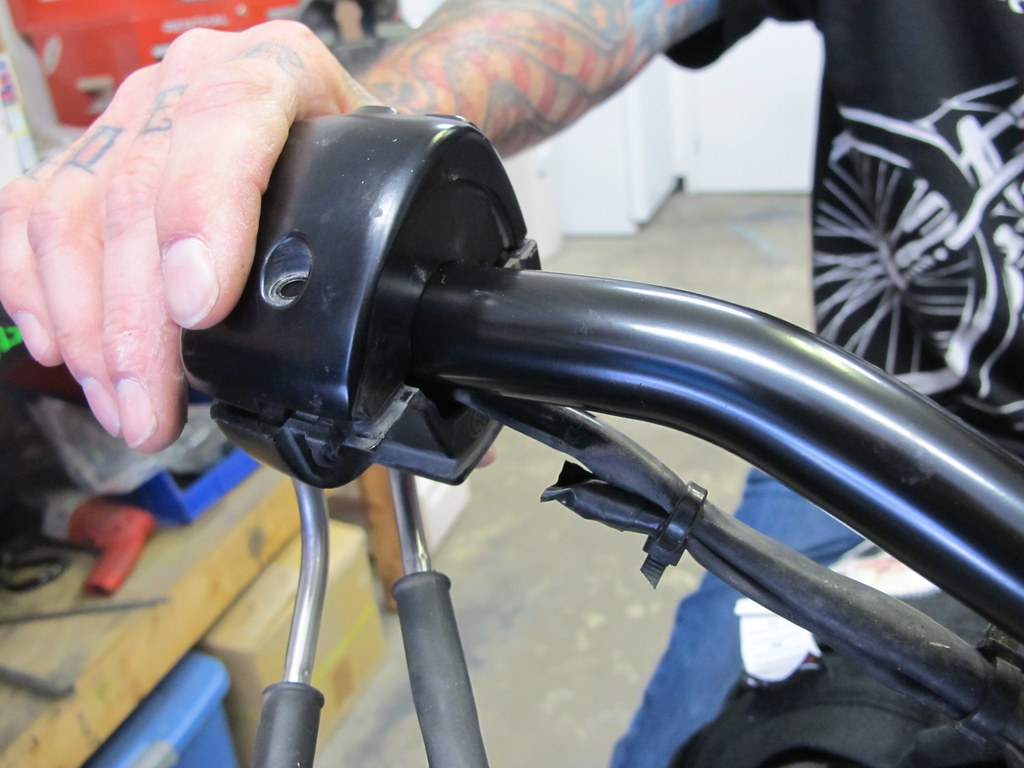
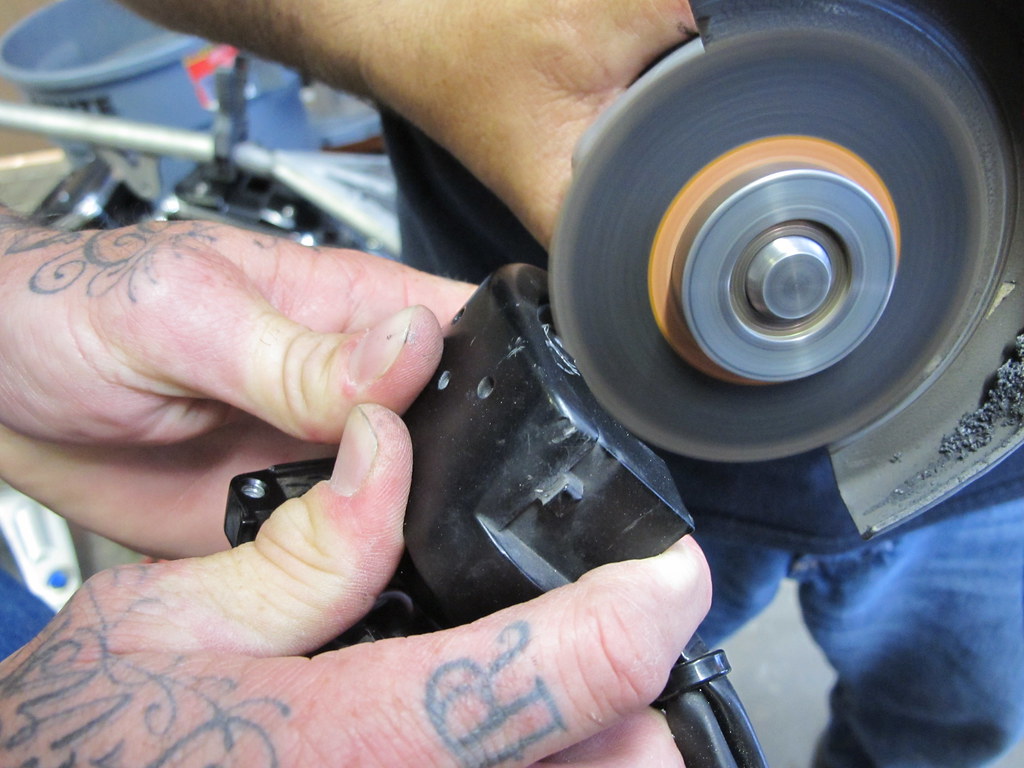
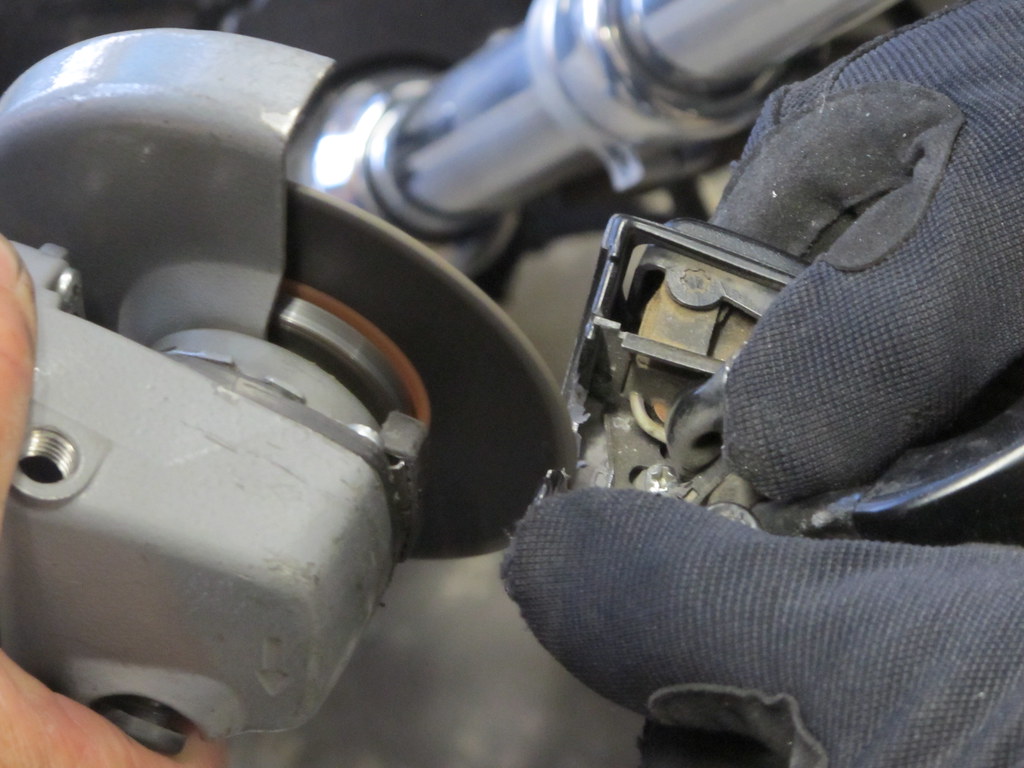
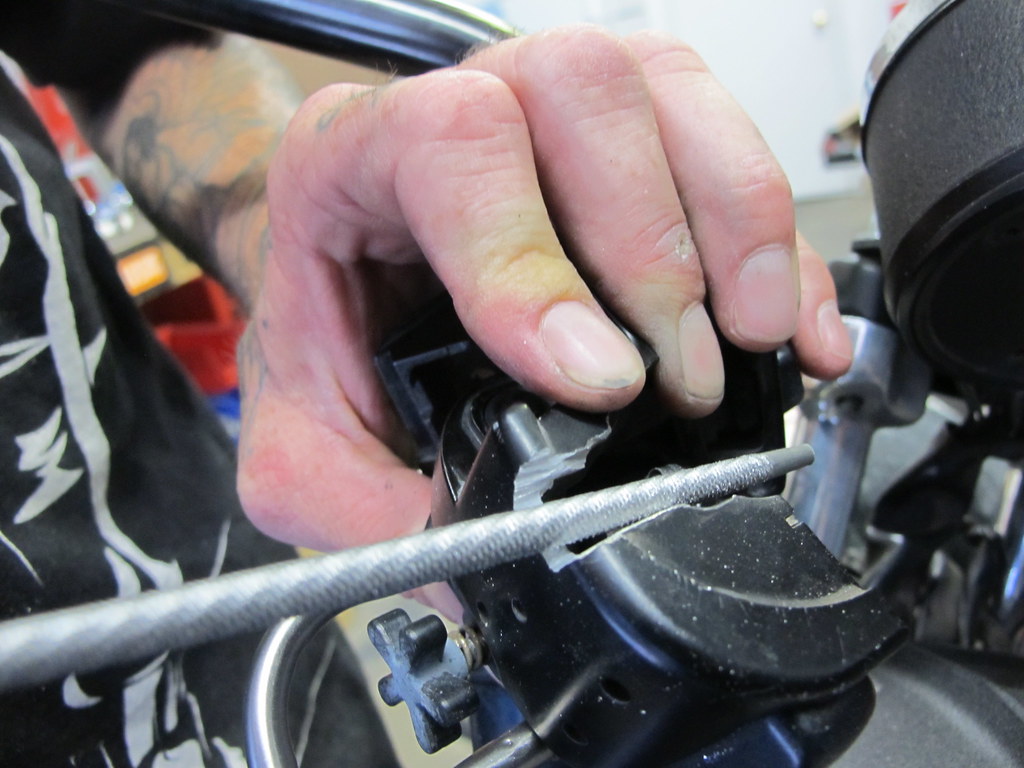
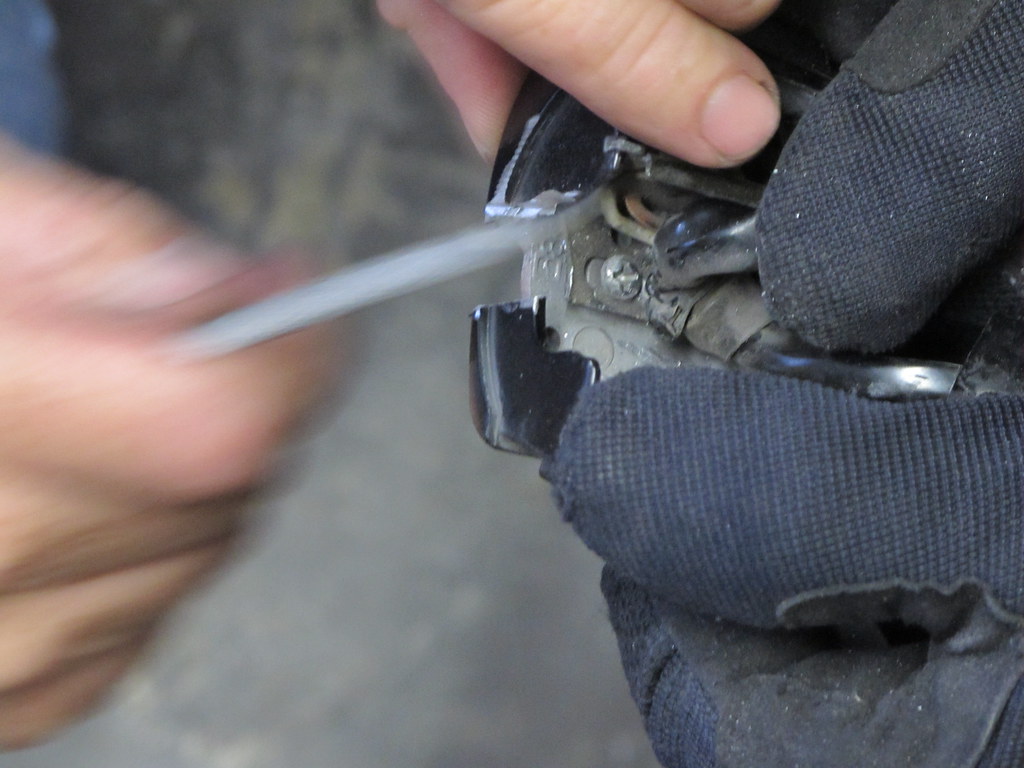
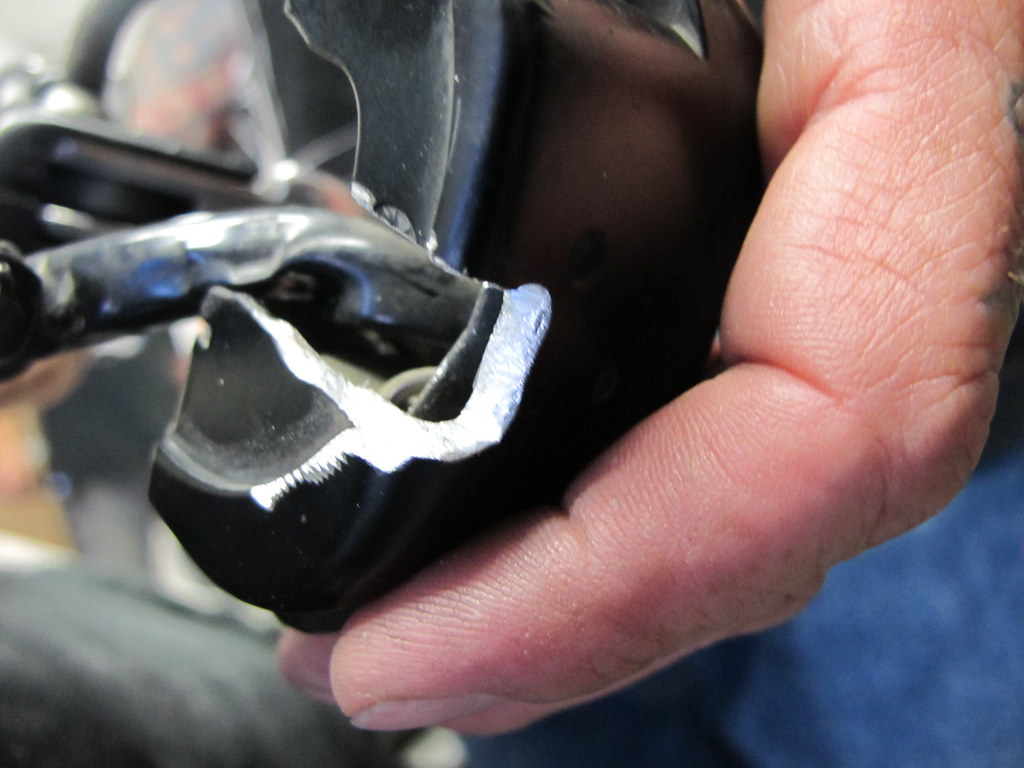
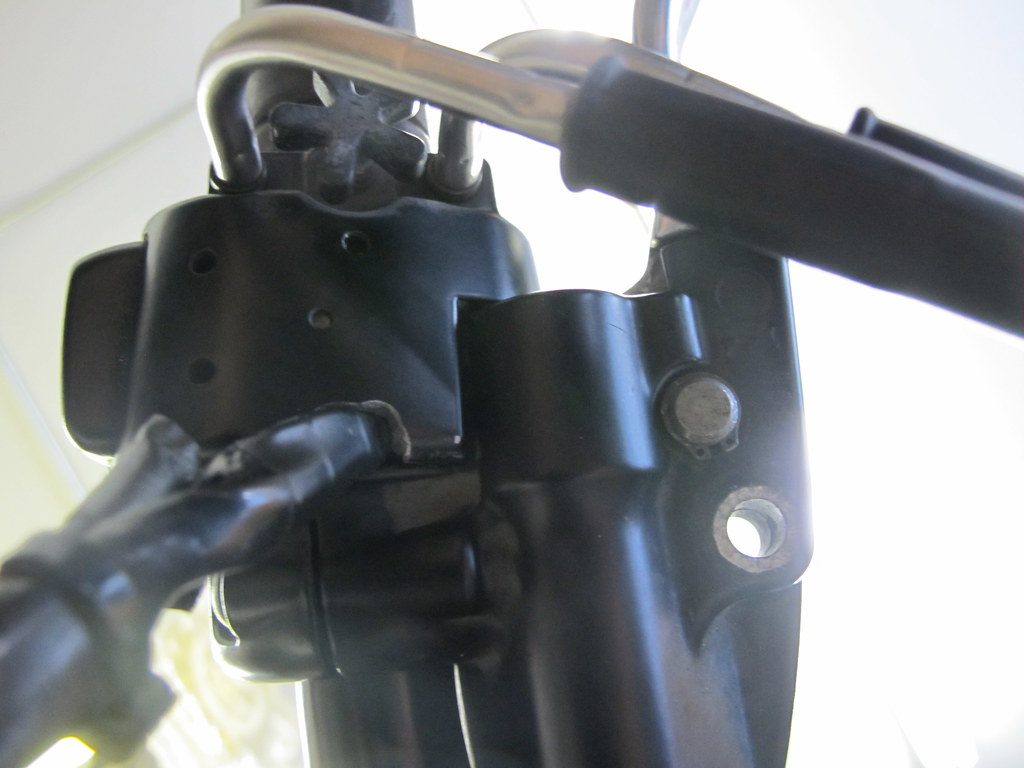
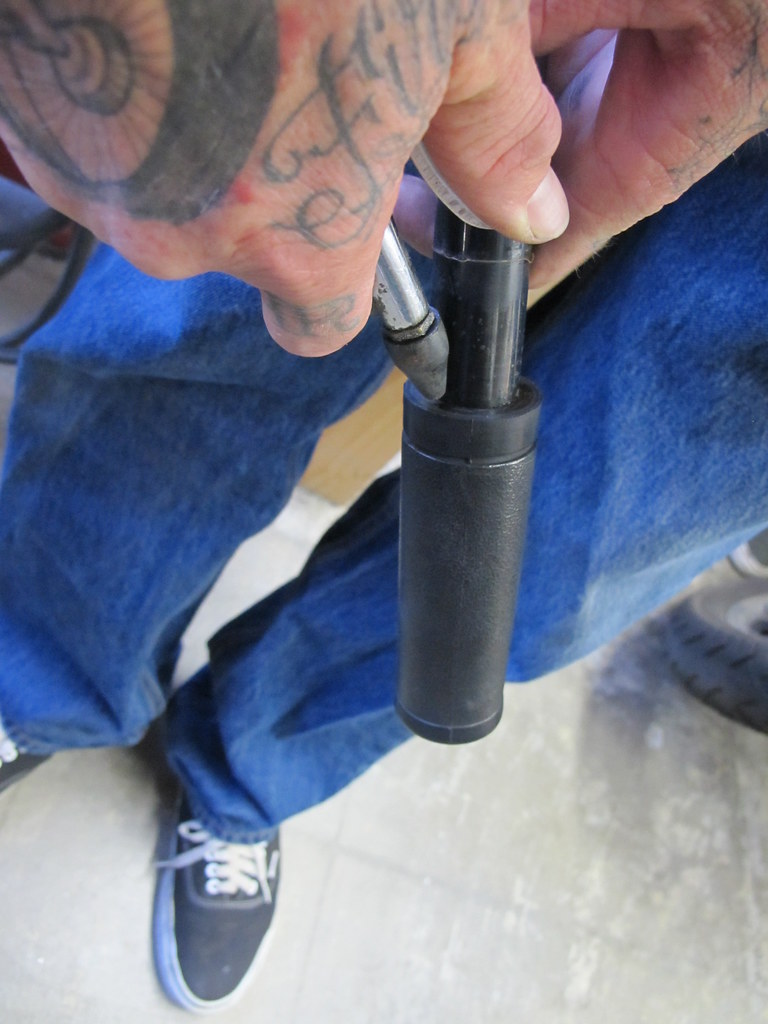
    What are dimples and why? Stock Harley switch control pods have wires that run out of them and through the inside of clutch and brake perches. The underside of the bars have dents or "dimples" for these wires to hide in, otherwise your controls wouldn't fit over the wires.

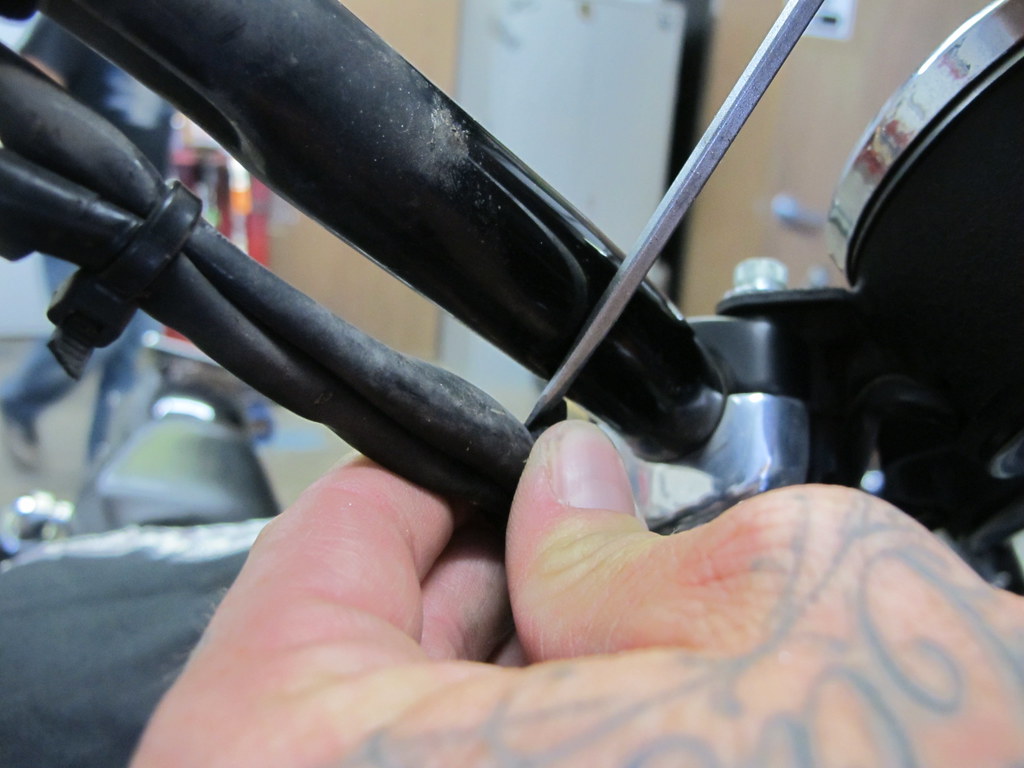
    Yes, the best way is to ditch all that spaghetti and lose the pods, but that's another day. This is for the the guy who wants to keep his pods and use them on bars without dimples.

    Why run smooth bars anyway?

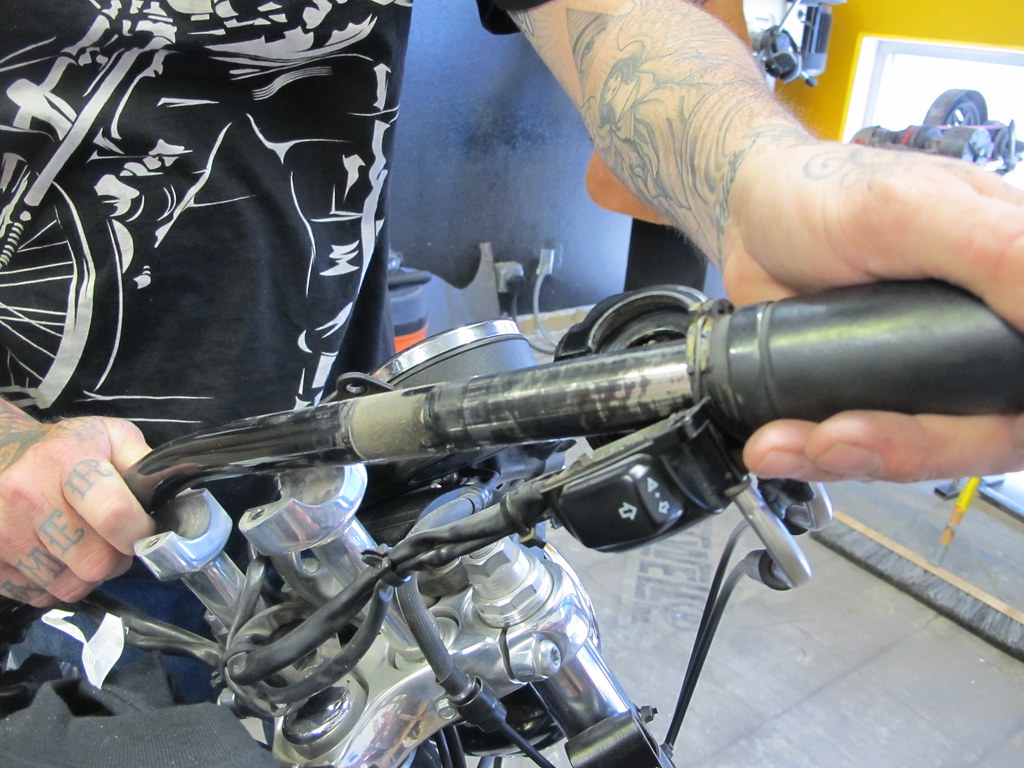
    1. If you make custom bars or have a set made, most builders can't make dimples.

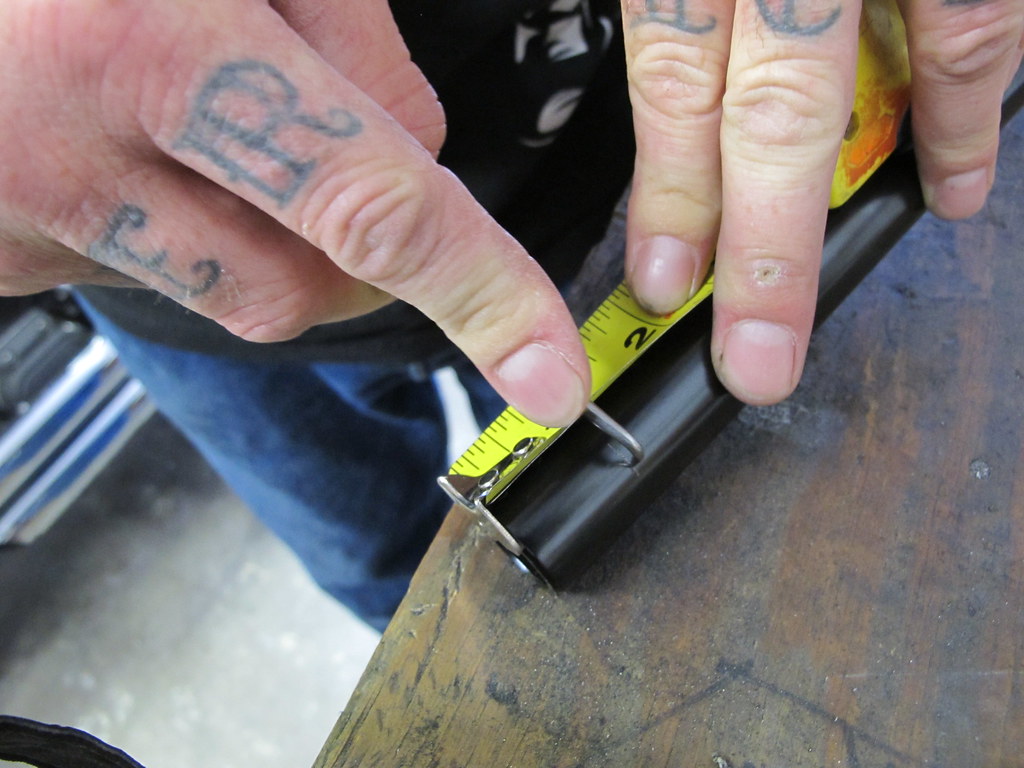
    2. If you buy bars from someone who offers them with dimples (say, er, Biltwell) then you may want to shorten them. The dimpling process slightly ovalizes bars and the throttle side will take some work to get the throttle tube working properly. Smooth bars give you the flexibility of shortening them as much as you want without worrying about ovalized ends or dimples in the way.

    3. If you have switch pods now but think you'll clean up the wiring down the road and ditch them, smooth bars are a good choice. Once all you have are perches and grips or just grips and a throttle housing, dimples are kind of ugly.

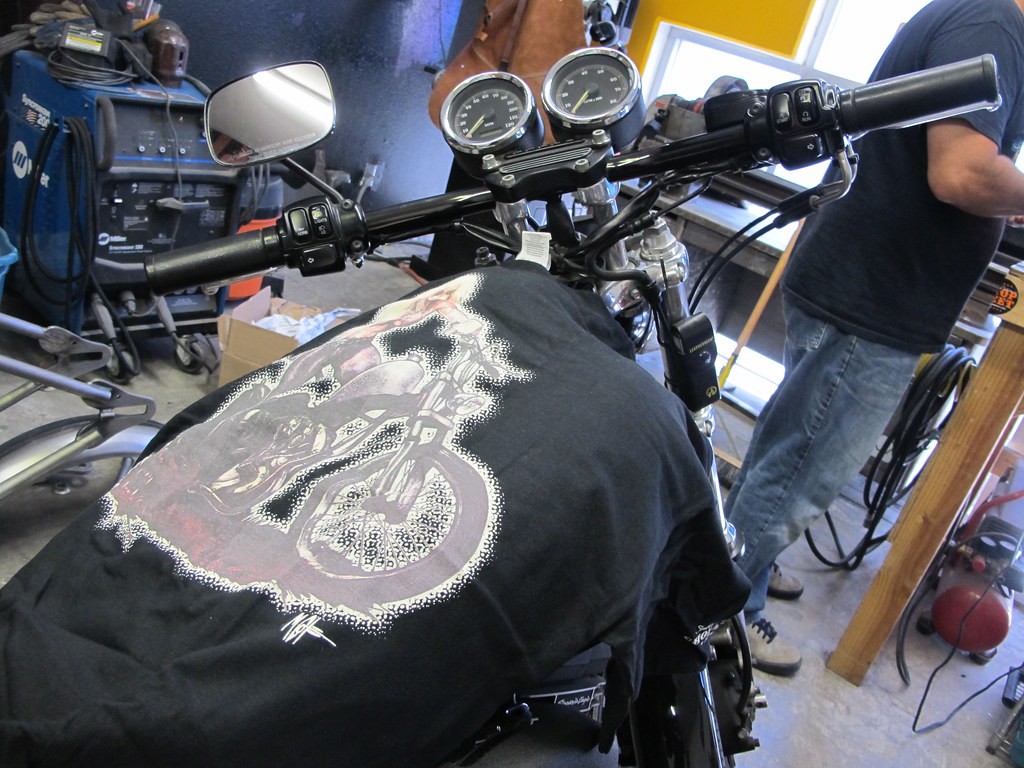
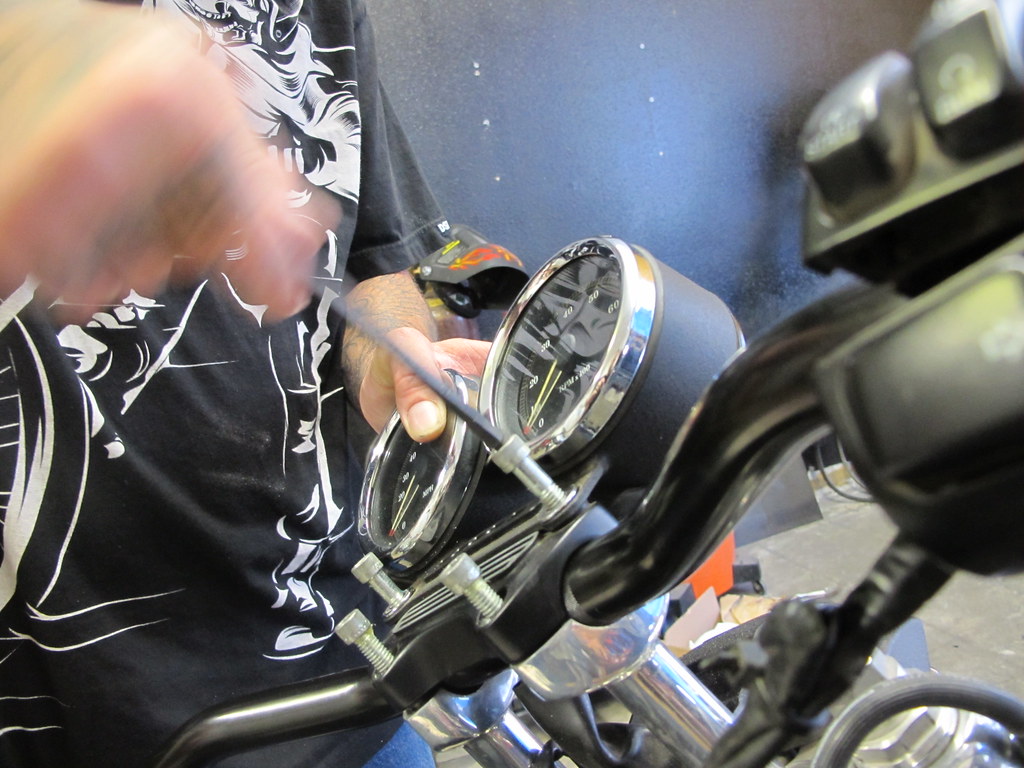
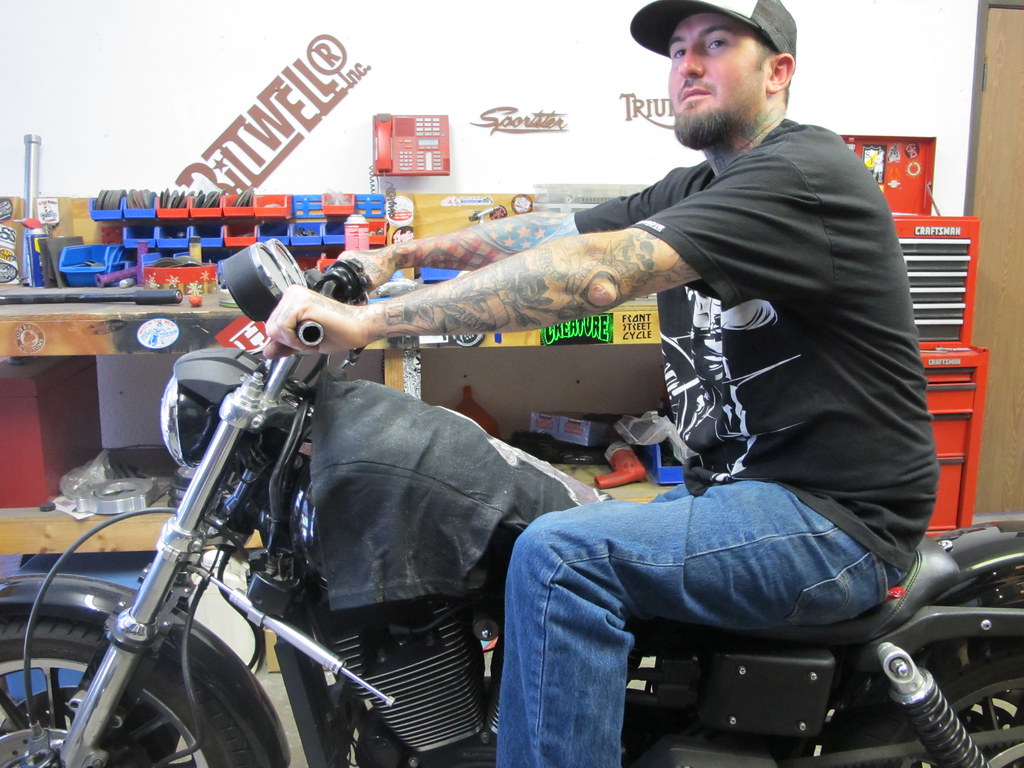
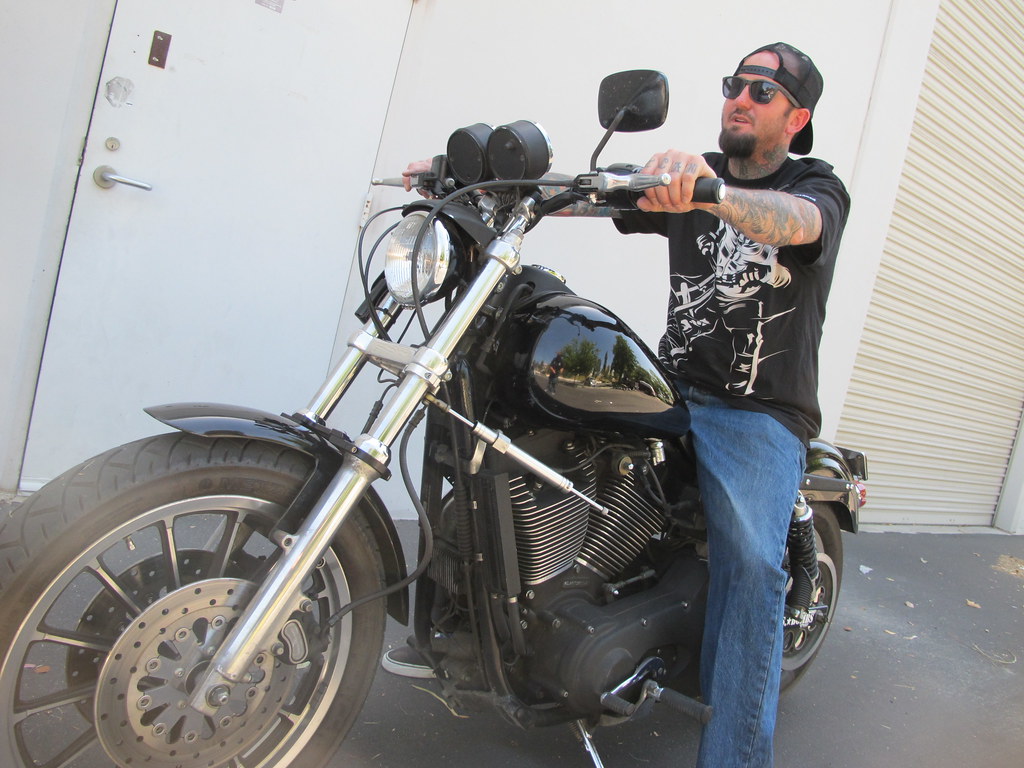
    For this experiment we used our friend Mike D. (the other one) and his 2002 Street Boy Bob Fat FXWTF with stock bars and controls, minus the turn signals. Your experience may vary but probably not by much. Keep in mind if you are changing bar dimensions dramatically you may need different throttle cables, wiring and front brake lines, etc. In this case it was easy as it all fit using the stock parts on Biltwell Tracker bars.
    Last edited by Guest; 06-23-2010, 12:09 PM.
  • MileHighMurdercycle
    Senior Member
    • Dec 2009
    • 1722

    #2
    2002 Street Boy Bob Fat FXWTF
    Bwa ha ha ha. I wanna FXWTF.

    Comment

    • billdozer
      • Apr 2024

      #3


      1. Wrap your tank. You will drop tools on it, so take care.


      2. Start by removing the throttle side control pod screws, and remove the brake perch. You don't need to remove the throttle cables.


      3. Keep your stuff organized. I like to replace most Torx bolts with regular stainless allen heads anytime I take them off my bike. This is a good time to swap them out.
      Last edited by Guest; 06-22-2010, 10:28 PM.

      Comment

      • billdozer
        • Apr 2024

        #4


        4. Pop out the little plastic cable hangers and remove from wires.


        5. Remove clutch side switch housing (pod) and clutch perch.


        6. Unbolt bar clamp.


        7. Slide stock bar out of throttle housing. You can leave throttle cables in.
        Last edited by Guest; 06-22-2010, 9:47 PM.

        Comment

        • billdozer
          • Apr 2024

          #5


          8 & 9. Slide new bars into throttle housing and lightly install in the handlebar clamps. Hold your control pod in place (it won't tighten down because with no dimples, there isn't room for the wires.) In this case Mike wanted his bars as narrow as possible because he is a lane splitting terror. With the throttle and pod in place on the right side we estimated that he could lose about an inch on the each end of the bars. Be careful not to cut too much, it's janky if your perches are too far inboard and clamp onto the radius of the bar. You want them mounted on the straight portion only.


          10. Use your coke nail and mark your cut.


          11. A pipe cutter works best but there is nothing wrong with a hacksaw.


          12. Always deburr your cuts. After Mike cut these and filed them down, he took both ends to the scotchbrite wheel on the bench grinder. This is especially important on the throttle side of the bars. You want that throttle to snap! So, nice and smooth on the edges.

          Comment

          • imtheslime
            Senior Member
            • Aug 2009
            • 1206

            #6
            I guess it depends on what year you have and experience but for what it's worth... Squeeze brake lever and insert a cardboard shim so you don't snap off the brake light switch changadero. That is if you disassemble that far. Did it and it sucks.

            Comment

            • billdozer
              • Apr 2024

              #7


              13. Everything up 'til here was as basic as can get. Now it gets fun. Without taking the switches out of the controls, you can't clamp these in a vise. This is where a friend with a steady hand comes in. One dude holds the control pod, and the other can carve out the notch using the high-speed rotary finger lopper of his choice. Gloves and safety glasses would be a good call here. We used a cut-off disc and carved small slices out of the BOTTOM of the housing, in a sort of rounded-square shape. I've done this with a dremmel in one hand and the pod in the other and it wasn't quite as dangerous looking. The amount of care you take here will determine whether you are rewiring your pods and how nice the final install will look from underneath.


              14. You'll need to remove enough material to let the clump of wires exit the bottom of the pod.


              15 & 16. Round all these new edges with a file, sandpaper, then Scotchbrite. You don't want any sharp edges chaffing your wires. This is a good time to put an extra wrap or two of black electrical tape around the loom where it exits, just for a little more protection. If you have more time than Mike, shoot a little semi gloss paint on this new opening so it won't stand out and look ghetto.

              Comment

              • billdozer
                • Apr 2024

                #8


                17. The money shot. This what you need to end up with. A dremmel with a round sanding bit will give you a better radius. The two important things are: no sharp edges and the hole needs to be big enough for the wires to pass through without clamping down on them too hard.


                18. Here's a shot from underneath the clutch side, note the wires exiting.


                19. And the throttle side.

                Comment

                • billdozer
                  • Apr 2024

                  #9


                  20. A little grease on all bolts so my friend Kim doesn't yell at me.


                  21. When you are putting it all back together, slide the bar into the throttle housing first, get your cables going the right direction, etc and then put the bars in the clamp.


                  22. Rotate into comfortable position, make sure bars are centered and tighten clamps. Now that it's all sturdy, you can reinstall your switch pods. Run a zip-tie or two around the wires and bars to keep things tidy and you are almost done.


                  23. Don't forget the left side grip. Get an air nozzle underneath the inside edge of the grip and let the blast of air help you get it off the old bars.


                  24. Ride the wild thunder.

                  Comment

                  • themaninblack
                    Senior Member
                    • Nov 2009
                    • 204

                    #10
                    God I have the same bike (its actually an FXDX) and was looking at the same bars and thinking about this predicament - Thanks for the good write up and timing.

                    Any more all around shots of the finished assembled machine?

                    Comment

                    • Homebrew
                      Senior Member
                      • Aug 2009
                      • 184

                      #11
                      Great write up. I did the same thing to mine last year when I put a set of old Z bars on without dimples. Nice and easy to do.

                      Comment

                      • MileHighMurdercycle
                        Senior Member
                        • Dec 2009
                        • 1722

                        #12
                        A little trick for guys who have a blown up angle grinder and a 6" bench grinder. I stole the shank spacers/lock screw off of my last blown up angle grinder (since it has the centering lip on it for a cutoff wheel). I drilled em both out to fit the shank on my bench grinder (they were only about 1/16th or 1/8th to small to fit over the bench grinder shank) then I was able to center up 4.5" cutoff wheels (used some generic washers to take up extra thread space and center the wheel where I wanted it). I obviously had to remove the tool rests and I was running it on my side with no guard I use for a polishing wheel. But putting a cutoff wheel on the bench grinder is perfect for notching all sorts of things. And with it as exposed as it is, you can use the edges to clean up the notches a little too. Figured I'd add this for all those who's only buddies are complete drunks and can't be trusted to hold the grinder steady, such as my buddies.

                        Comment

                        • billdozer
                          • Apr 2024

                          #13
                          Originally posted by themaninblack
                          God I have the same bike (its actually an FXDX) and was looking at the same bars and thinking about this predicament - Thanks for the good write up and timing.

                          Any more all around shots of the finished assembled machine?
                          Check Mike's site, I think he's got a couple: http://blottoparts.blogspot.com/

                          Comment

                          • themaninblack
                            Senior Member
                            • Nov 2009
                            • 204

                            #14
                            Thanks, there were a couple more

                            Comment

                            • JoshuaGrimm13
                              Junior Member
                              • Aug 2010
                              • 25

                              #15
                              Damn I love this site

                              Great tip man thanks. The info here is great and the people here are just as great. Logi linked me to this post so I could modify my sons sporty. keep up the good work fellas and hopefully I can repay the favor someday.

                              Joshua Grimm

                              Comment

                              300 mobile ad bottom forum

                              Collapse
                              Working...
                              ;