
 Tweet
Tweet
After using some nasty chemicals in the past, I decided to try this friendly method to remove moderate rust from an old tank. Electrolysis. The watered down idea is the rust on the tank will move to the anode with the battery charger acting as the catalyst....kind of the reverse of plating. It is all very scientific, but I am sure I will screw up the technical terms. I am sure you have seen it elsewhere, but one day, we will never have to leave Chop Cult for info, as it will have everything we could ever need. Behold, the wonders of science.
You need:
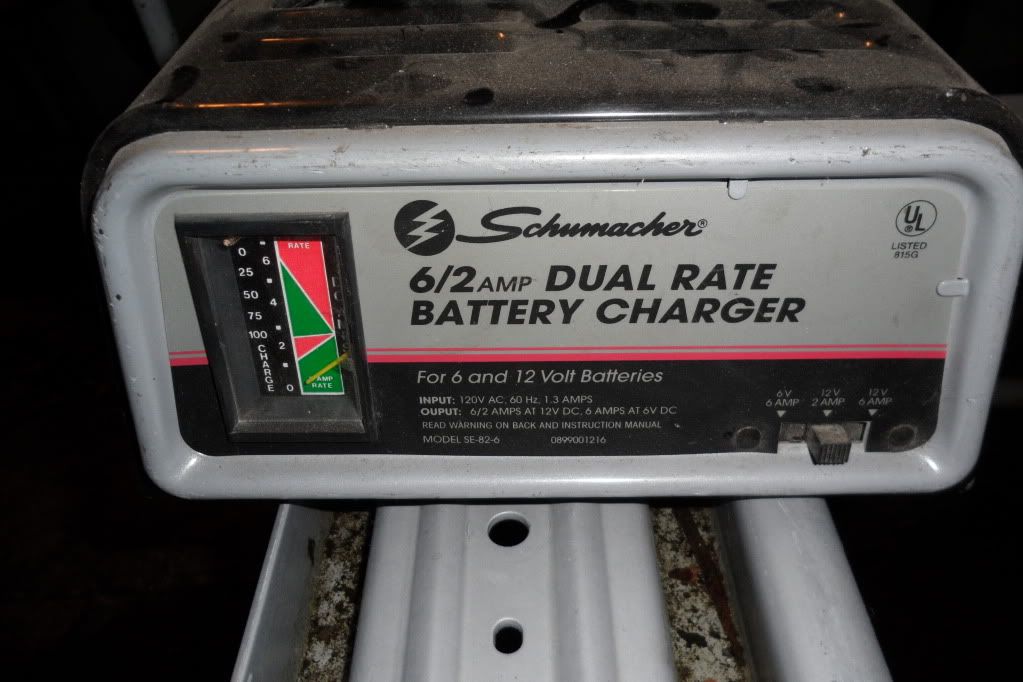
12v Battery charger with a moderately "low" setting (mine had the choice of 2amp or 6 amp)...use the lower one.
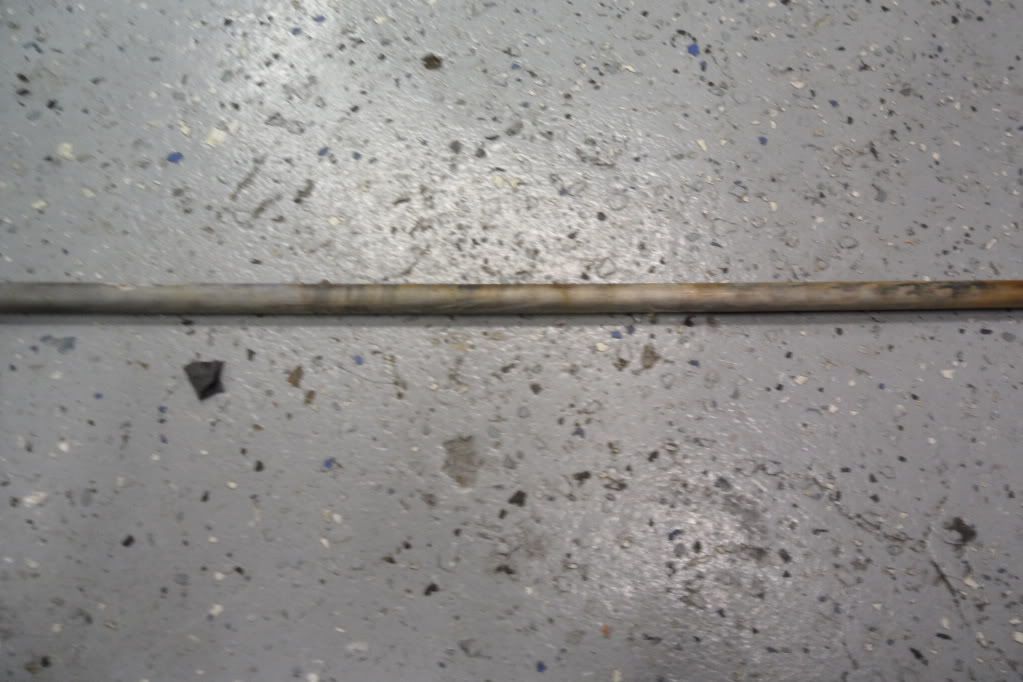
Piece of sacrificial steel...I chose a length of 1/4 cold-rolled rod I had laying around. Coat hangers work well also. This is the anode.
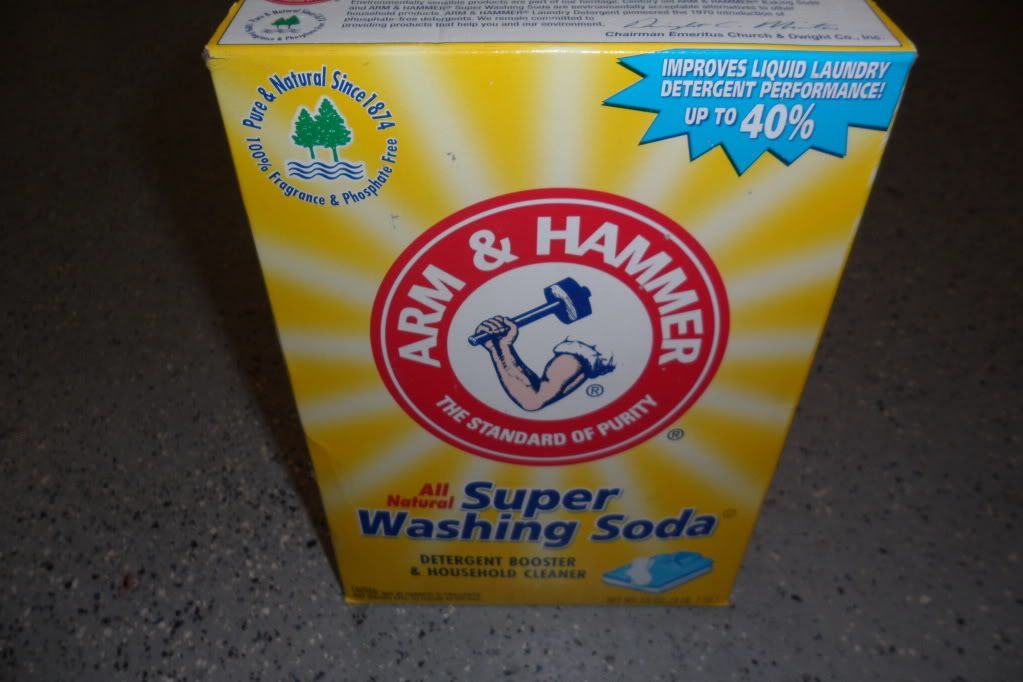
Arm & Hammer "Washing Soda" VComes in a yellow box, near the laundry detergent at most decent sized stores. I got my big box for $3.01 at Walmart at midnight. Bring a camera, there are some weirdos at that place.
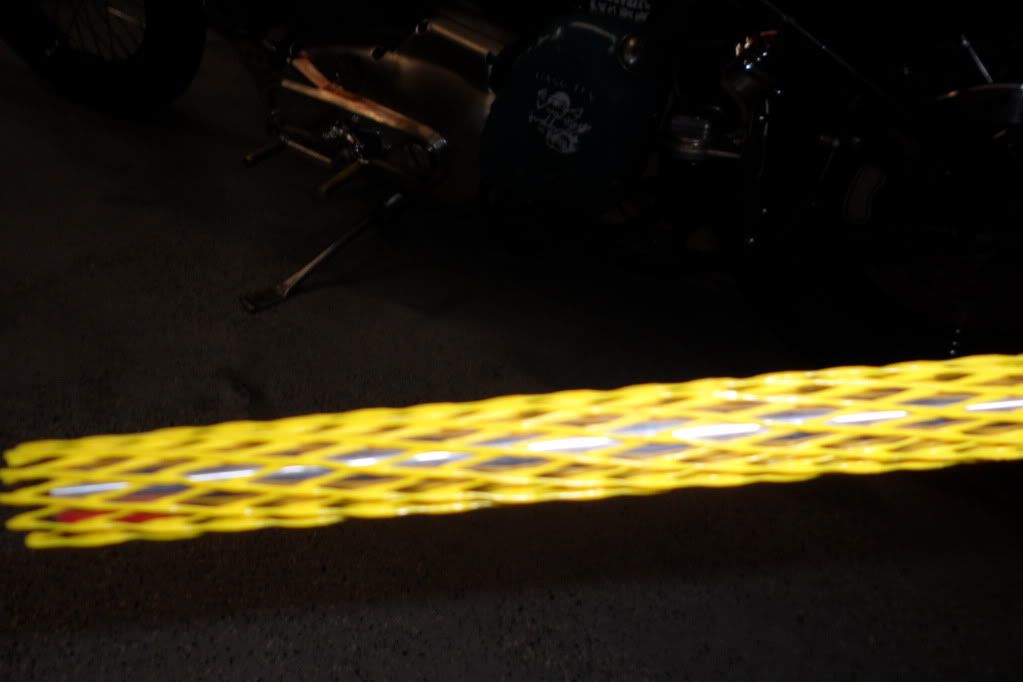
Some way to keep the annode from touching the tank while submersed in there. I chose a piece of plastic-nylon netting that originally was used to protect a precision rod of stainless I got from McMaster-Carr. I have read that plastic window screen works well, or you can make little rubber "stand-offs" to keep the two apart...just use something.
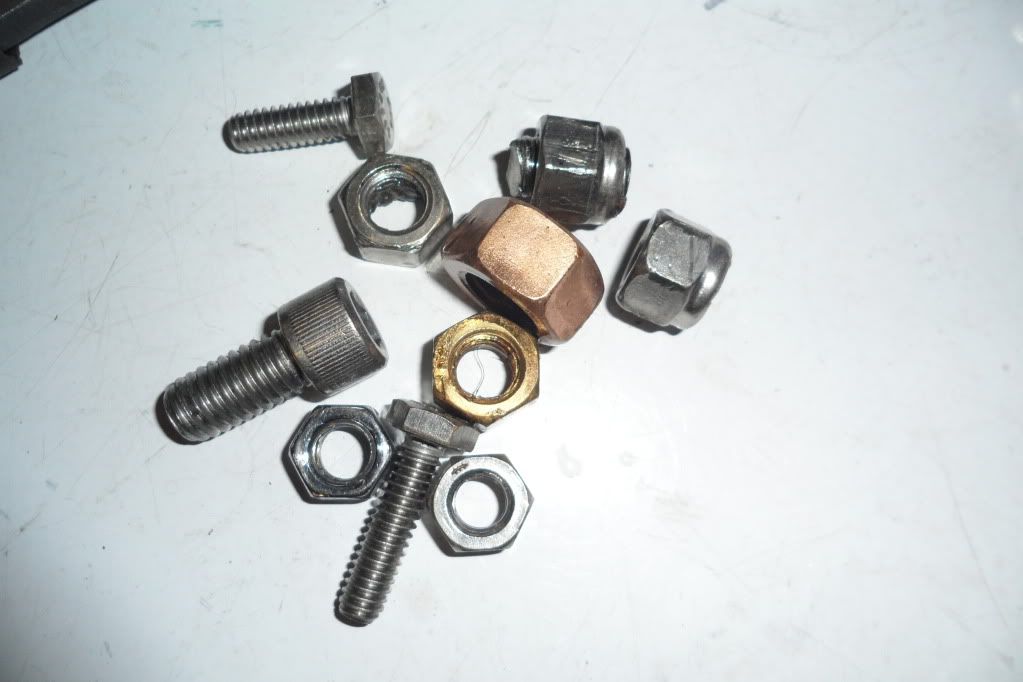
A handful of miscellaneous stainless or brass nuts and bolts. Just something that won't rust.
Hot water
Gibbs, WD40, denatured alcohol...something to displace the water left in the tank after the process. They will rust up again before your eyes. Act quick.
The process:
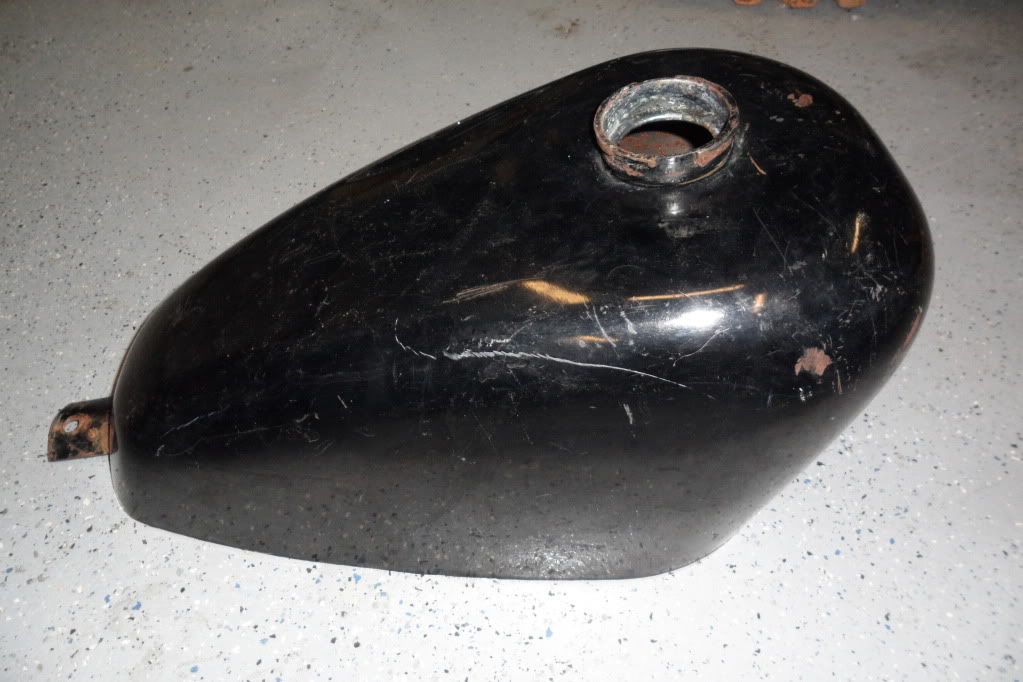
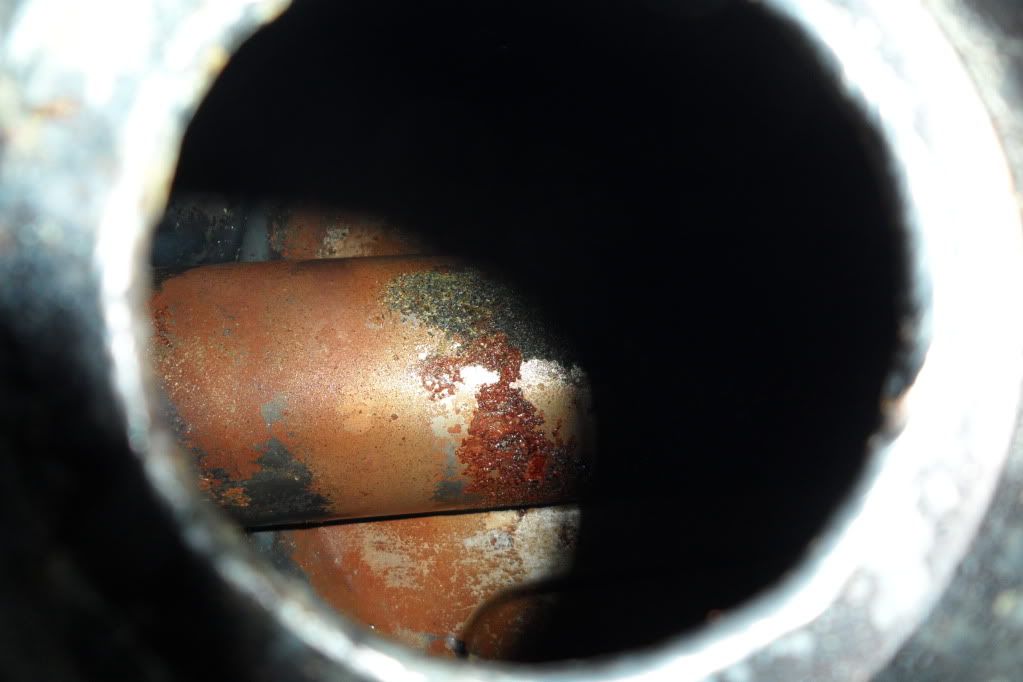
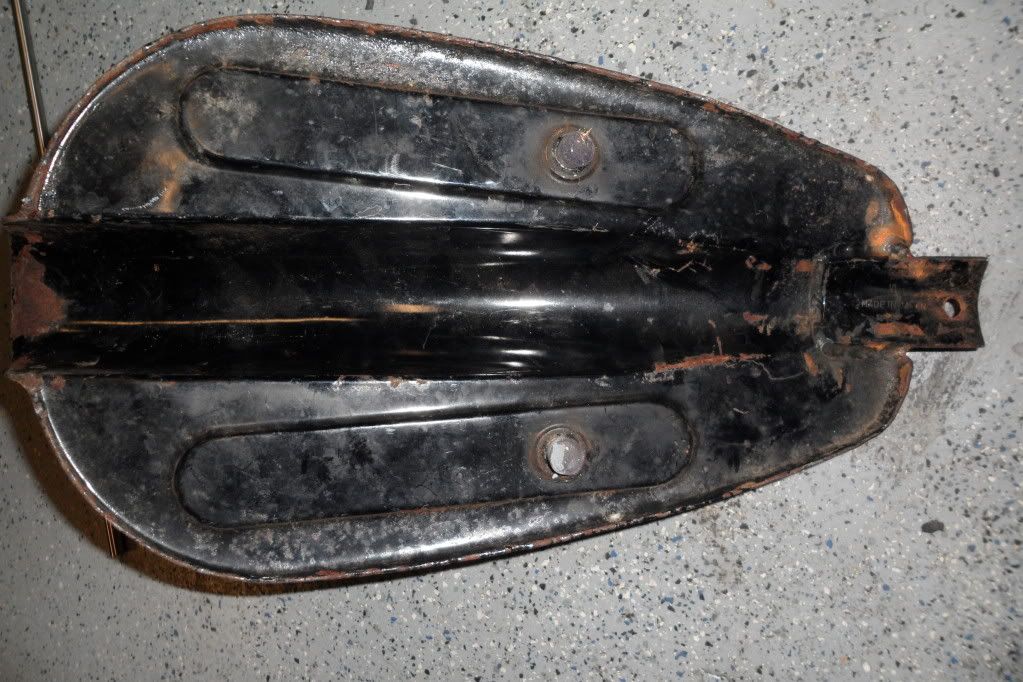
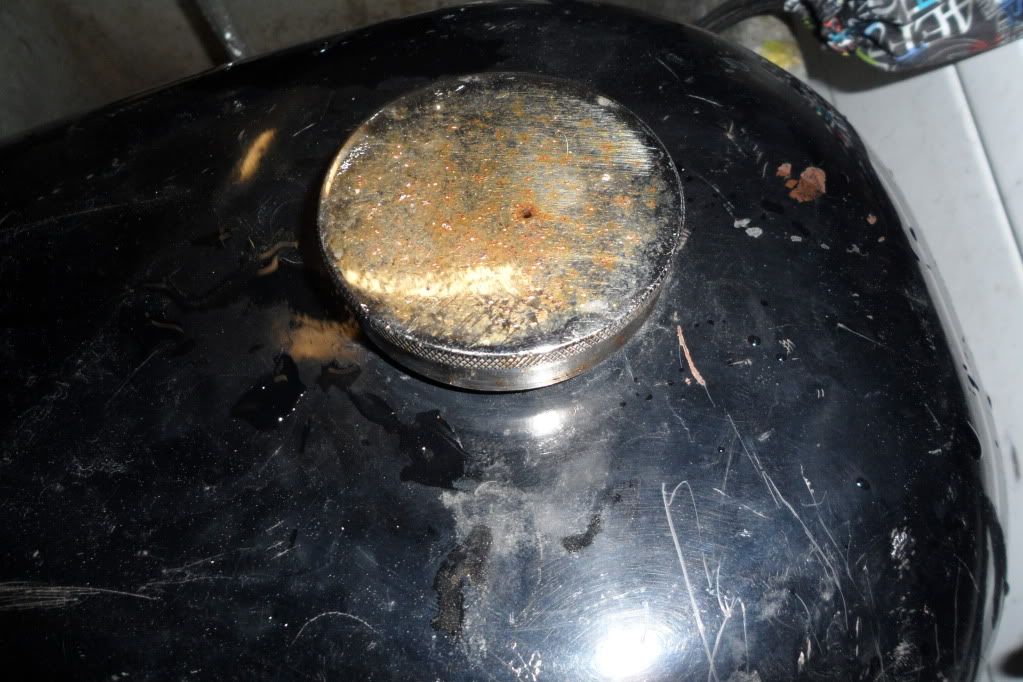
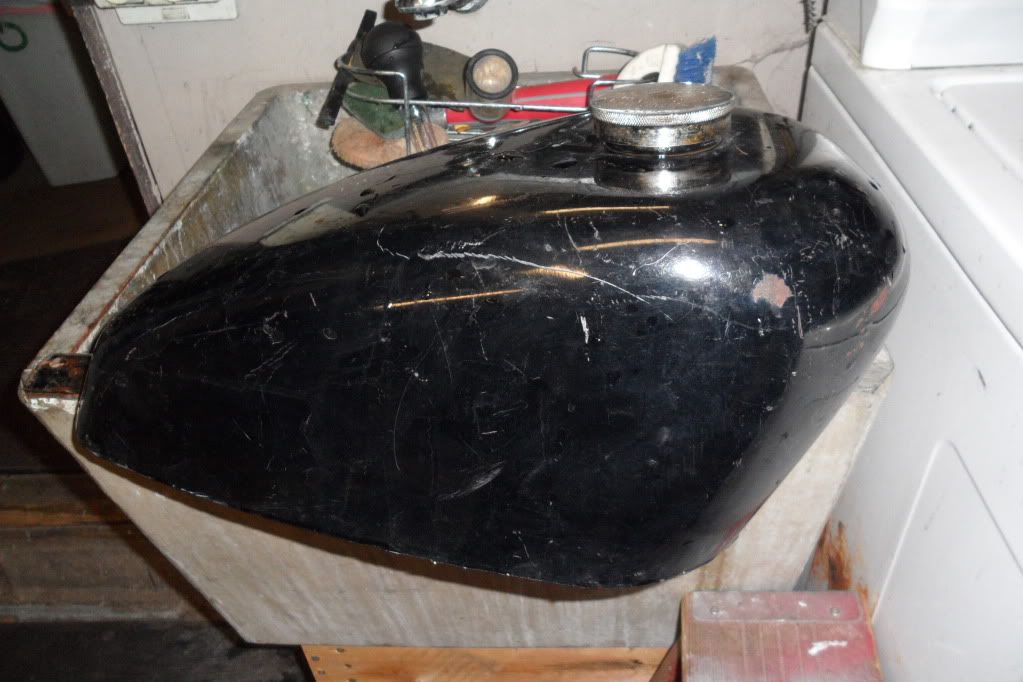
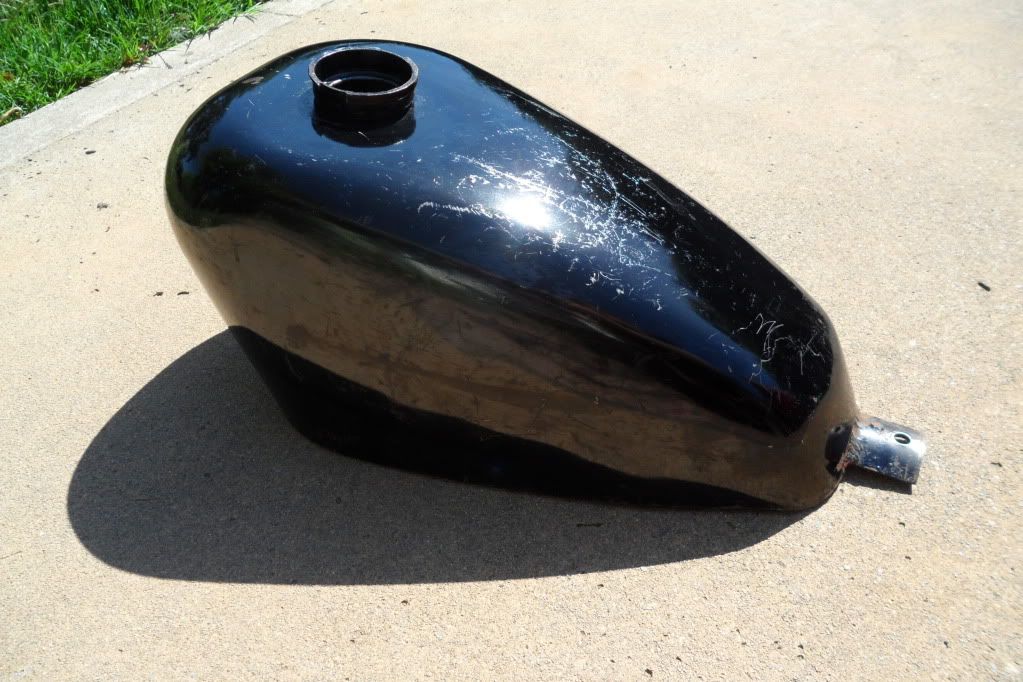
Take your tank, mine is a Sportster knock-off made in Japan by Daisho in the 70's. You know, takes the brit cap. Not entirely valuable, but it was a decent swap meet score, has a decent old paint job, and is mid-frisco. Has a moderate amount of rust in the tank. Hard to capture with the camera, but there is A-LOT in the rear and front corners, with spotty rust and clean spots throughout. Take the petcocks out. This process could easily destroy the old seals. Plug up the holes with something. Since I didn't have any brit thread plugs, I used some silicone stoppers that came with a home powder-coat kit. Cork will work as well. Just make sure it won't leak.
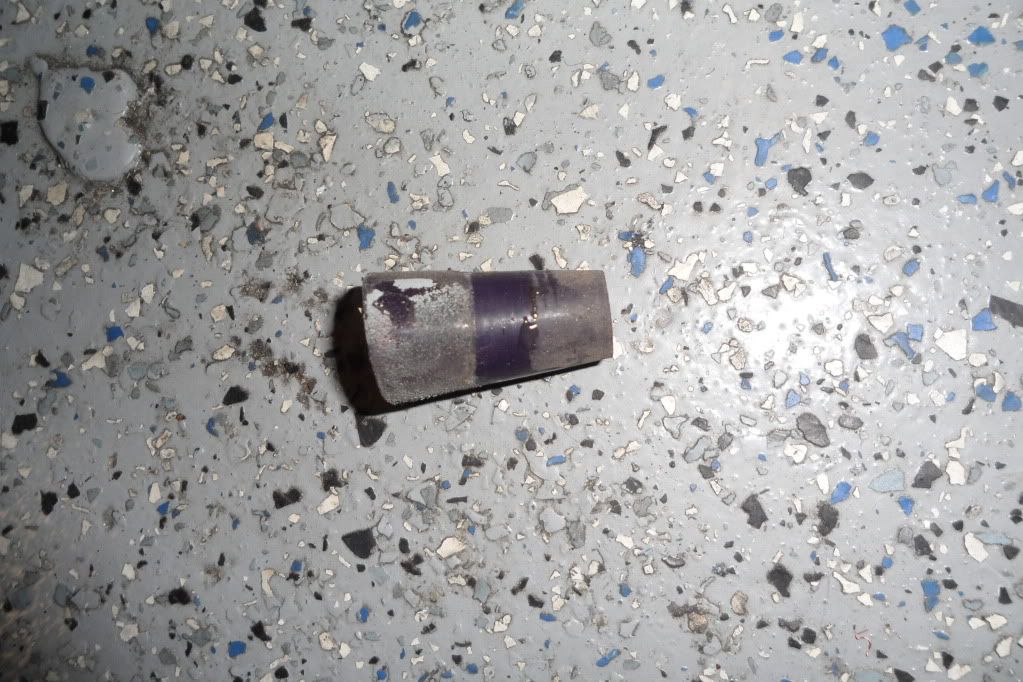
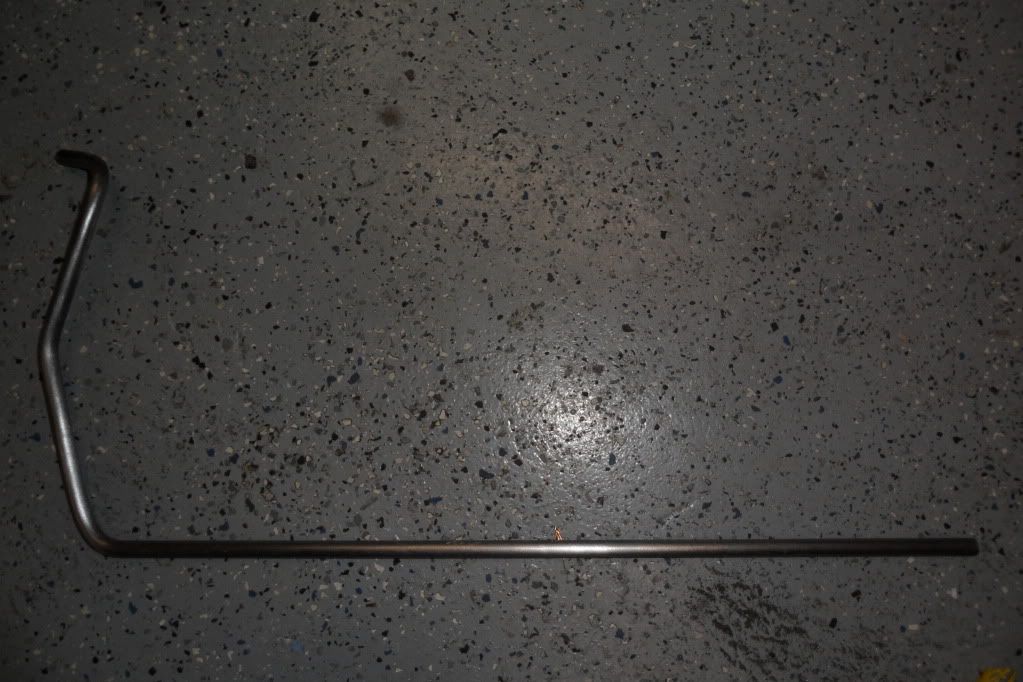
Get your anode ready. Here is the rod, before, and after bending. Then I took some sandpaper and gave it a quick once-over to make sure it will have a good draw to it.
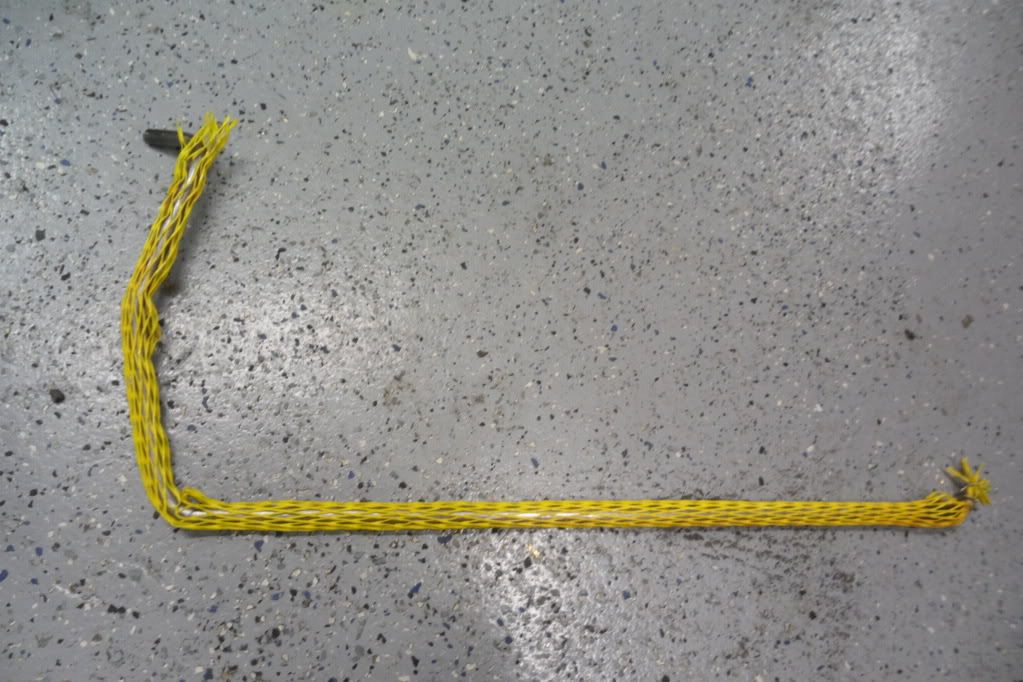
Now take your netting or whatever you choose, and put it over the rod. Here you can see, it is a good fit, but will still allow plenty of current. You want it to protect the tank and rod from touching, but be unrestrictive. Some rubber doughnuts would work well.
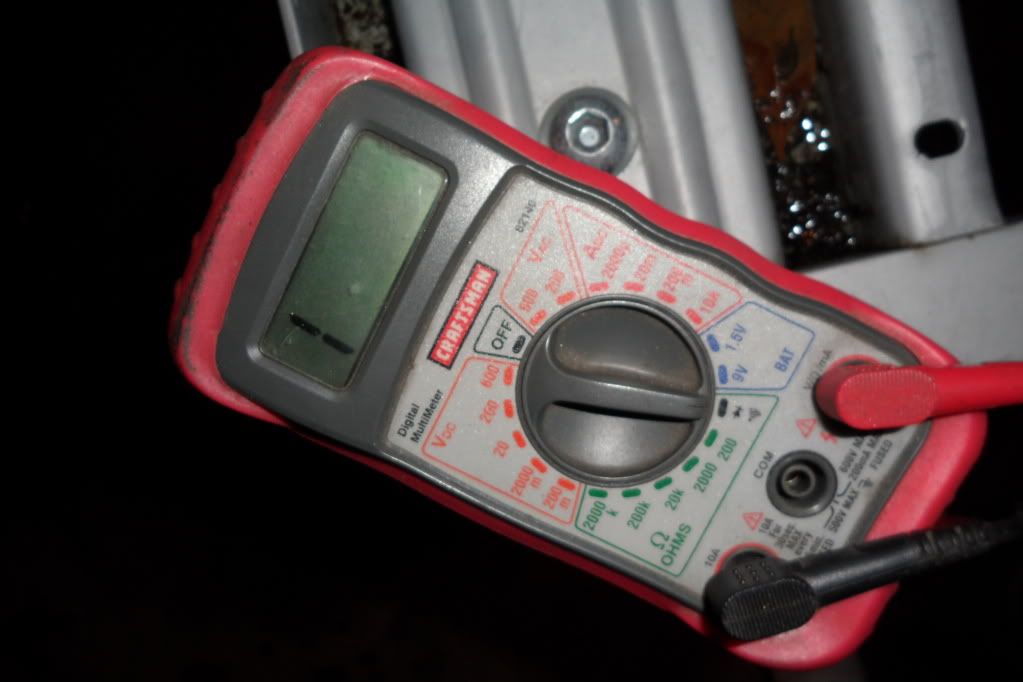
An easy way to check if it is grounding out is take a multimeter and set it to it's continuity setting. Put the rod in the tank to test. One lead to the tank, one to the end of the anode. No beep. good to go.
Alright, take your washing soda, and put about 1/2 to 1 cup in the tank. This is not an exact science. But don't go overboard.
Take your handful of nuts and bolts and throw them in. Make sure to count how many go in, so the same number comes out. Then fill the tank with HOT water.
Put the cap on, and give it a good shake. It will help dissolve the washing soda into the hot water, and also loosen some rust.
Now take everything out to a safe well-ventilated area. SAFETY>>> one of the by-products of this process is hydrogen gas. Hindenburg. Boom. Put your anode in the tank, and if necessary, add a little water. You want the tank to be full, with no pocket for the gas to collect. But not full to the brim, as sometimes the solution will bubble a little. I did mine about 3/4" from the very top of the cap bung.
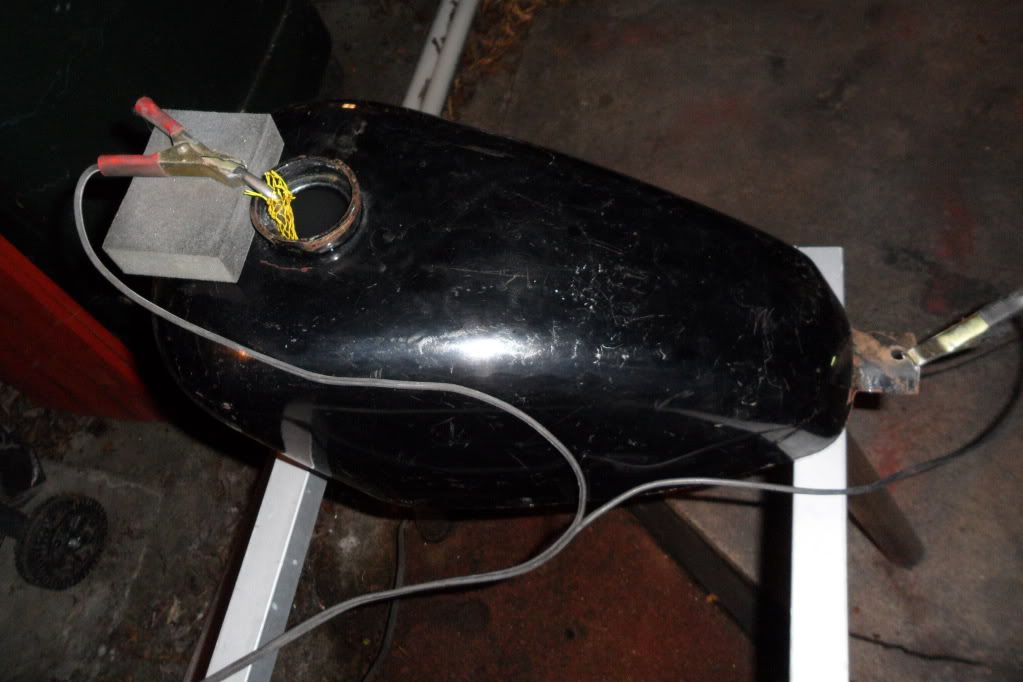
Take your charger, and connect the NEGATIVE (-) to the tank. The POSITIVE (+) goes to the anode. Make sure you have a good connection on both. I am using a sanding sponge as a place to rest the lead.
Turn on the charger. It should immediately start bubbling. Here it is after about a minute.
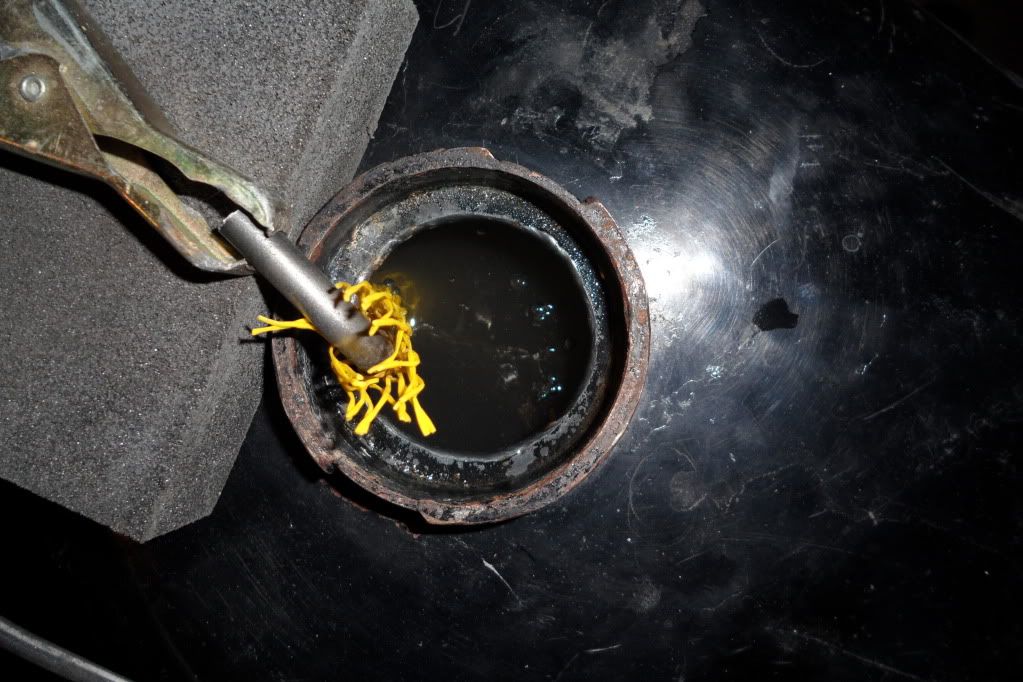
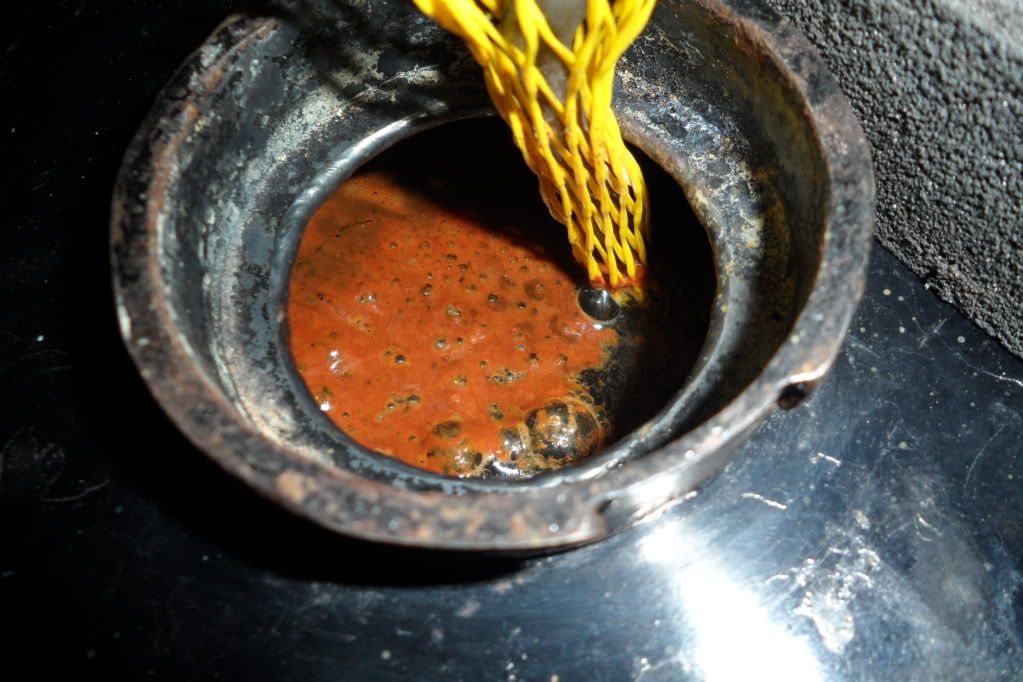
Here is what the solution looks like after about 9 hours.
Since my tank wasn't extremely bad to begin with, I decide to drain it now. I can easily start the process over again if it isn't enough. Unlike using other methods like acid or worse, this can be safely dumped in the drain. I actually dumped it on a fire ant mound in my yard.
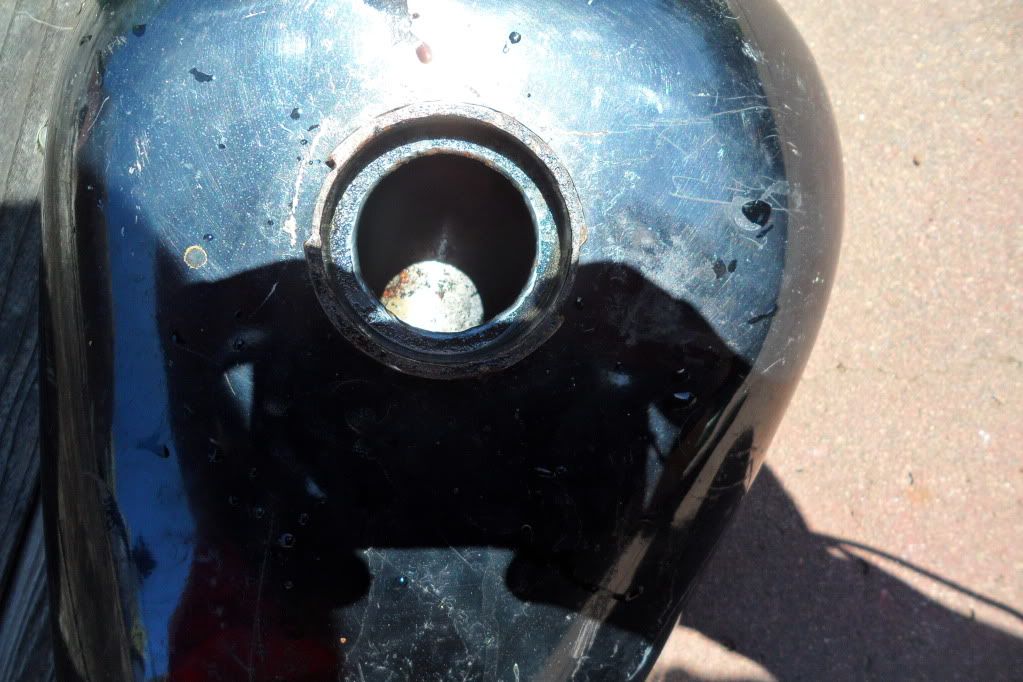
Flush the tank a few times, shake the nuts and bolts around. Keep flushing until clear and clean, then do it some more. Are you happy with the results? If not, repeat. It may not look perfect, but it is much better in the areas I was concerned about. Still, hard to capture the improved condition. I am generally satisfied, so it is time to finish up.
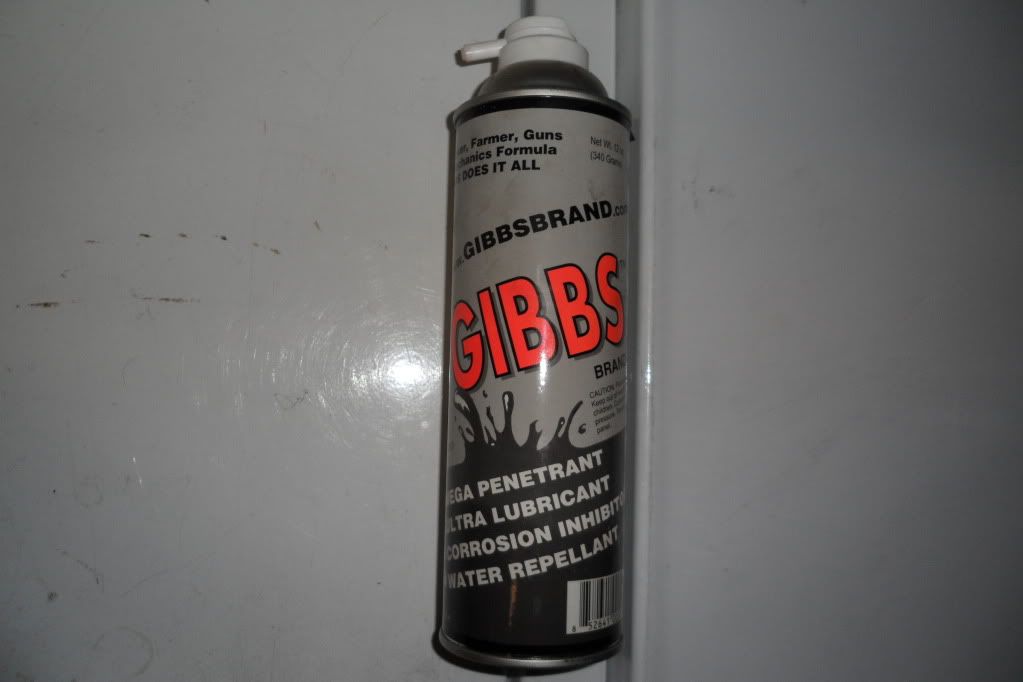
You can dump ultra-hot near-boiling water in, let it heat the tank, and dump it out. The heat will help dry the metal quick. There will probably still be a small amount of water in the tank, so you want to try to displace that. I sprayed a couple ounces of Gibbs in my tank. I love Gibbs. Just pointed it in and sprayed all around. Then put the cap on and rotated the tank around all over to make sure the oil covers everywhere. Since I am not going to use the tank right away, this will not only displace the water, but also keep it from rusting. When ready to put on a bike, this small amount can just be mixed with the gas. You can also use alcohol or WD40. I then take the plugs out of the petcock bungs, and leave the cap off and let the tank soak up some sun and evaporate the water.
You could also seal the tank once it is dry, before you put any oils or whatnot in there. Use your favorite brand of sealer. We all have one, and I am sure yours is better than every one else's. I don't like to seal a tank unless it is absolutely necessary. Just keep it filled up and ride.
Enjoy.
You need:
12v Battery charger with a moderately "low" setting (mine had the choice of 2amp or 6 amp)...use the lower one.
Piece of sacrificial steel...I chose a length of 1/4 cold-rolled rod I had laying around. Coat hangers work well also. This is the anode.
Arm & Hammer "Washing Soda" VComes in a yellow box, near the laundry detergent at most decent sized stores. I got my big box for $3.01 at Walmart at midnight. Bring a camera, there are some weirdos at that place.
Some way to keep the annode from touching the tank while submersed in there. I chose a piece of plastic-nylon netting that originally was used to protect a precision rod of stainless I got from McMaster-Carr. I have read that plastic window screen works well, or you can make little rubber "stand-offs" to keep the two apart...just use something.
A handful of miscellaneous stainless or brass nuts and bolts. Just something that won't rust.
Hot water
Gibbs, WD40, denatured alcohol...something to displace the water left in the tank after the process. They will rust up again before your eyes. Act quick.
The process:
Take your tank, mine is a Sportster knock-off made in Japan by Daisho in the 70's. You know, takes the brit cap. Not entirely valuable, but it was a decent swap meet score, has a decent old paint job, and is mid-frisco. Has a moderate amount of rust in the tank. Hard to capture with the camera, but there is A-LOT in the rear and front corners, with spotty rust and clean spots throughout. Take the petcocks out. This process could easily destroy the old seals. Plug up the holes with something. Since I didn't have any brit thread plugs, I used some silicone stoppers that came with a home powder-coat kit. Cork will work as well. Just make sure it won't leak.
Get your anode ready. Here is the rod, before, and after bending. Then I took some sandpaper and gave it a quick once-over to make sure it will have a good draw to it.
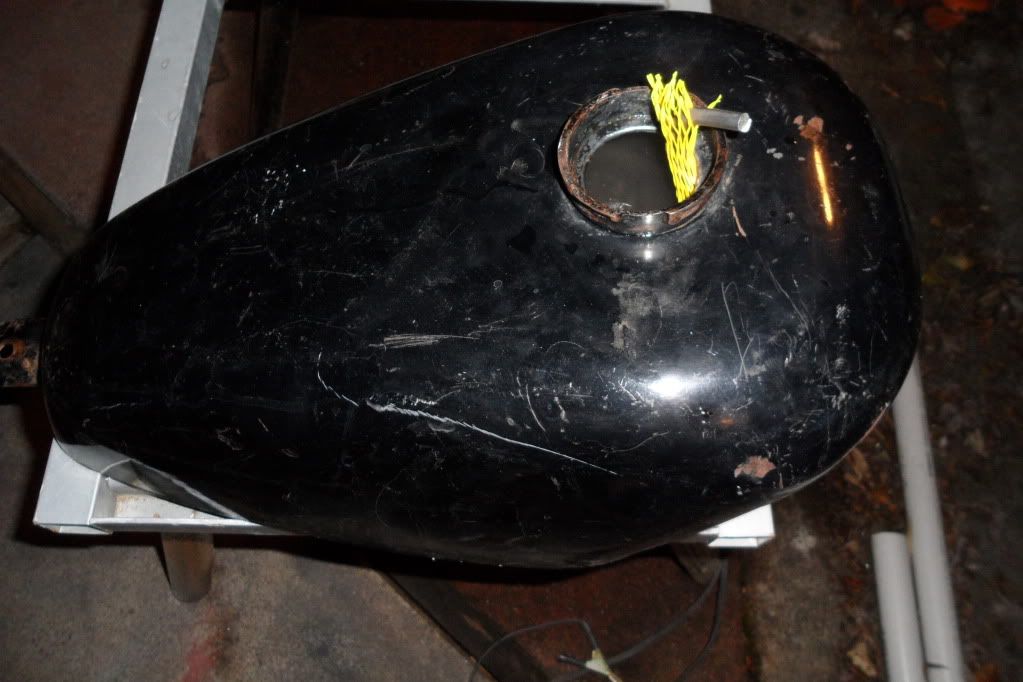
Now take your netting or whatever you choose, and put it over the rod. Here you can see, it is a good fit, but will still allow plenty of current. You want it to protect the tank and rod from touching, but be unrestrictive. Some rubber doughnuts would work well.
An easy way to check if it is grounding out is take a multimeter and set it to it's continuity setting. Put the rod in the tank to test. One lead to the tank, one to the end of the anode. No beep. good to go.
Alright, take your washing soda, and put about 1/2 to 1 cup in the tank. This is not an exact science. But don't go overboard.
Take your handful of nuts and bolts and throw them in. Make sure to count how many go in, so the same number comes out. Then fill the tank with HOT water.
Put the cap on, and give it a good shake. It will help dissolve the washing soda into the hot water, and also loosen some rust.
Now take everything out to a safe well-ventilated area. SAFETY>>> one of the by-products of this process is hydrogen gas. Hindenburg. Boom. Put your anode in the tank, and if necessary, add a little water. You want the tank to be full, with no pocket for the gas to collect. But not full to the brim, as sometimes the solution will bubble a little. I did mine about 3/4" from the very top of the cap bung.
Take your charger, and connect the NEGATIVE (-) to the tank. The POSITIVE (+) goes to the anode. Make sure you have a good connection on both. I am using a sanding sponge as a place to rest the lead.
Turn on the charger. It should immediately start bubbling. Here it is after about a minute.
Here is what the solution looks like after about 9 hours.
Since my tank wasn't extremely bad to begin with, I decide to drain it now. I can easily start the process over again if it isn't enough. Unlike using other methods like acid or worse, this can be safely dumped in the drain. I actually dumped it on a fire ant mound in my yard.
Flush the tank a few times, shake the nuts and bolts around. Keep flushing until clear and clean, then do it some more. Are you happy with the results? If not, repeat. It may not look perfect, but it is much better in the areas I was concerned about. Still, hard to capture the improved condition. I am generally satisfied, so it is time to finish up.
You can dump ultra-hot near-boiling water in, let it heat the tank, and dump it out. The heat will help dry the metal quick. There will probably still be a small amount of water in the tank, so you want to try to displace that. I sprayed a couple ounces of Gibbs in my tank. I love Gibbs. Just pointed it in and sprayed all around. Then put the cap on and rotated the tank around all over to make sure the oil covers everywhere. Since I am not going to use the tank right away, this will not only displace the water, but also keep it from rusting. When ready to put on a bike, this small amount can just be mixed with the gas. You can also use alcohol or WD40. I then take the plugs out of the petcock bungs, and leave the cap off and let the tank soak up some sun and evaporate the water.
You could also seal the tank once it is dry, before you put any oils or whatnot in there. Use your favorite brand of sealer. We all have one, and I am sure yours is better than every one else's. I don't like to seal a tank unless it is absolutely necessary. Just keep it filled up and ride.
Enjoy.


 good stuff i was gonna do a half assed job till i red this chop cult rules


Comment