
 Tweet
Tweet
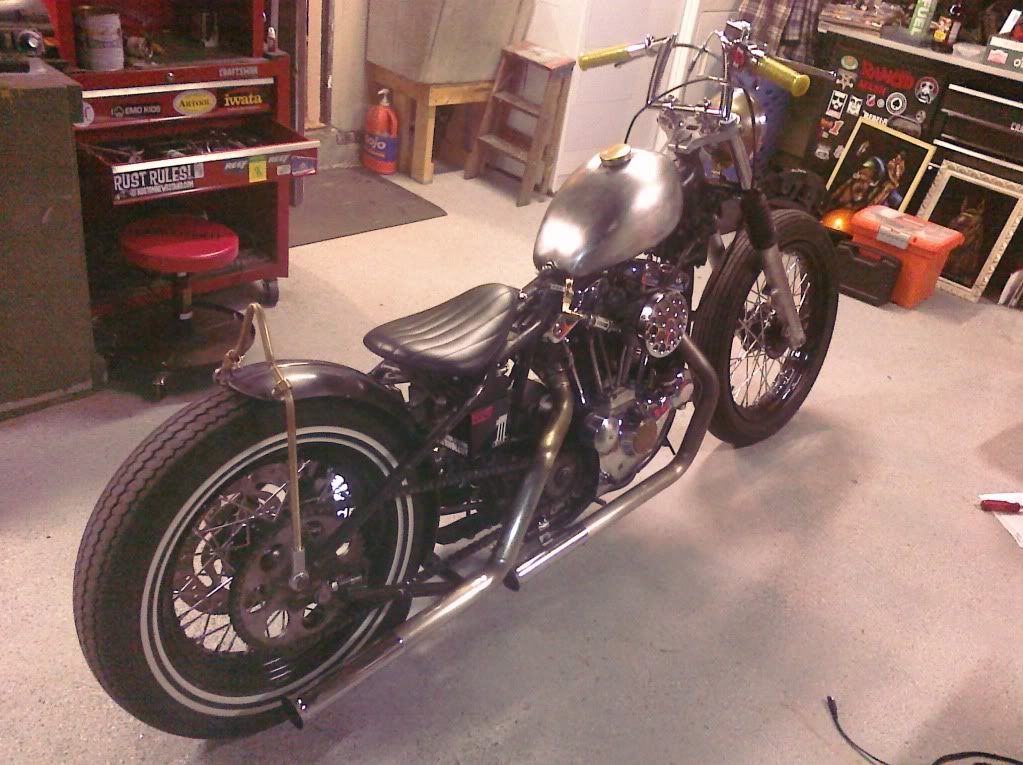
Maybe you don't have a welder. Maybe you don't know how to braze. Maybe you want something a little different than the "kits" out there. Whatever your reasoning, building a sissy bar like this will only take a couple of hours, and when finished, you will have the satisfaction of creating it yourself, and not having to settle on someone else's design. Let's begin.
Supplies:
Fender----get one you like from a company who supports Chop Cult---priceless
1/2" Naval Brass Rod 3 feet long--- McMaster-Carr $20.27
1/4" steel rod 3 feet long---anywhere $3
Baling wire 3 feet long---stolen from work
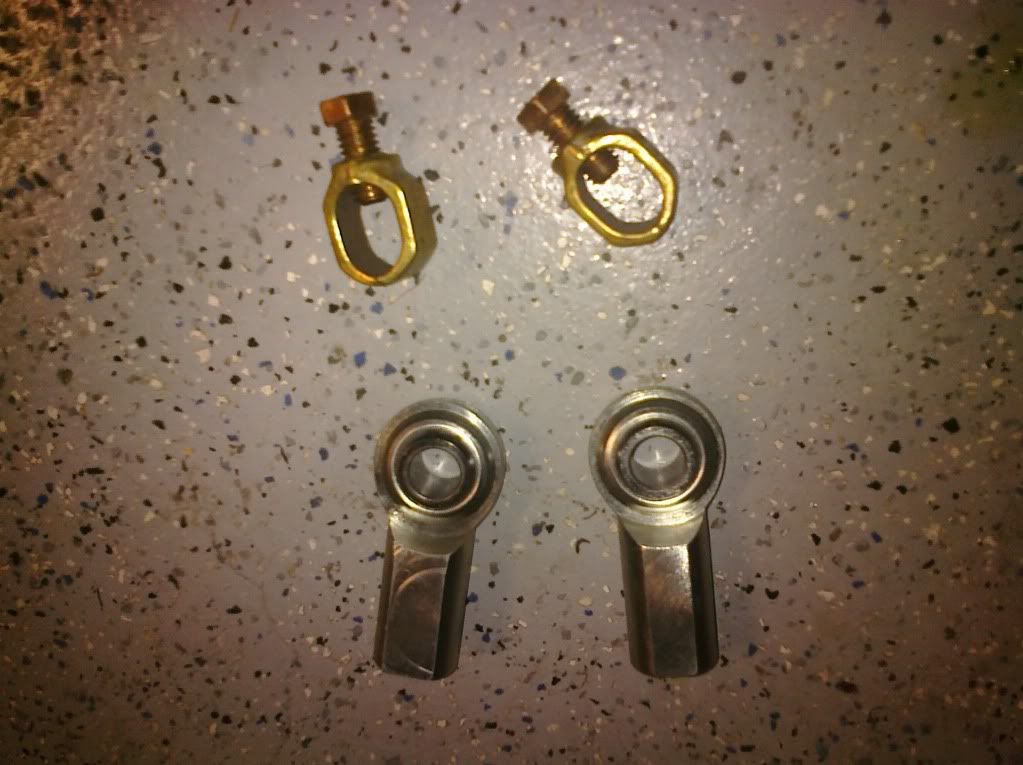
(2) Ground Rod Clamps 1/2" (cast brass w/ copper bolts) -----Home Depot $2 each
(2) 1/2" Fem. Heim Joints (R-hand thread 20tpi) --QS Components / ebay $9.50 shipped for both
Die (1/2-20tpi) to thread the rod to screw on heim joint --- you should have a tap and die set already
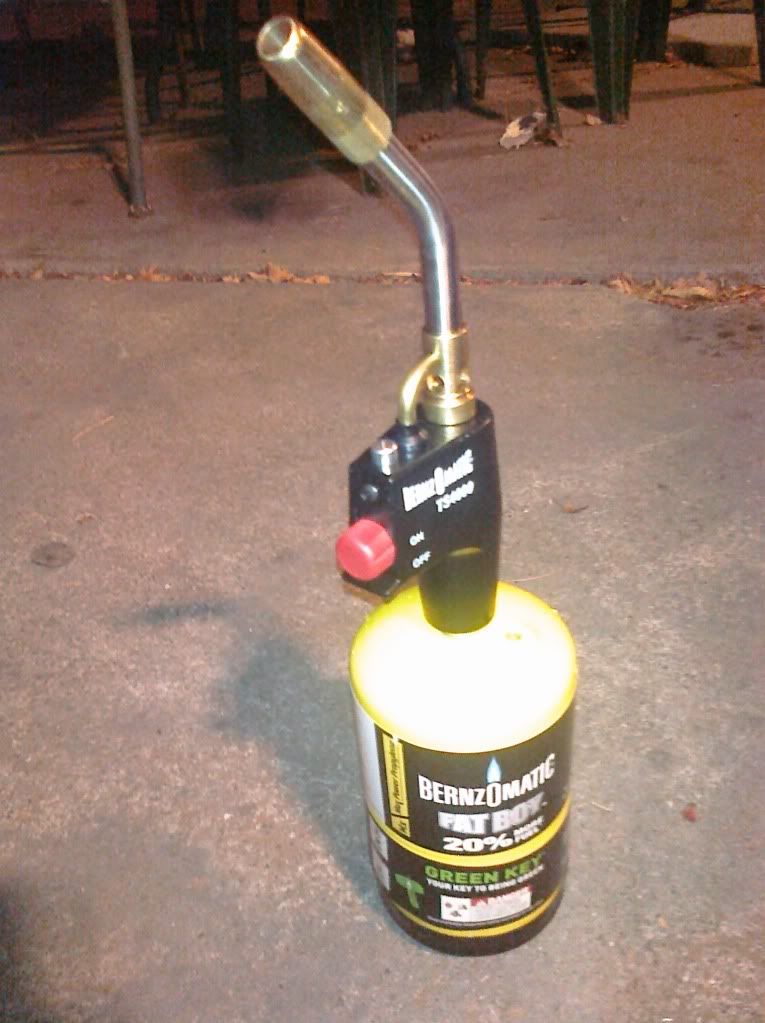
Torch and Can of Mapp gas, or acetylene---You should have this already (and propane will take too long)
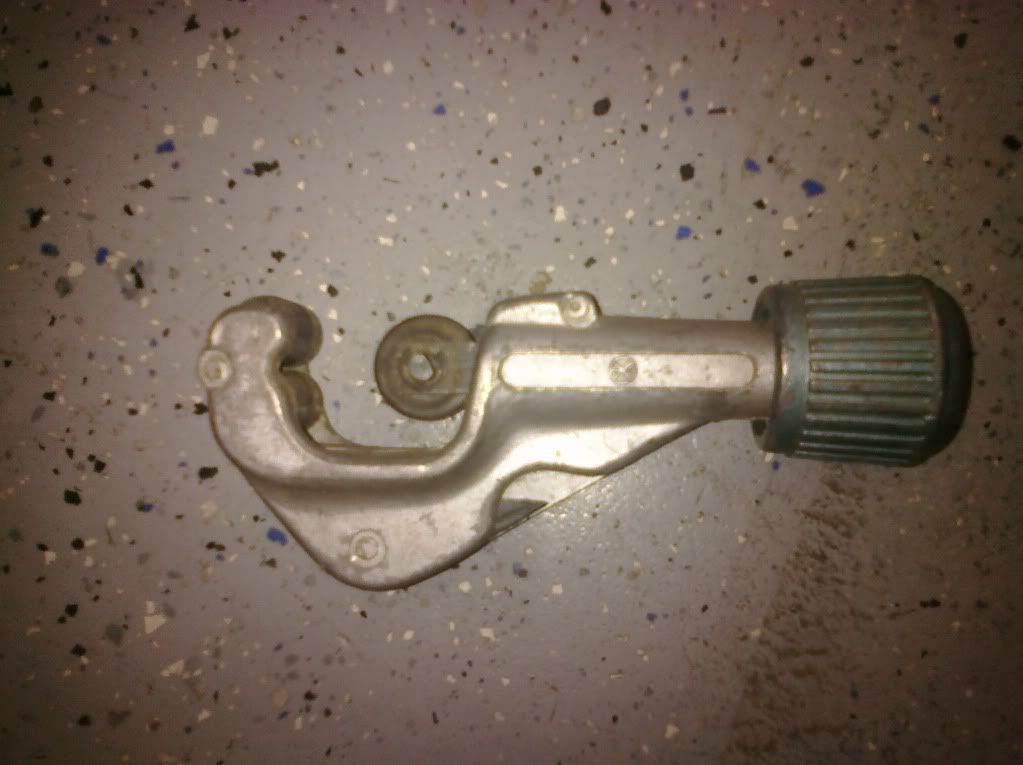
Tubing cutter for marking lines on rod---you should have one of these already
Some washers to help reinforce your fender holes
A couple of 1/2" bolts and nuts, " long or so should do
Straight-Edge/yardstick/ruler/tape-measure, etc
Sharpie, soapstone, or wax pencil
Loc-tite
Black Sabbath mix tape
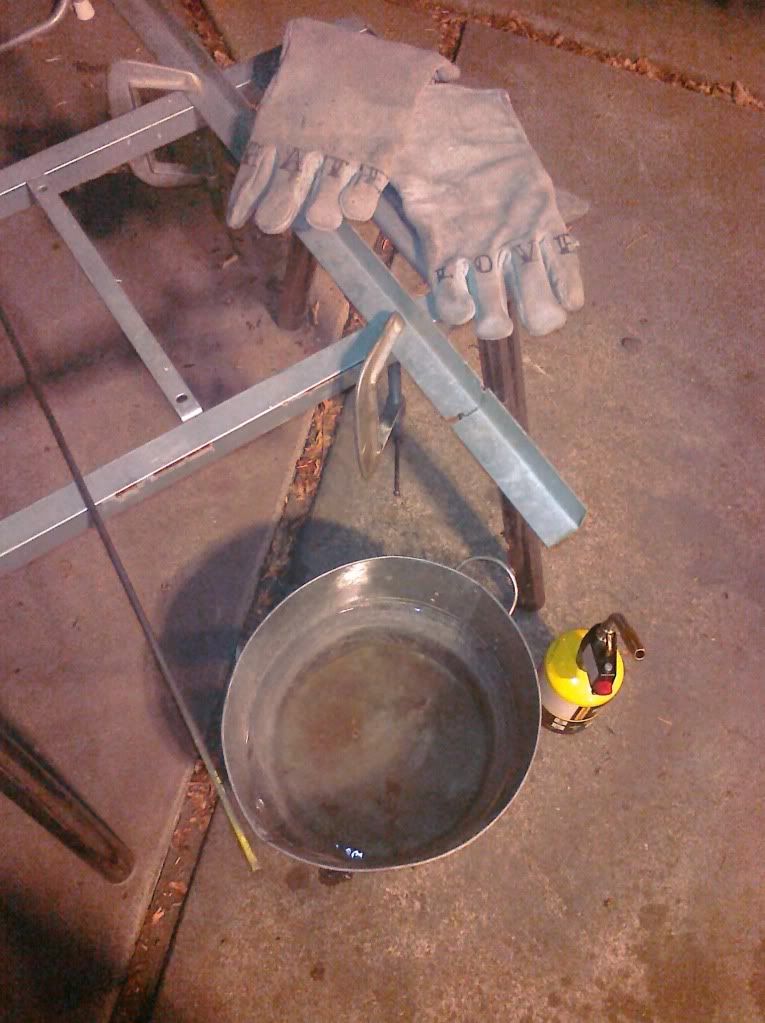
Safety equipment----Eyewear, THICK welding gloves
A shitty cell phone camera to document your exploits
Some pics of some of the ingredients:
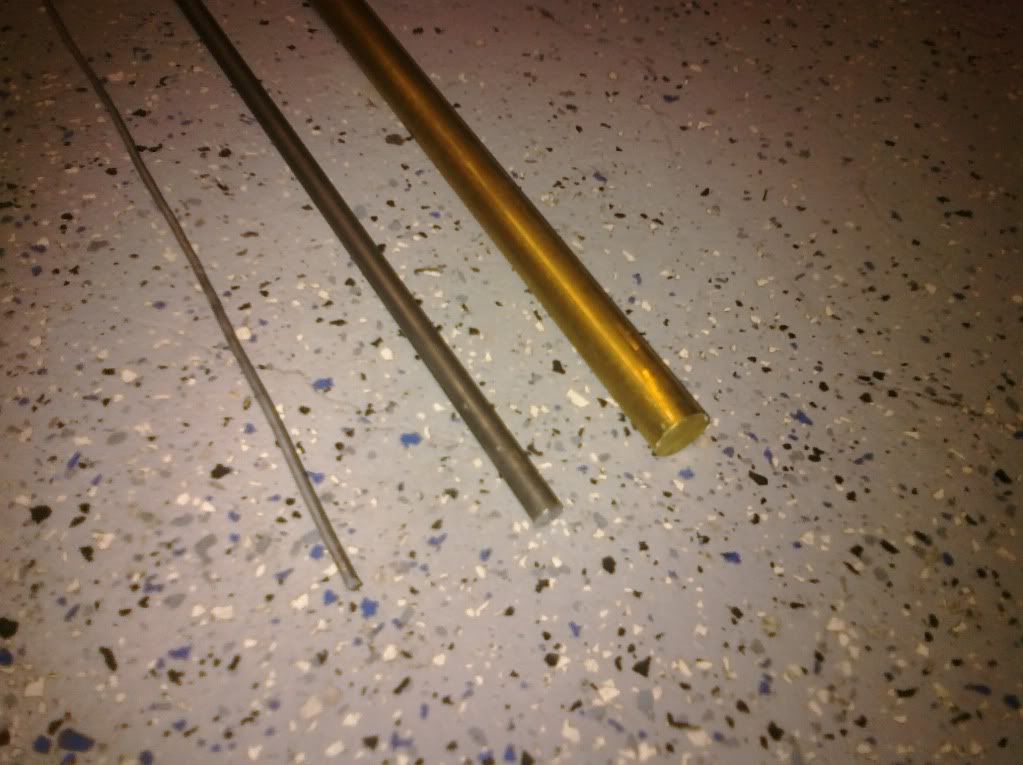
So, I'm doing this with 1/2" brass. You could choose to do it with any thickness, length, or material you are comfortable with, I have a few other brass items on my bike, and I like the beauty of not having to apply a paint or finish to a component.
Also, I am doing this in 3 stages. First using the baling wire, then the 1/4" rod, then the thick brass rod. I outline my reasoning for this somewhere below. You could easily go straight for the sissy bar on the first shot though.
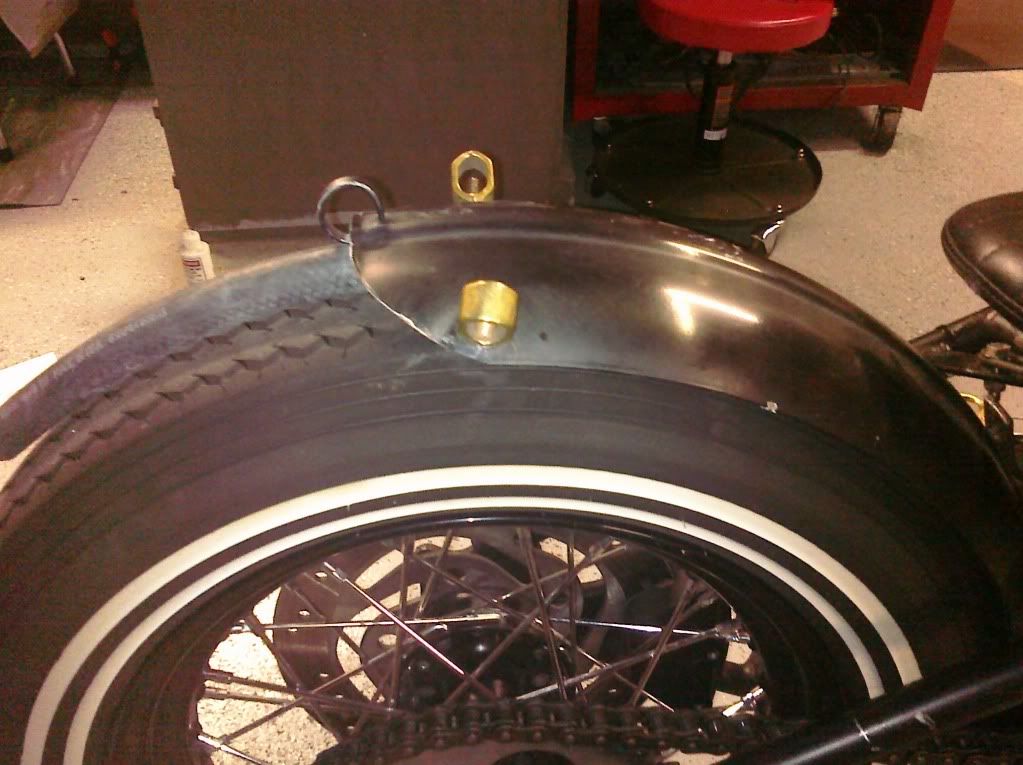
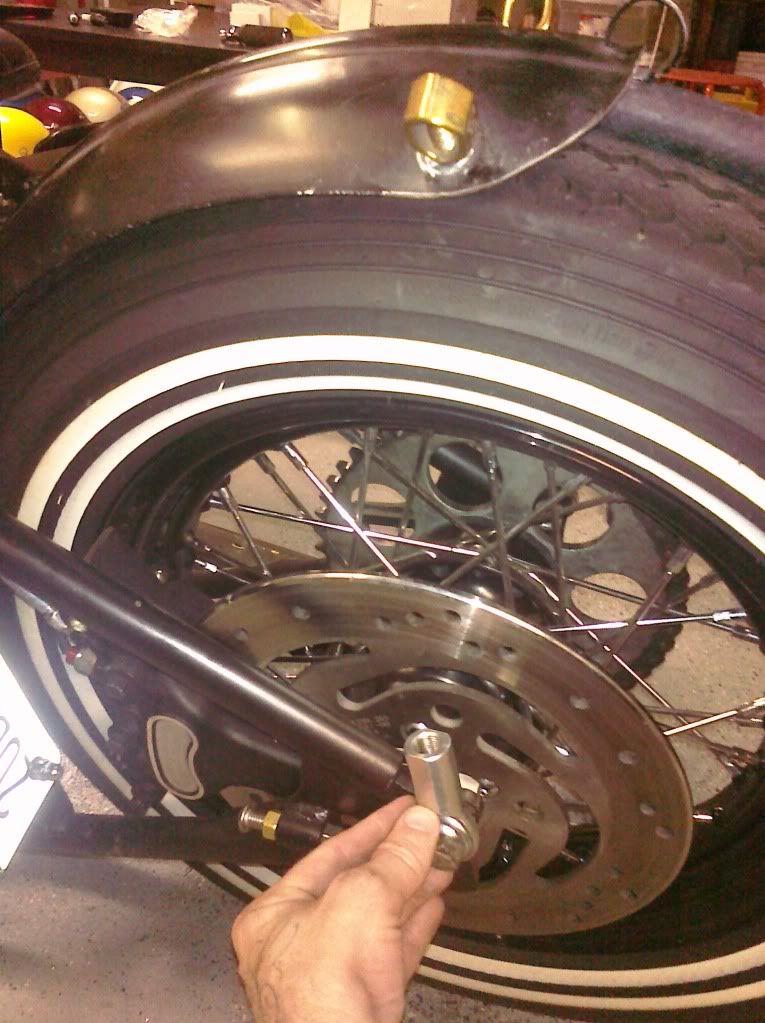
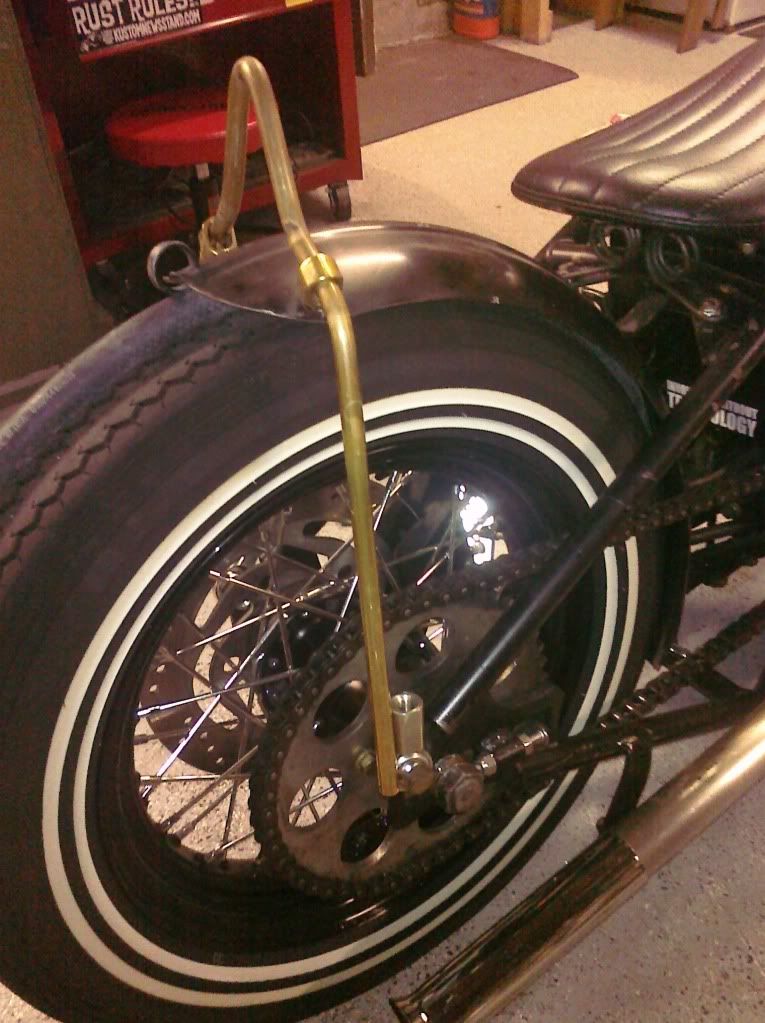
First, lay out your fender on the bike where you want it, and drill the holes to put in the ground clamps. As you can see, I'm using a 36 ford spare tire ring and a length of heater hose for clearance. I previously had welded the bottom fender mount already, but I guess if you're crafty, you could figure a no-weld solution to that also. It's also a good idea to reinforce the fender where the clamp bolts go through. Bolting on washers work, so does welding some thicker metal in that area.
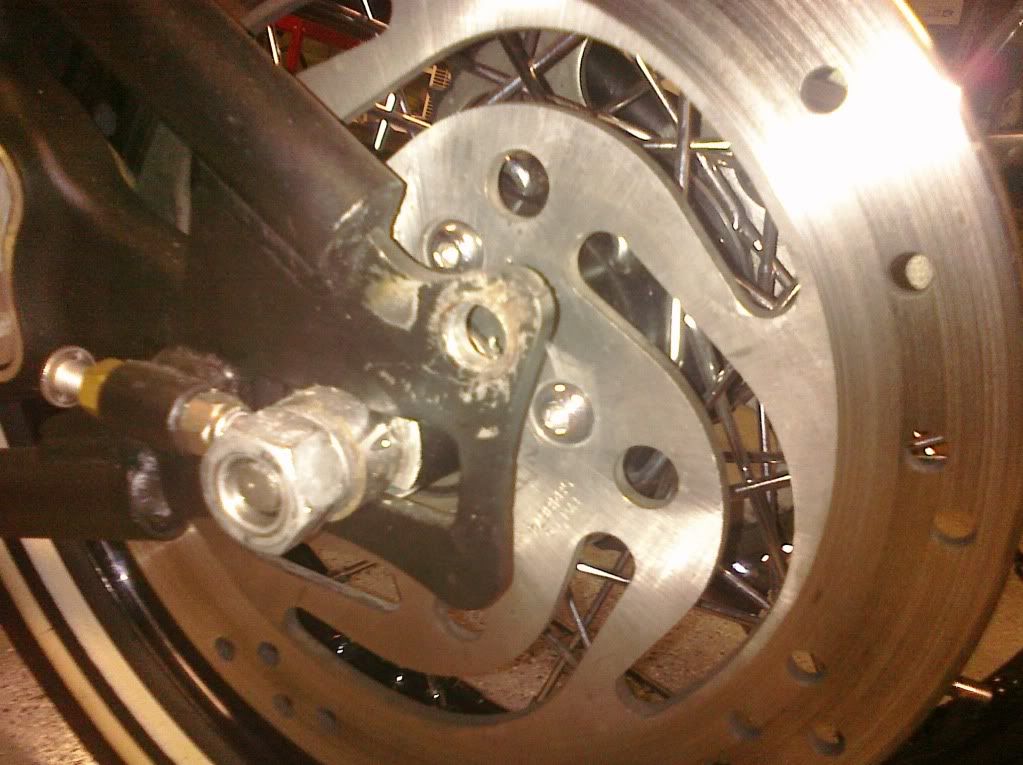
Then imagine a line from your axle plate to the clamps, and put a hole there, and loosely insert the heim joints.
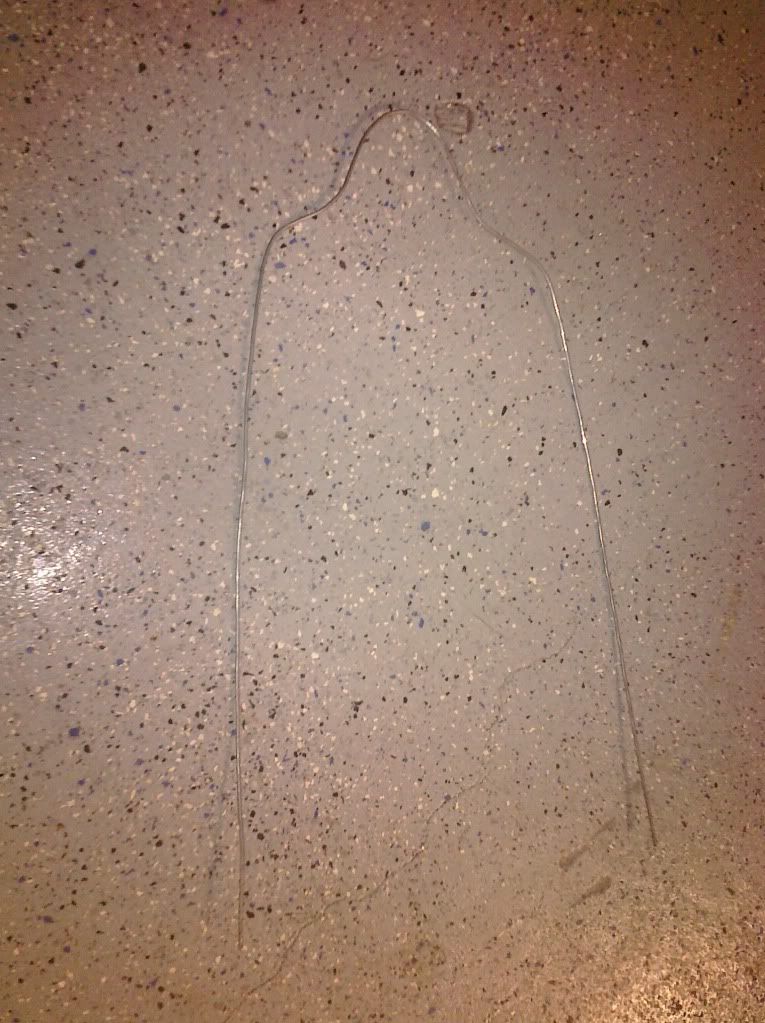
OK, now, get that 3 feet of baling wire, and bend it to a shape that resembles the most kick-ass sissy-bar you can ever imagine. Make sure to start from the CENTER of the wire, and do a little at a time while making it through the clamp loops, and into the heims (or rod ends, whatever you wanna call them) Take that piece and refine it, making sure your bends are even.
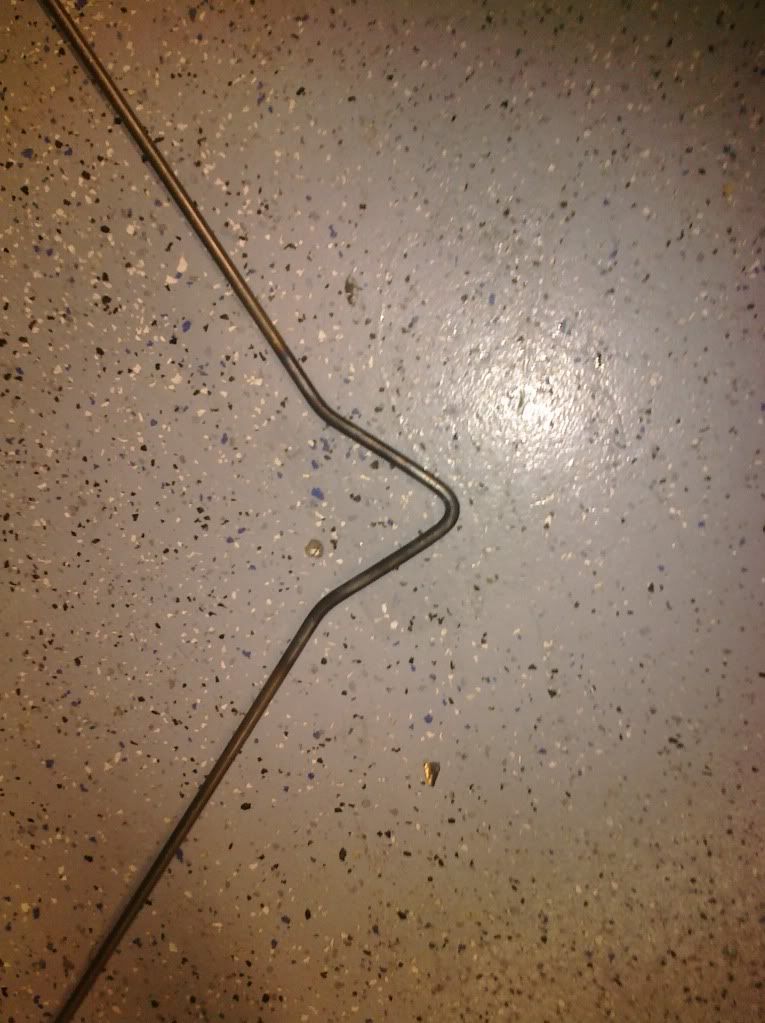
Now, take that, and measure from one end how far it is to the first bend. Mine is about 10". (from axle plate area to first inward bend) I take this measurement and go to the 1/4" rod and mark 10" on EACH side, and go around that mark VERY LIGHTLY with the tubing cutter. Repeat for the other bends in the bar. Make sure you are even. Use the tubing cutter so that when heating the piece you stay accurate, and the mark doesn't burn off. No real pics of this process...
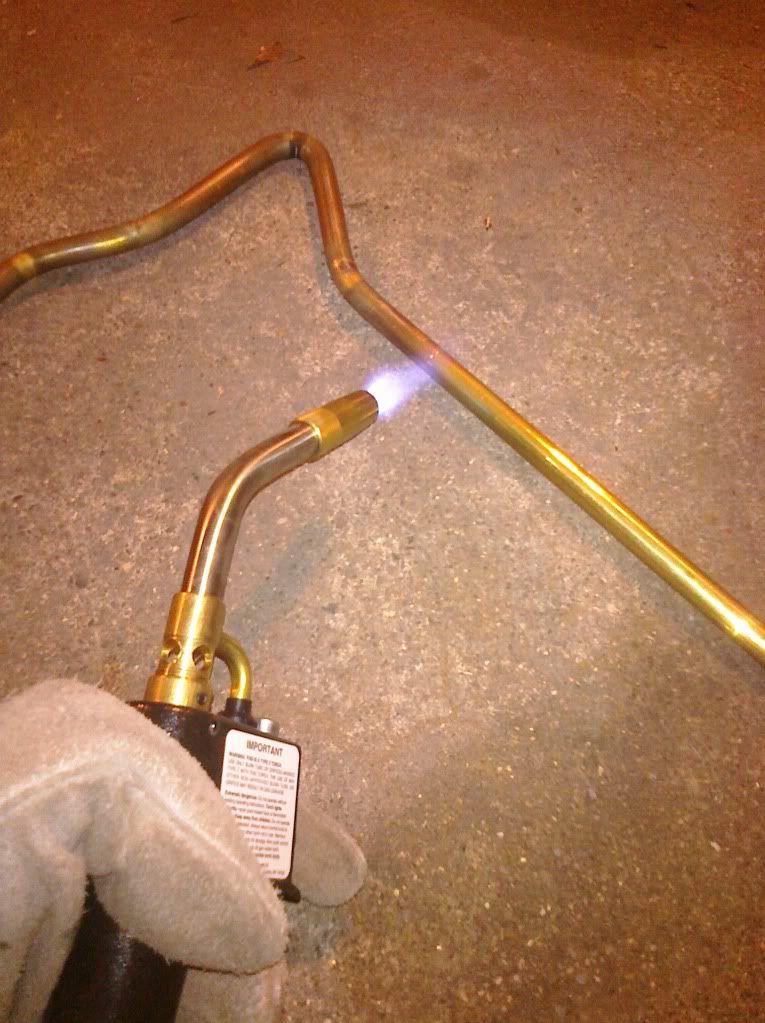
Time for the torch. Start in the middle of your evenly marked line with the 1/4" rod. (this would be the middle, or "peak" of your sissy bar) I concentrated the heat to about 1 inch of right where that cutter mark was, and got it red-hot. Then, bent it using just my gloved hands.
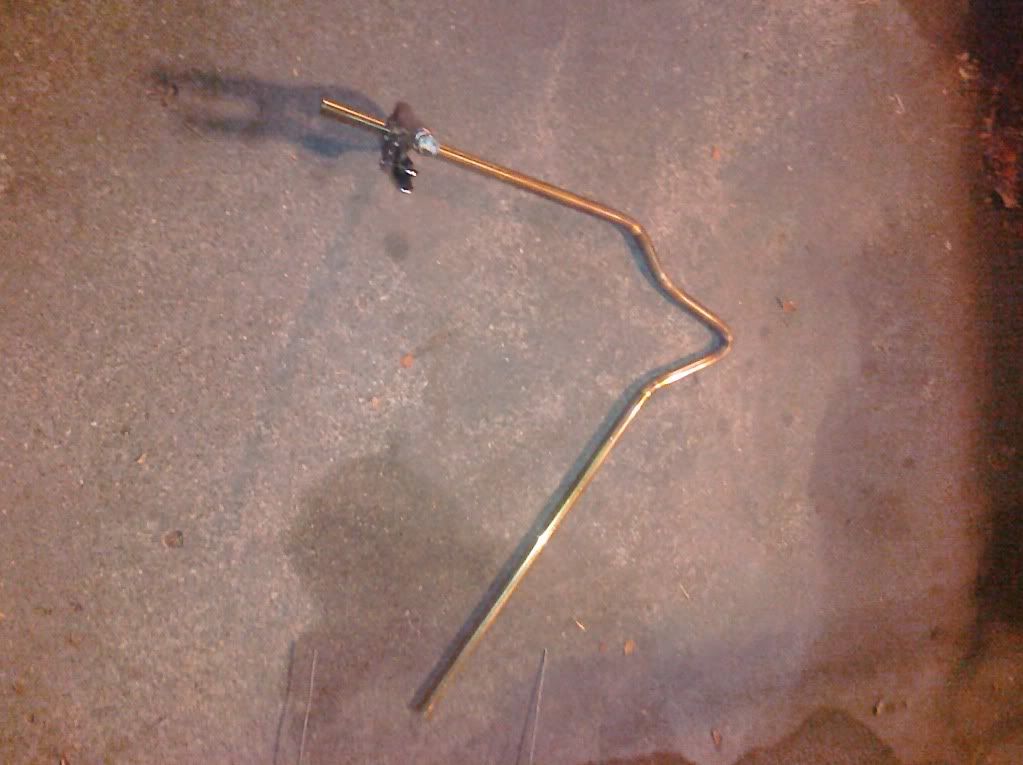
After the middle, move onto the next bend, then the other side. Then the next bend, then the other side. Pretty soon you have a (cheap) scale model of the actual sissy-bar. AND, you can refine your design if you think it doesn't look right, you have gotten used to using the torch, and if you severely butchered it, you did not mangle your nice piece of brass or stainless.
Hopefully you are happy with how the cheap piece of steel turned out. If not, make your changes now. I liked some of mine, but decided to lengthen the top, and make a couple of other small changes, which I transferred to the brass rod. Get ready to really kill some ozone now. Start it up and get to torching...
Looking good. Hope you have NOT had to run in the house and get an icepack yet. Now at this point, this beast is gonna be HOT, and you are going to have to fight the urge to dunk it in water. Don't. Just kick back, crank some tunes, and give your bike a much-needed safety inspection. Tighten some loose bolts, replace missing nuts, check your oil, etc. Let it cool.
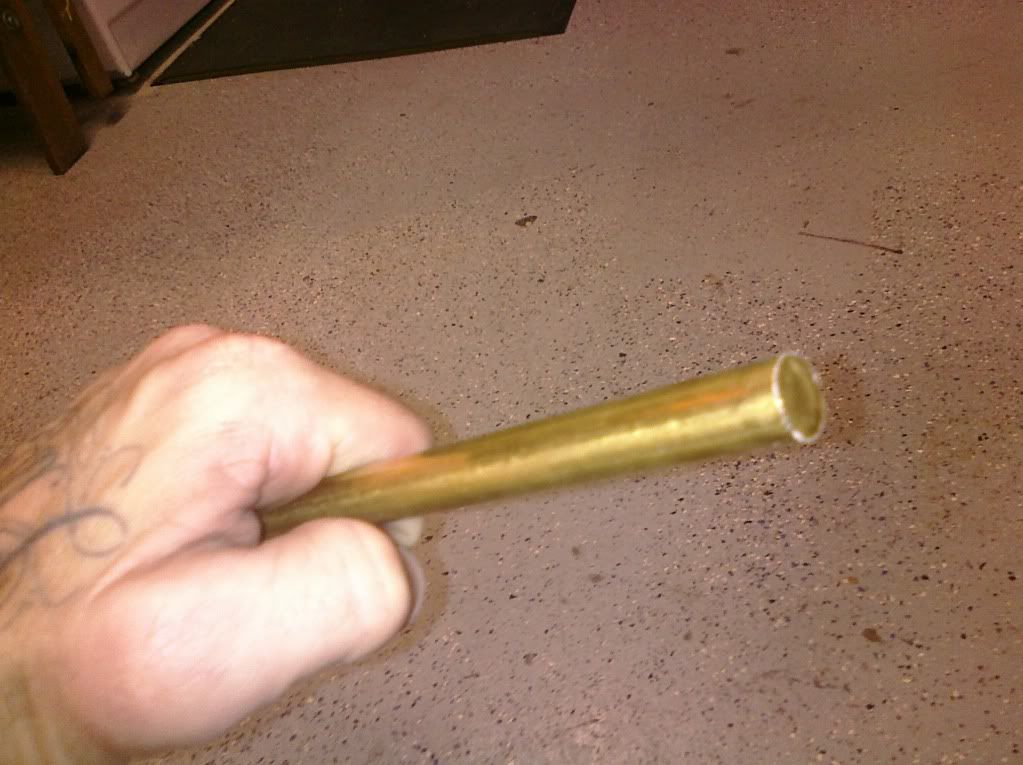
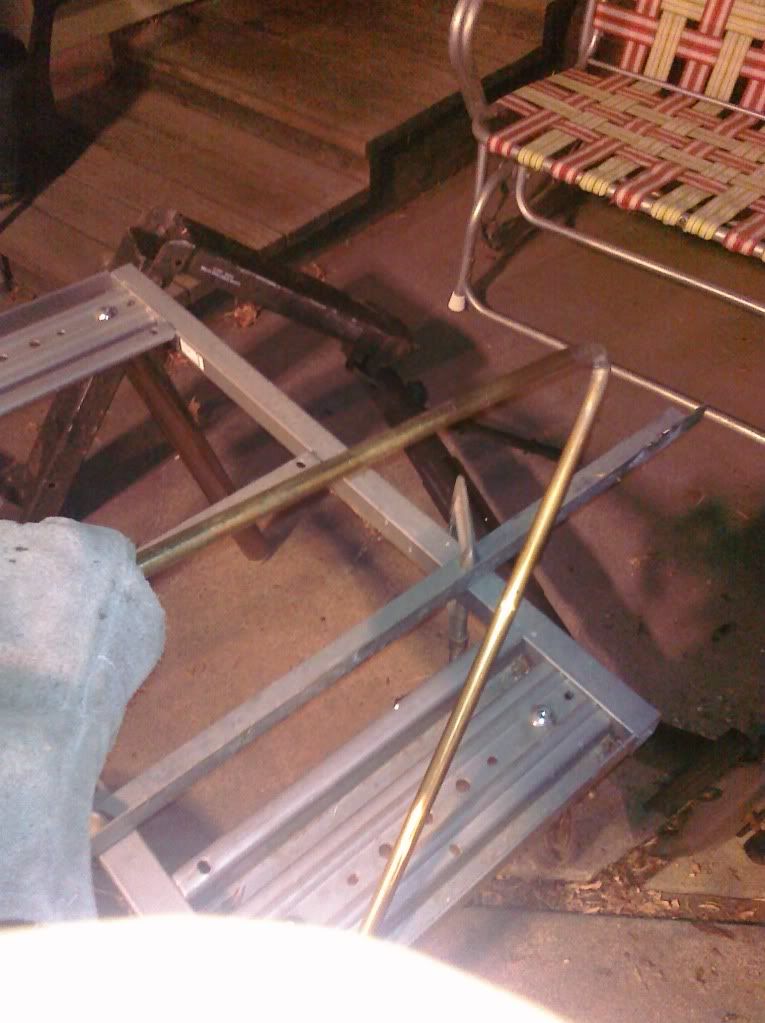
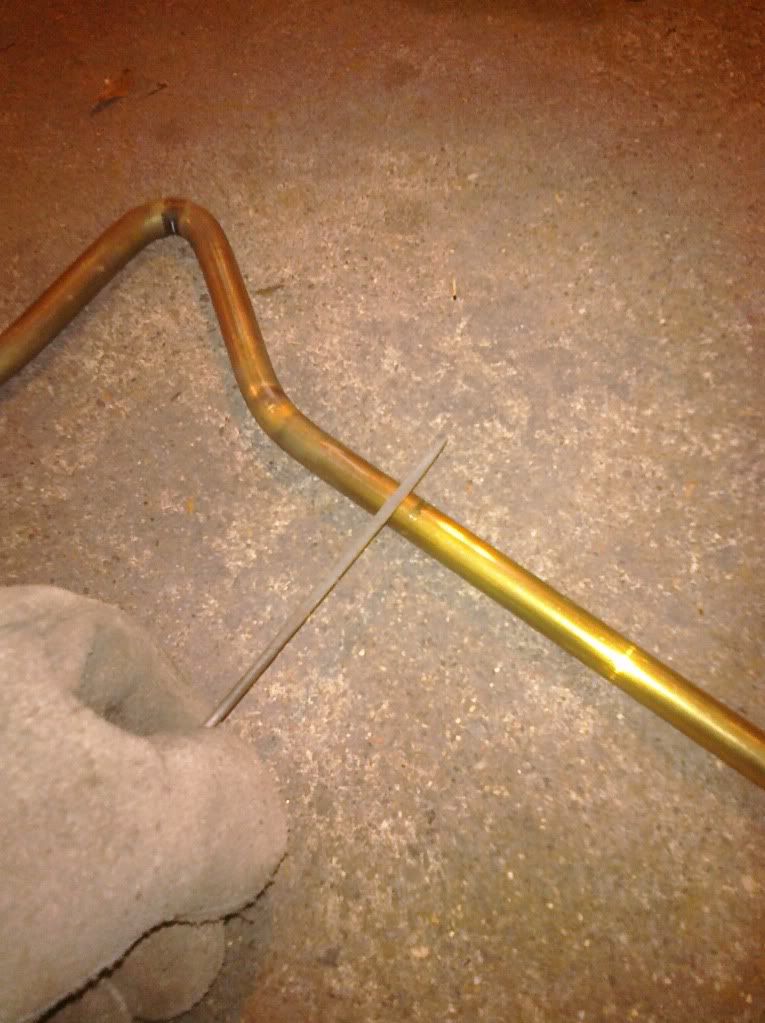
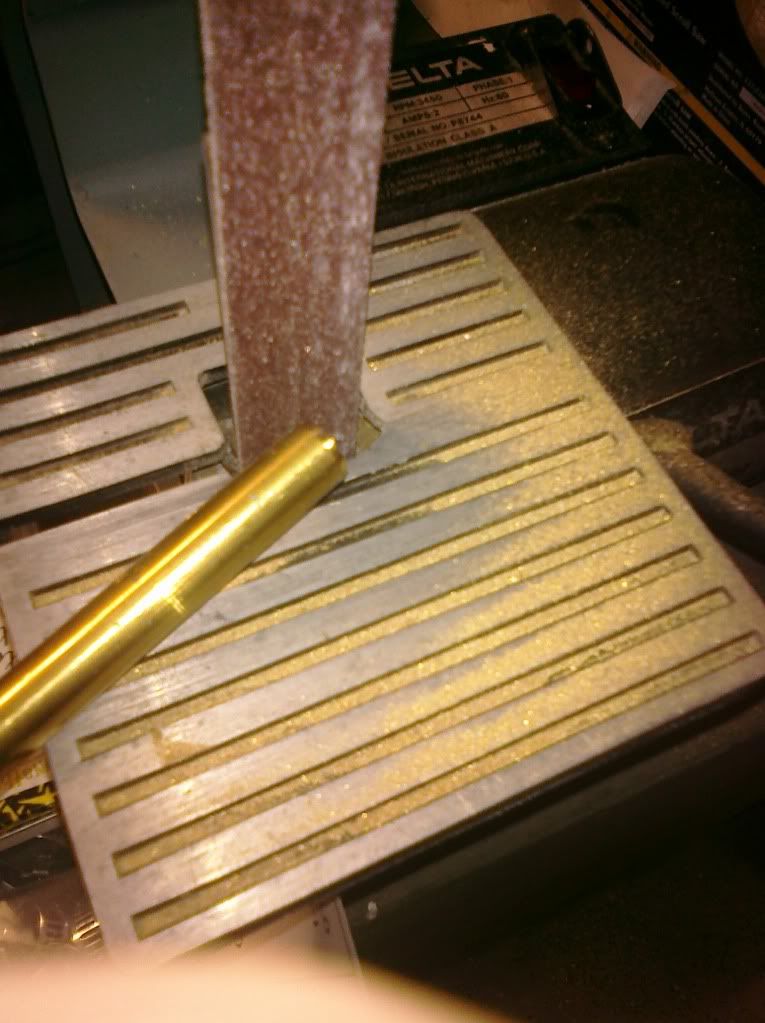
You're getting there. Now that it's cooled, time to start put it loosely together to see how it fares. Get the clamps over the rod and the ends down by the axel plates. You may have to use a little tape or wire to hold it in place while you take a step back, and see if it needs some more heat-time. Mine did, as it was too wide at the bottom. But I cheated, and stuck it in the vice and just used brute force. Just remember, brass is somewhat soft, so your vice could really mangle it. Oh and mine was about 1-1/2" too long on each side. Few swipes with the hacksaw....Mmmm, brass cuts so nice and easy compare to steel.
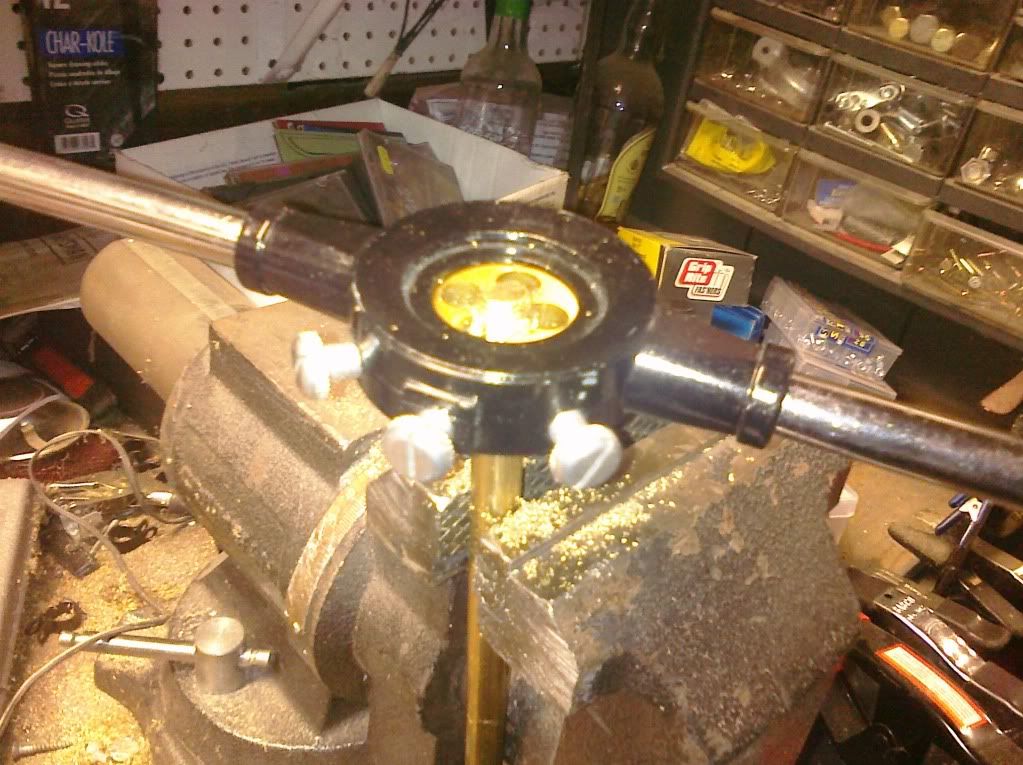
Time to thread it. Taper the end of the bar, as to give a nice place for your die to begin cutting. Then have at it. Don't forget to use some cutting oil. I have never actually used my tap and die set on brass before, and for some reason, it makes a horrific squealing sound. When threading, I gave mine about 1-1/2" of thread, so as to get a little bit of adjustment.
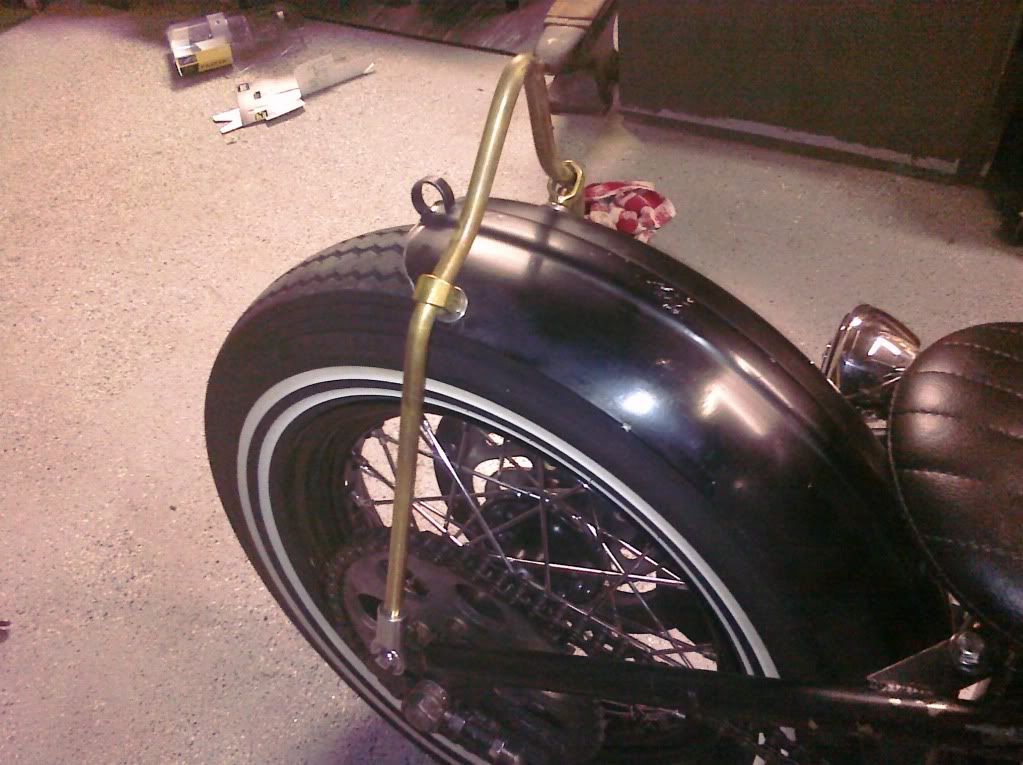
Getting excited. Start putting it back together for final fitment. Get it all tightened down and tweaked and make sure you are happy. Heim joints are somewhat adjustable and forgiving. Now, take the clamp bolts off and put a good coating of Loc-tite on those, and also the bolts that hold the heims on your axle plates. Take a stainless wire hand brush, and give the bar a good once over to get rid of the char marks, grease, blood, etc.
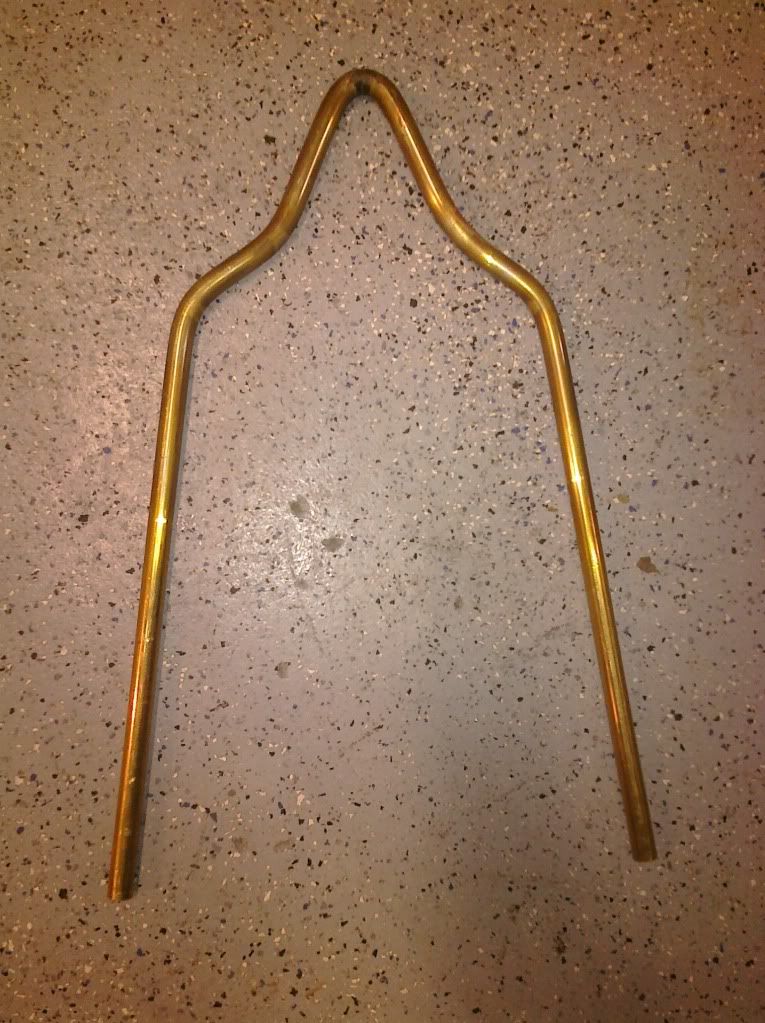
Take a few steps back and admire your handiwork.

Now that it's all said and done, a few small observations. I'm going to heat up the peak and bend it back ever-so slightly. Due to the alignment of my fender and axle plates, the rod cants forward a bit in that area, looking awkward, and this will help alleviate that problem. Also, I'm going to get a real thin jam nut for each rod clamp. Although it likely wouldn't be a problem, this will ensure that everything stays put. I would maybe like to look into some stainless "female eye-bolts" as opposed to the heim joints. Same principle, and they aren't as clunky.
And last, I am stoked at the way this turned out for about $40 and a couple hours. Typing this page up actually took much longer than the actual construction.
Good luck, have fun, and change it up. Make something you'll be proud of.
Supplies:
Fender----get one you like from a company who supports Chop Cult---priceless
1/2" Naval Brass Rod 3 feet long--- McMaster-Carr $20.27
1/4" steel rod 3 feet long---anywhere $3
Baling wire 3 feet long---stolen from work
(2) Ground Rod Clamps 1/2" (cast brass w/ copper bolts) -----Home Depot $2 each
(2) 1/2" Fem. Heim Joints (R-hand thread 20tpi) --QS Components / ebay $9.50 shipped for both
Die (1/2-20tpi) to thread the rod to screw on heim joint --- you should have a tap and die set already
Torch and Can of Mapp gas, or acetylene---You should have this already (and propane will take too long)
Tubing cutter for marking lines on rod---you should have one of these already
Some washers to help reinforce your fender holes
A couple of 1/2" bolts and nuts, " long or so should do
Straight-Edge/yardstick/ruler/tape-measure, etc
Sharpie, soapstone, or wax pencil
Loc-tite
Black Sabbath mix tape
Safety equipment----Eyewear, THICK welding gloves
A shitty cell phone camera to document your exploits
Some pics of some of the ingredients:
So, I'm doing this with 1/2" brass. You could choose to do it with any thickness, length, or material you are comfortable with, I have a few other brass items on my bike, and I like the beauty of not having to apply a paint or finish to a component.
Also, I am doing this in 3 stages. First using the baling wire, then the 1/4" rod, then the thick brass rod. I outline my reasoning for this somewhere below. You could easily go straight for the sissy bar on the first shot though.
First, lay out your fender on the bike where you want it, and drill the holes to put in the ground clamps. As you can see, I'm using a 36 ford spare tire ring and a length of heater hose for clearance. I previously had welded the bottom fender mount already, but I guess if you're crafty, you could figure a no-weld solution to that also. It's also a good idea to reinforce the fender where the clamp bolts go through. Bolting on washers work, so does welding some thicker metal in that area.
Then imagine a line from your axle plate to the clamps, and put a hole there, and loosely insert the heim joints.
OK, now, get that 3 feet of baling wire, and bend it to a shape that resembles the most kick-ass sissy-bar you can ever imagine. Make sure to start from the CENTER of the wire, and do a little at a time while making it through the clamp loops, and into the heims (or rod ends, whatever you wanna call them) Take that piece and refine it, making sure your bends are even.
Now, take that, and measure from one end how far it is to the first bend. Mine is about 10". (from axle plate area to first inward bend) I take this measurement and go to the 1/4" rod and mark 10" on EACH side, and go around that mark VERY LIGHTLY with the tubing cutter. Repeat for the other bends in the bar. Make sure you are even. Use the tubing cutter so that when heating the piece you stay accurate, and the mark doesn't burn off. No real pics of this process...
Time for the torch. Start in the middle of your evenly marked line with the 1/4" rod. (this would be the middle, or "peak" of your sissy bar) I concentrated the heat to about 1 inch of right where that cutter mark was, and got it red-hot. Then, bent it using just my gloved hands.
After the middle, move onto the next bend, then the other side. Then the next bend, then the other side. Pretty soon you have a (cheap) scale model of the actual sissy-bar. AND, you can refine your design if you think it doesn't look right, you have gotten used to using the torch, and if you severely butchered it, you did not mangle your nice piece of brass or stainless.
Hopefully you are happy with how the cheap piece of steel turned out. If not, make your changes now. I liked some of mine, but decided to lengthen the top, and make a couple of other small changes, which I transferred to the brass rod. Get ready to really kill some ozone now. Start it up and get to torching...
Looking good. Hope you have NOT had to run in the house and get an icepack yet. Now at this point, this beast is gonna be HOT, and you are going to have to fight the urge to dunk it in water. Don't. Just kick back, crank some tunes, and give your bike a much-needed safety inspection. Tighten some loose bolts, replace missing nuts, check your oil, etc. Let it cool.
You're getting there. Now that it's cooled, time to start put it loosely together to see how it fares. Get the clamps over the rod and the ends down by the axel plates. You may have to use a little tape or wire to hold it in place while you take a step back, and see if it needs some more heat-time. Mine did, as it was too wide at the bottom. But I cheated, and stuck it in the vice and just used brute force. Just remember, brass is somewhat soft, so your vice could really mangle it. Oh and mine was about 1-1/2" too long on each side. Few swipes with the hacksaw....Mmmm, brass cuts so nice and easy compare to steel.
Time to thread it. Taper the end of the bar, as to give a nice place for your die to begin cutting. Then have at it. Don't forget to use some cutting oil. I have never actually used my tap and die set on brass before, and for some reason, it makes a horrific squealing sound. When threading, I gave mine about 1-1/2" of thread, so as to get a little bit of adjustment.
Getting excited. Start putting it back together for final fitment. Get it all tightened down and tweaked and make sure you are happy. Heim joints are somewhat adjustable and forgiving. Now, take the clamp bolts off and put a good coating of Loc-tite on those, and also the bolts that hold the heims on your axle plates. Take a stainless wire hand brush, and give the bar a good once over to get rid of the char marks, grease, blood, etc.
Take a few steps back and admire your handiwork.
Now that it's all said and done, a few small observations. I'm going to heat up the peak and bend it back ever-so slightly. Due to the alignment of my fender and axle plates, the rod cants forward a bit in that area, looking awkward, and this will help alleviate that problem. Also, I'm going to get a real thin jam nut for each rod clamp. Although it likely wouldn't be a problem, this will ensure that everything stays put. I would maybe like to look into some stainless "female eye-bolts" as opposed to the heim joints. Same principle, and they aren't as clunky.
And last, I am stoked at the way this turned out for about $40 and a couple hours. Typing this page up actually took much longer than the actual construction.
Good luck, have fun, and change it up. Make something you'll be proud of.


Comment