
 Tweet
Tweet
lol thanks dude, I have a lot of hours to put in before my welds start looking nice but I can at least get some shit to stick together!
-
-
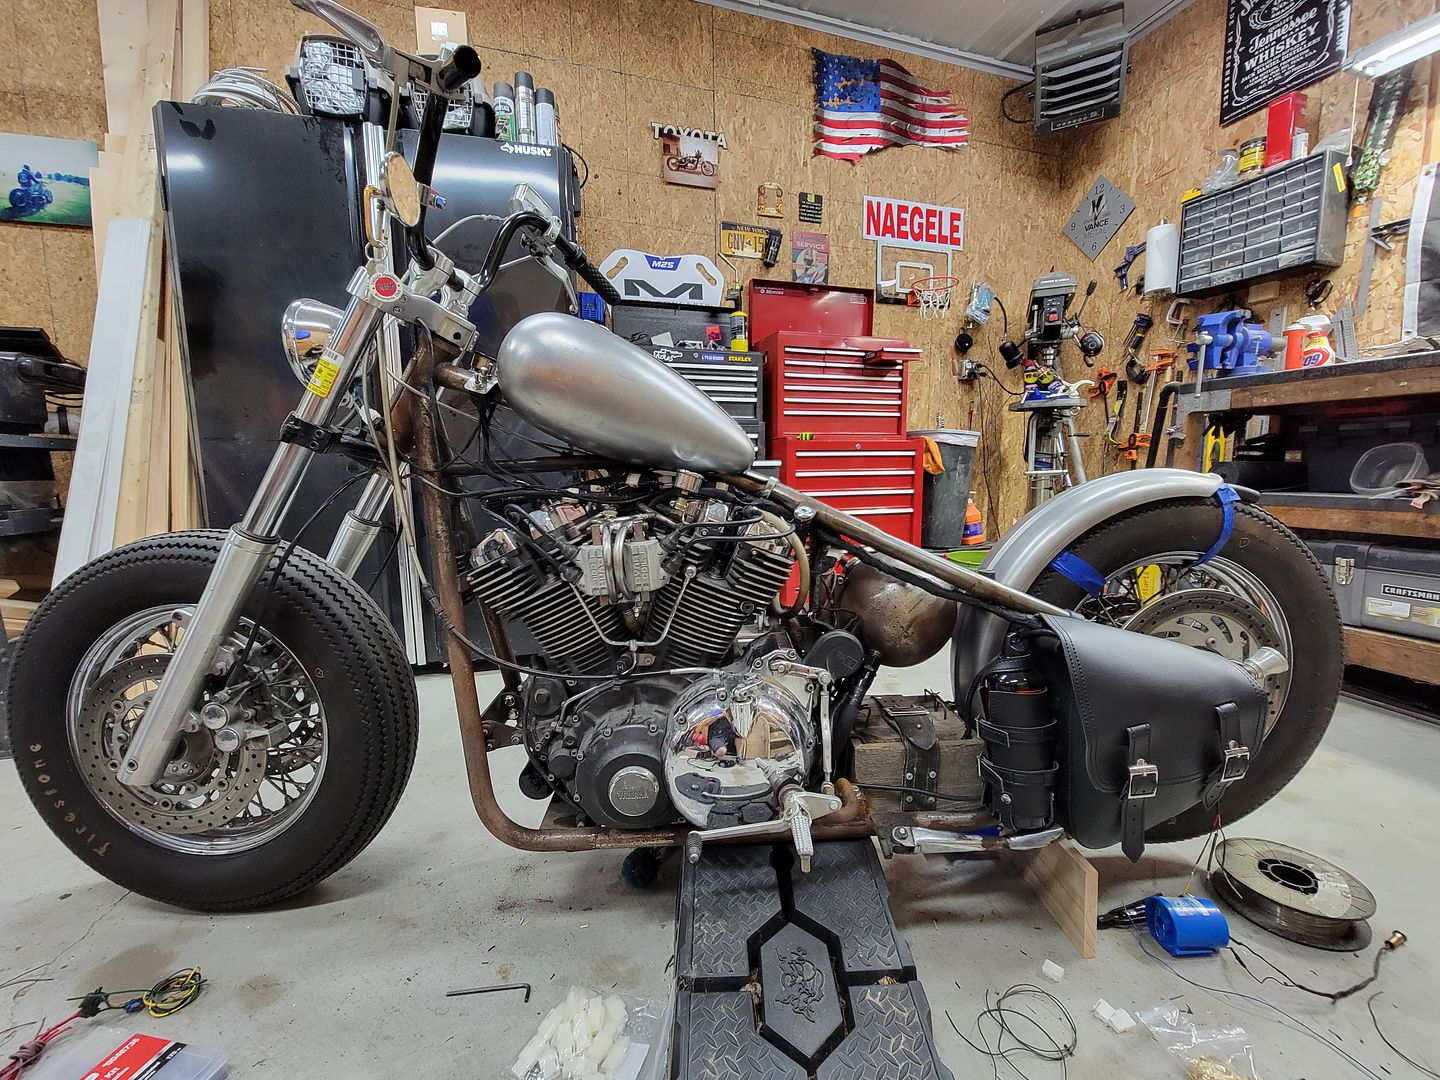
Well I have the wiring 95% of the way.* Waiting on a few small things before I can say its complete. I really hope the turn signal relay and possibly resistor fix my not blinking turn signal issue. I at least got it mostly wrapped back up and looking decent.* What a pain this has been but man everything is nice and tidy now.* All of the bulky items are packed into the saddle bag.
Comment
-
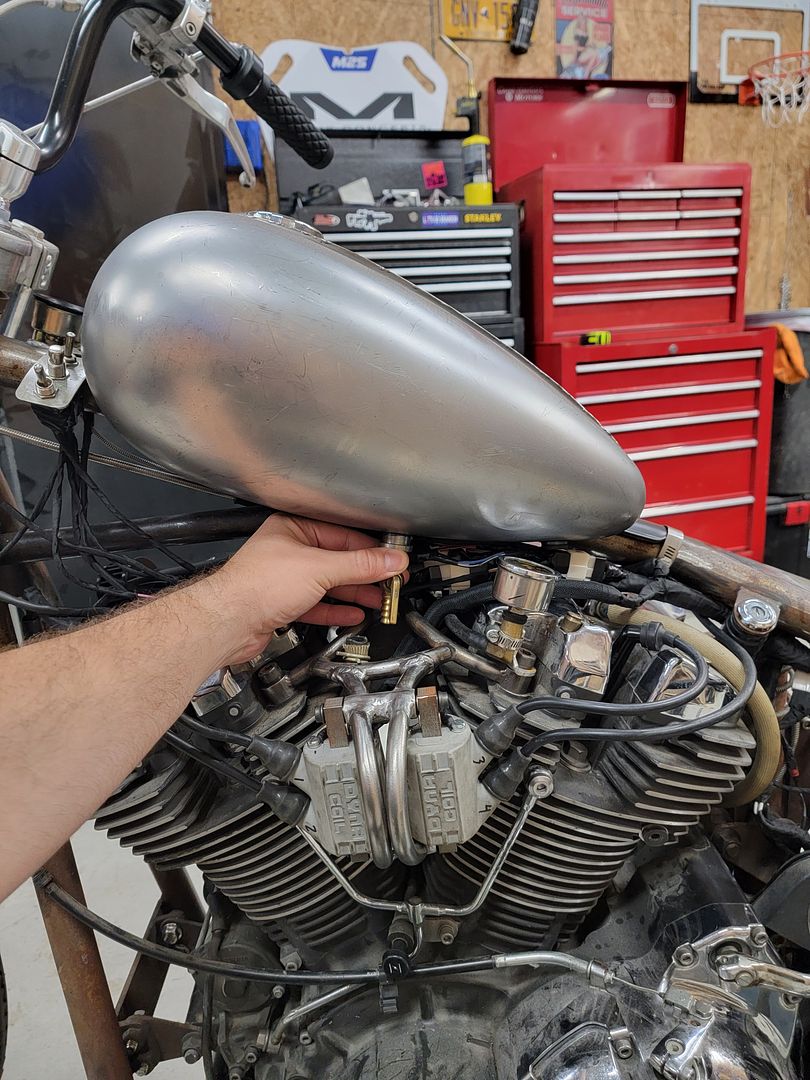
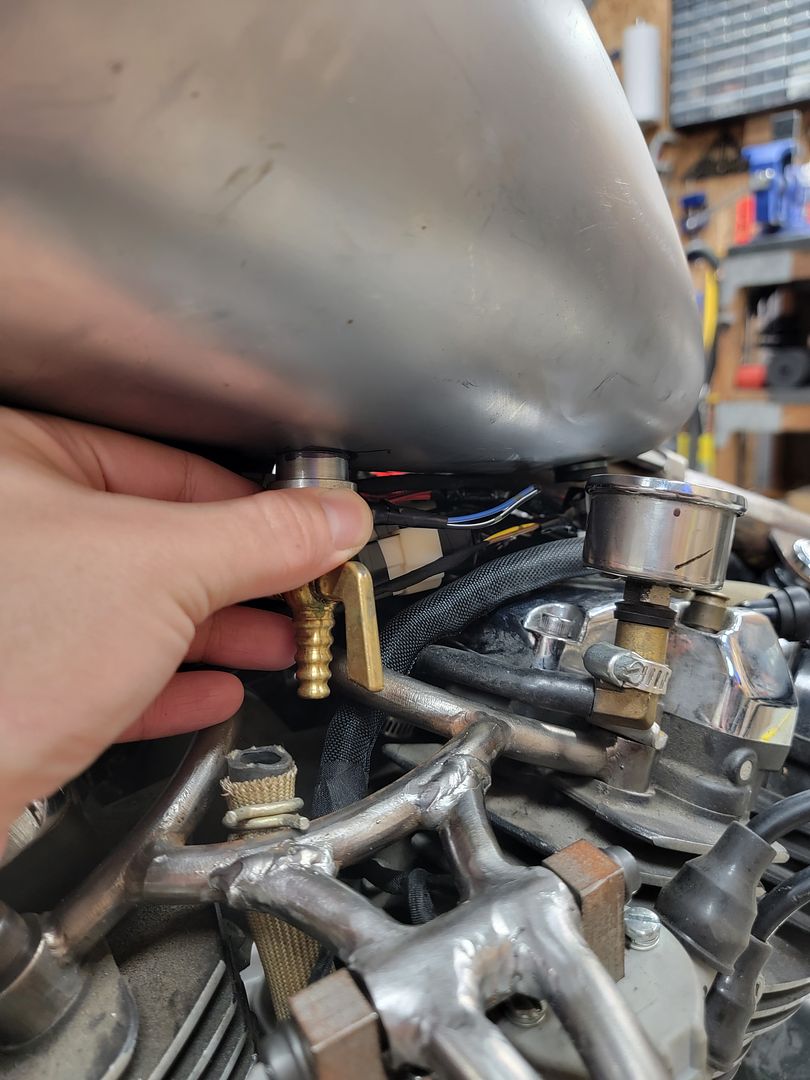
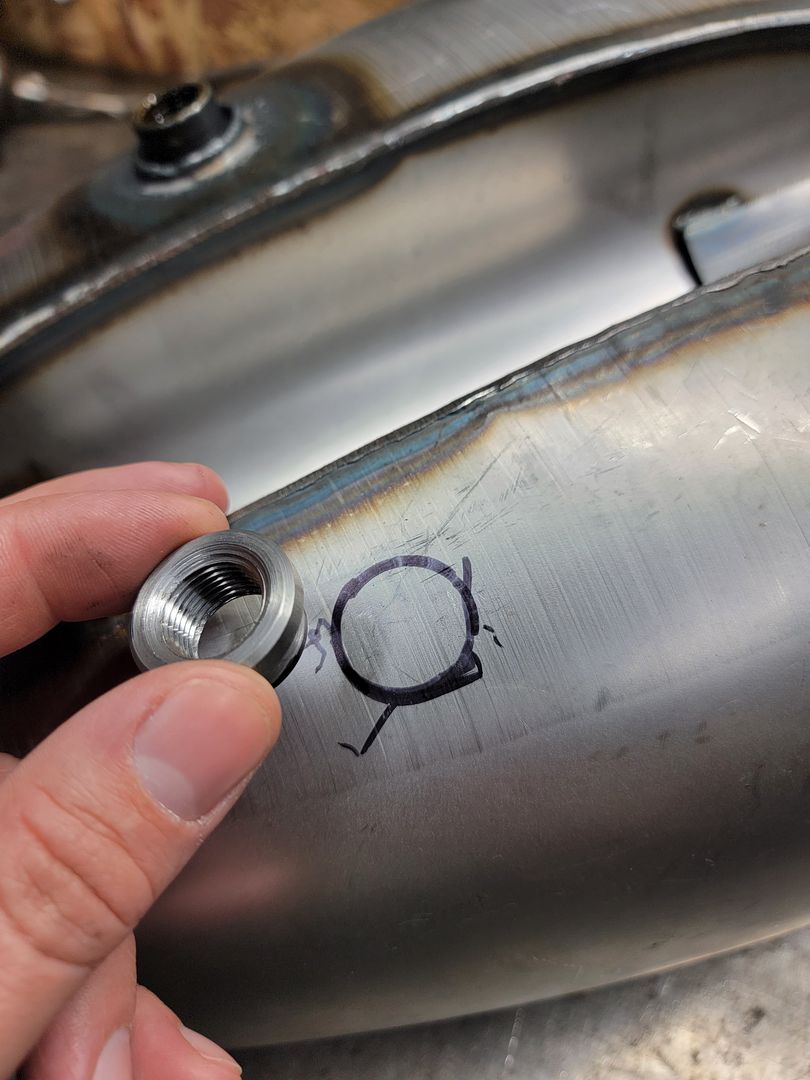
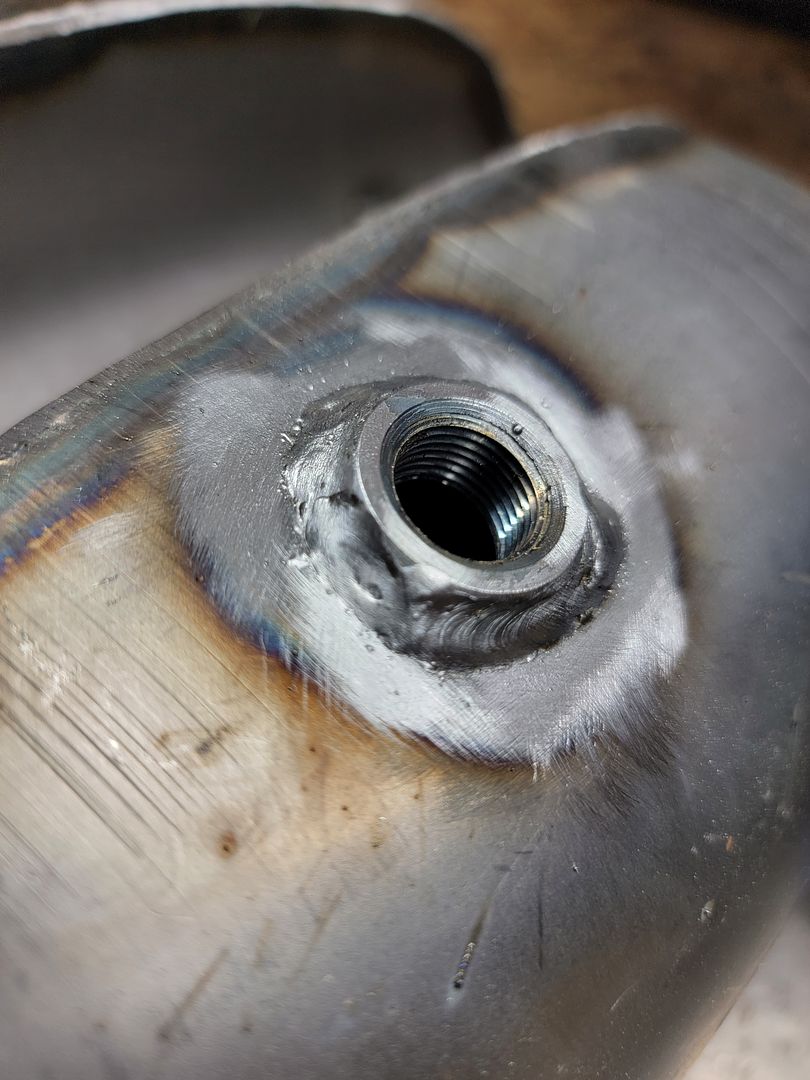
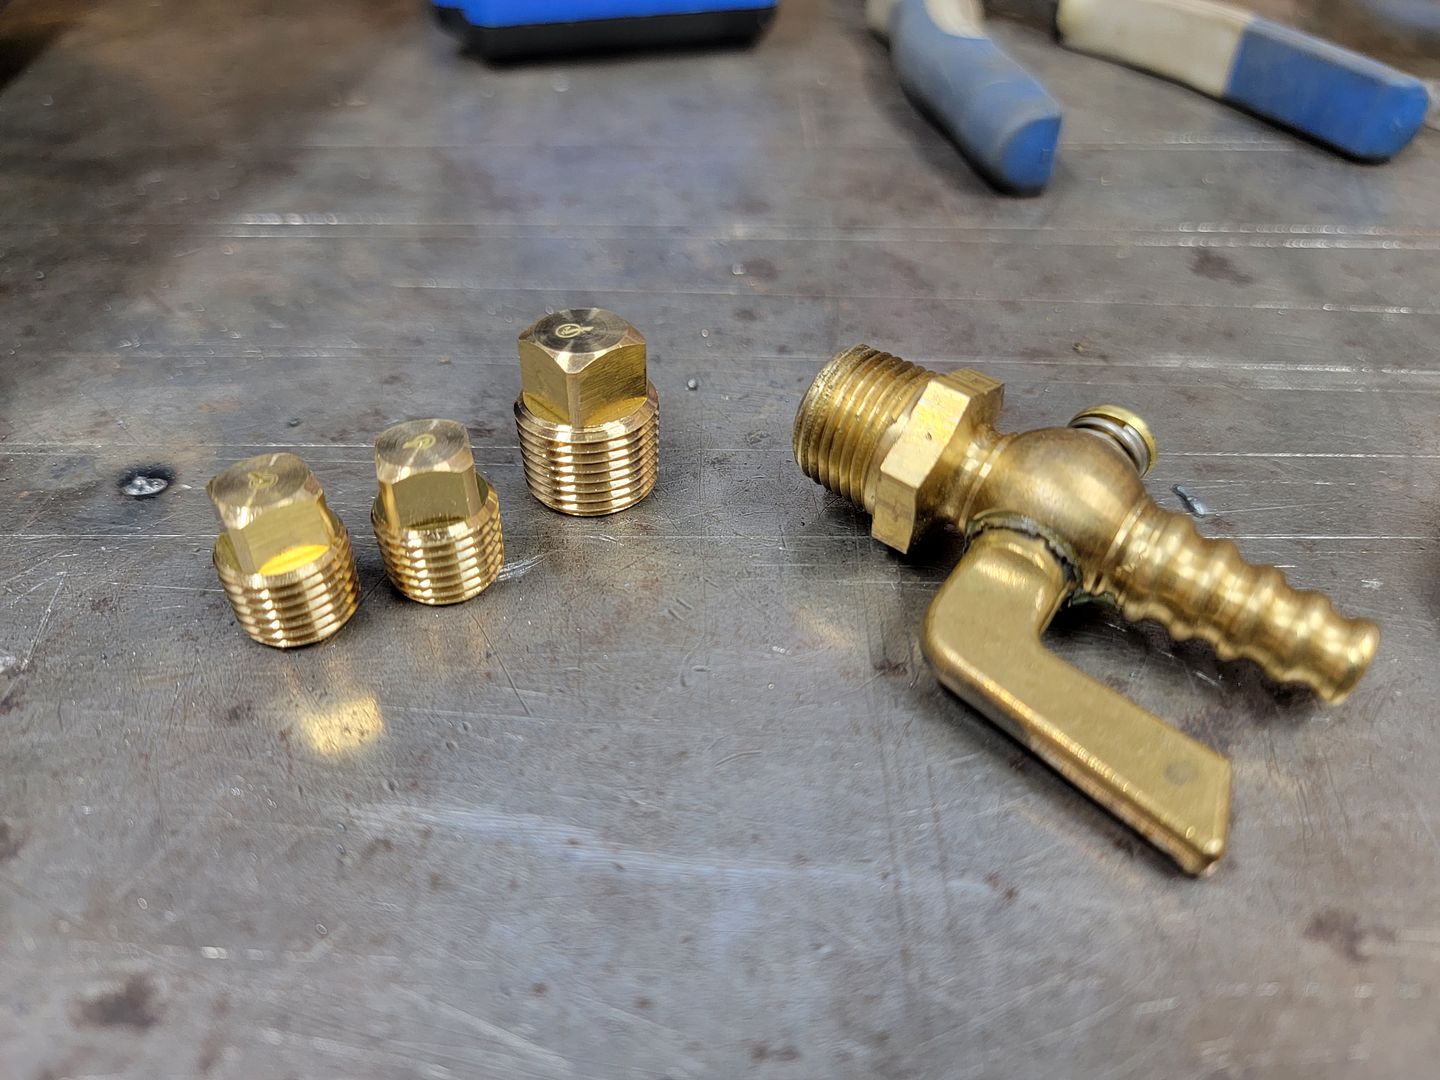
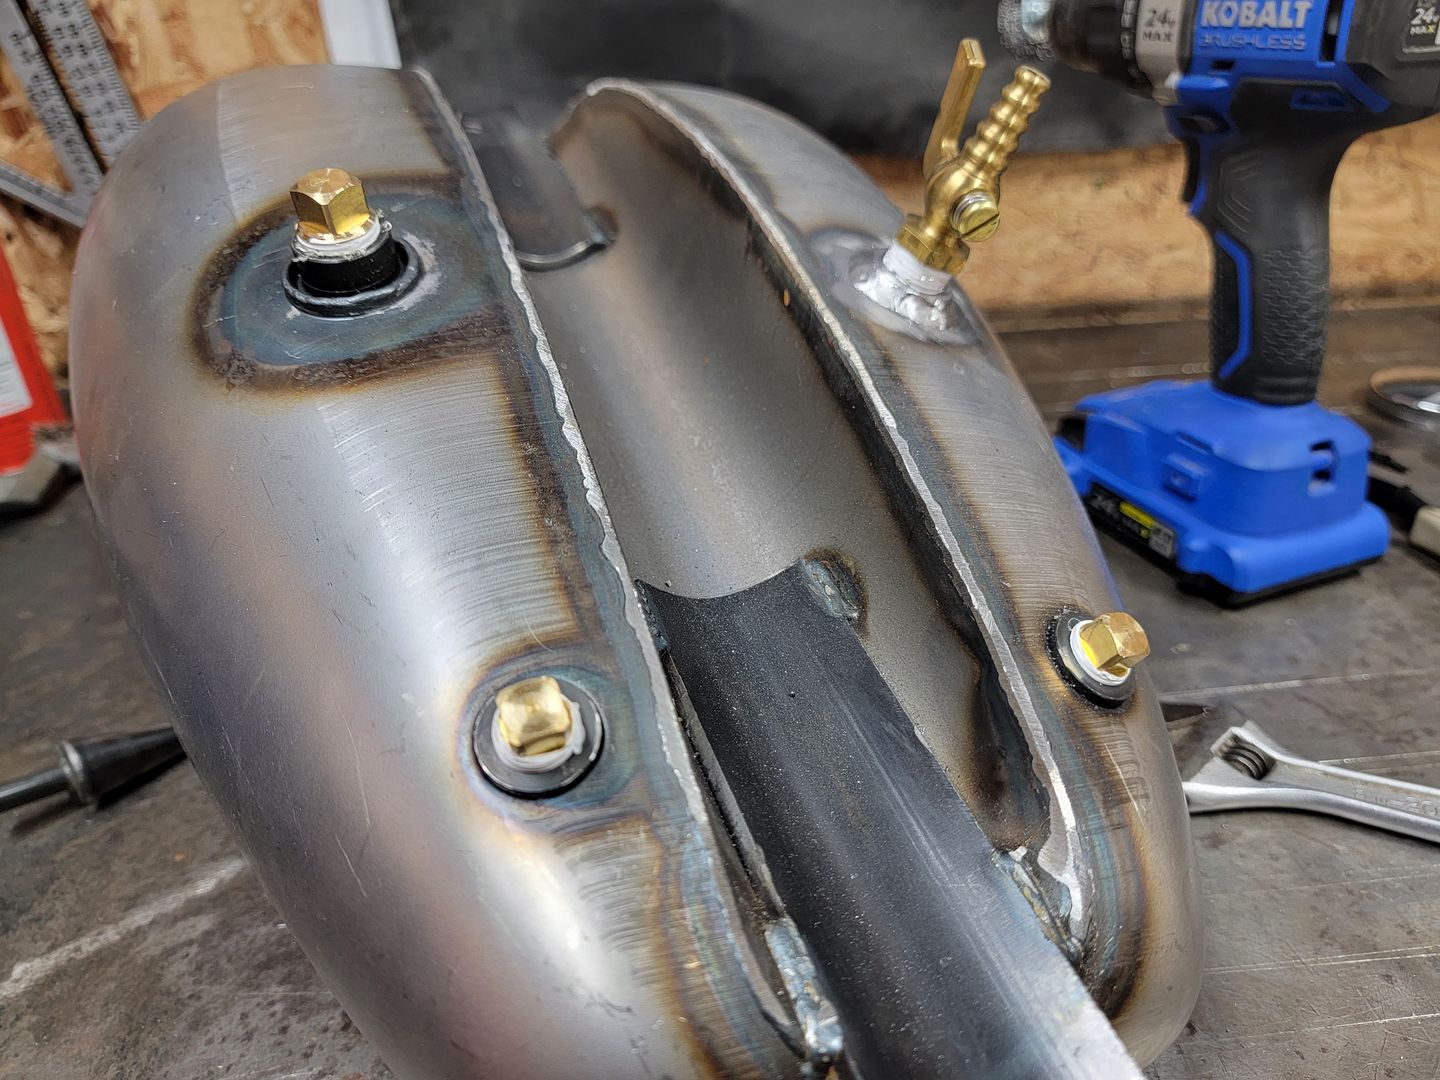
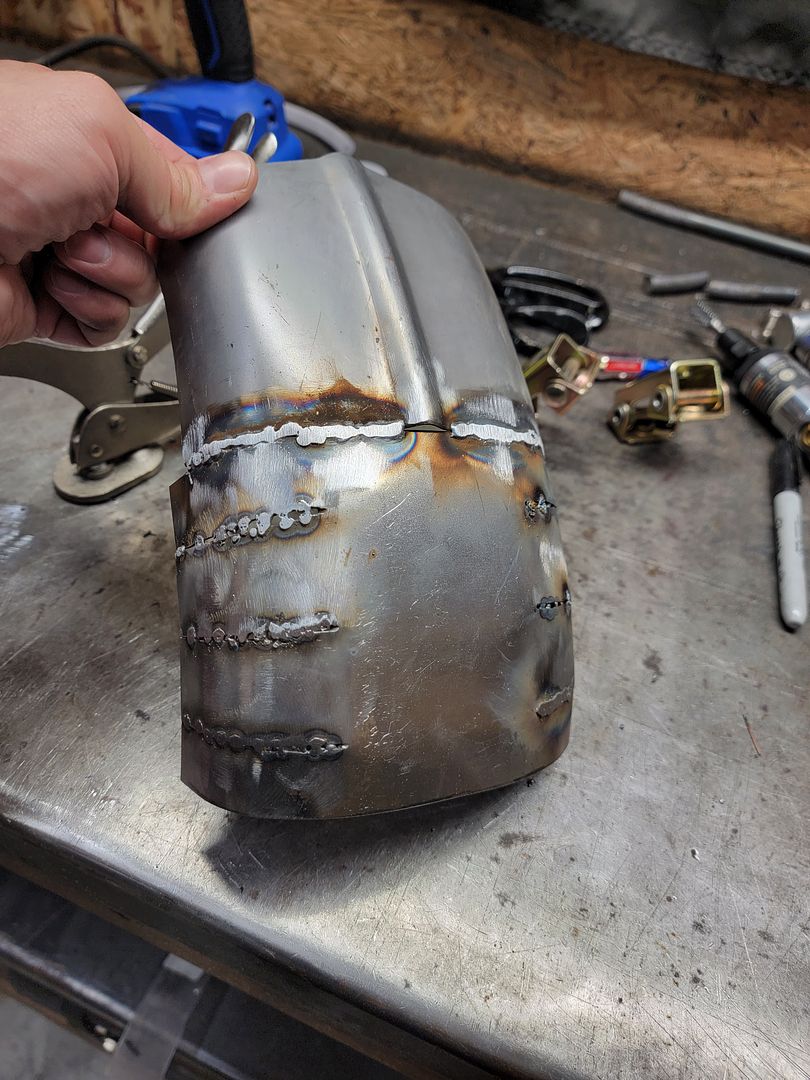
So I chanced my skills of welding on the tank tonight and I think it looks okay (At least its underneath the tank lol)* Now I just have to get some plugs and test for leaks.
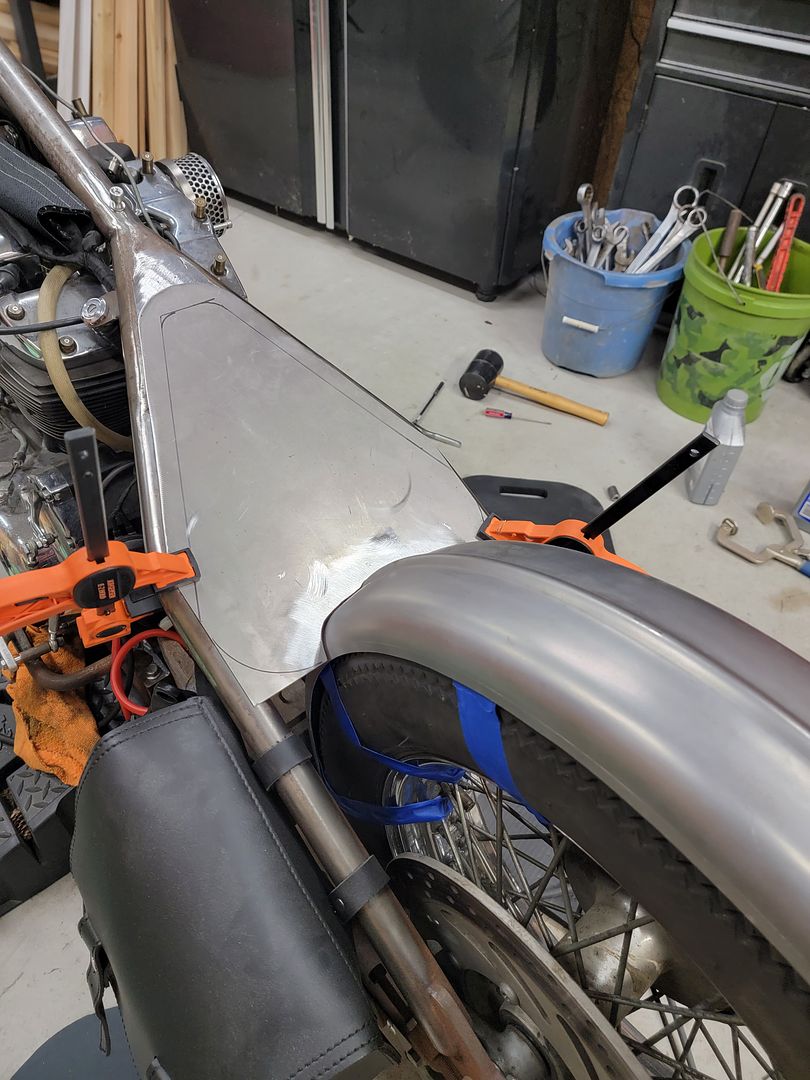
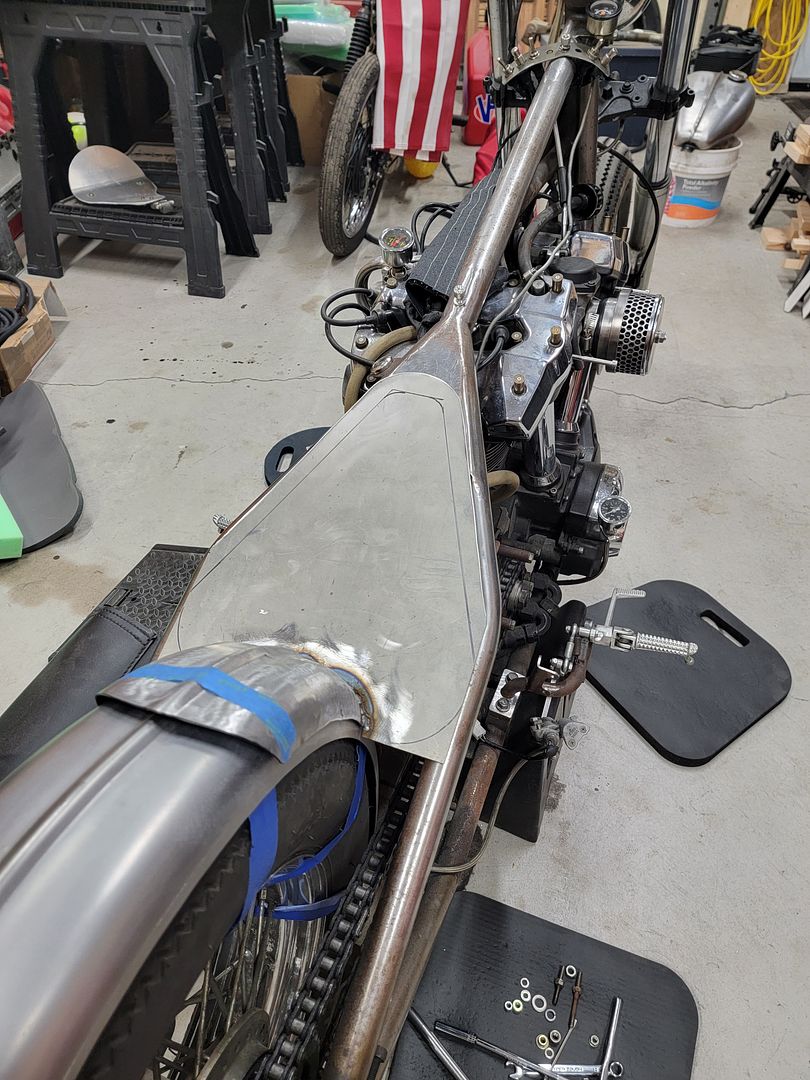
Starting to think more about the fender and seat placement.* I plan on making a sissy bar so I will have bungs welded to the rear of the fender that the sissy bar will mount to.* I think the front portion of the fender where I will tie into the upper and lower part of the frame tubes will just end up being flat plates welded to the fender and frame with one being drilled and tapped and the other being slotted so I have some small adjustment on the fender placement.
The seat I am going for will be a rigid style seat that has to sit flush to the top of the wish bone portion of the frame.* This means I have to remove my old seat bungs and probably grind the oil tank mounts down a touch to achieve this. I plan on mounting the front of the seat to a hinge bracket and somehow bolting the rear down to the frame or maybe even the fender.* Not 100% sure yet.


Comment
-
Tank has been holding water for a few hours, hopefully don't see any sign of a leak in the morning.
Got the old seat mounts removed and the oil tank mount adjusted to be flush with the frame rails and allow the new seat pan to sit flush.


Comment
-
Driving that train, high on cocaine
Casey Jones you better, watch your speed
Trouble ahead, trouble behind
And you know that notion just crossed my mindComment
-
Good point Dusty, I guess this will just give me some initial hope. I will dump her out and try gasoline tonight and rig it up to sit in a pan.
P.S. I have a cousin we refer to as Dirty Dave. lolComment
-
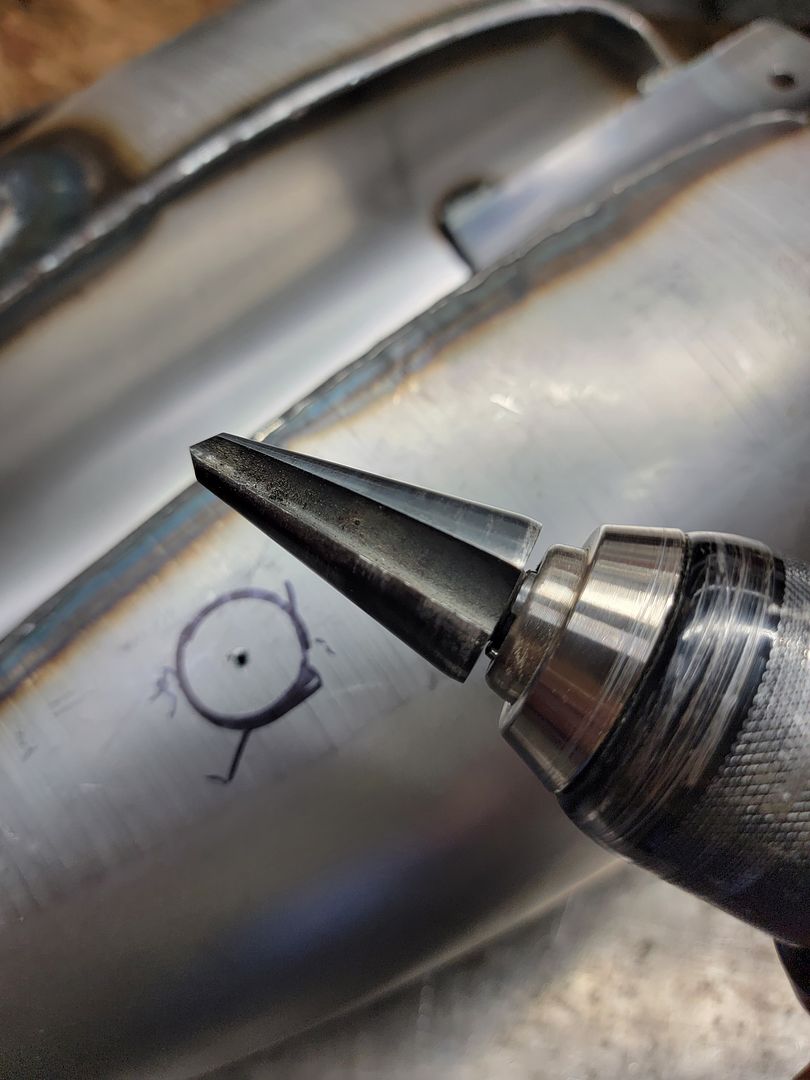
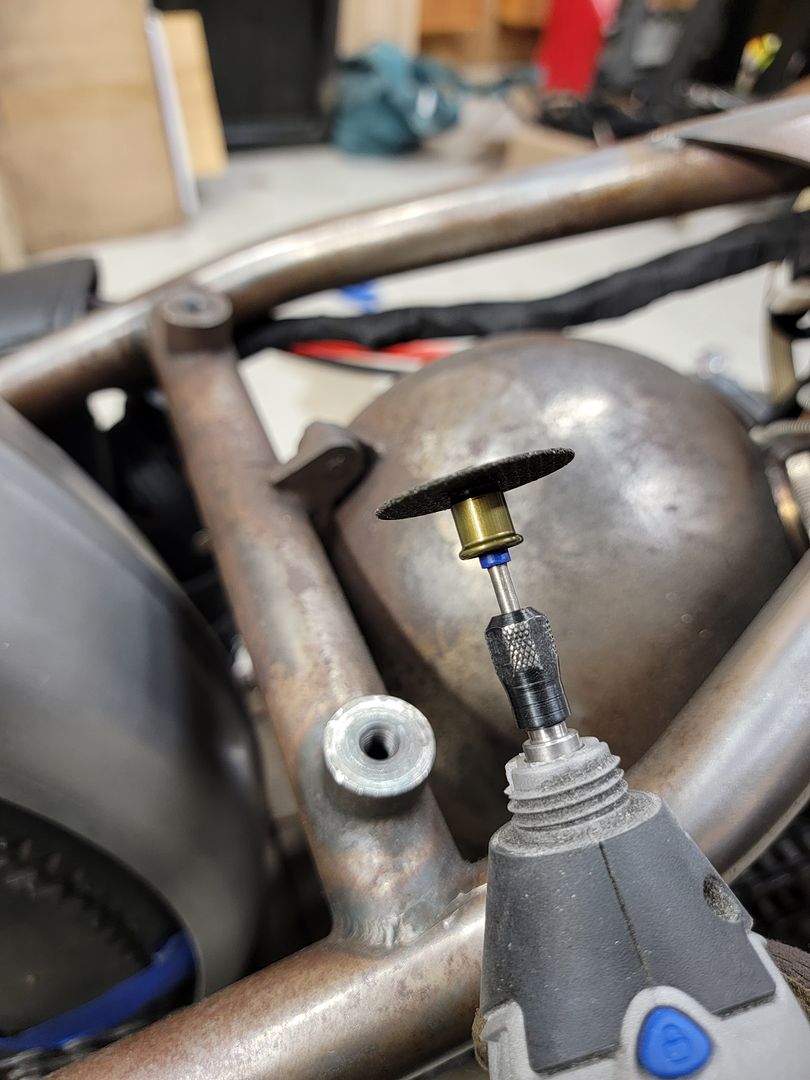
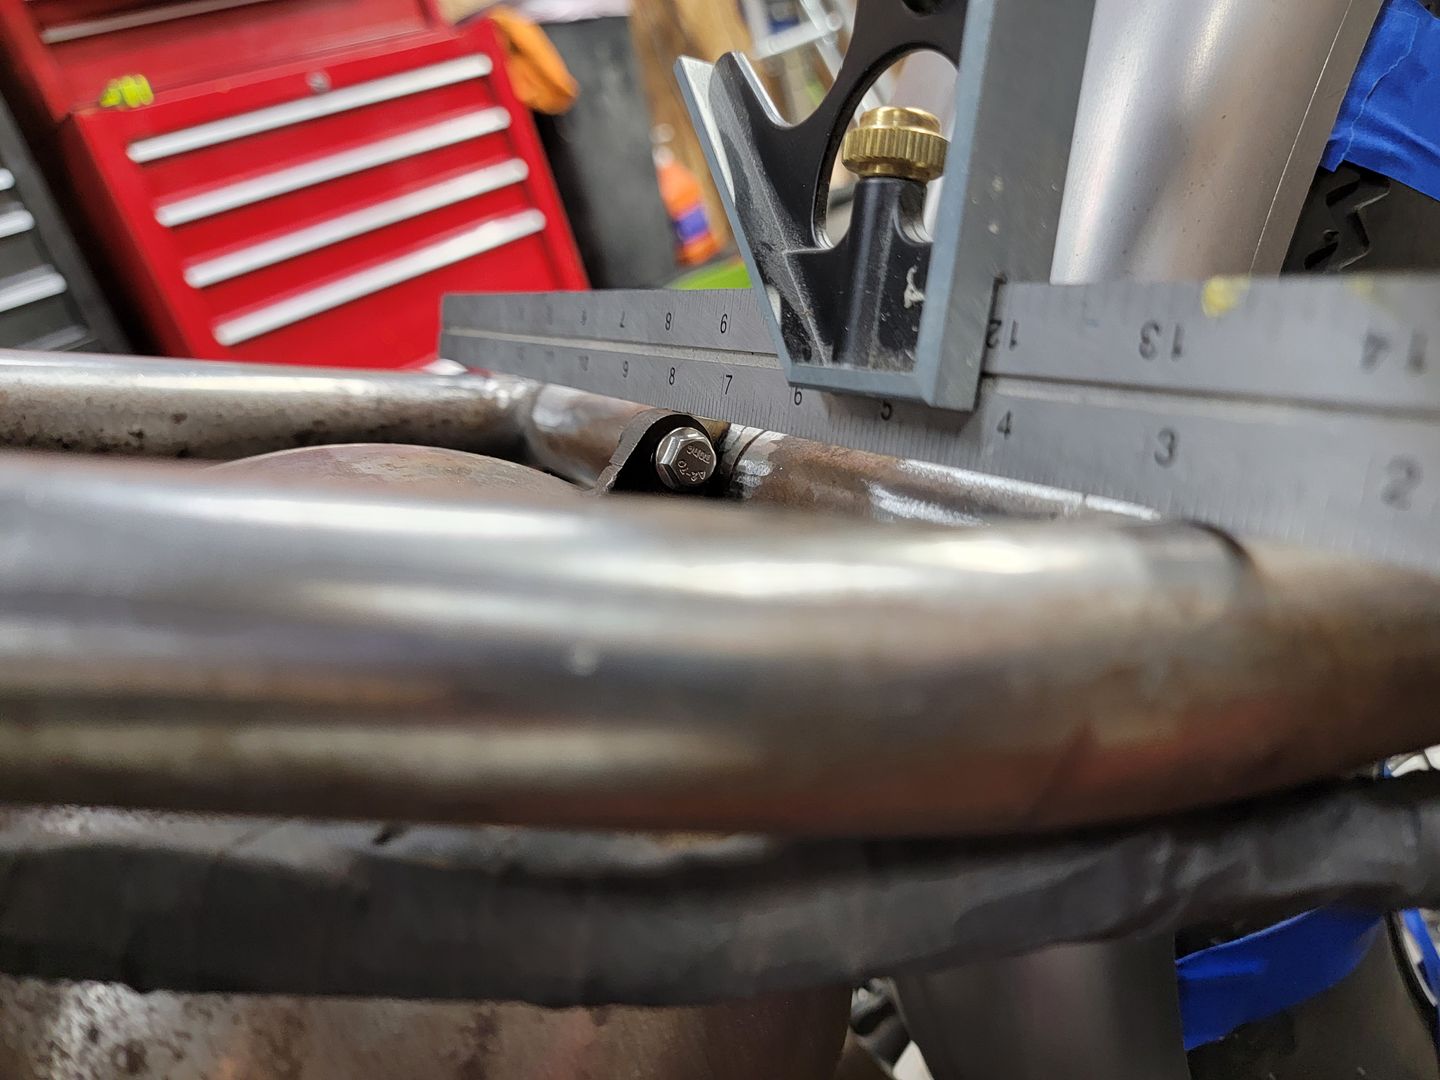
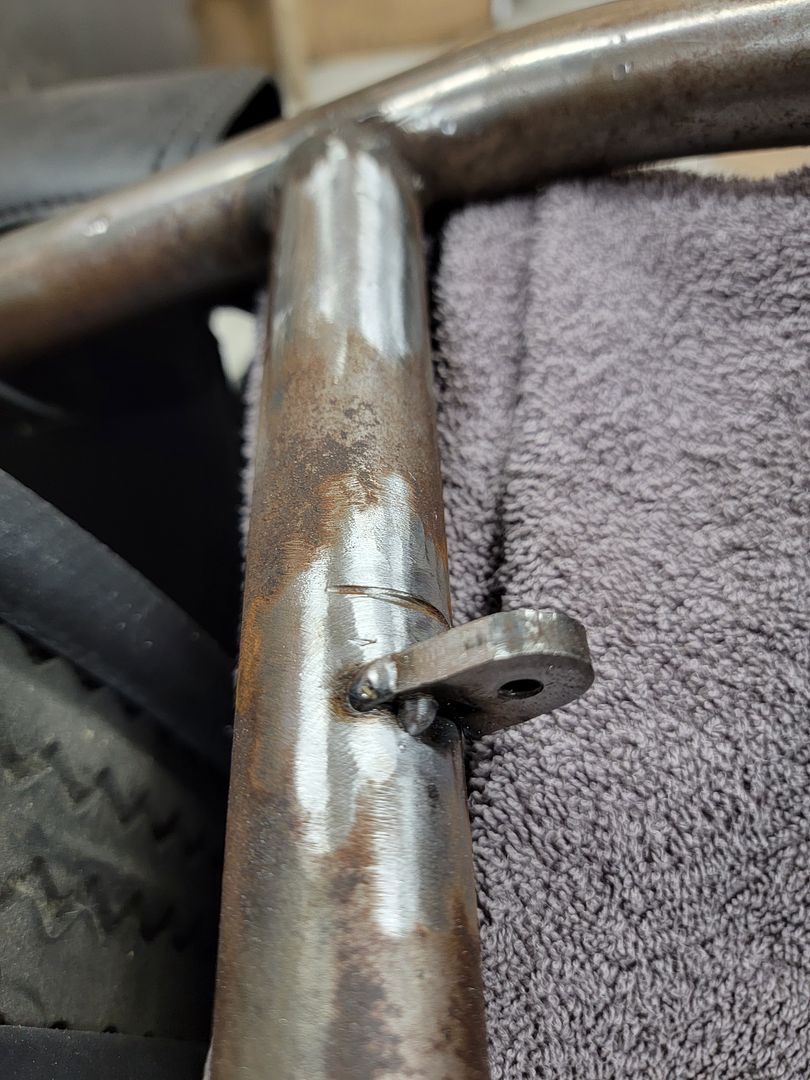
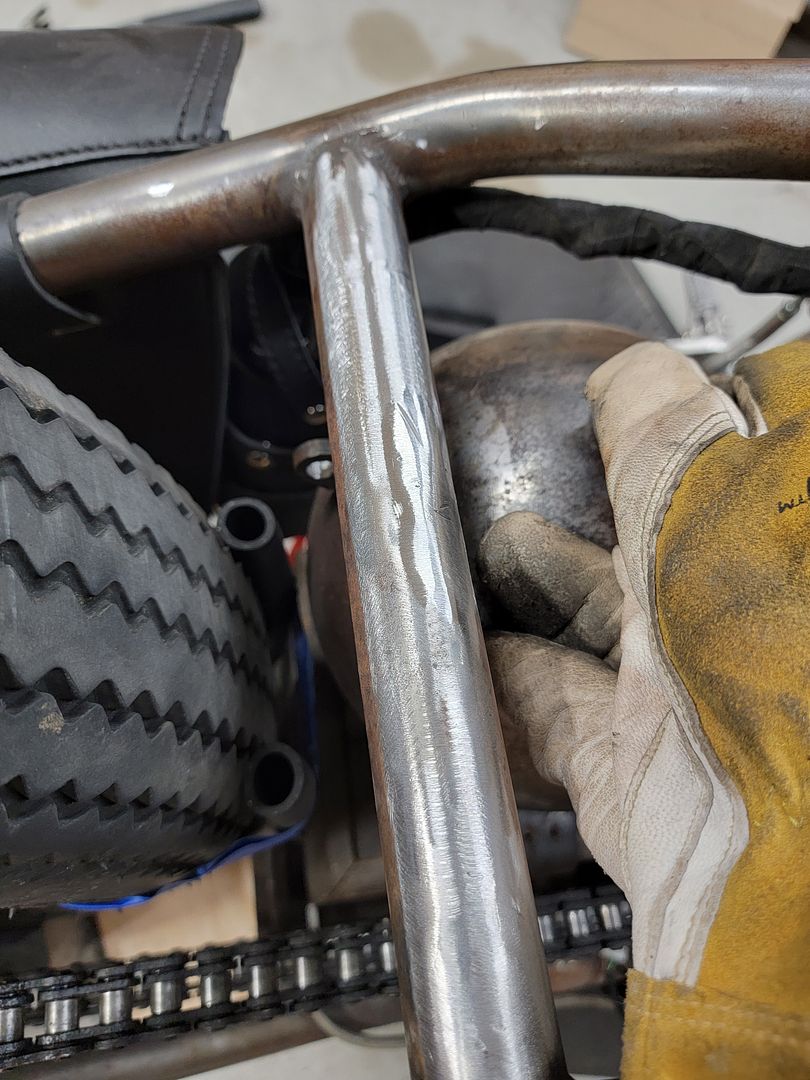
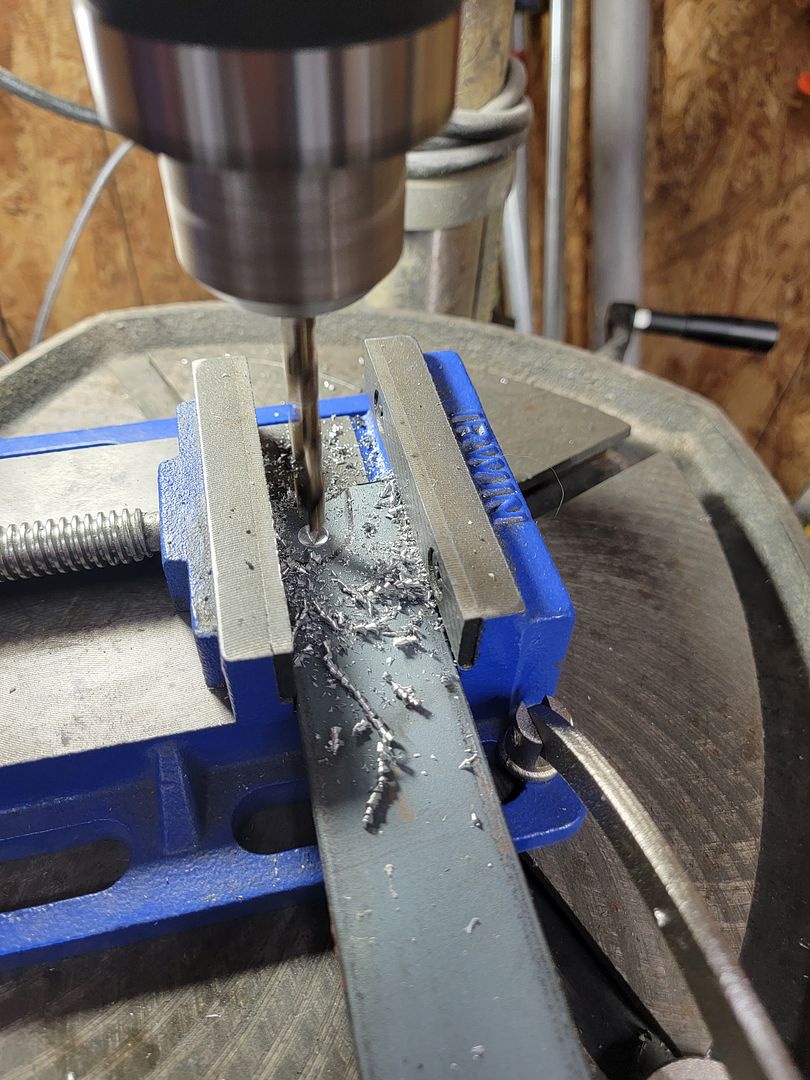
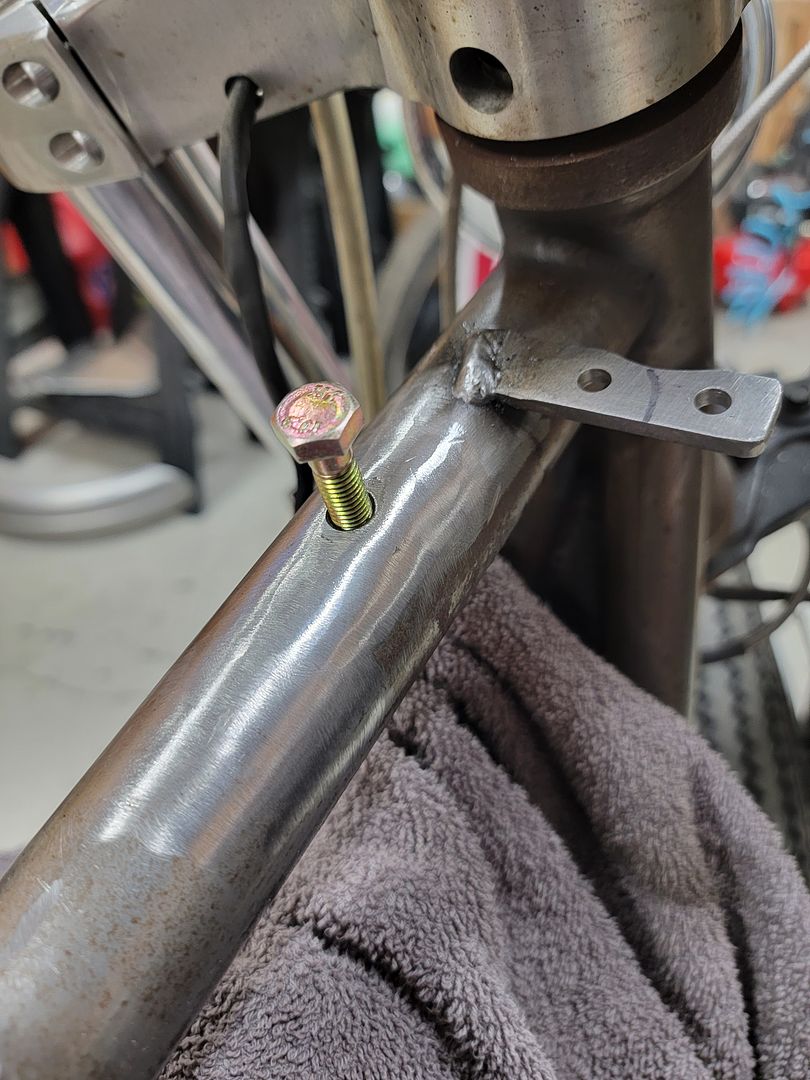
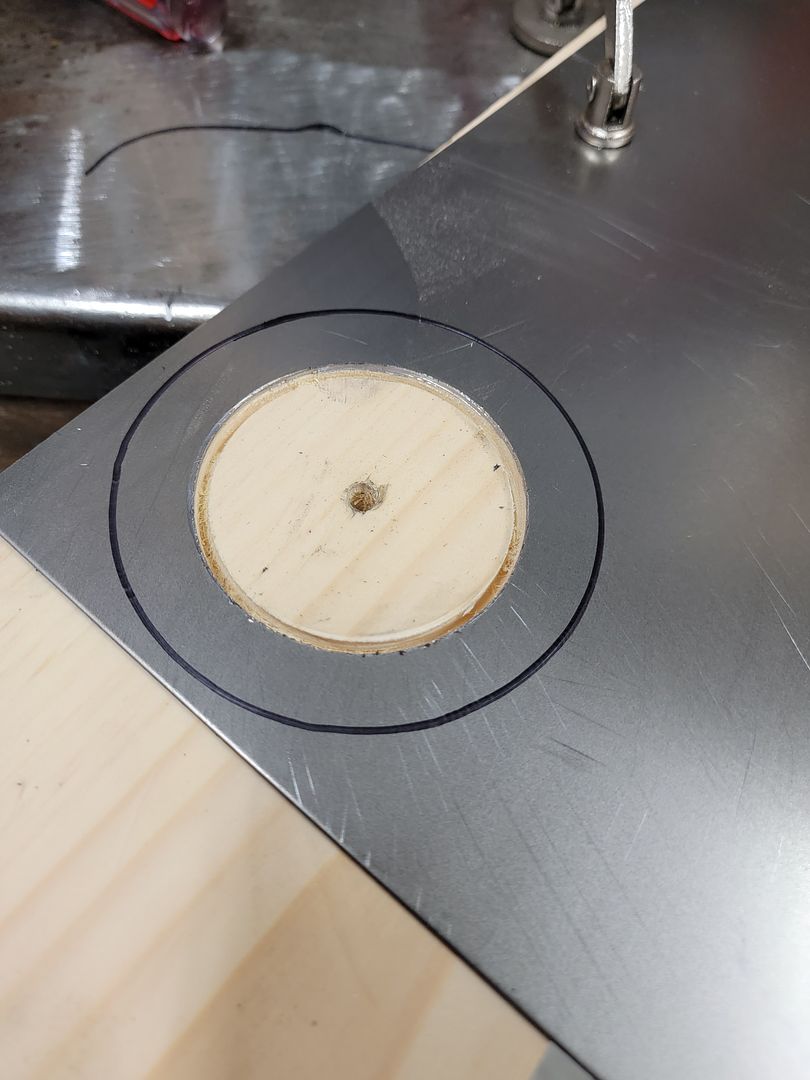
Well I was fairly un lucky tonight.
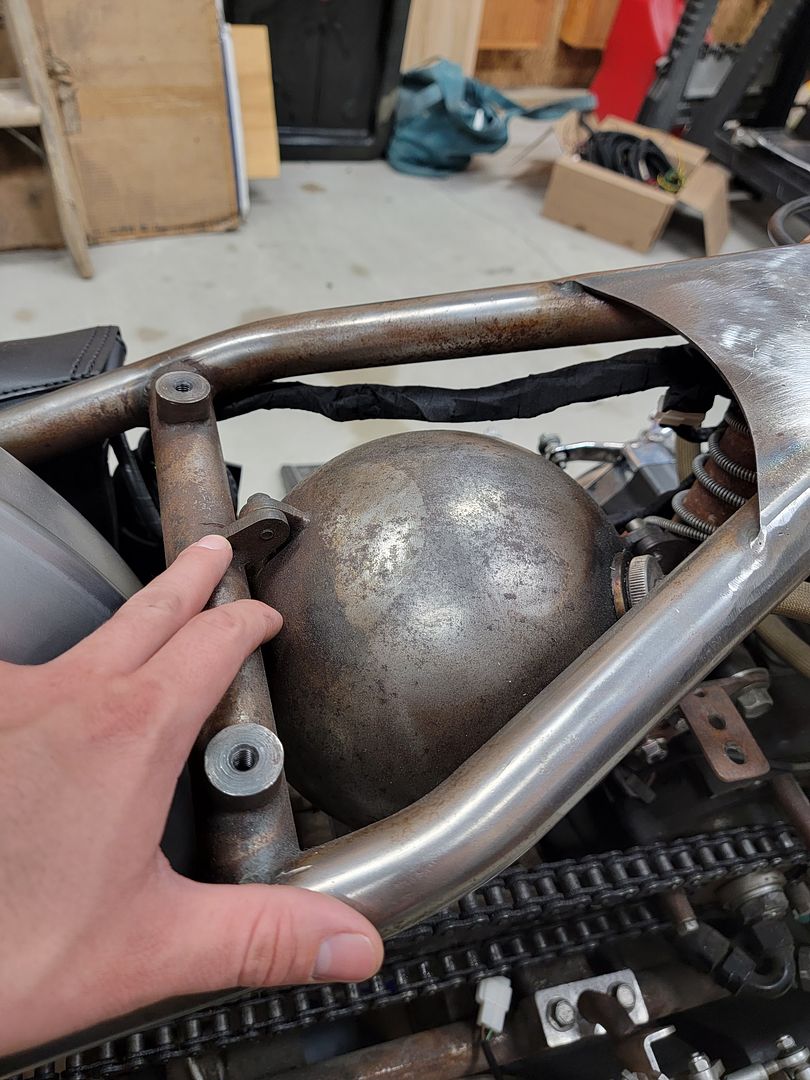
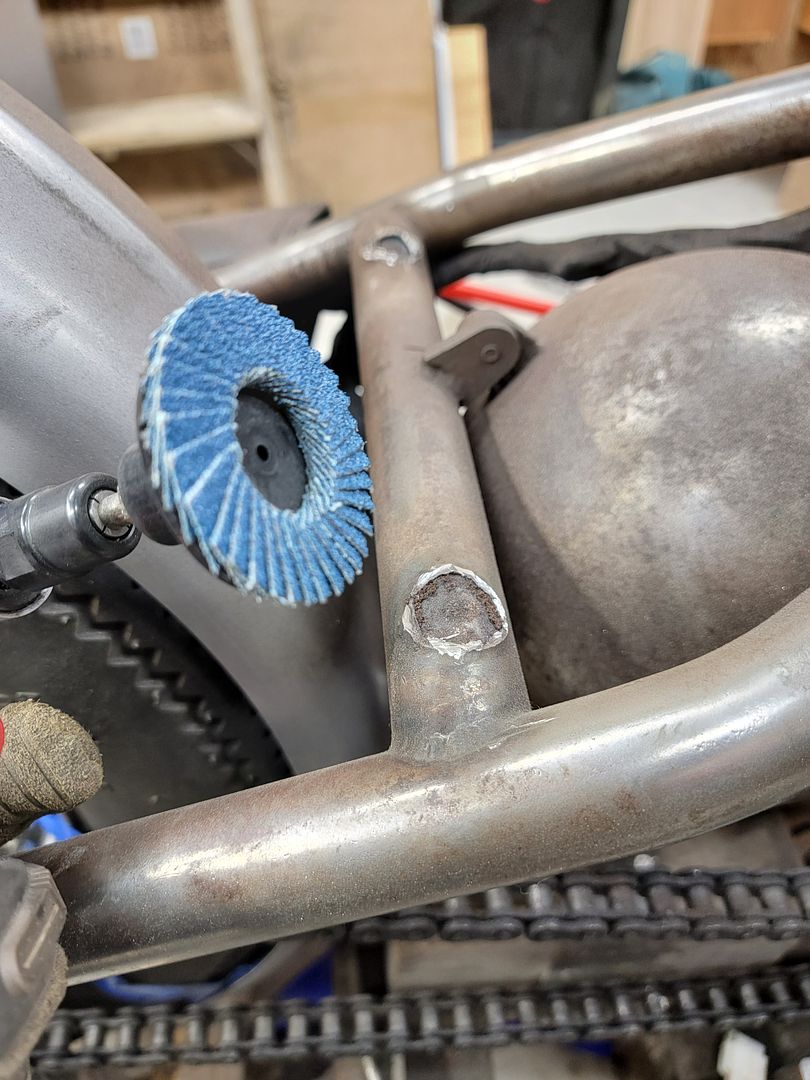
My plan was to get the (2) tank mount bungs welded into the frame and weld up the oil tank bracket to the frame as well.
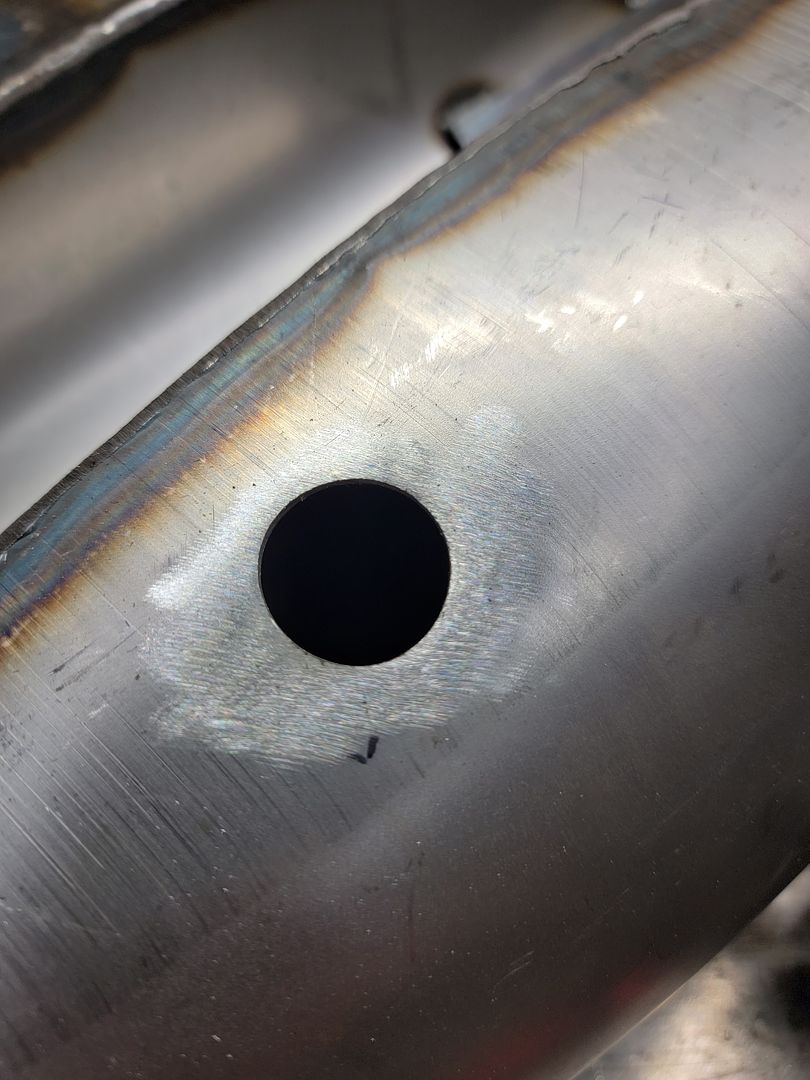
I drilled and ground the hole for the first lower bung and wouldn't you know it I dropped the bung in the hole (Bung hole) took me 45 minutes to fish it out from the bottom of the center tube with a magnet.
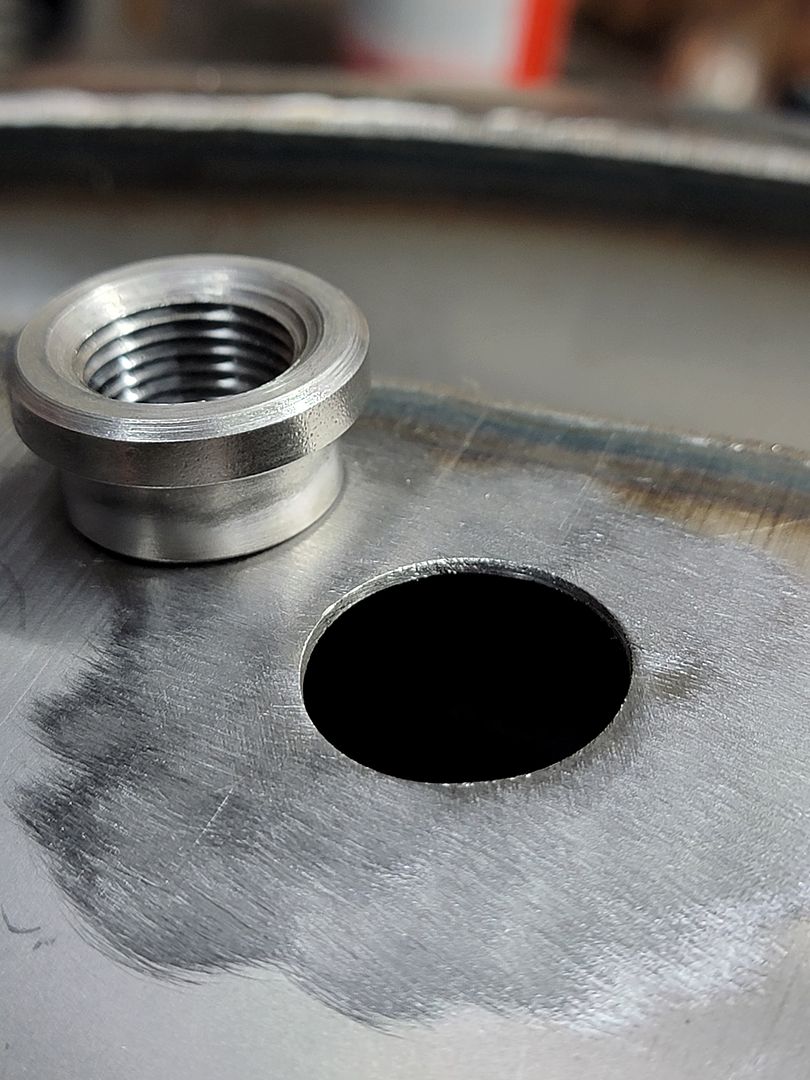
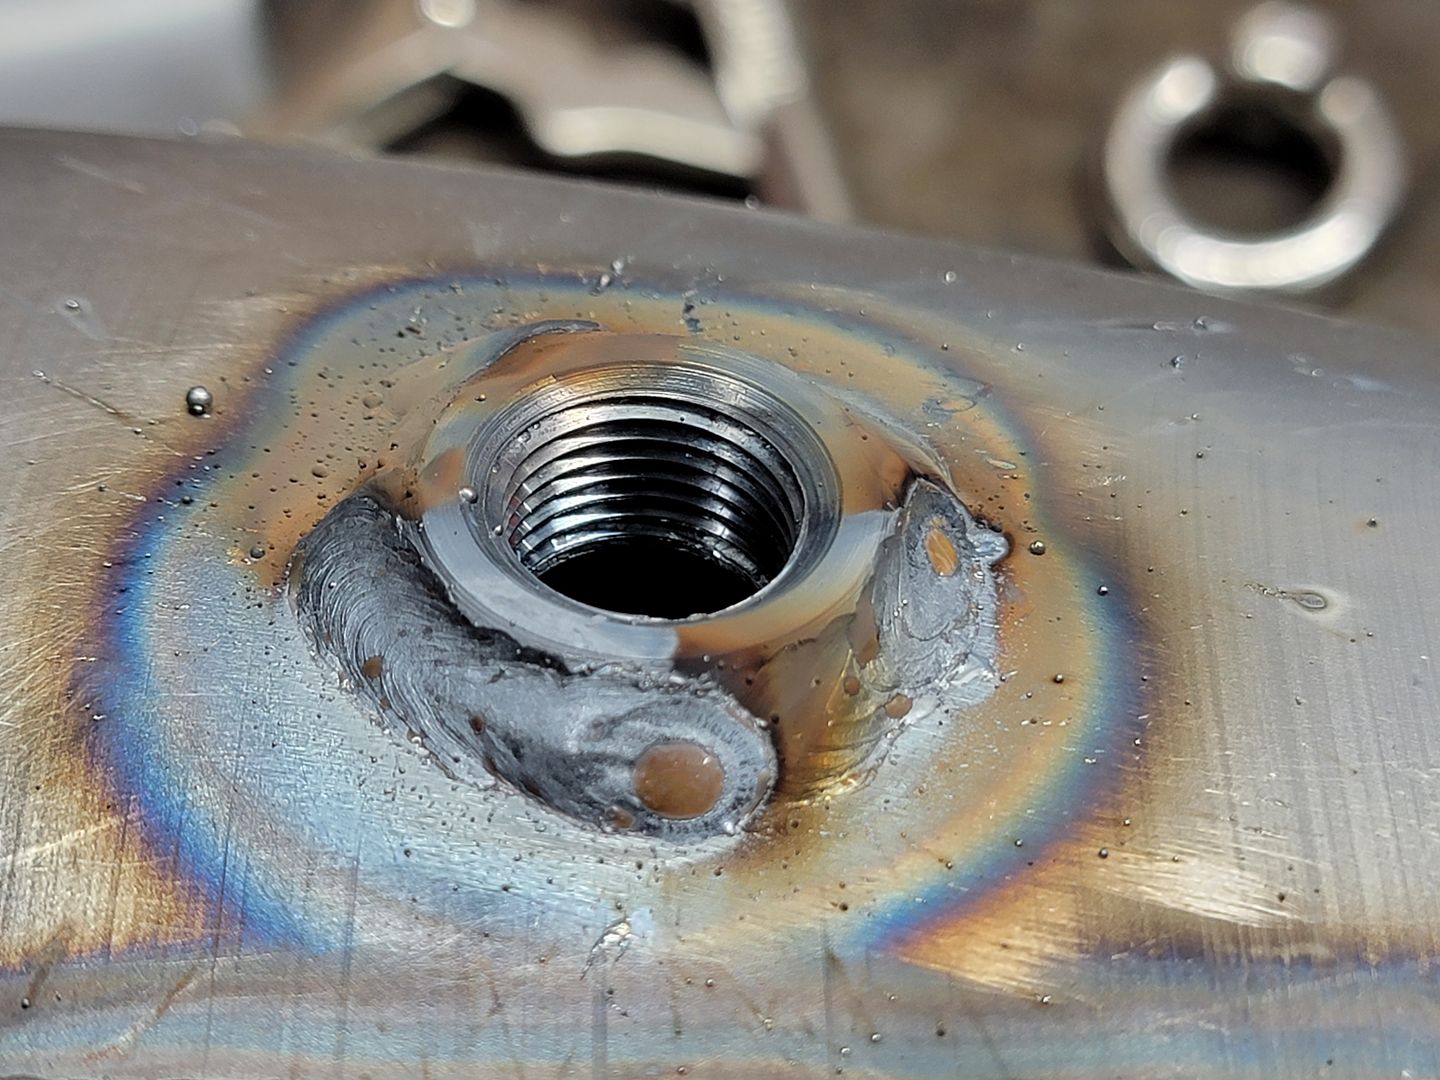
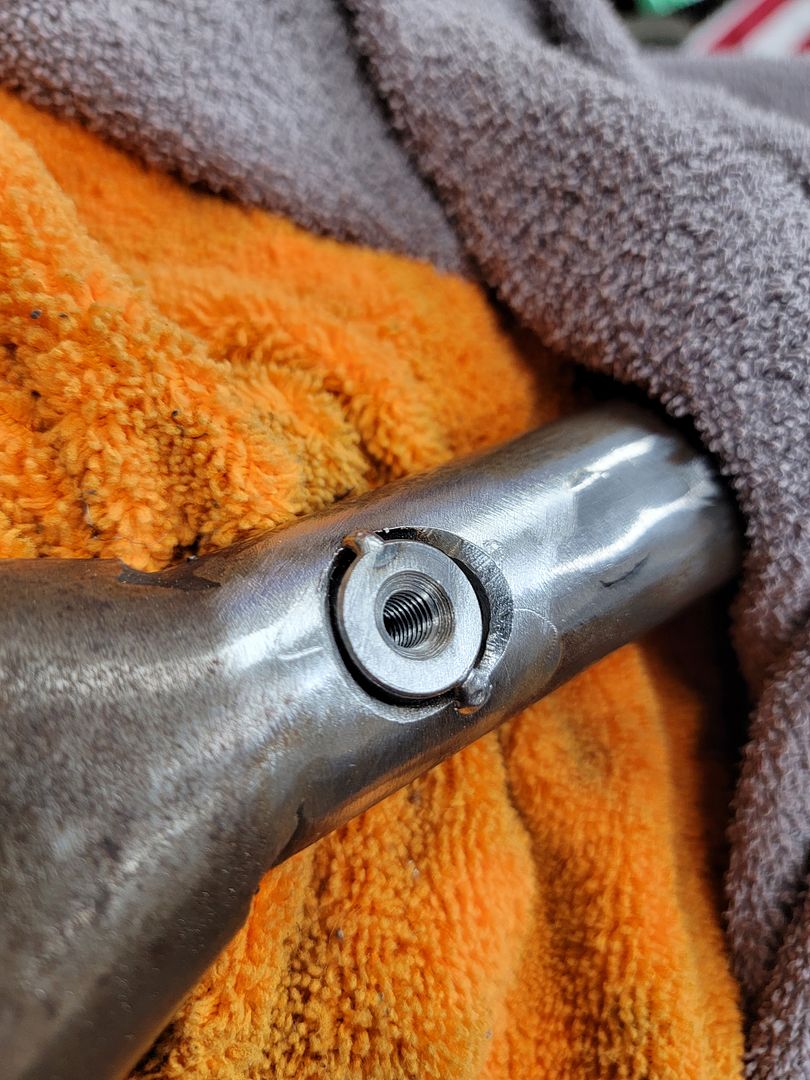
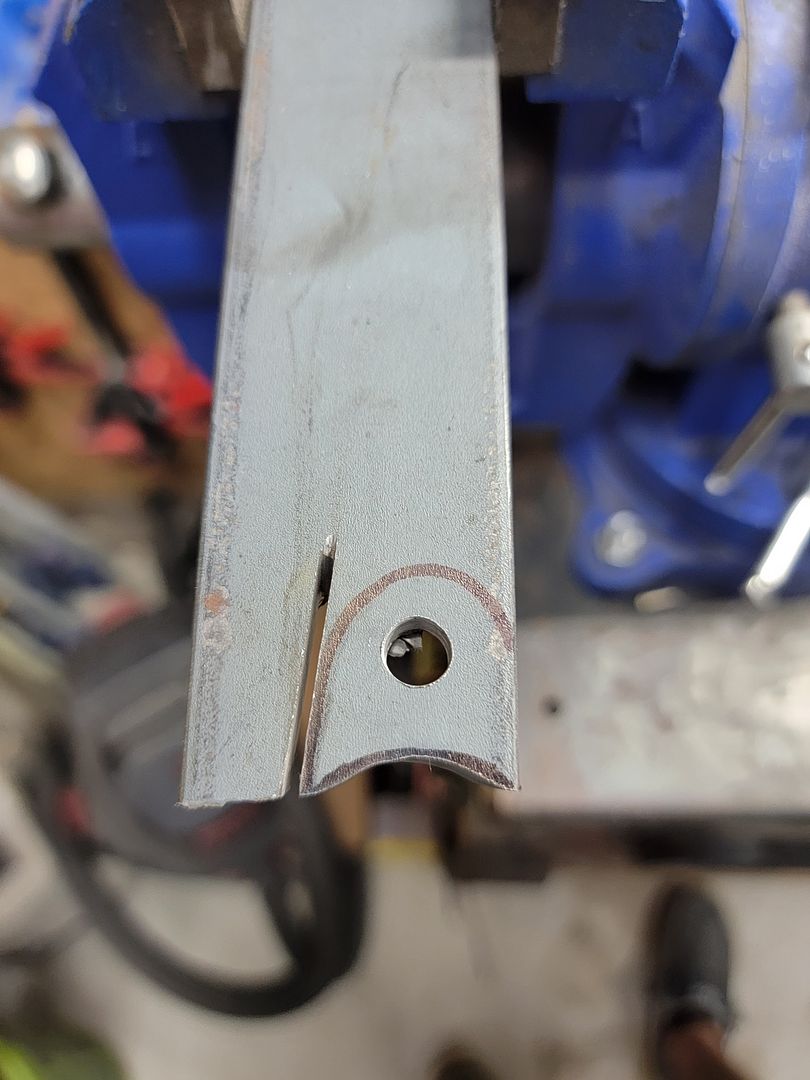
I then got it welded in and looking good. Started the upper bung which is right where the thread rod is now. Because of the weld around the original rod i broke a drill bit and my step bit nor me die grinder bit will touch it. (Carbide bits come tomorrow)
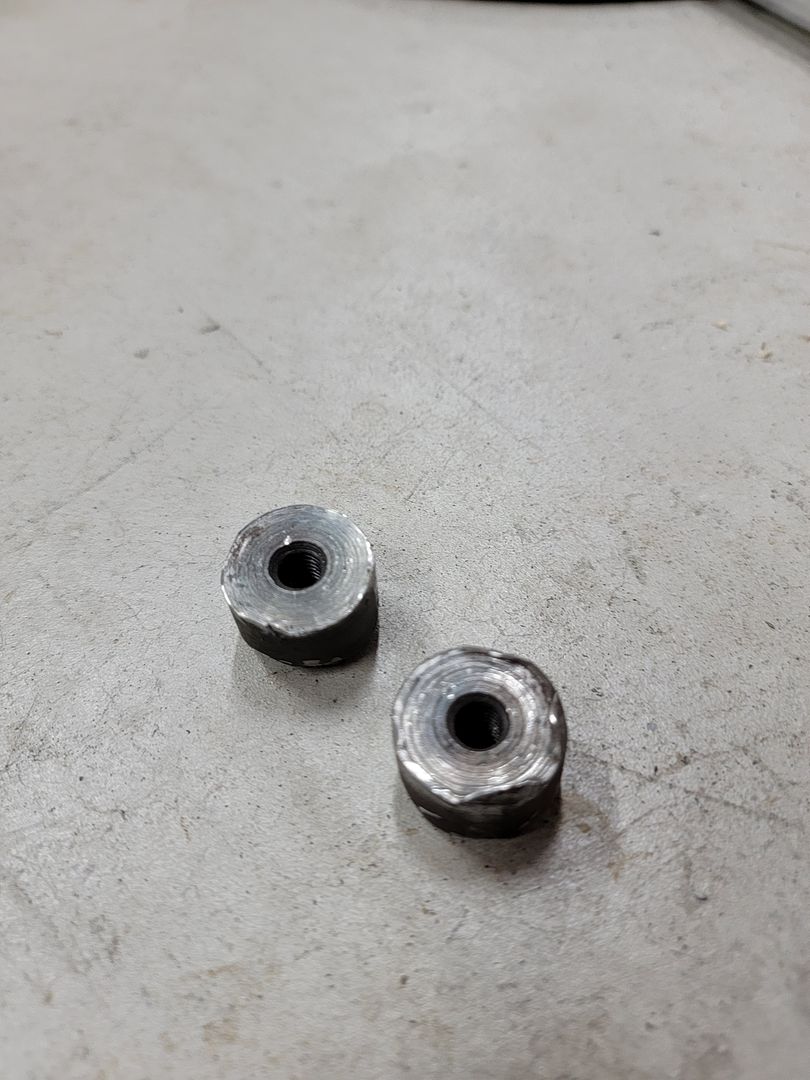
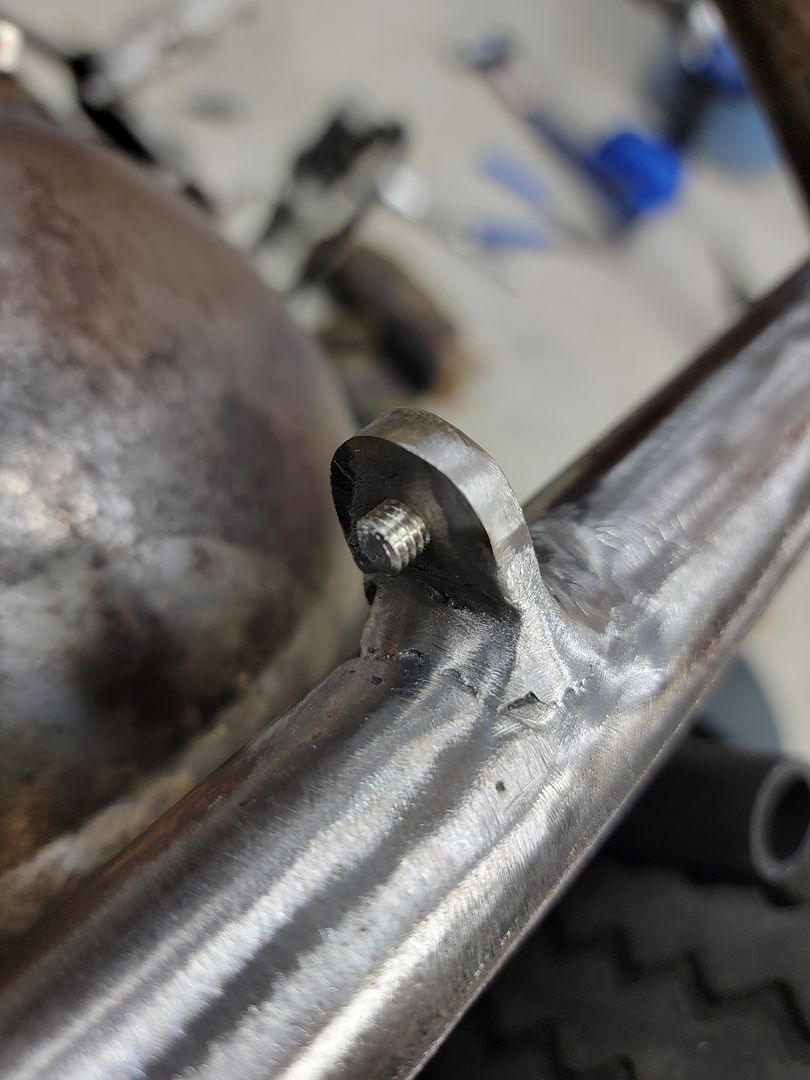
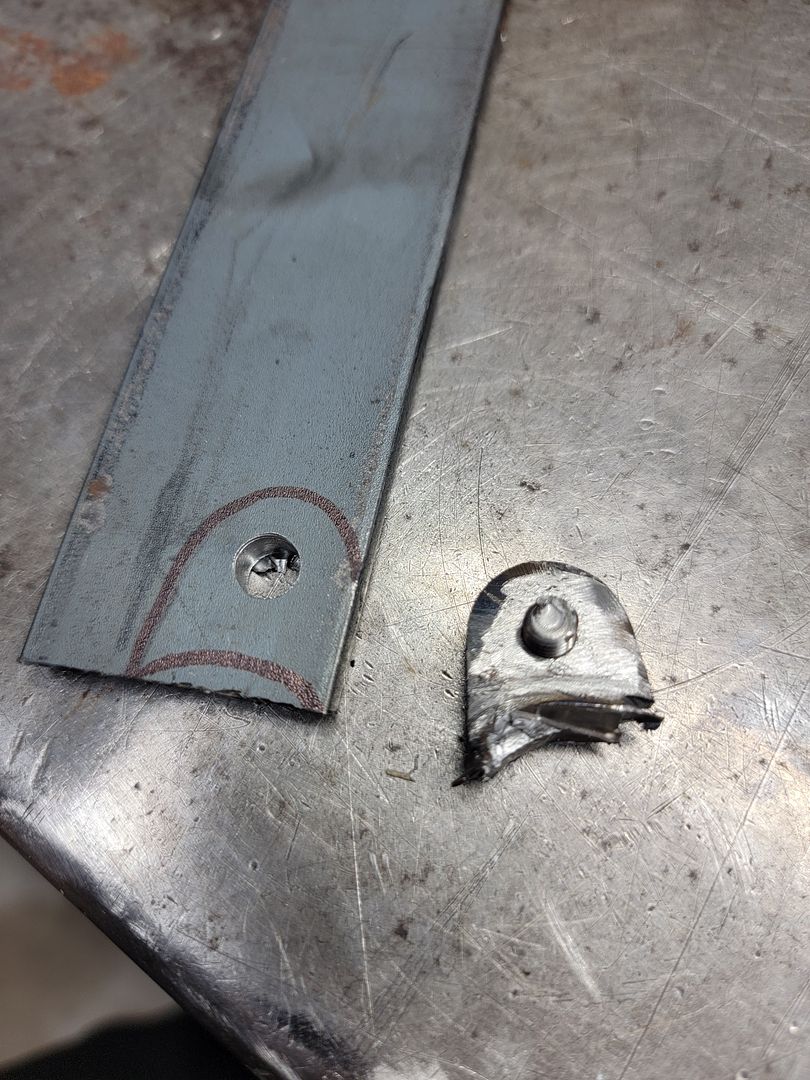
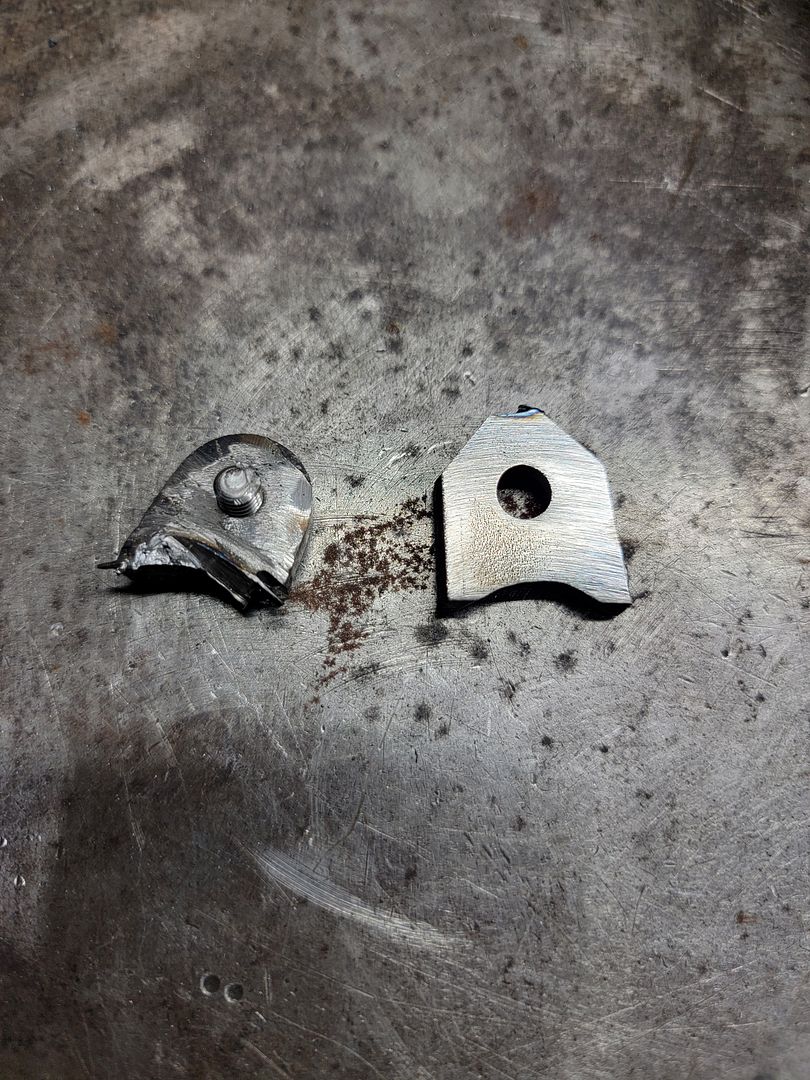
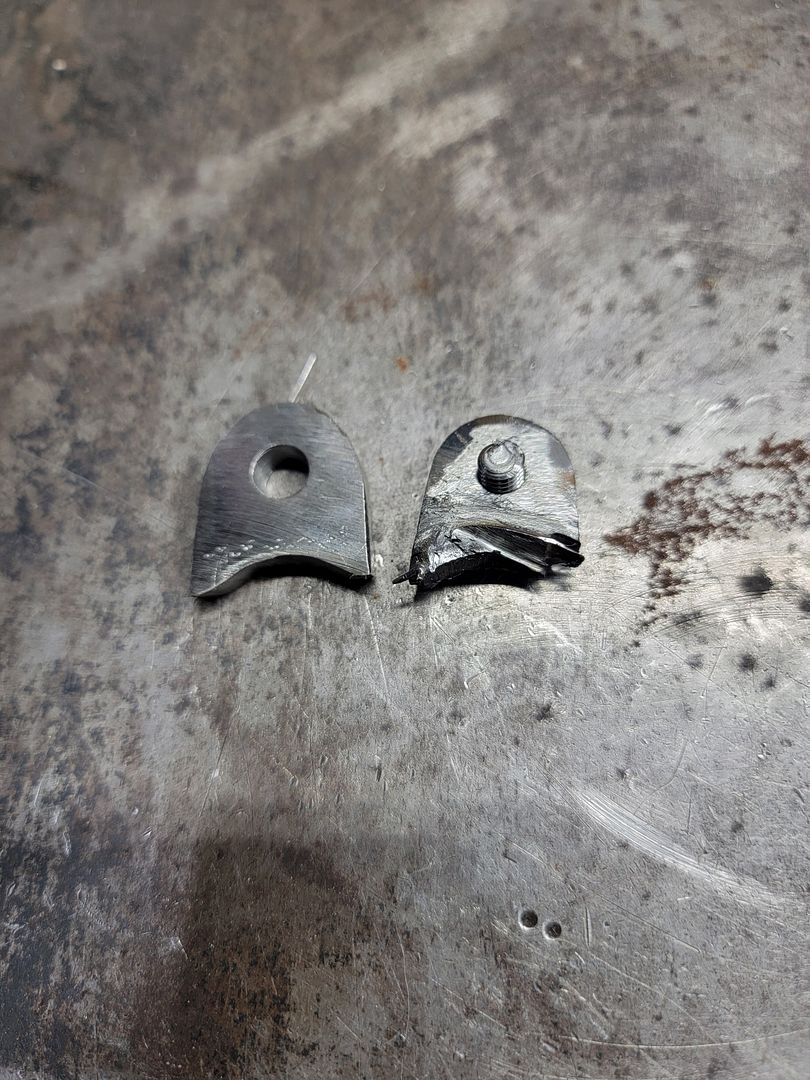
Lastly I welded up the oil tank bracket/tab. Everything was fine and then my stainless bolt gulled up when putting it back in. Sure enough i broke the bolt off in the tab. Cut the damn thing off and will have to make another.
1 Step forward 2 steps back ! Hopefully tomorrow will go better.
.jpg?width=1920&height=1080&fit=bounds)
.jpg?width=1920&height=1080&fit=bounds)
.jpg?width=1920&height=1080&fit=bounds)
.jpg?width=1920&height=1080&fit=bounds)
.jpg?width=1920&height=1080&fit=bounds)
.jpg?width=1920&height=1080&fit=bounds)


Comment
-
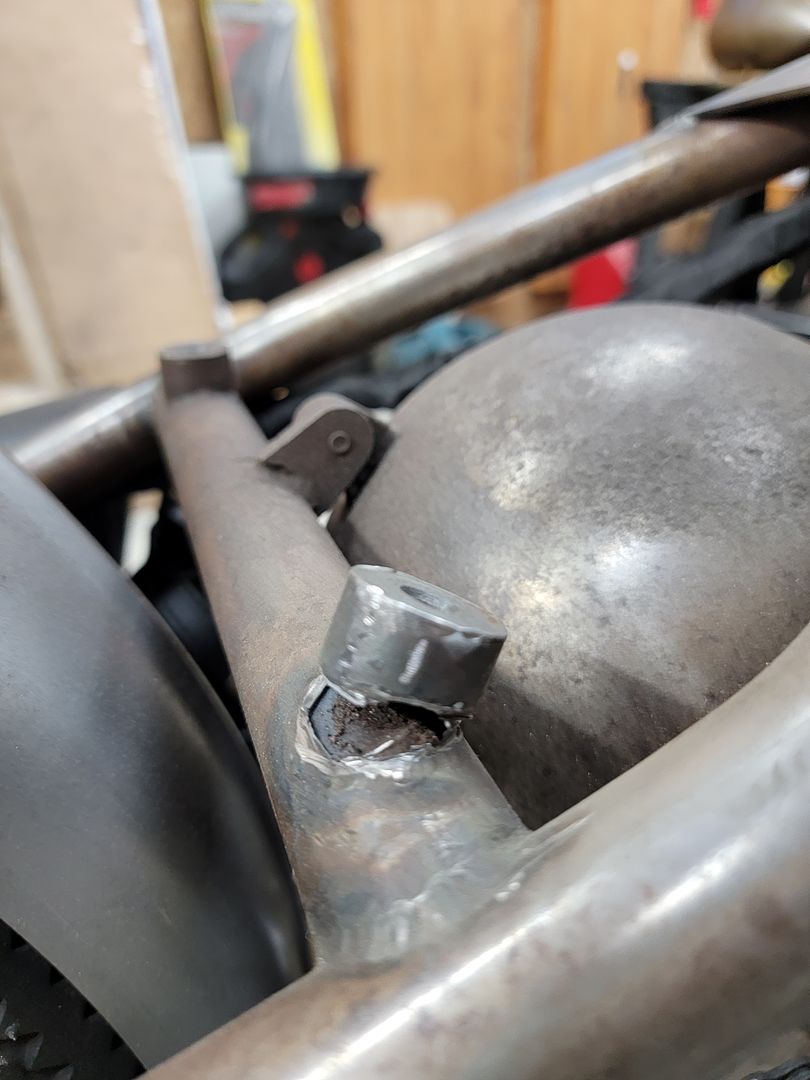
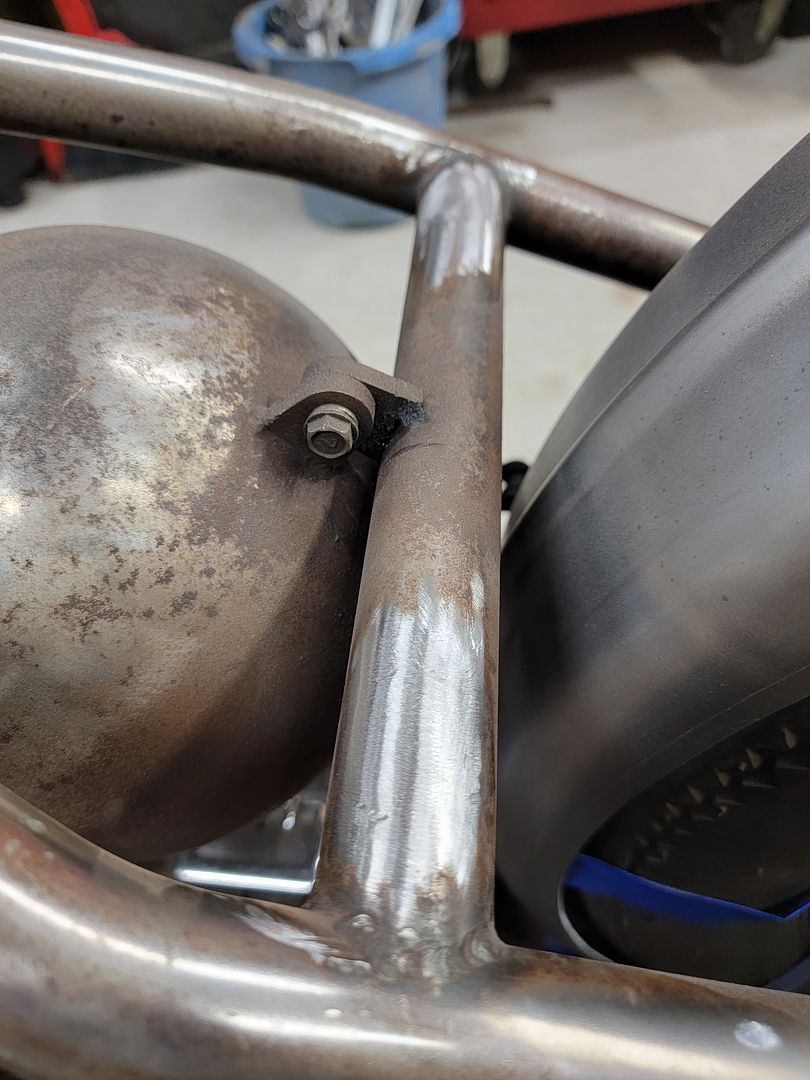
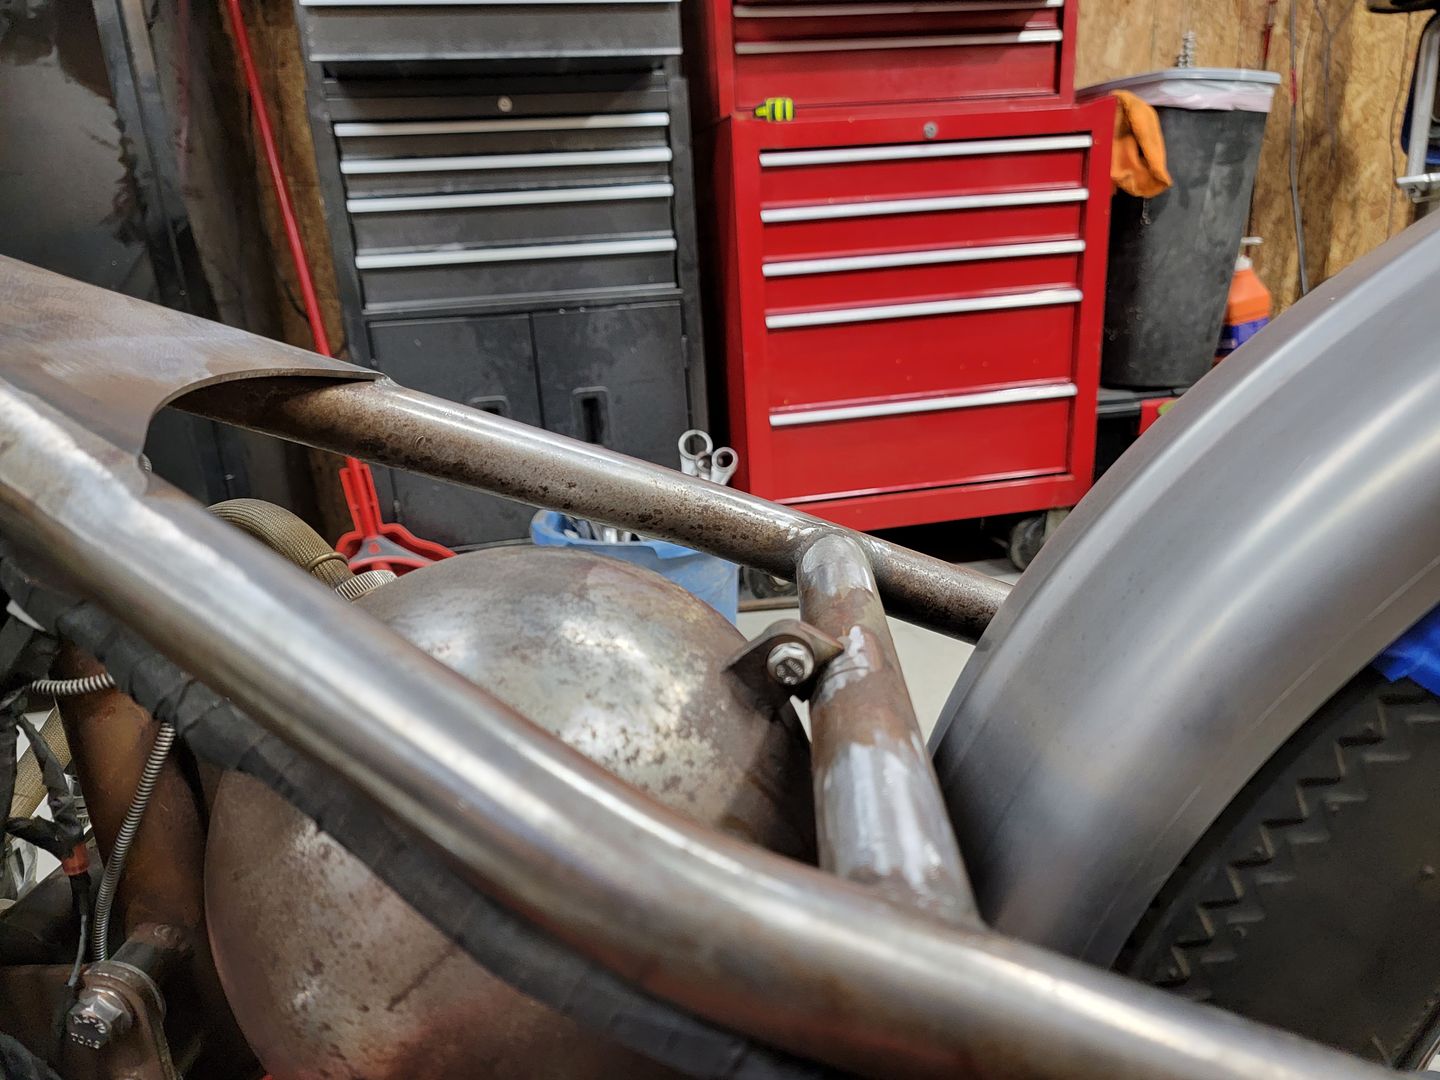
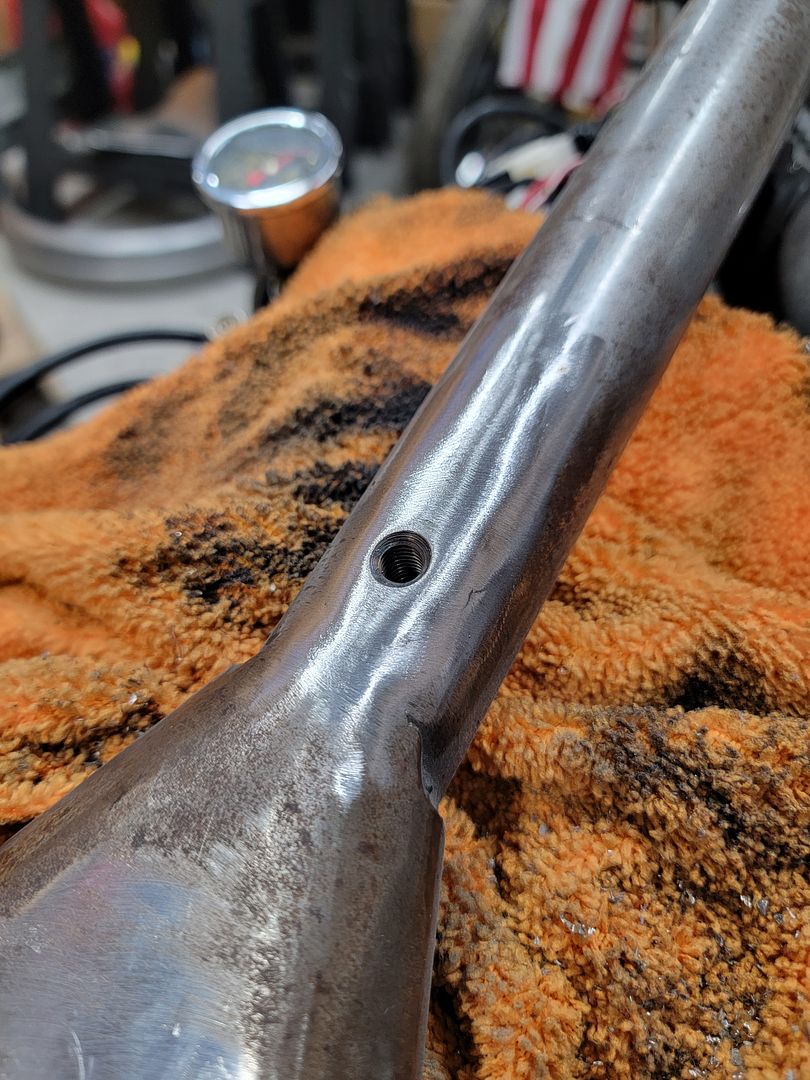
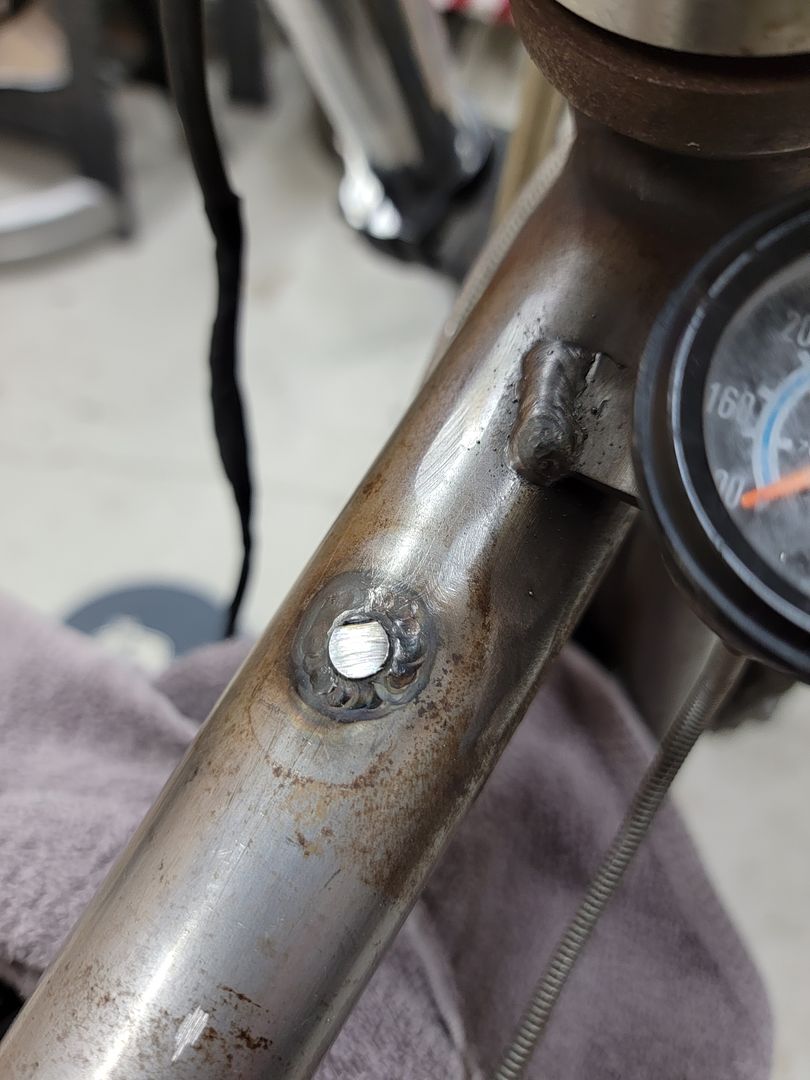
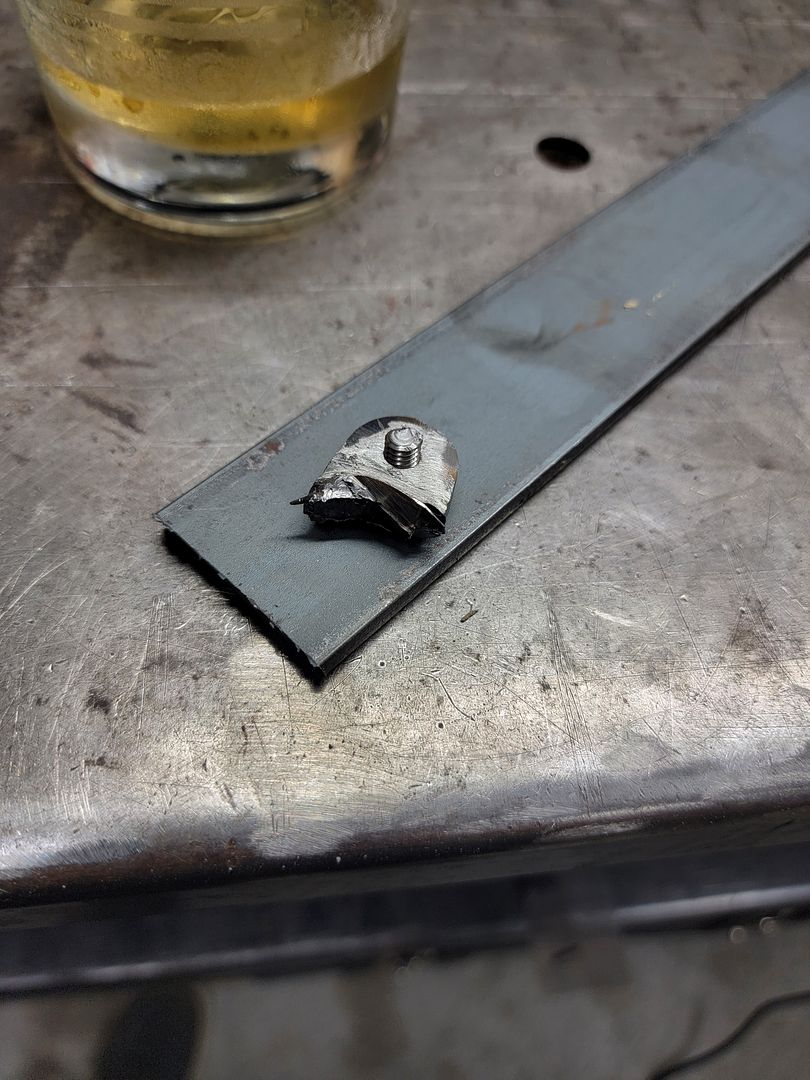
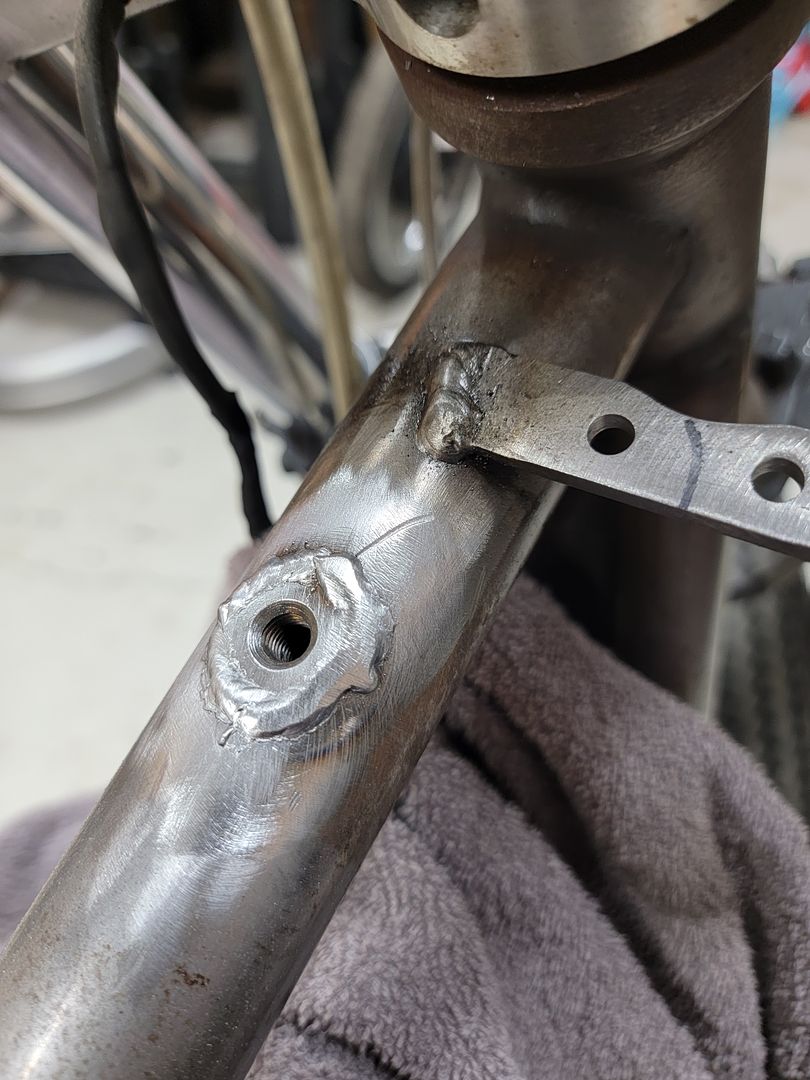
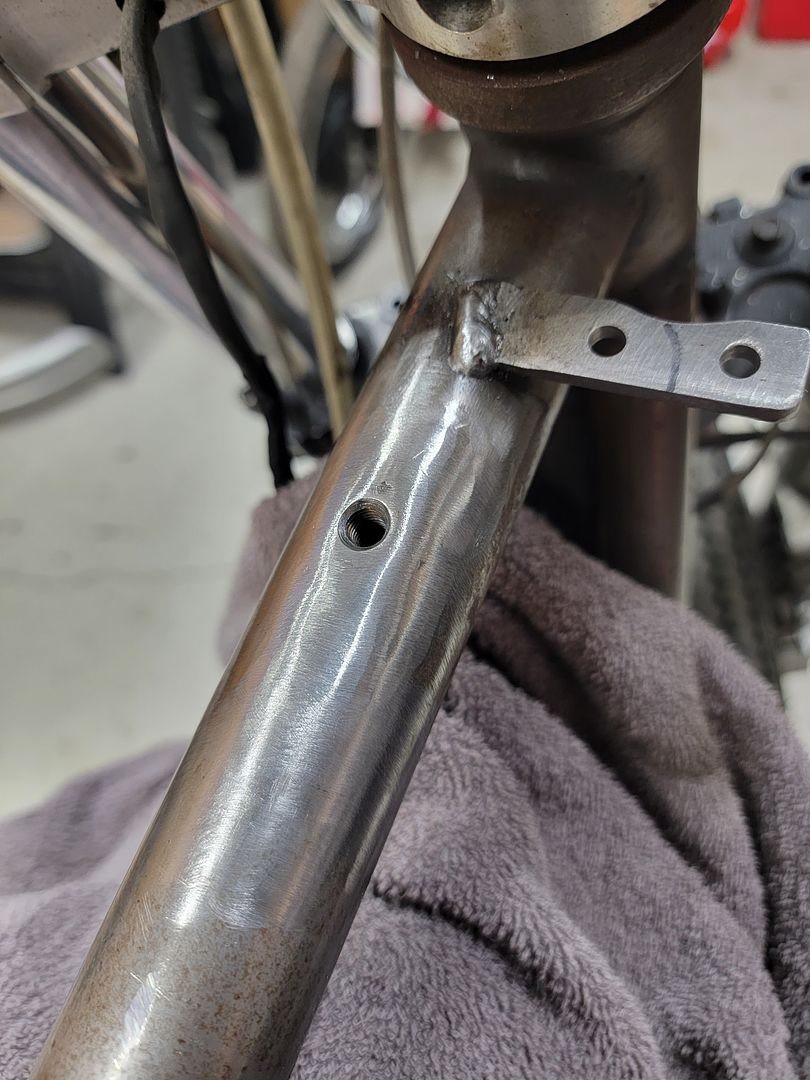
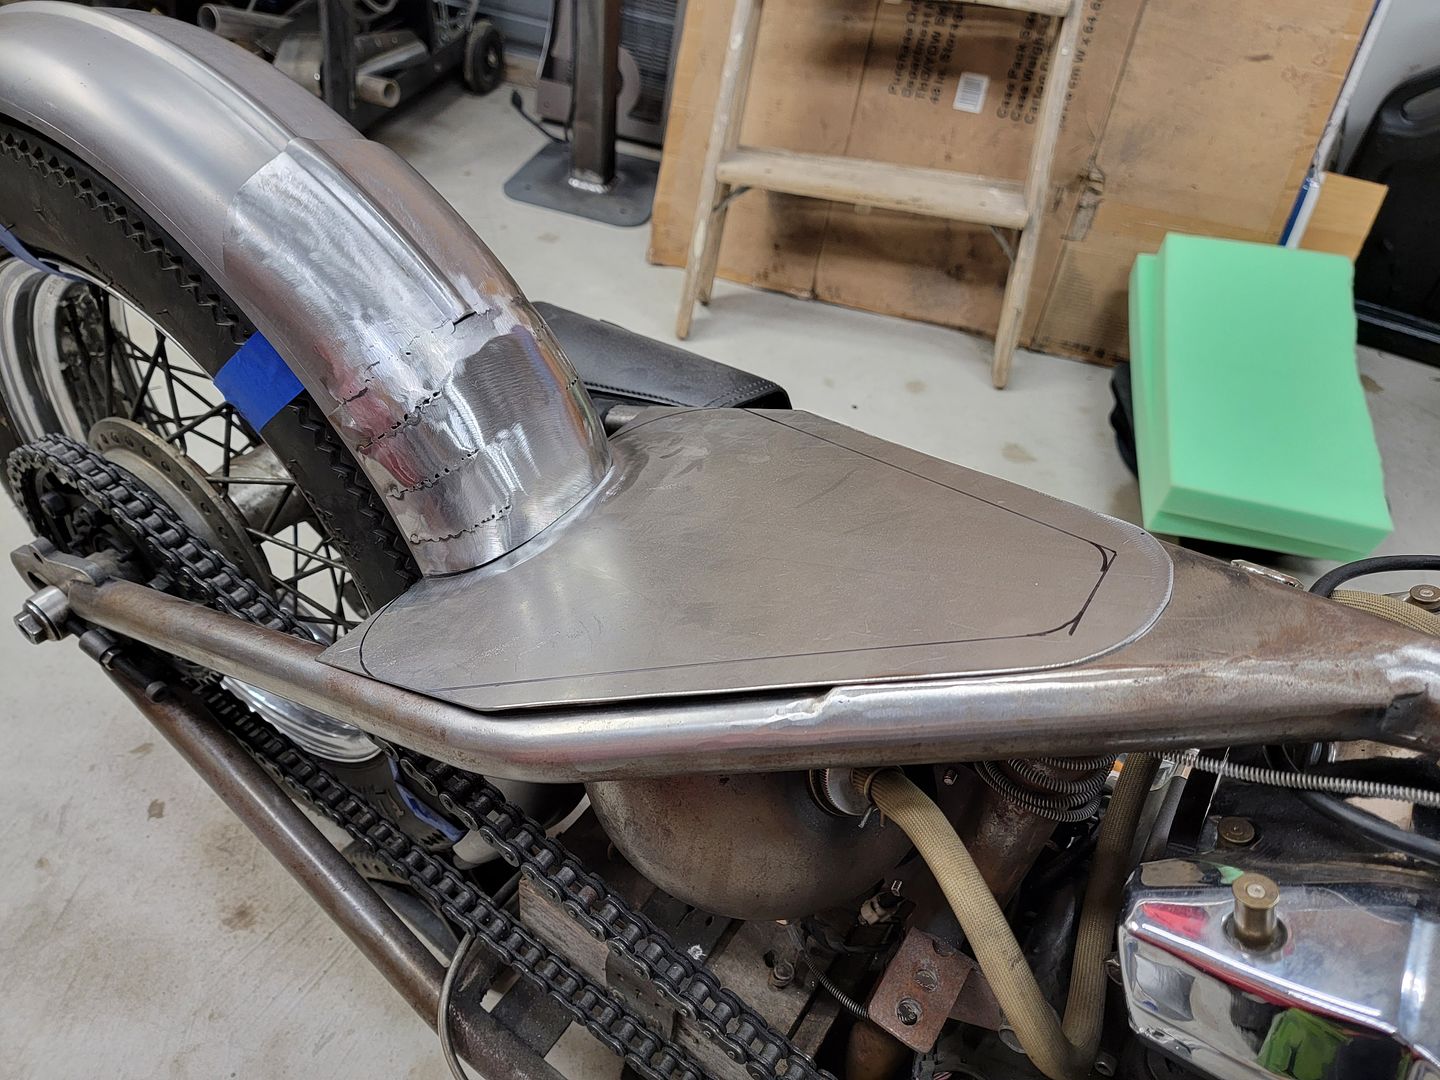
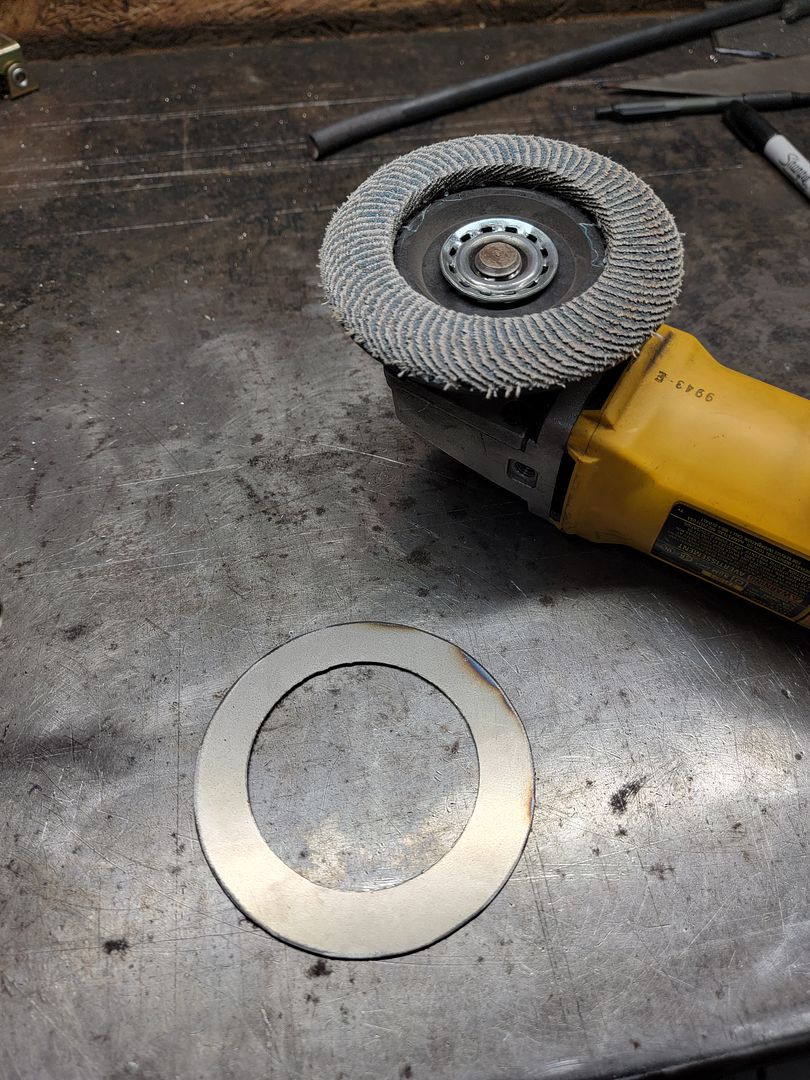
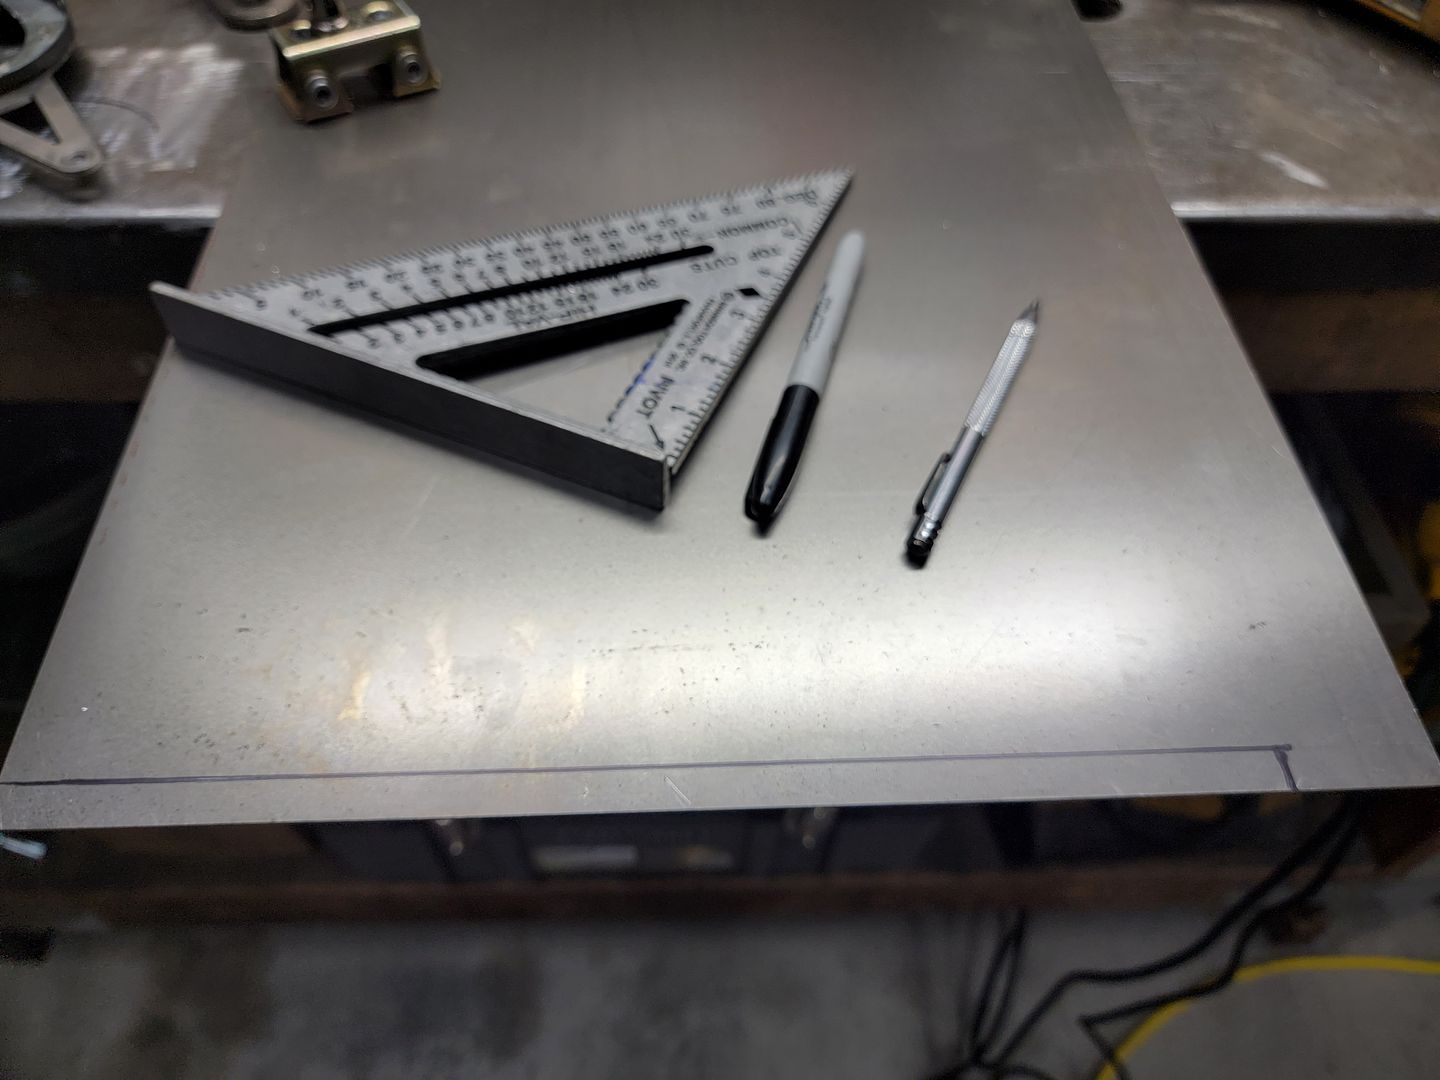
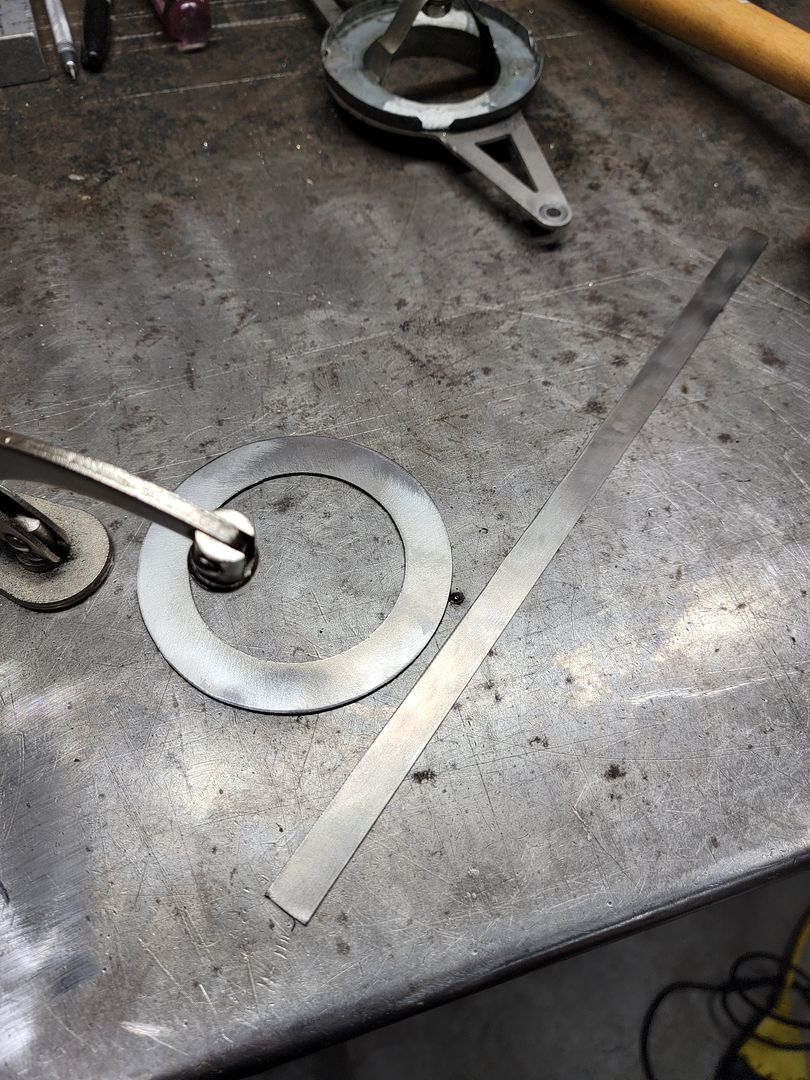
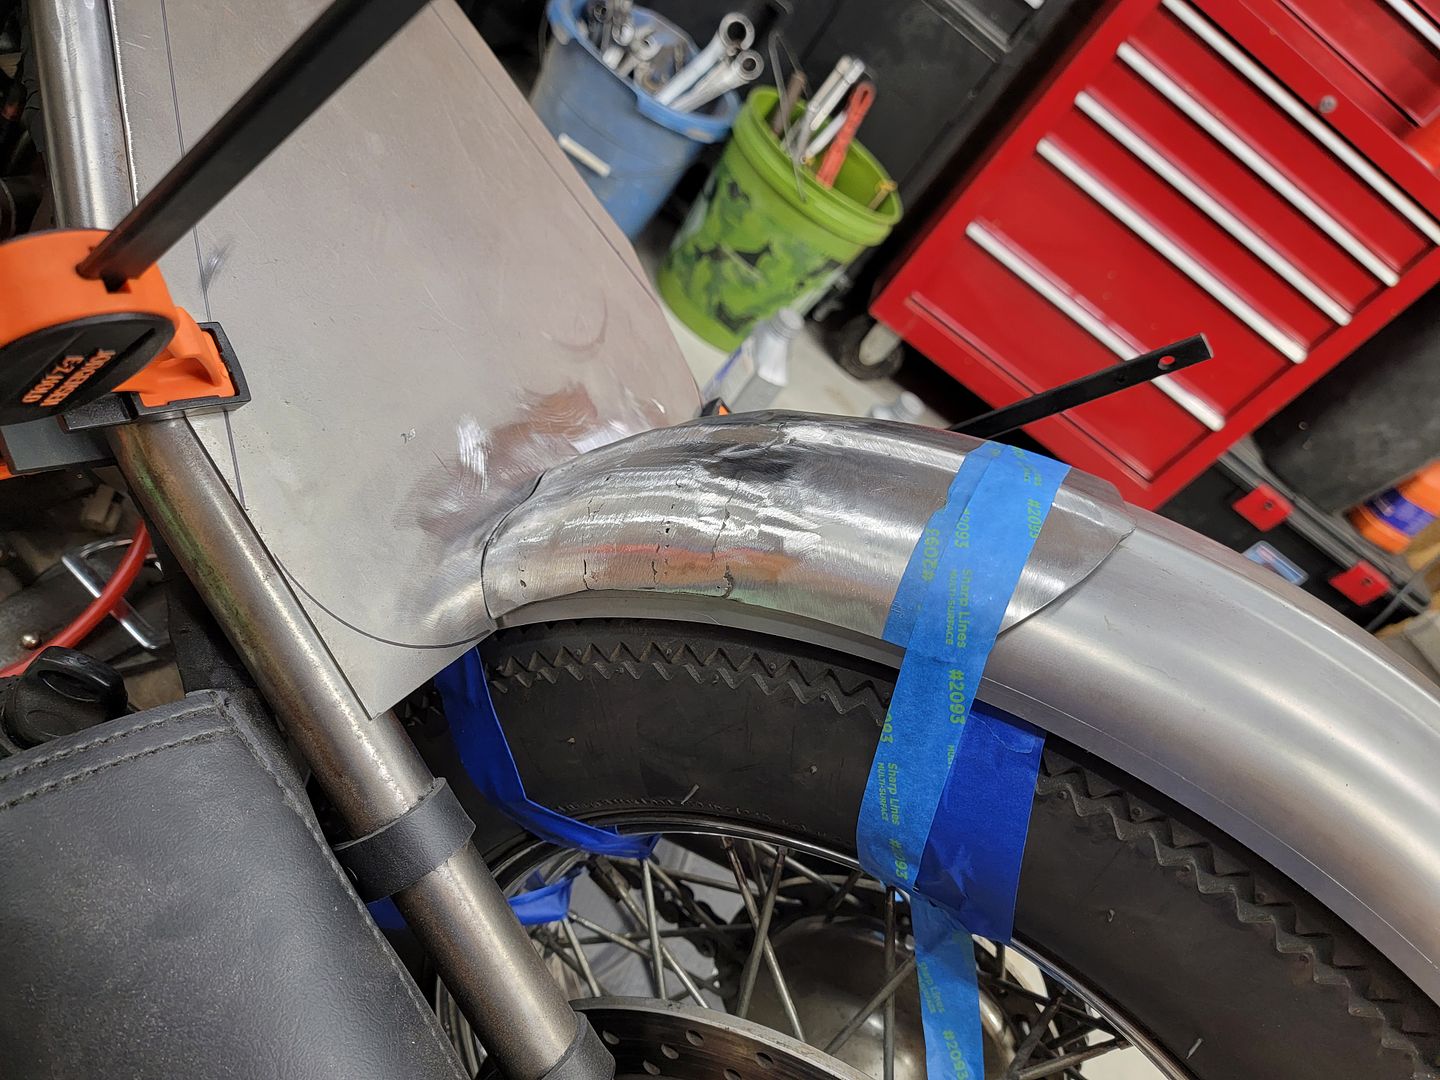
Made a new oil tank mounting tab. Went with a through hole this time vs a tapped hole. Was able to get that welded on halfway decent.
My carbide bits came in for my die grinder so I went to town on the upper tank mount bung and got the tank properly fitted to the bike.
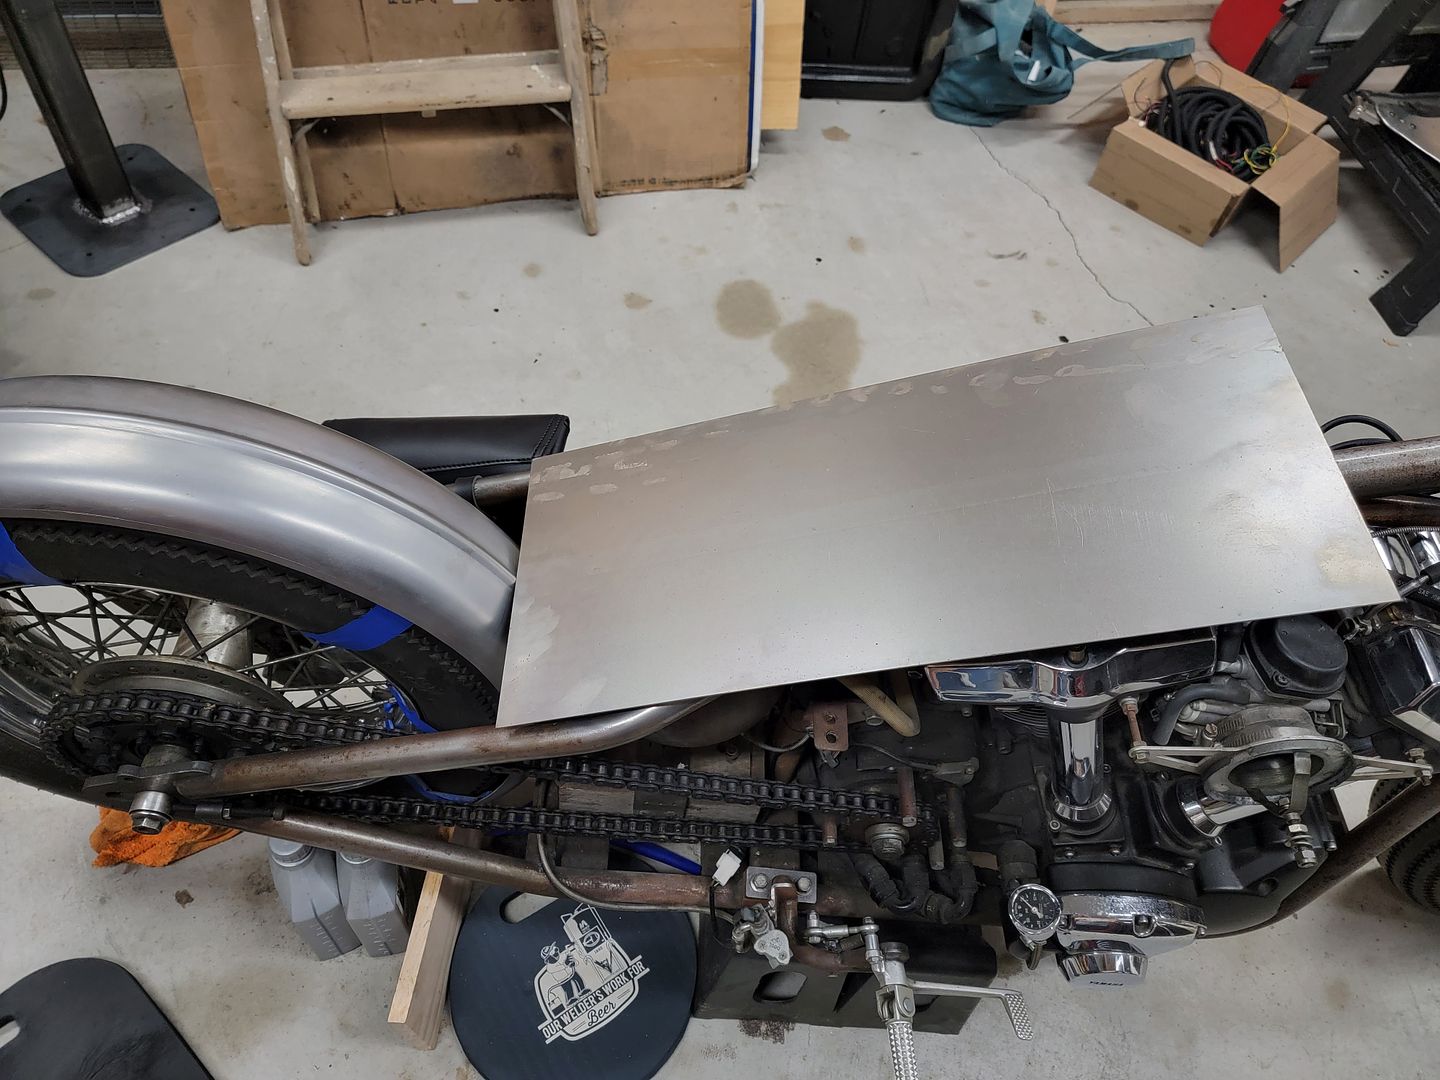
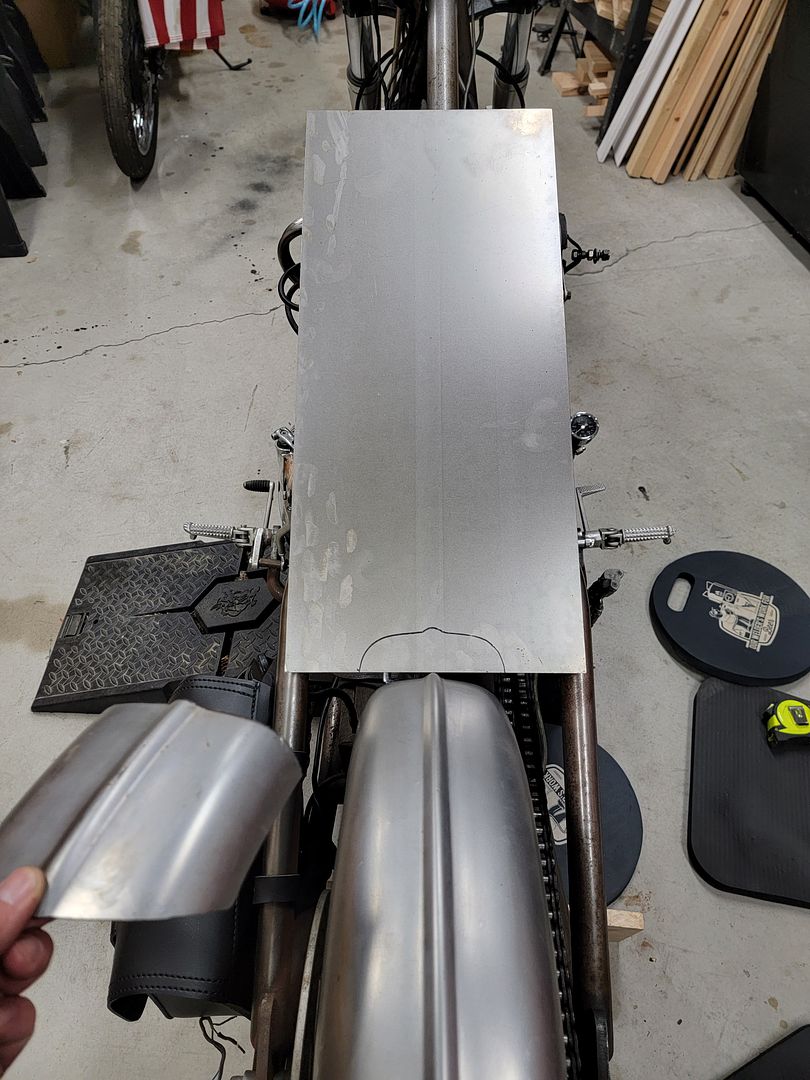
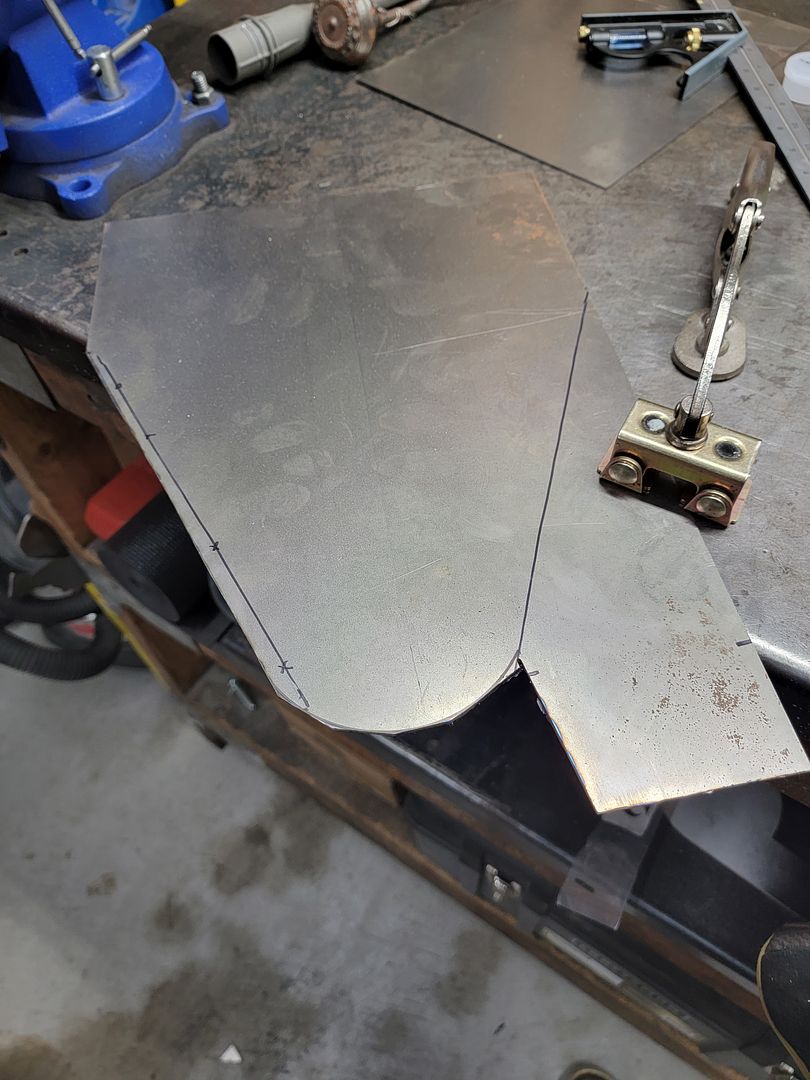
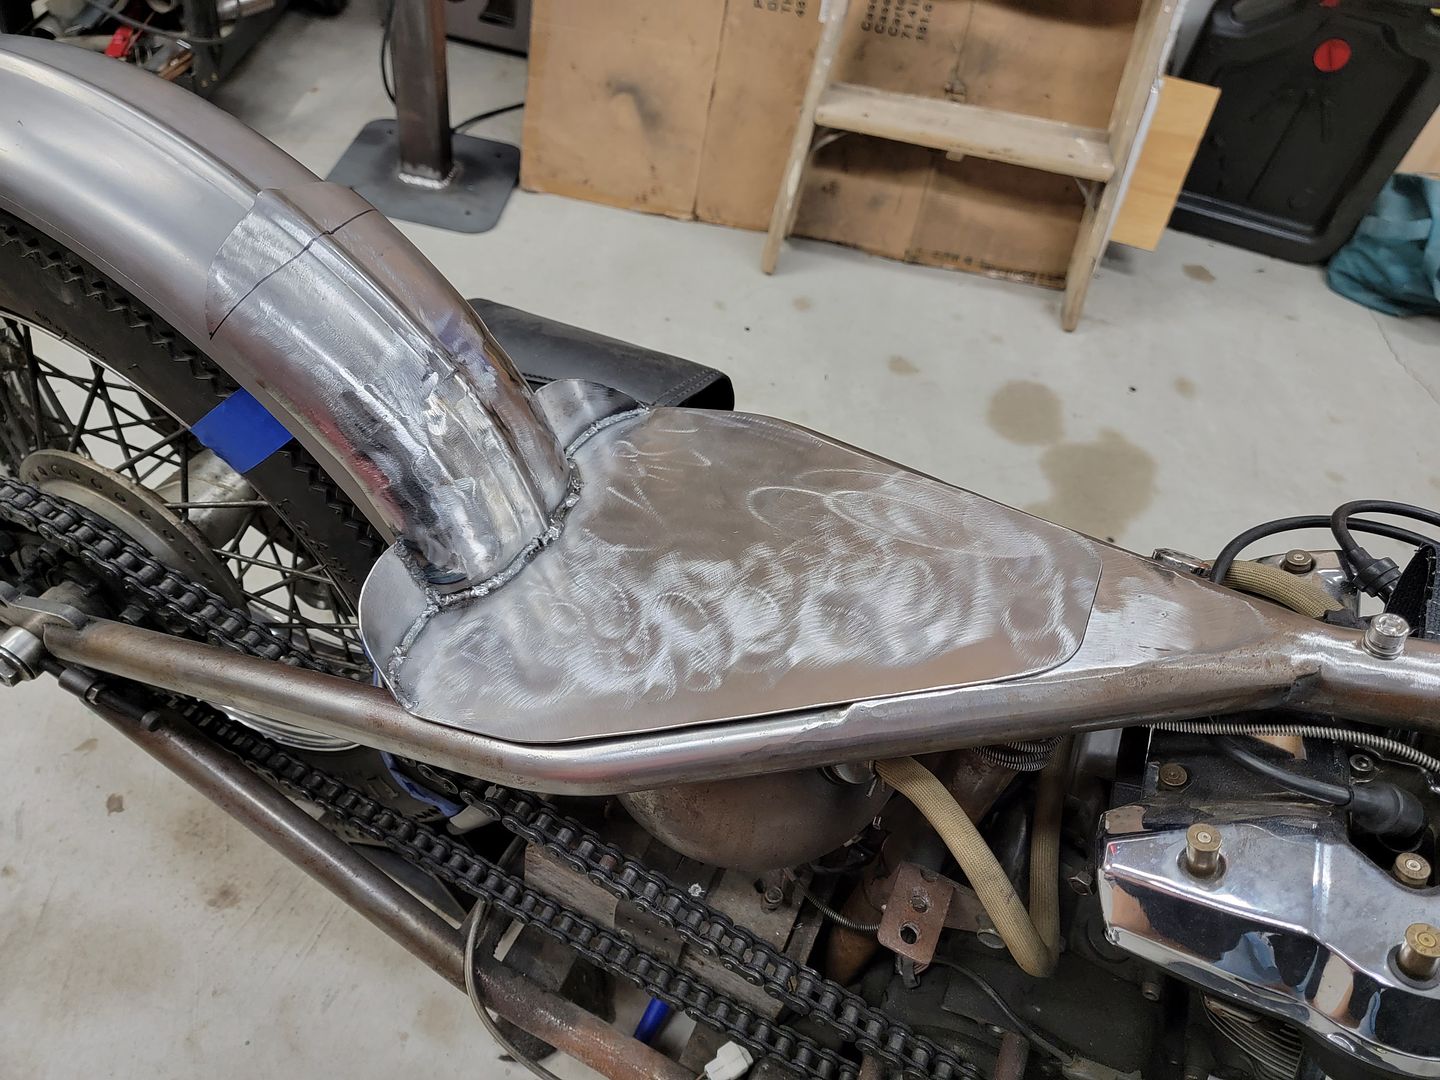
Cut a seat pan and started to brainstorm some ideas on mounting and how the back support area will look.
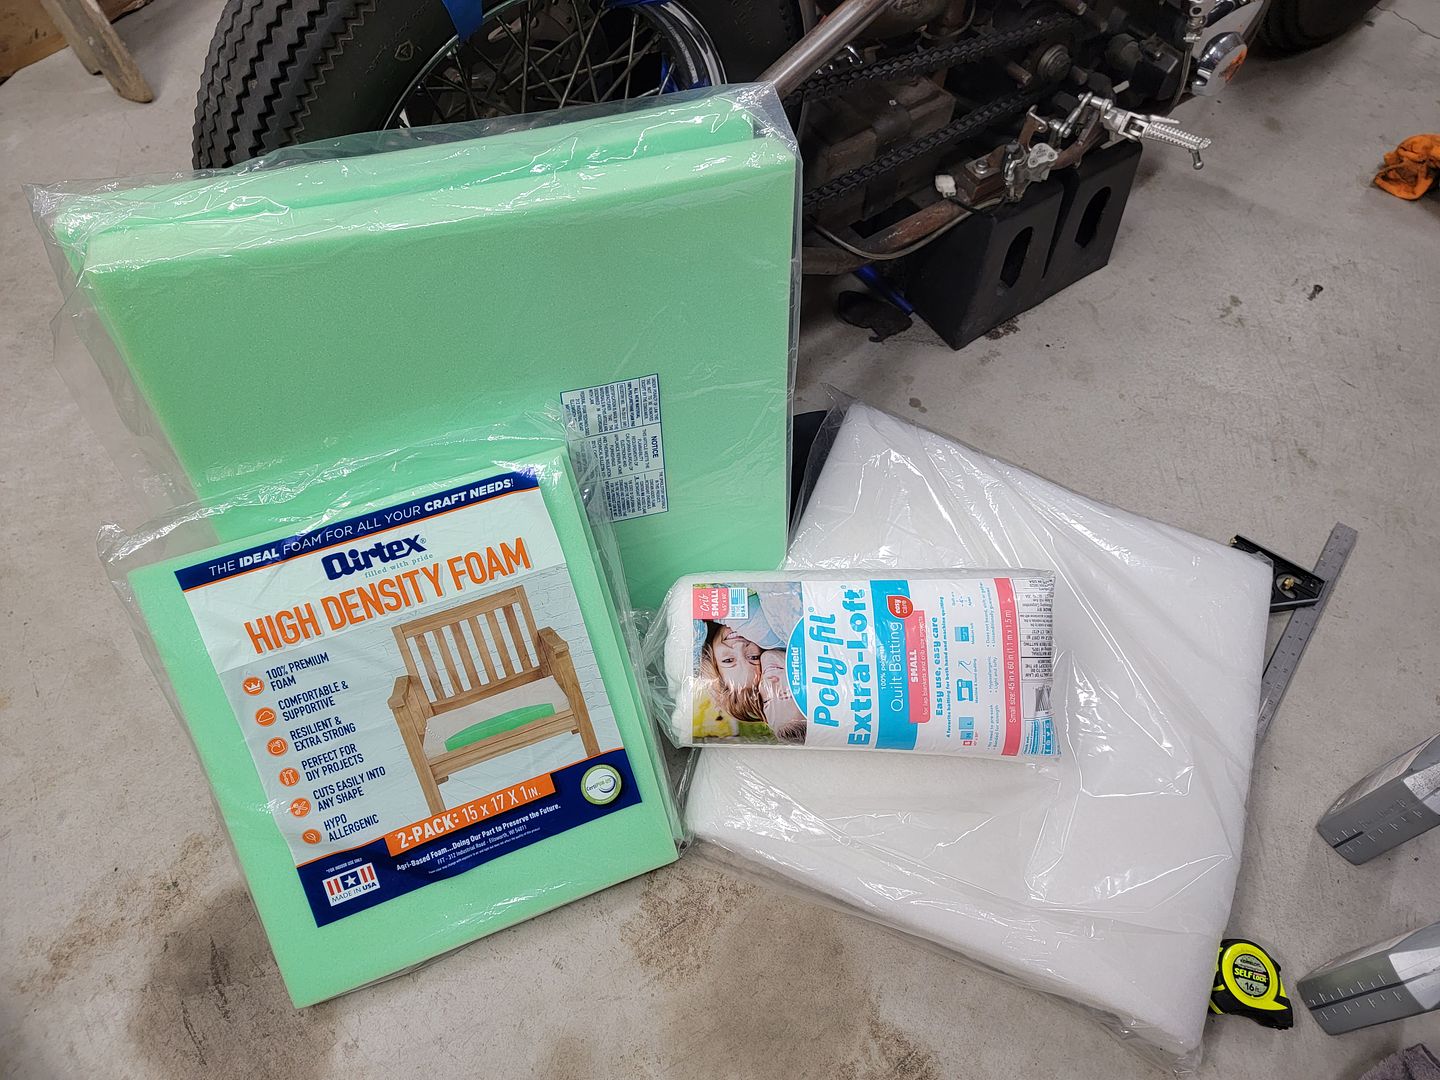
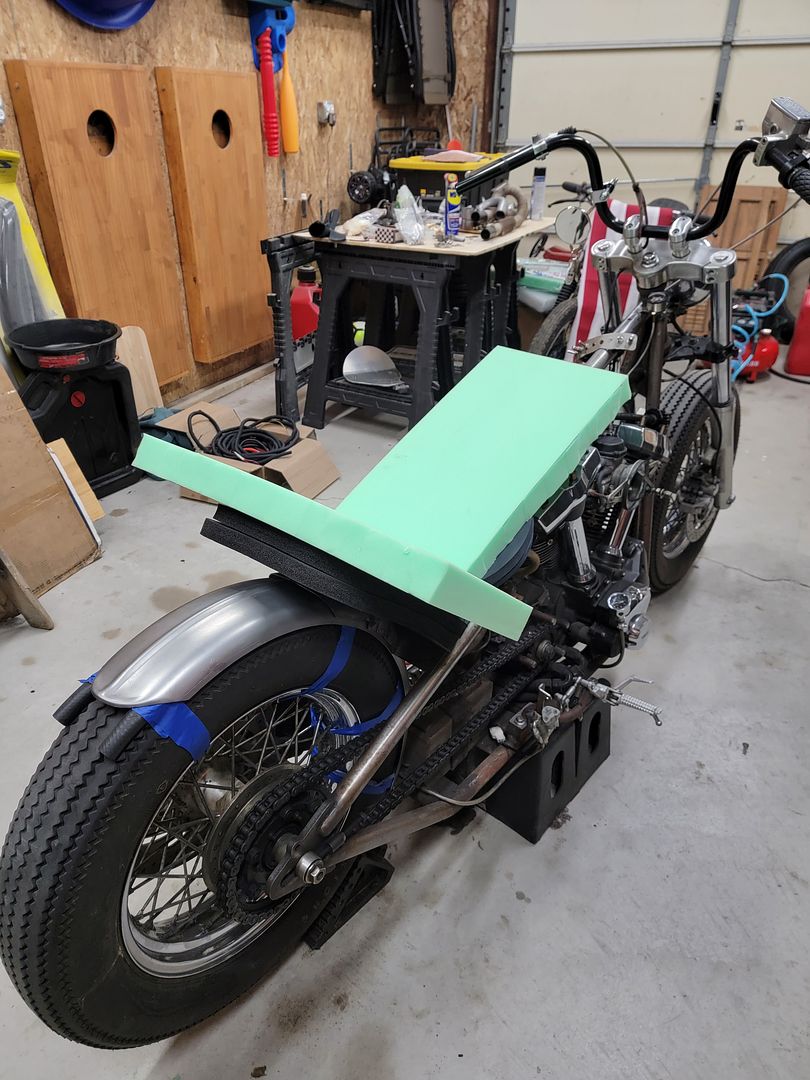
Did a quick sit test and I think 4 or 5 inches of foam is what feels the best on the cheeks. After the seat is wrapped and compressed I am hoping it will be roughly 2" tall.
Might bounce back and forth between the fender and seat until I have it all figured out.


 Last edited by bnag0; 05-27-2022, 10:37 PM.
Comment
-
No sign of gas leakage from the tank, been about 12 hours now.
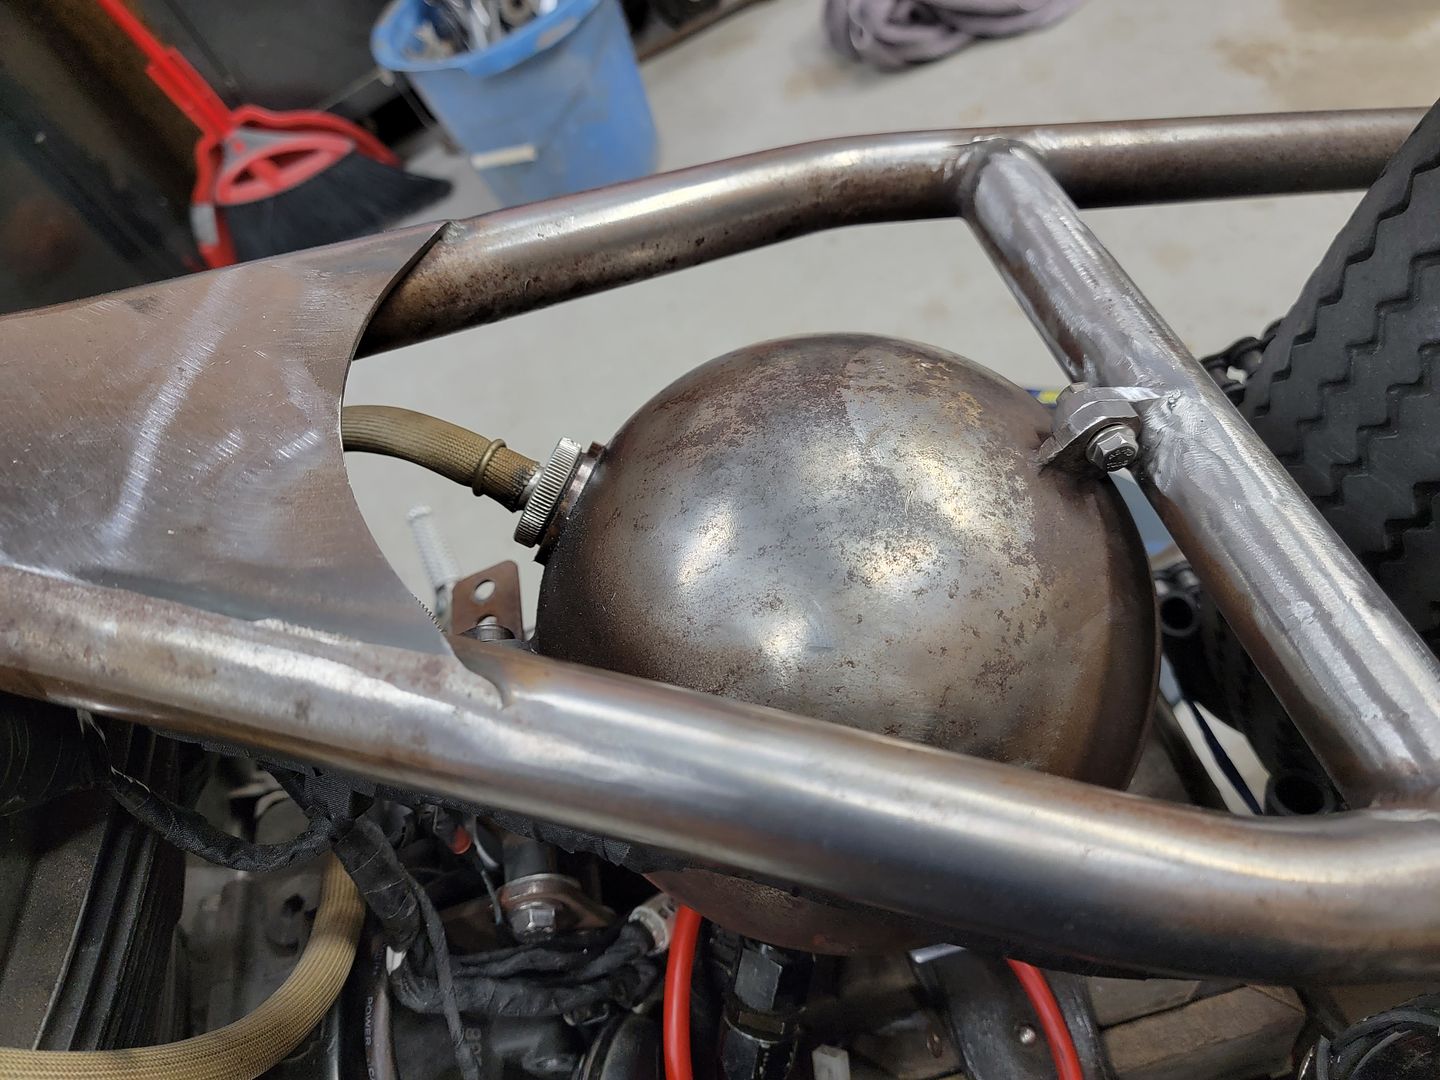
Got some special heat wrap in for the harness. Shouldn't notice it too much once the tank is in place.
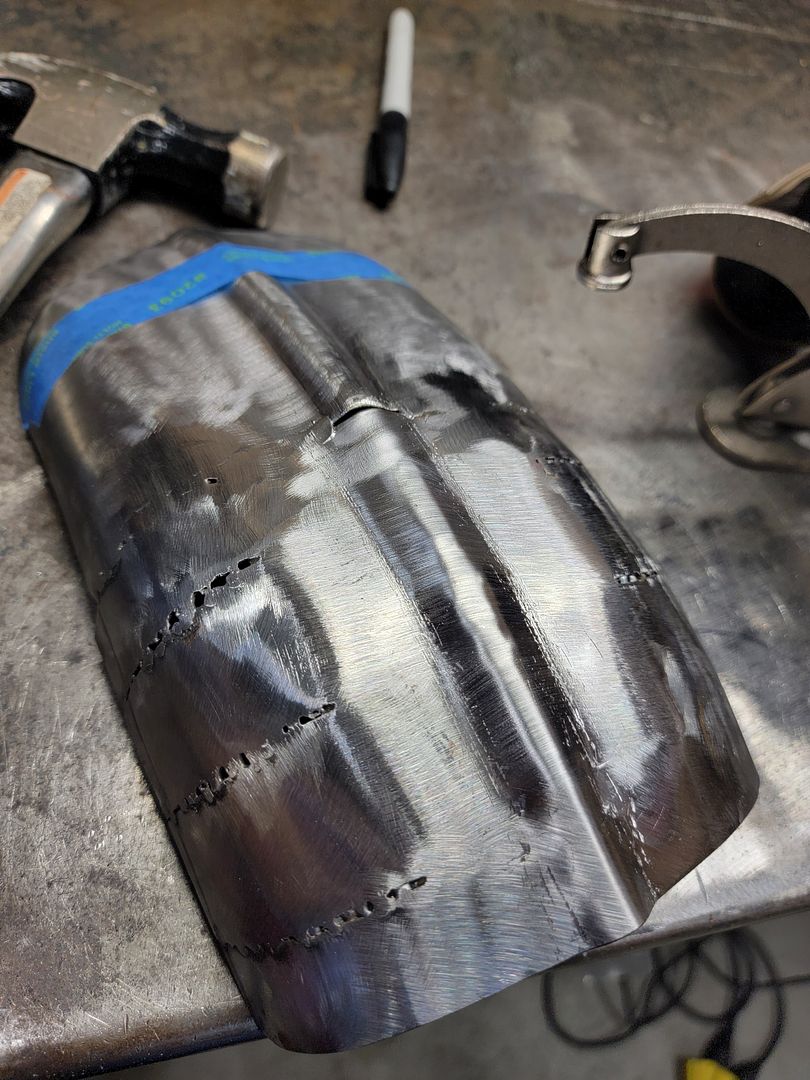
Started into the seat pan. Still figuring shit out as I go... this might be the first of many pans before i get it right lol.
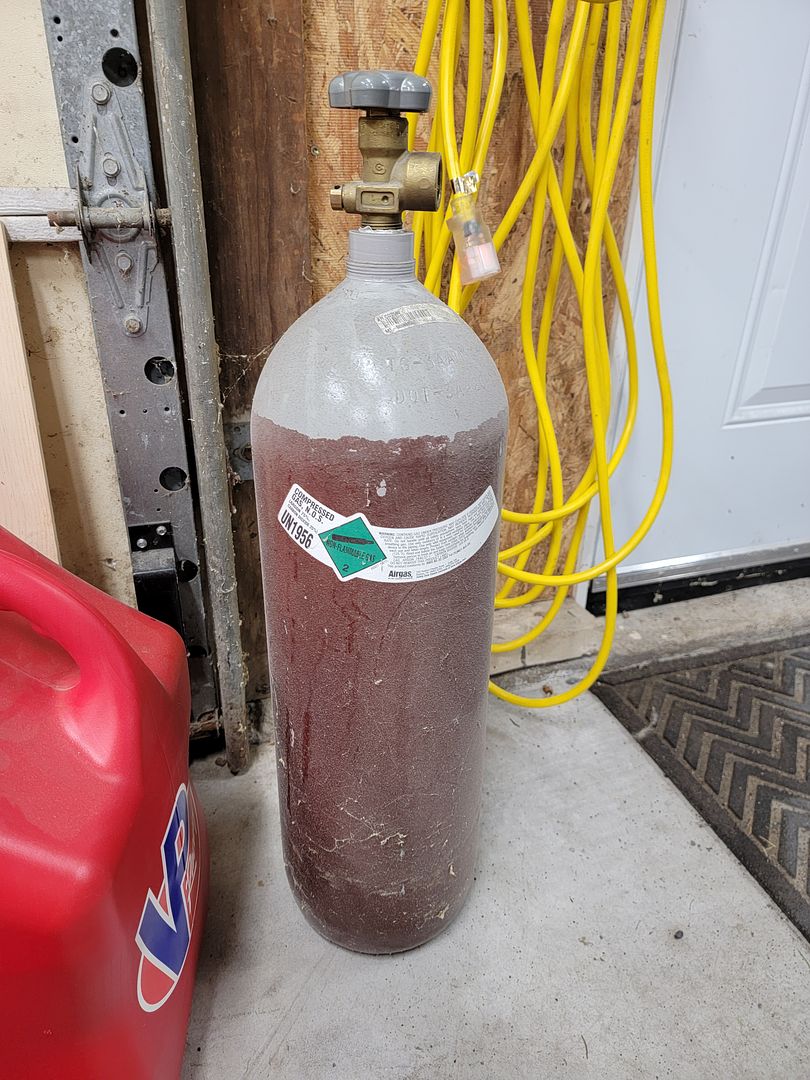
Of course I ran my bottle empty tonight... I will blame my poor welds on that this time around lol.
Will most likely hit up Walmart for a yoga mat or kneeling pads as it seams like that would be easier than the foam I purchased.
.jpg?width=1920&height=1080&fit=bounds)
.jpg?width=1920&height=1080&fit=bounds)
.jpg?width=1920&height=1080&fit=bounds)
.jpg?width=1920&height=1080&fit=bounds)
.jpg?width=1920&height=1080&fit=bounds)
.jpg?width=1920&height=1080&fit=bounds)
.jpg?width=1920&height=1080&fit=bounds)
.jpg?width=1920&height=1080&fit=bounds)
.jpg?width=1920&height=1080&fit=bounds)
.jpg?width=1920&height=1080&fit=bounds)


[IMG]https://hosting.photobucket.com/images/dd425/brentnaegele/20220528_234441.jpg?
width=1920&height=1080&fit=bounds[/IMG]

Comment
-
I love a nice tight rear fender and you are right there. All the work going into your seat should payoff nicely as well.Comment
-
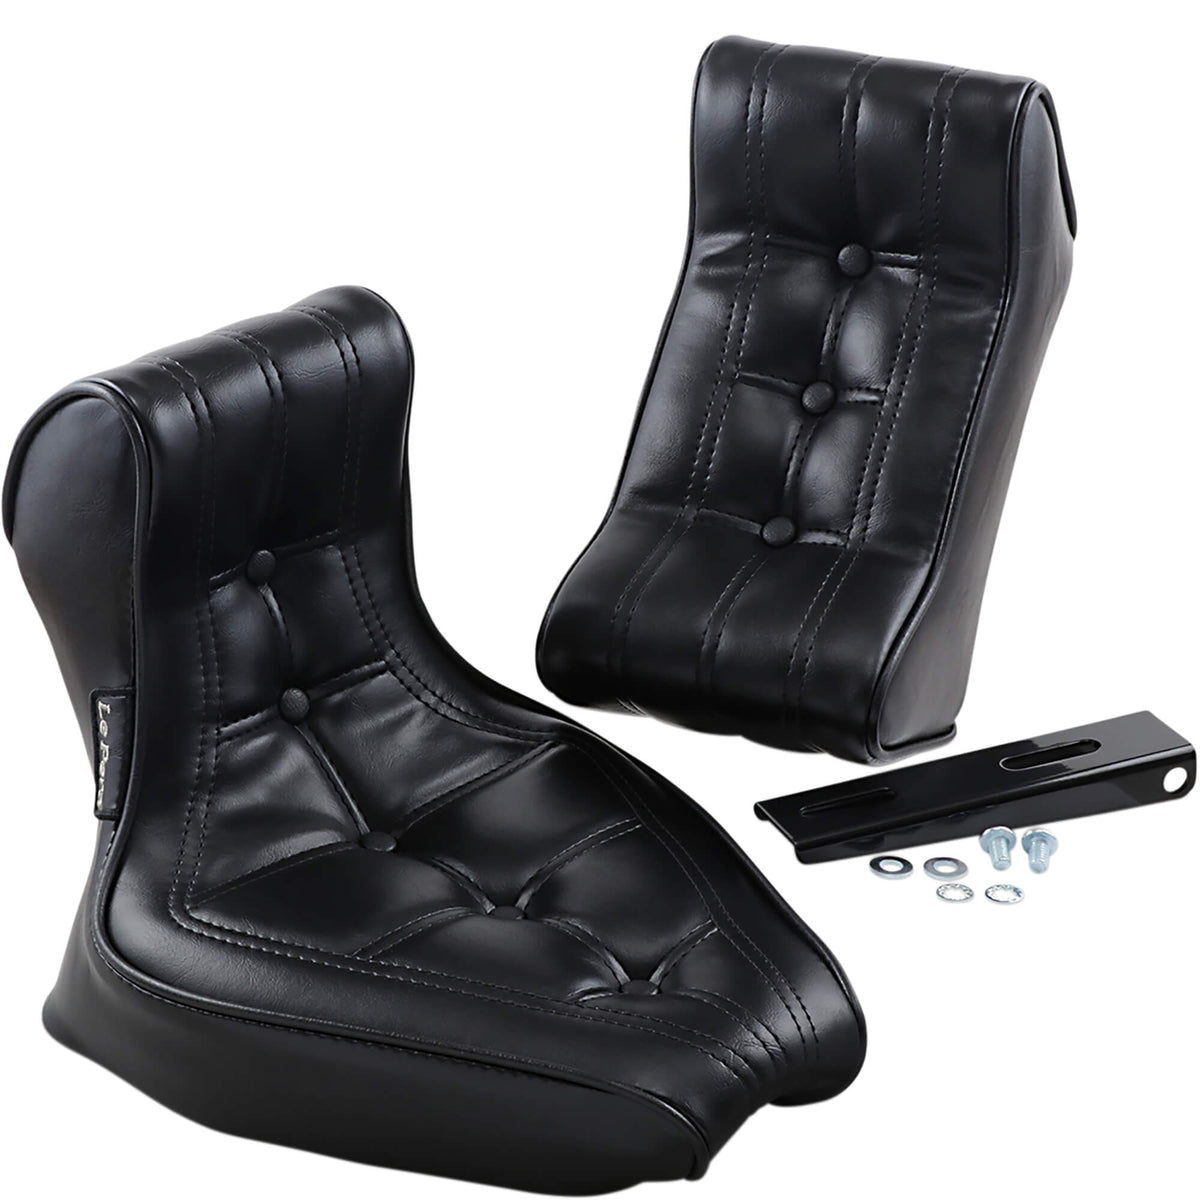
I am hoping so Doom lol. I have only made solo seat pans in the past and left them un covered so this is definitly a bit of a challenge for me. I am attempting to make something similar to the le pera signature 2 or the drag specialties scorpion.
https://www.lowbrowcustoms.com/colle...rpion-seat-pad..
Comment
-
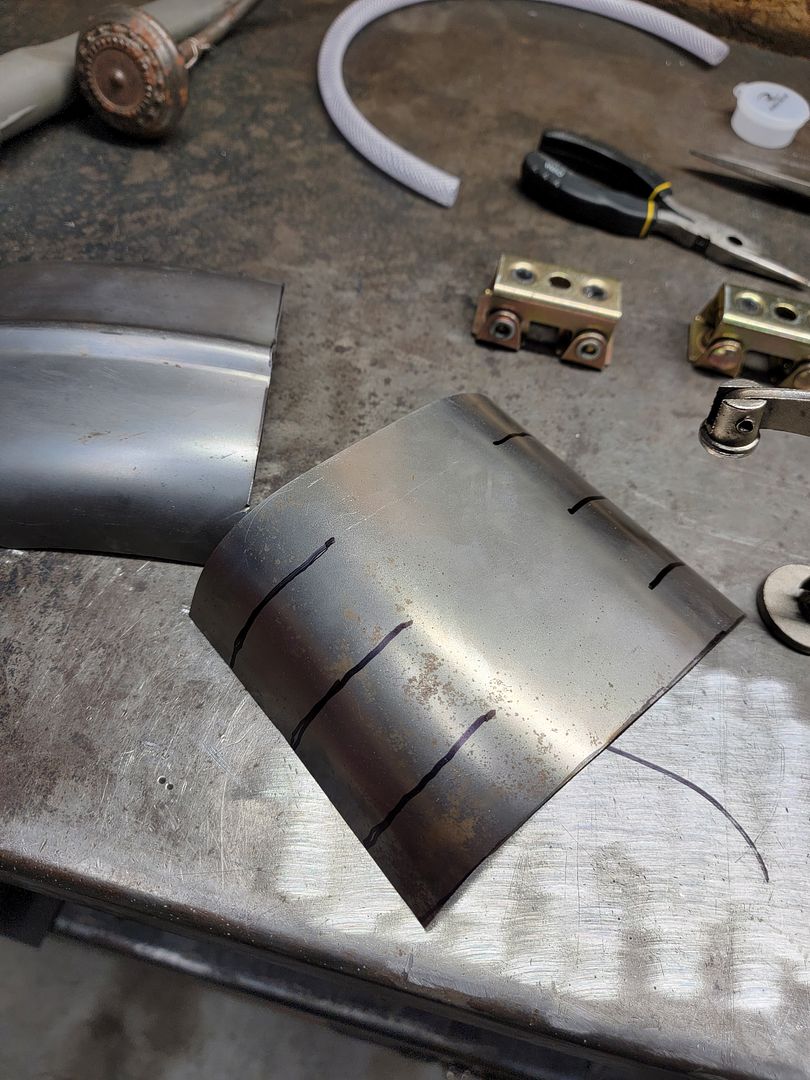
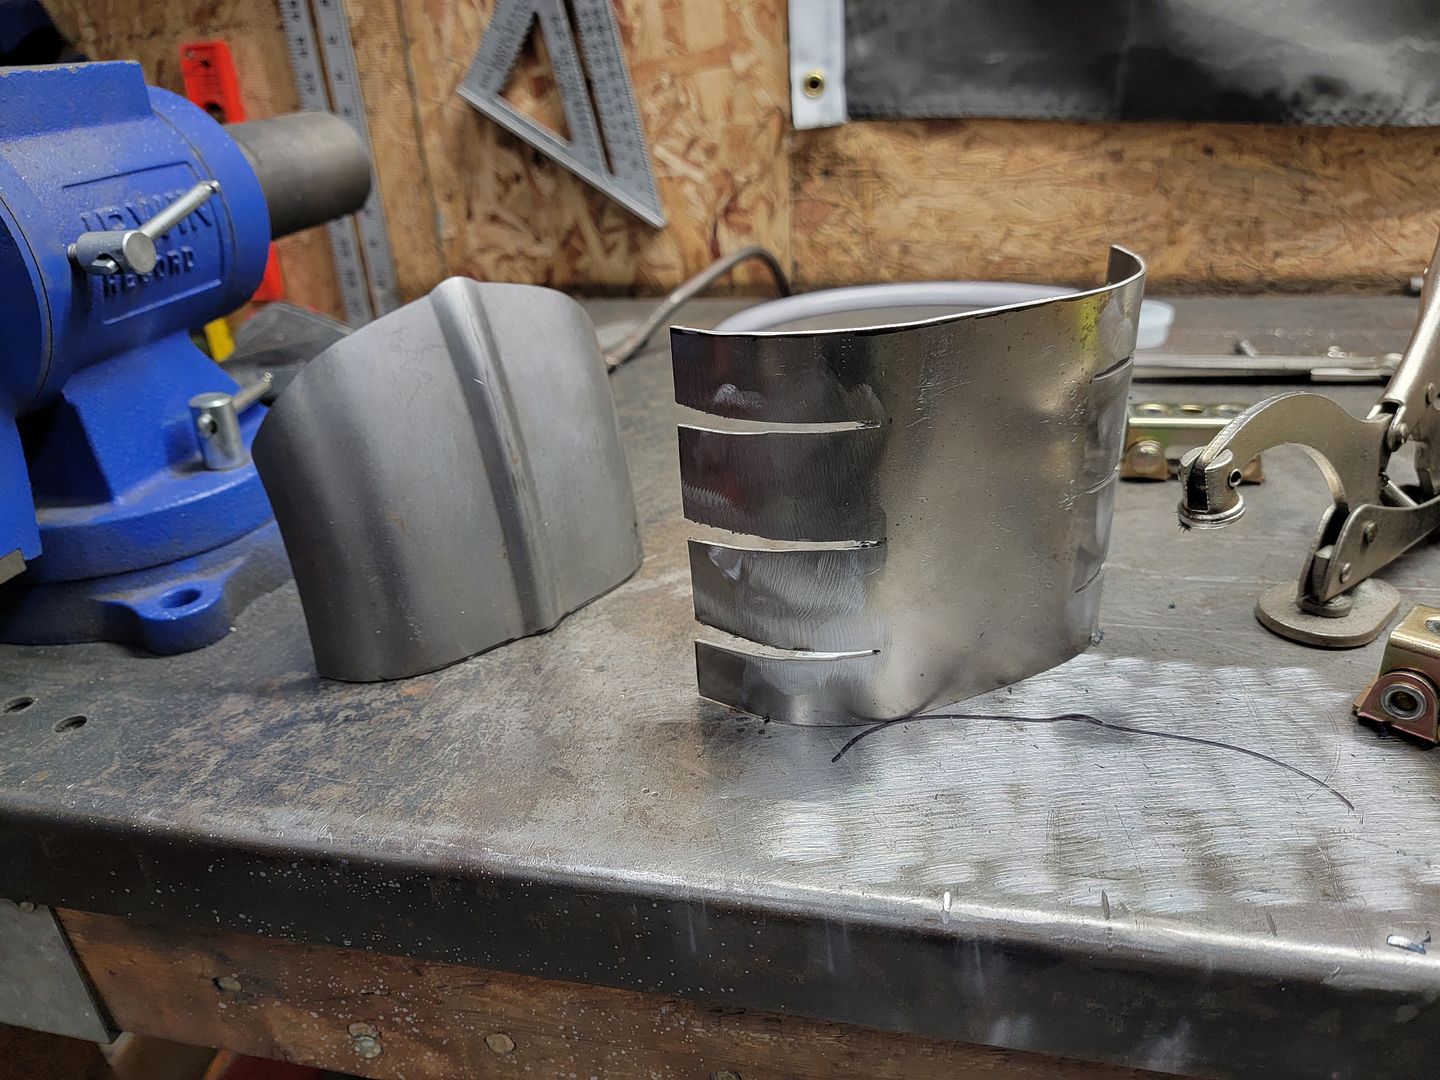
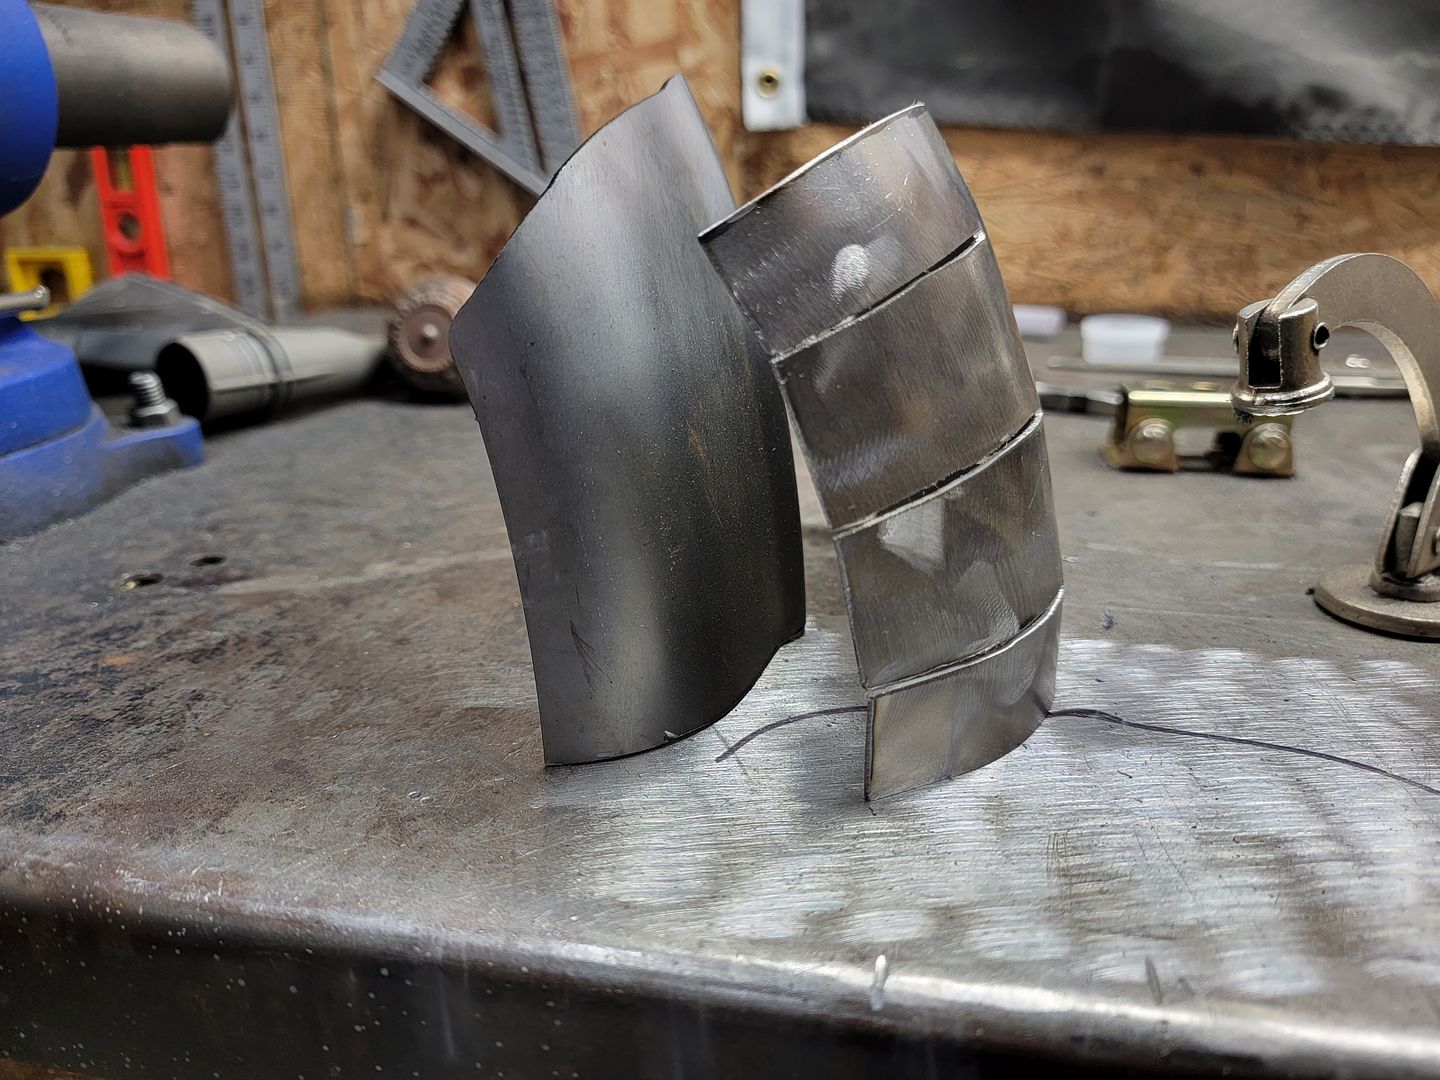
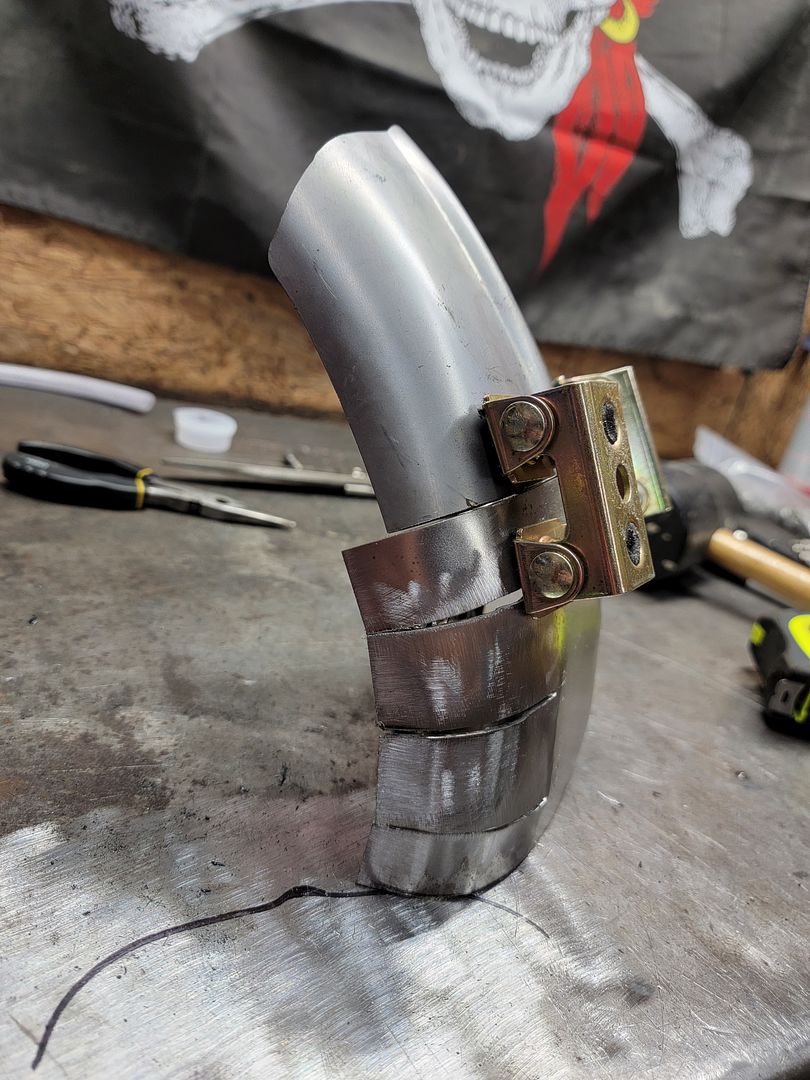
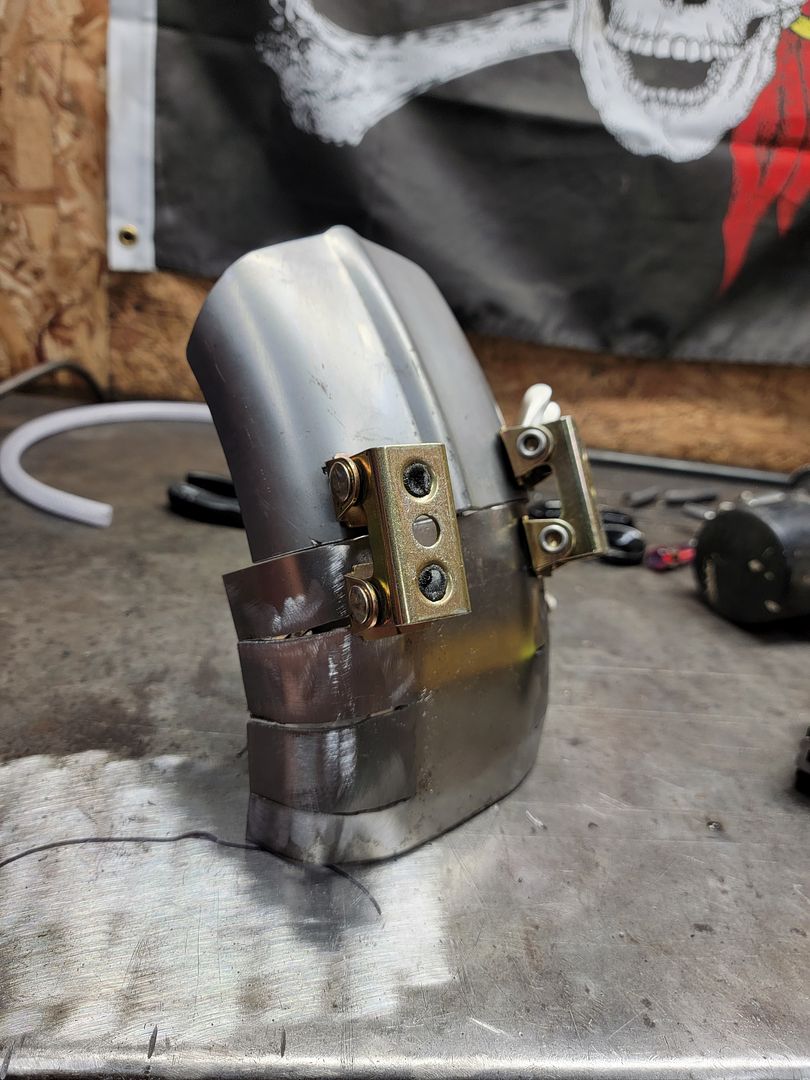
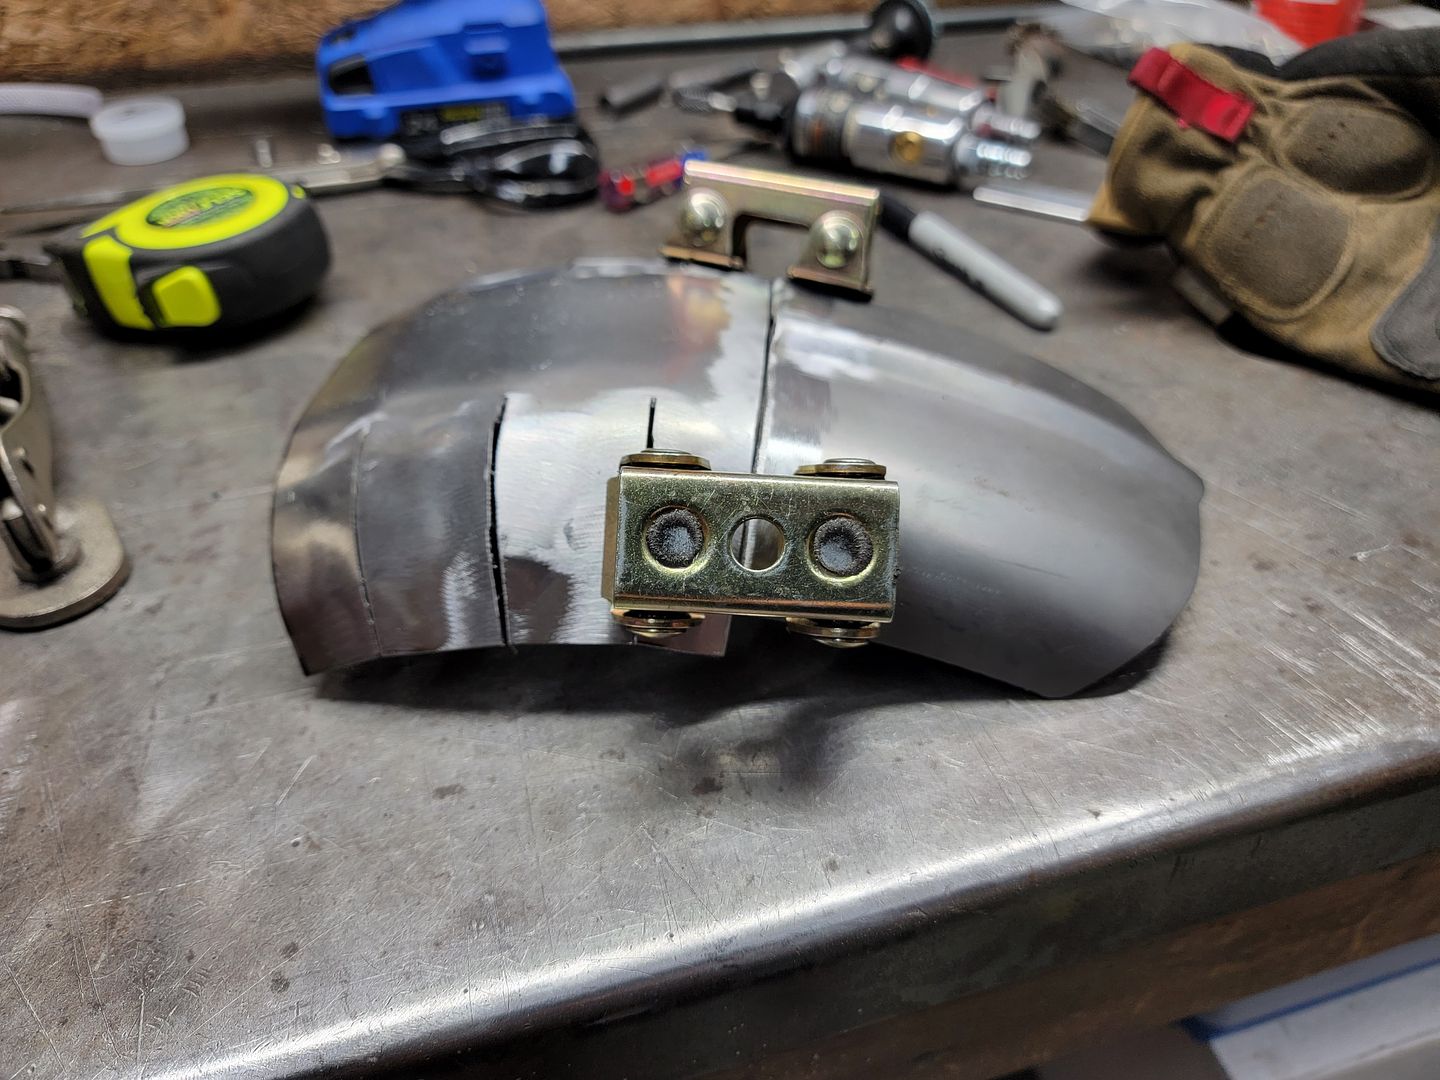
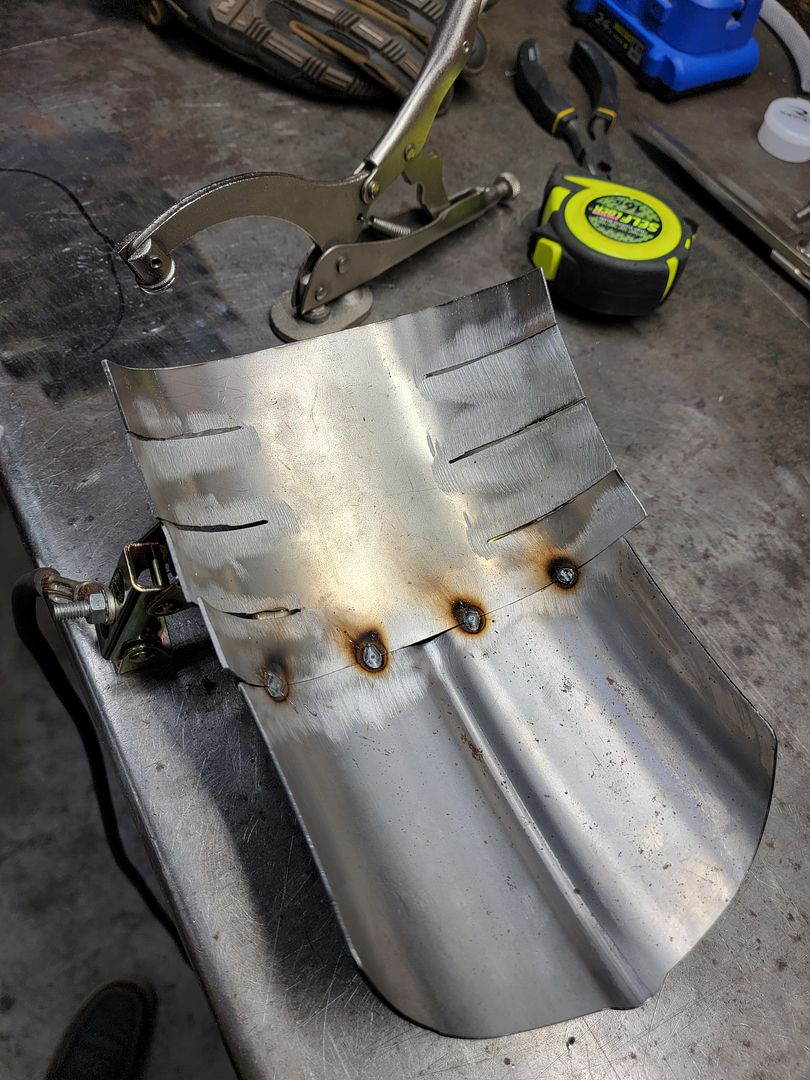
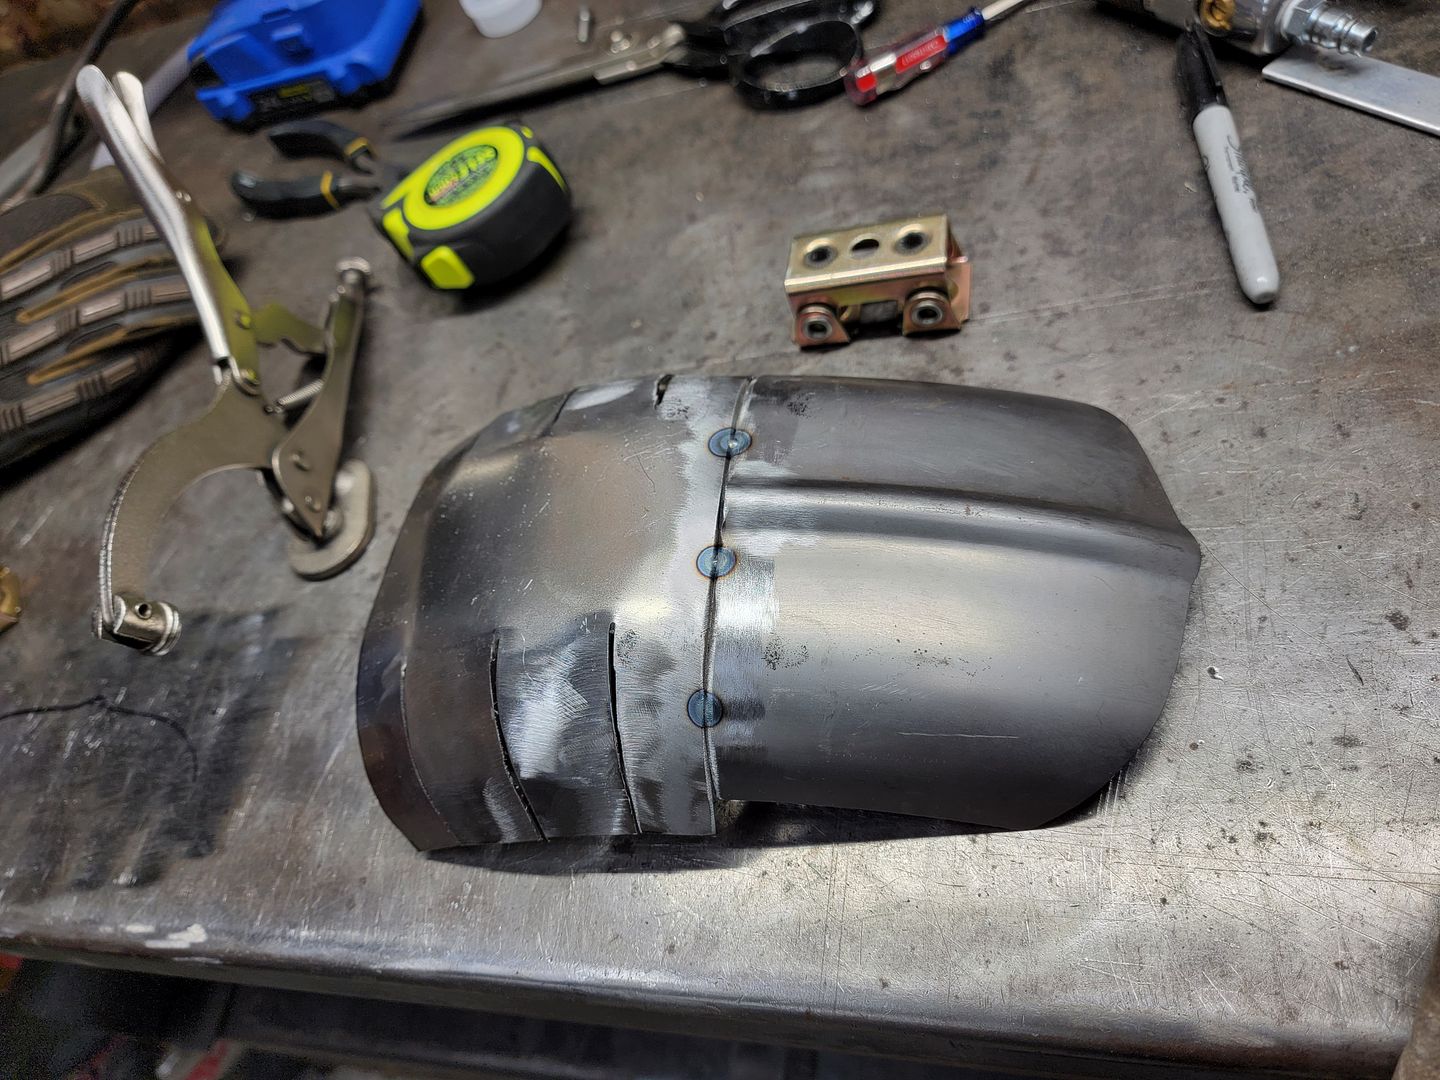
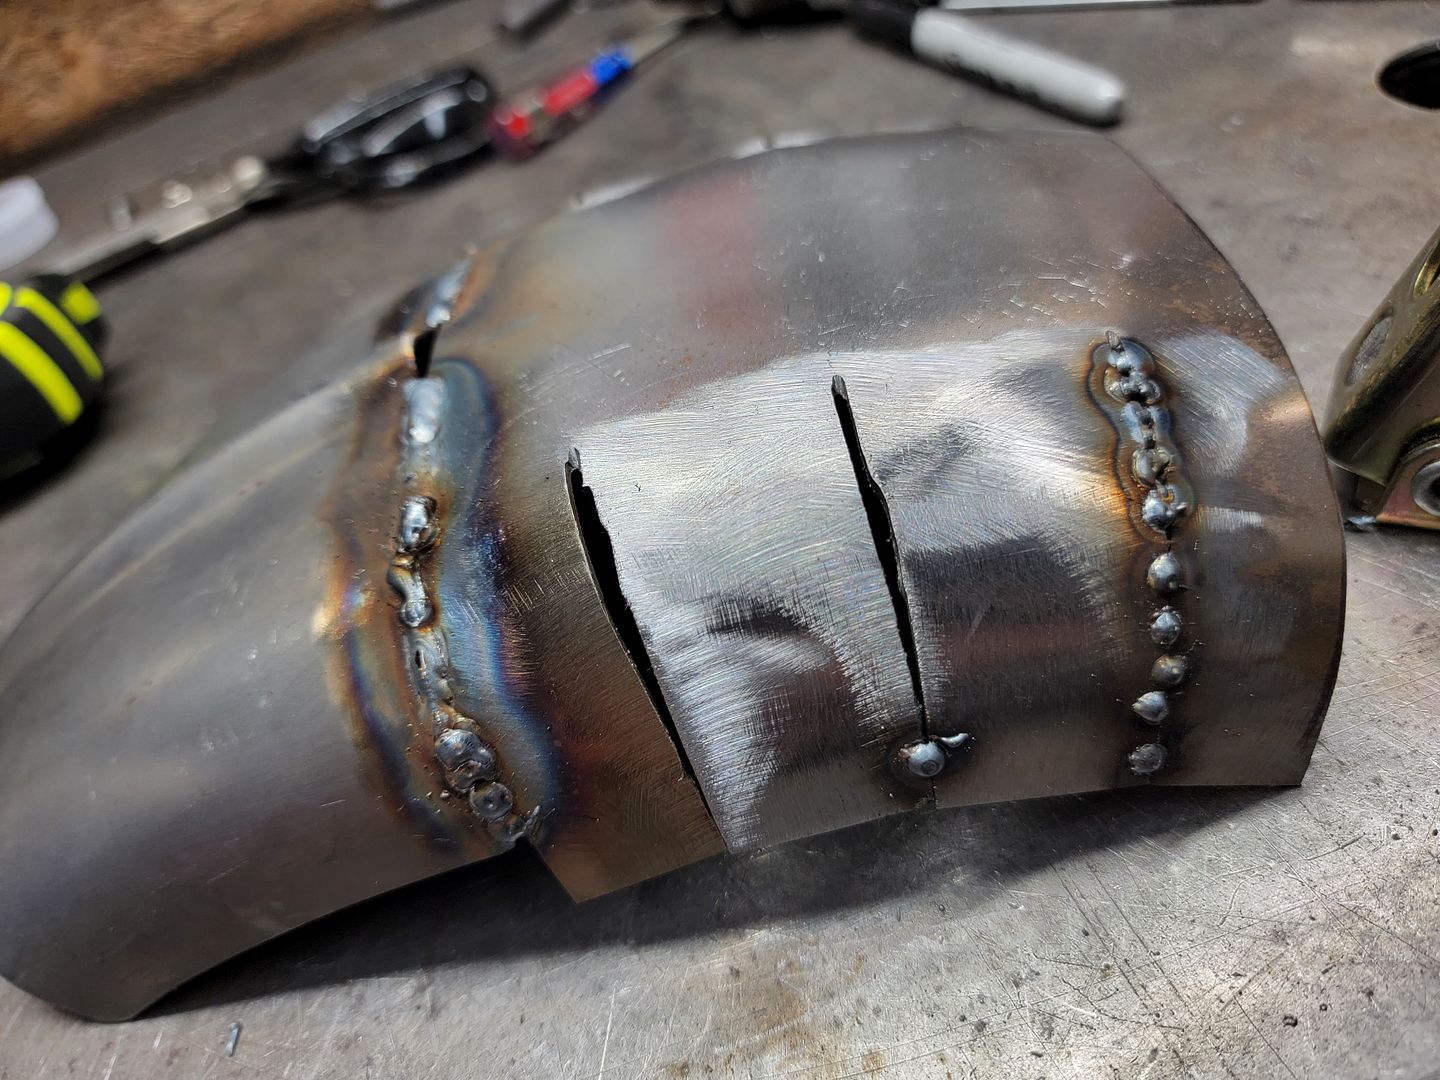
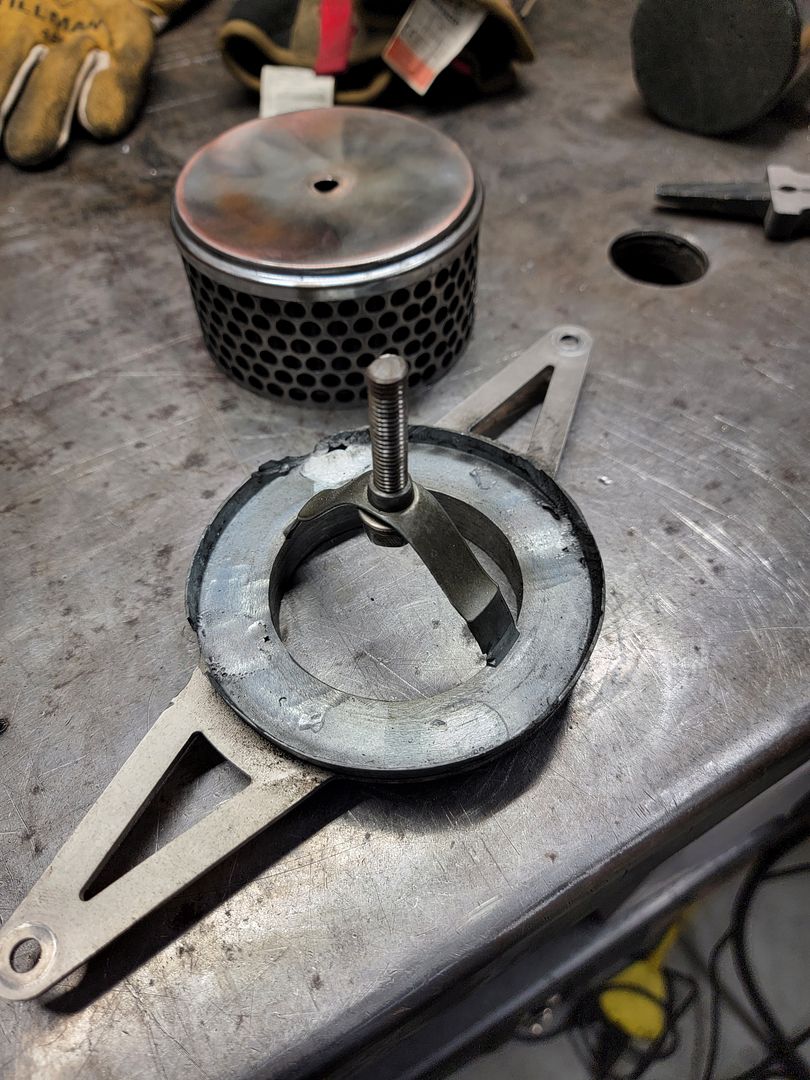
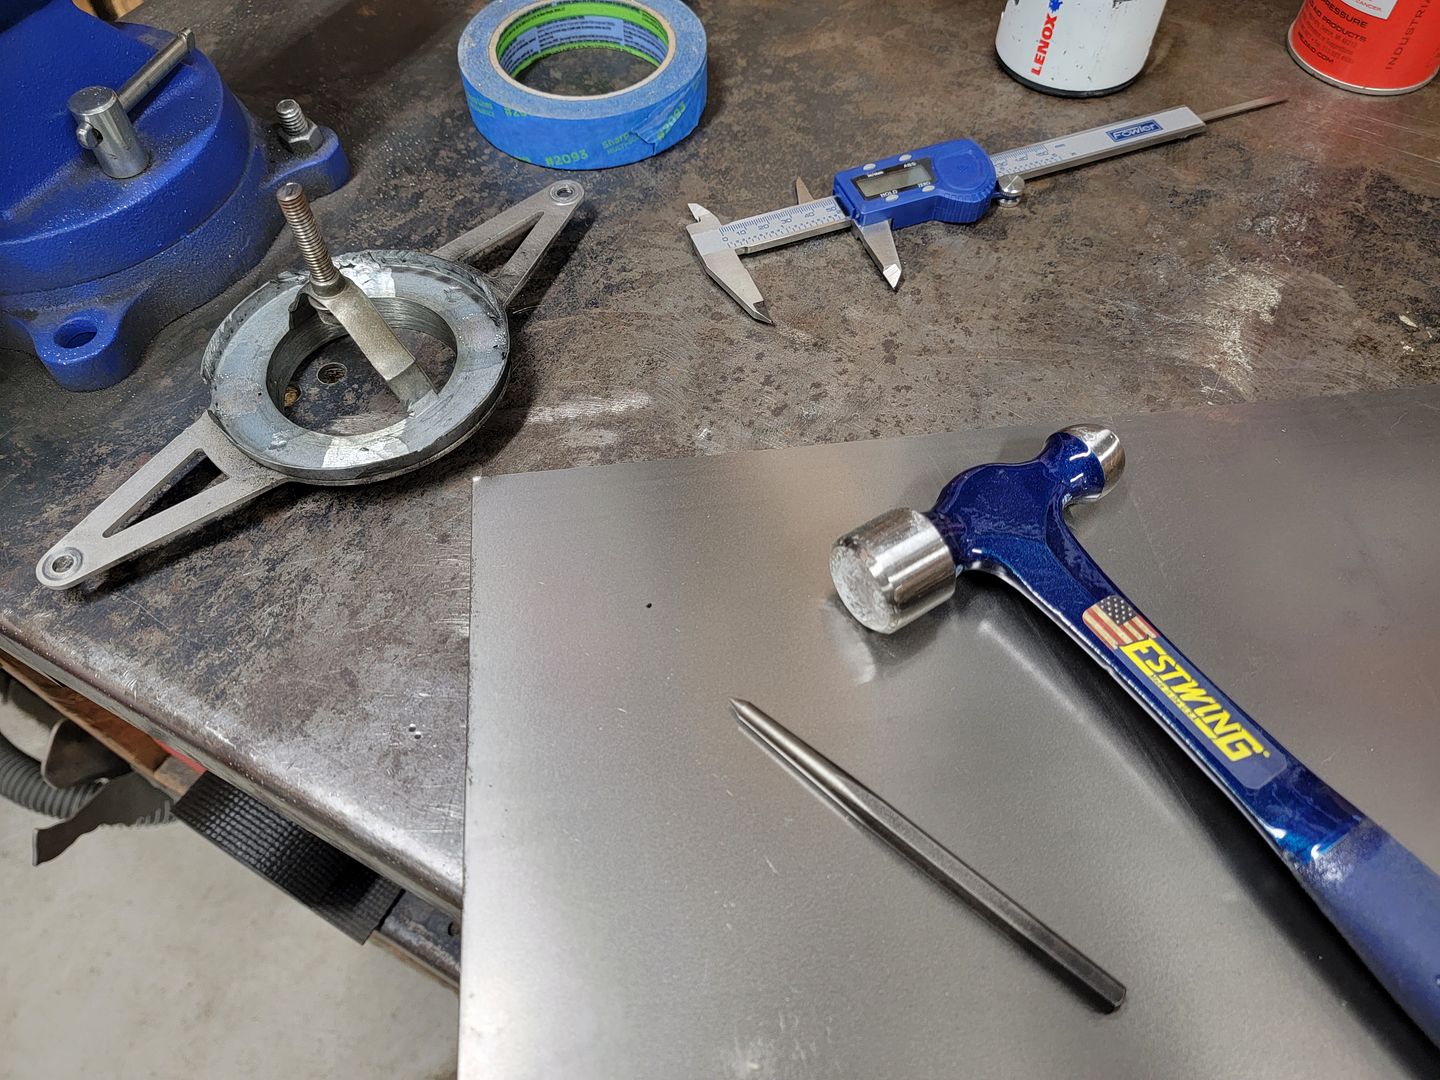
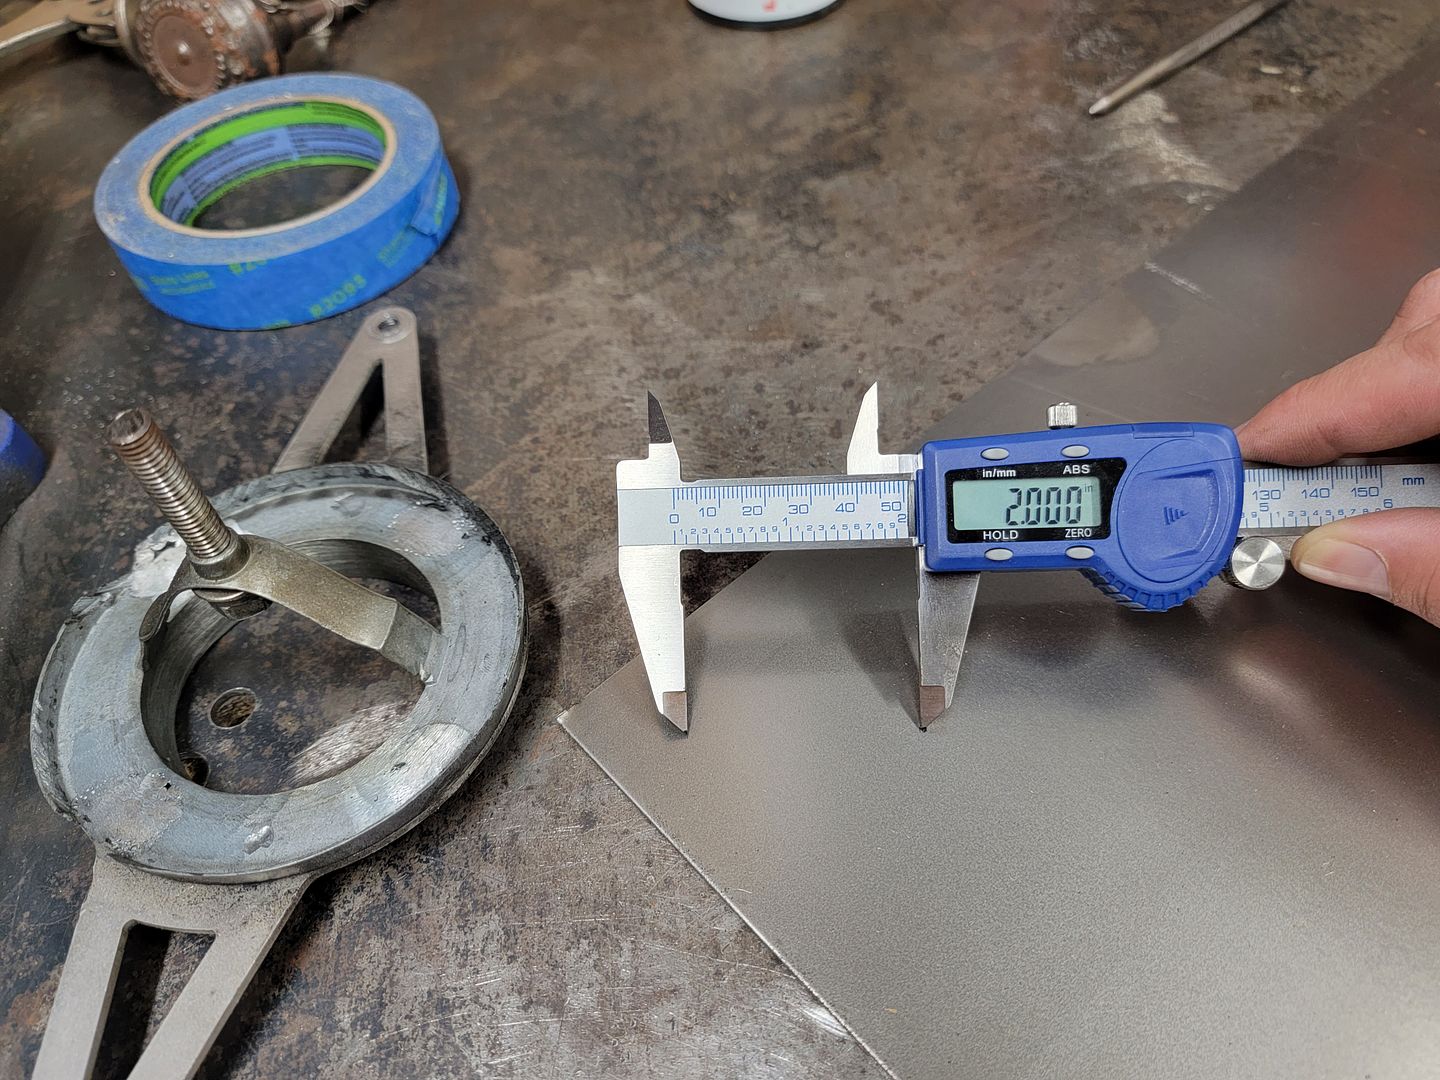
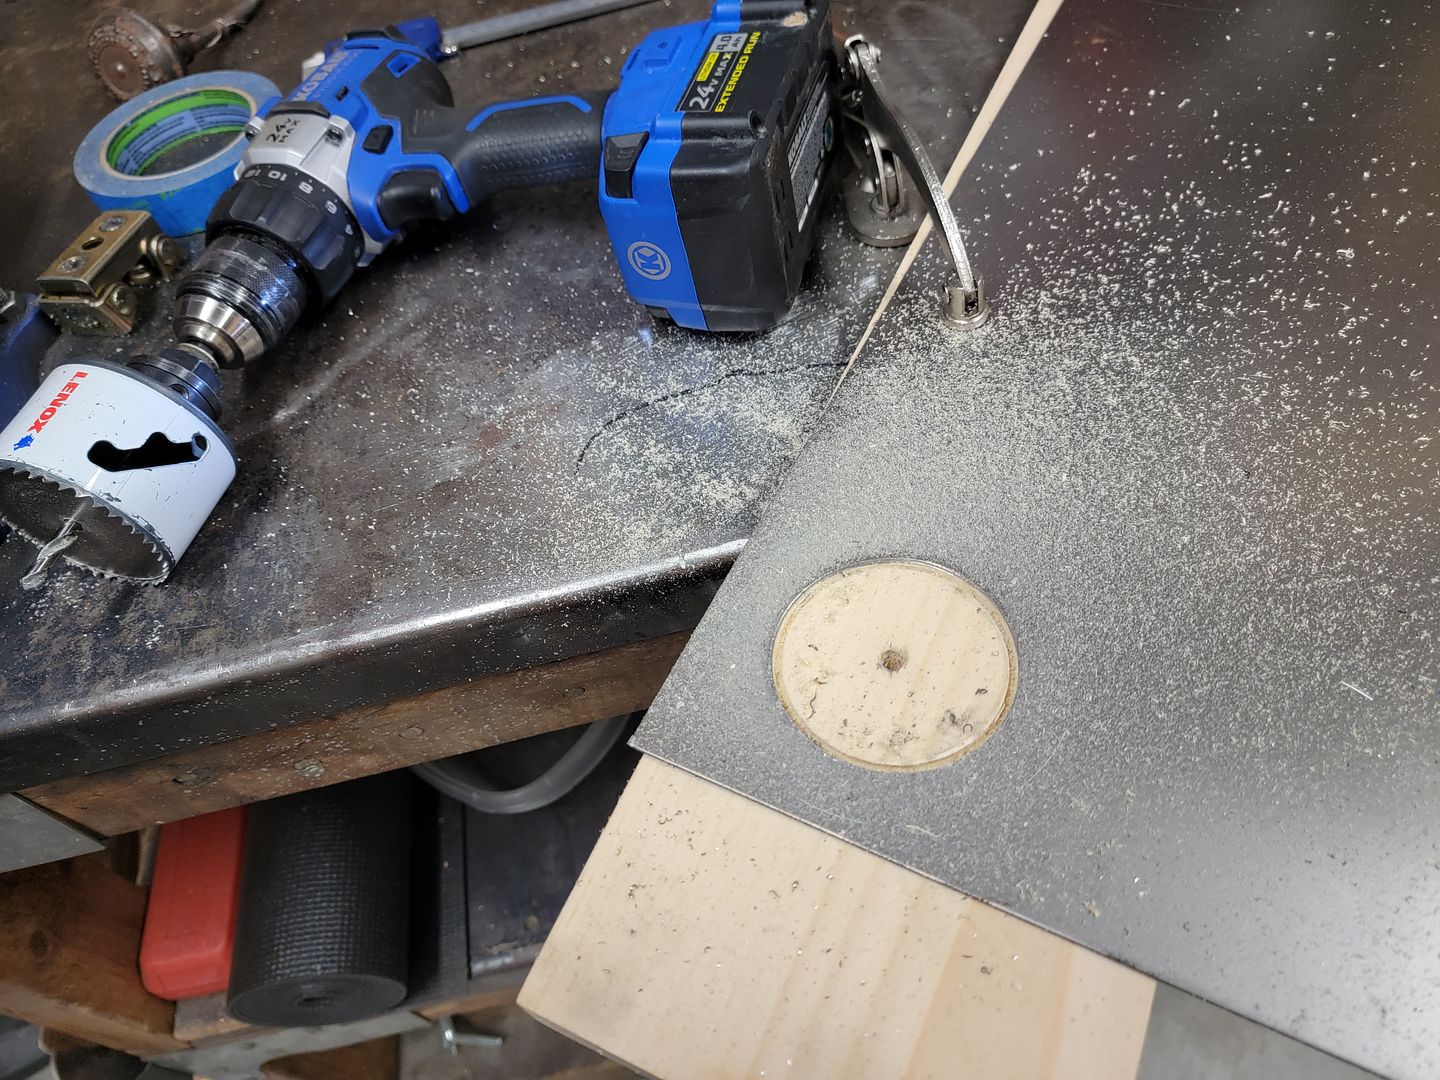
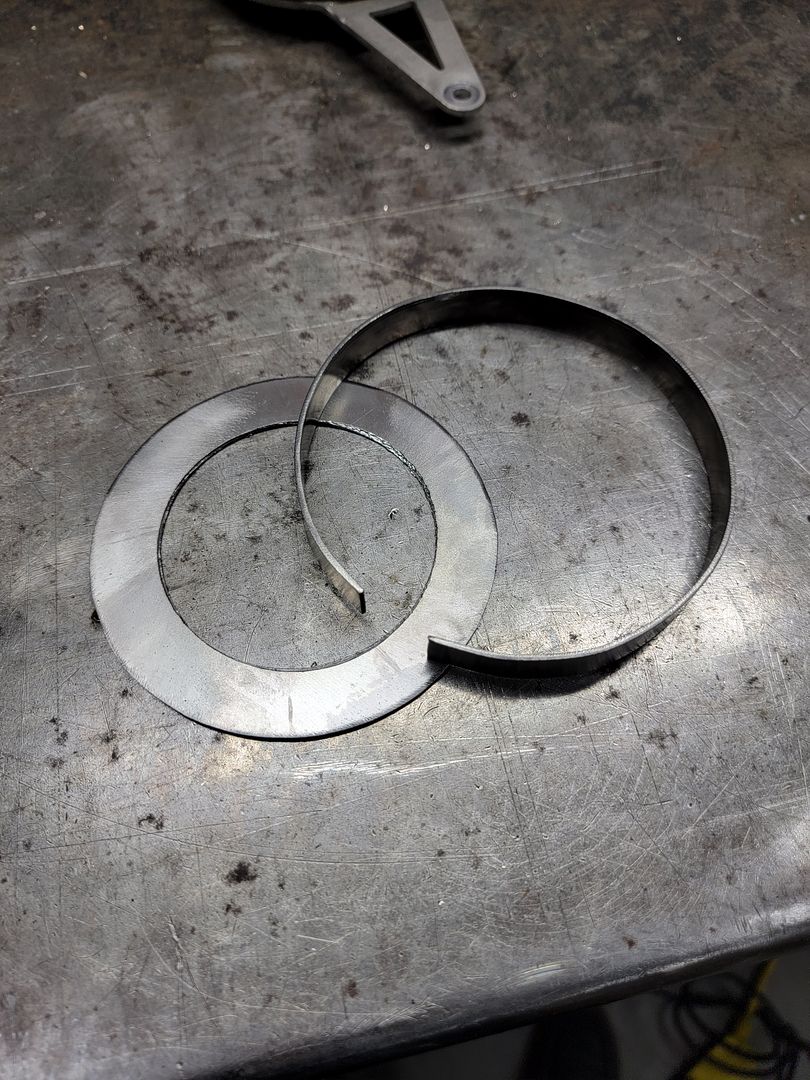
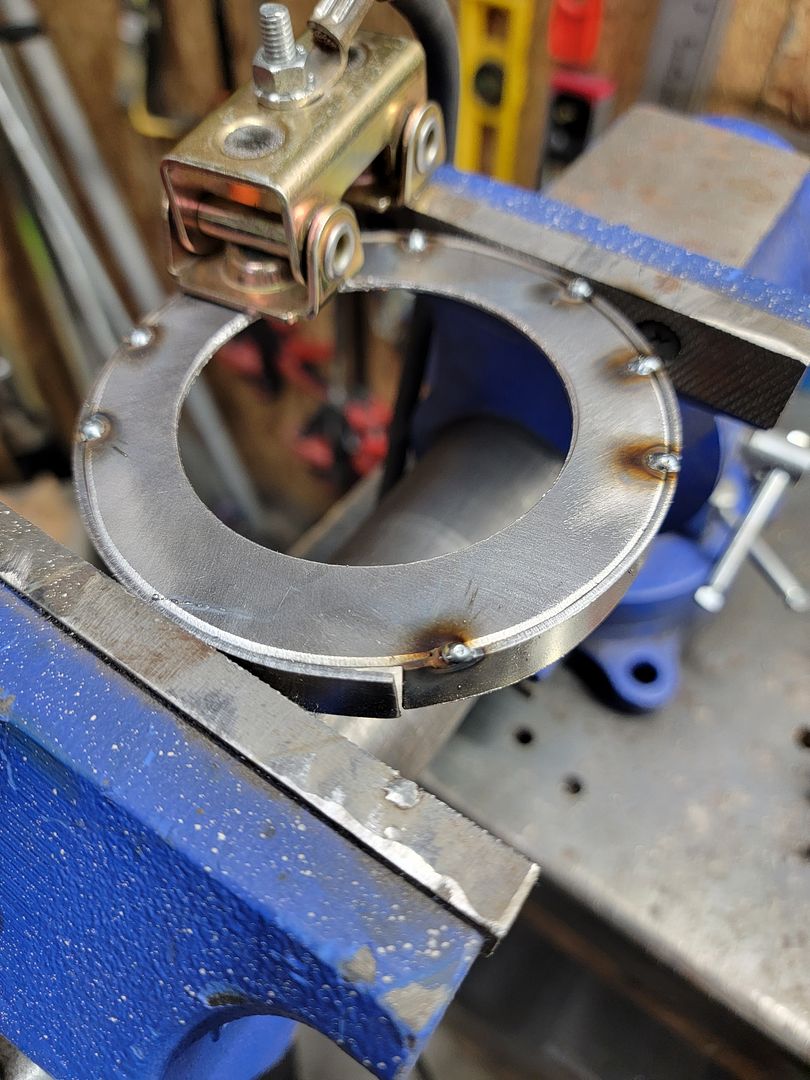
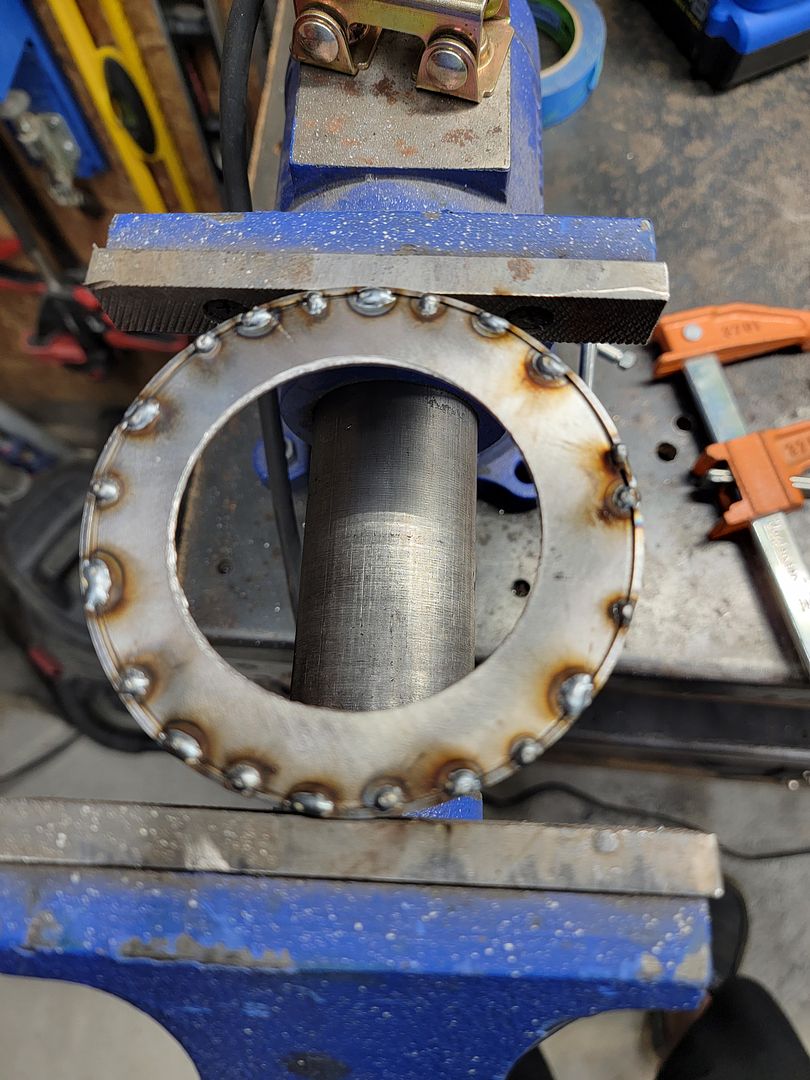
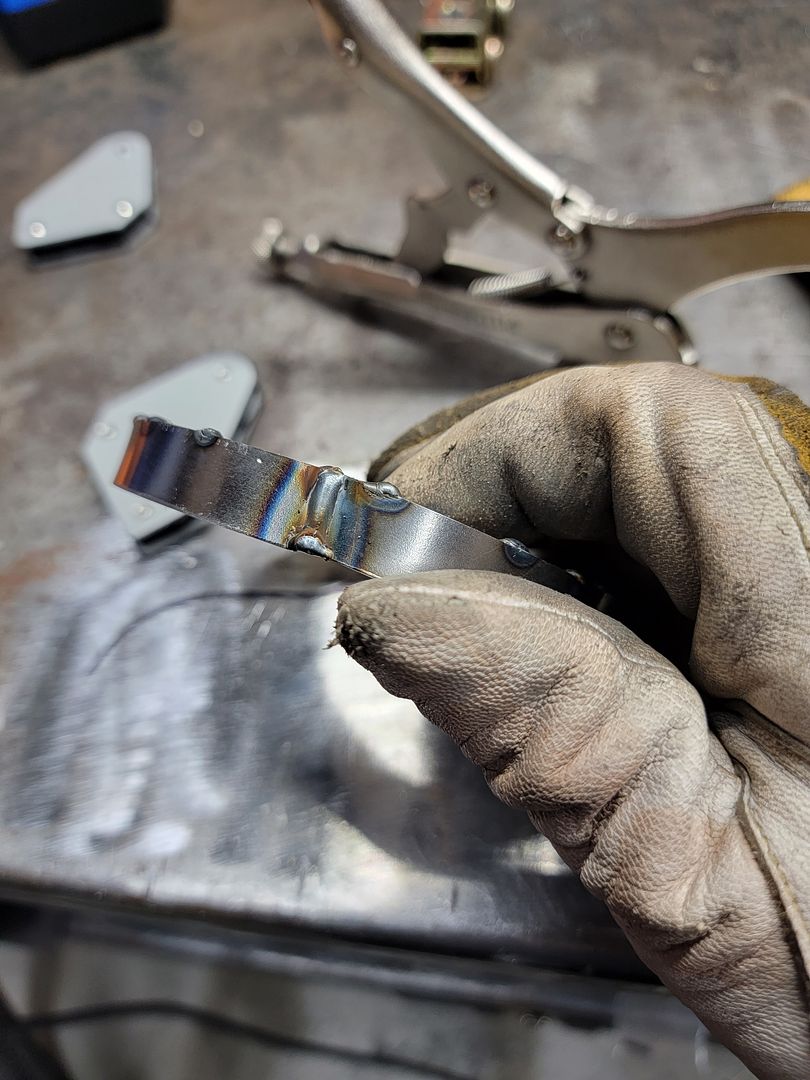
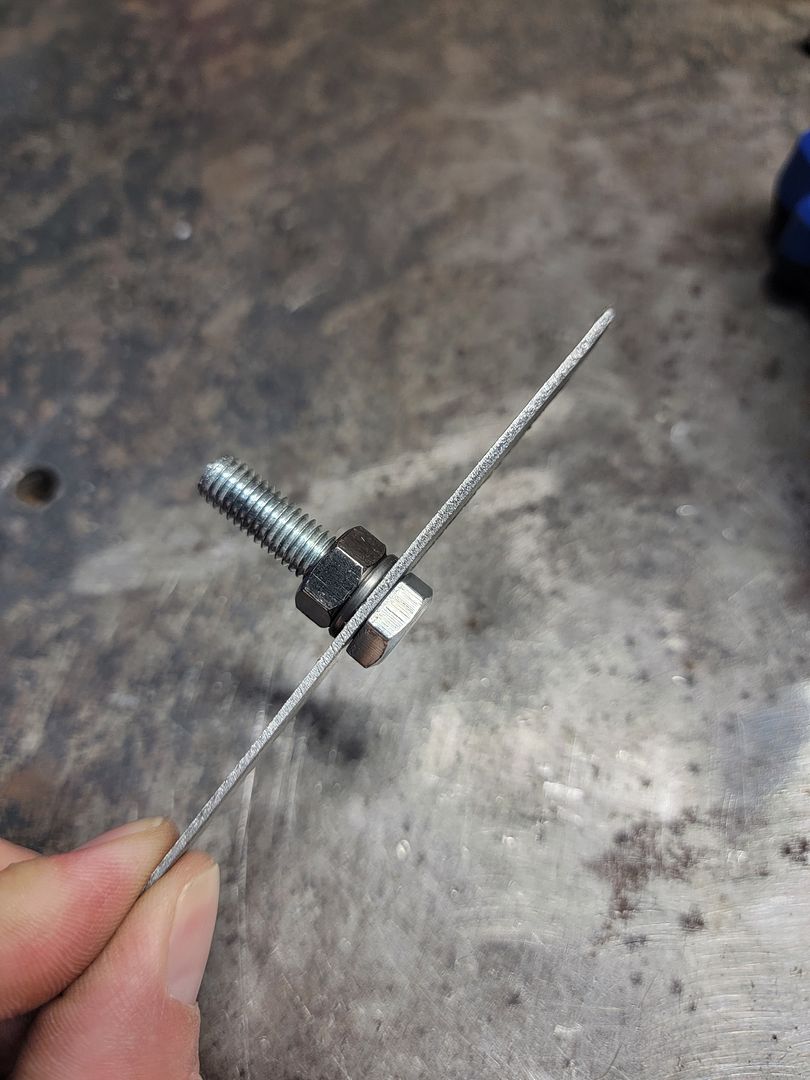
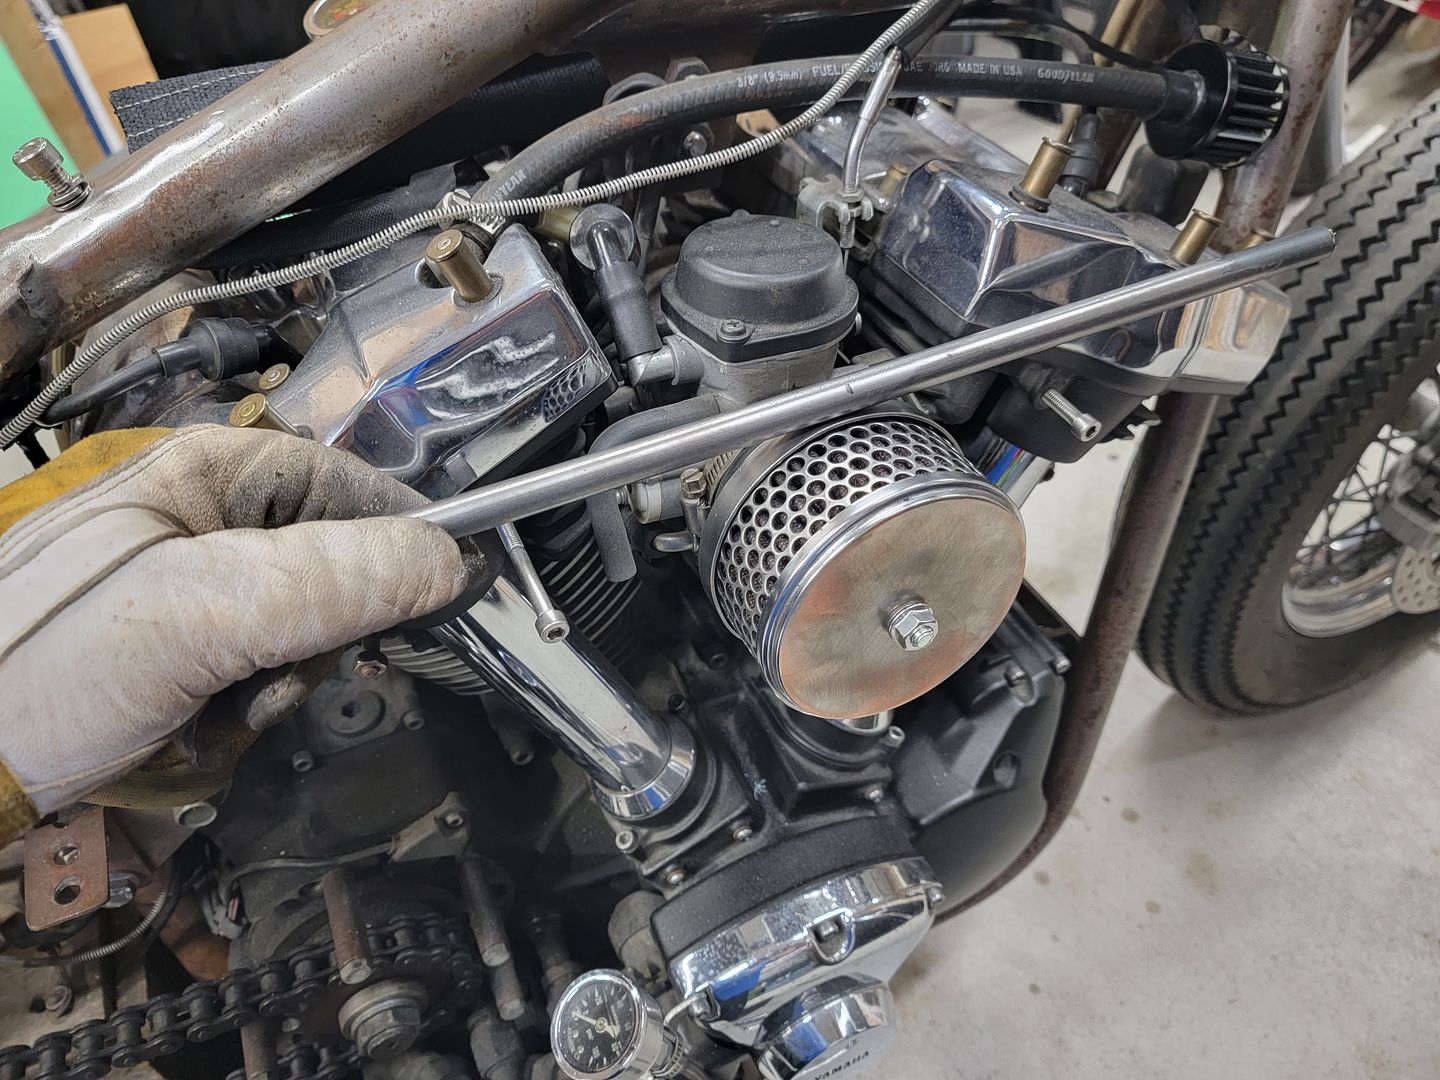
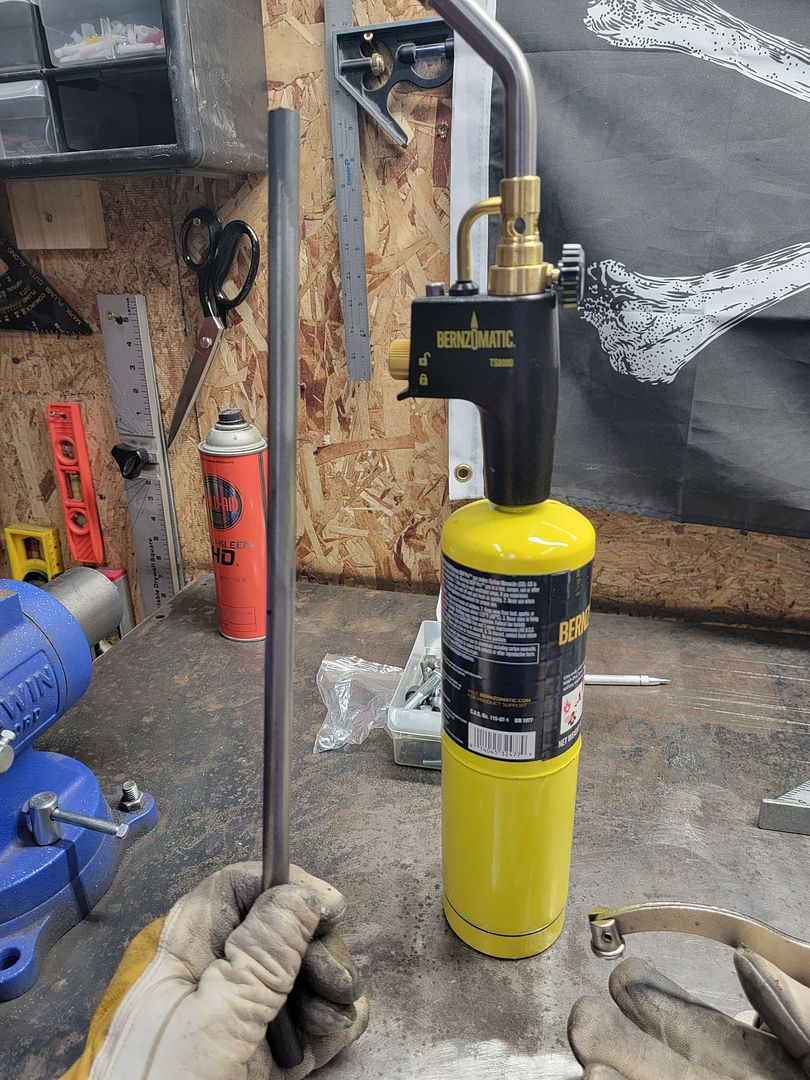
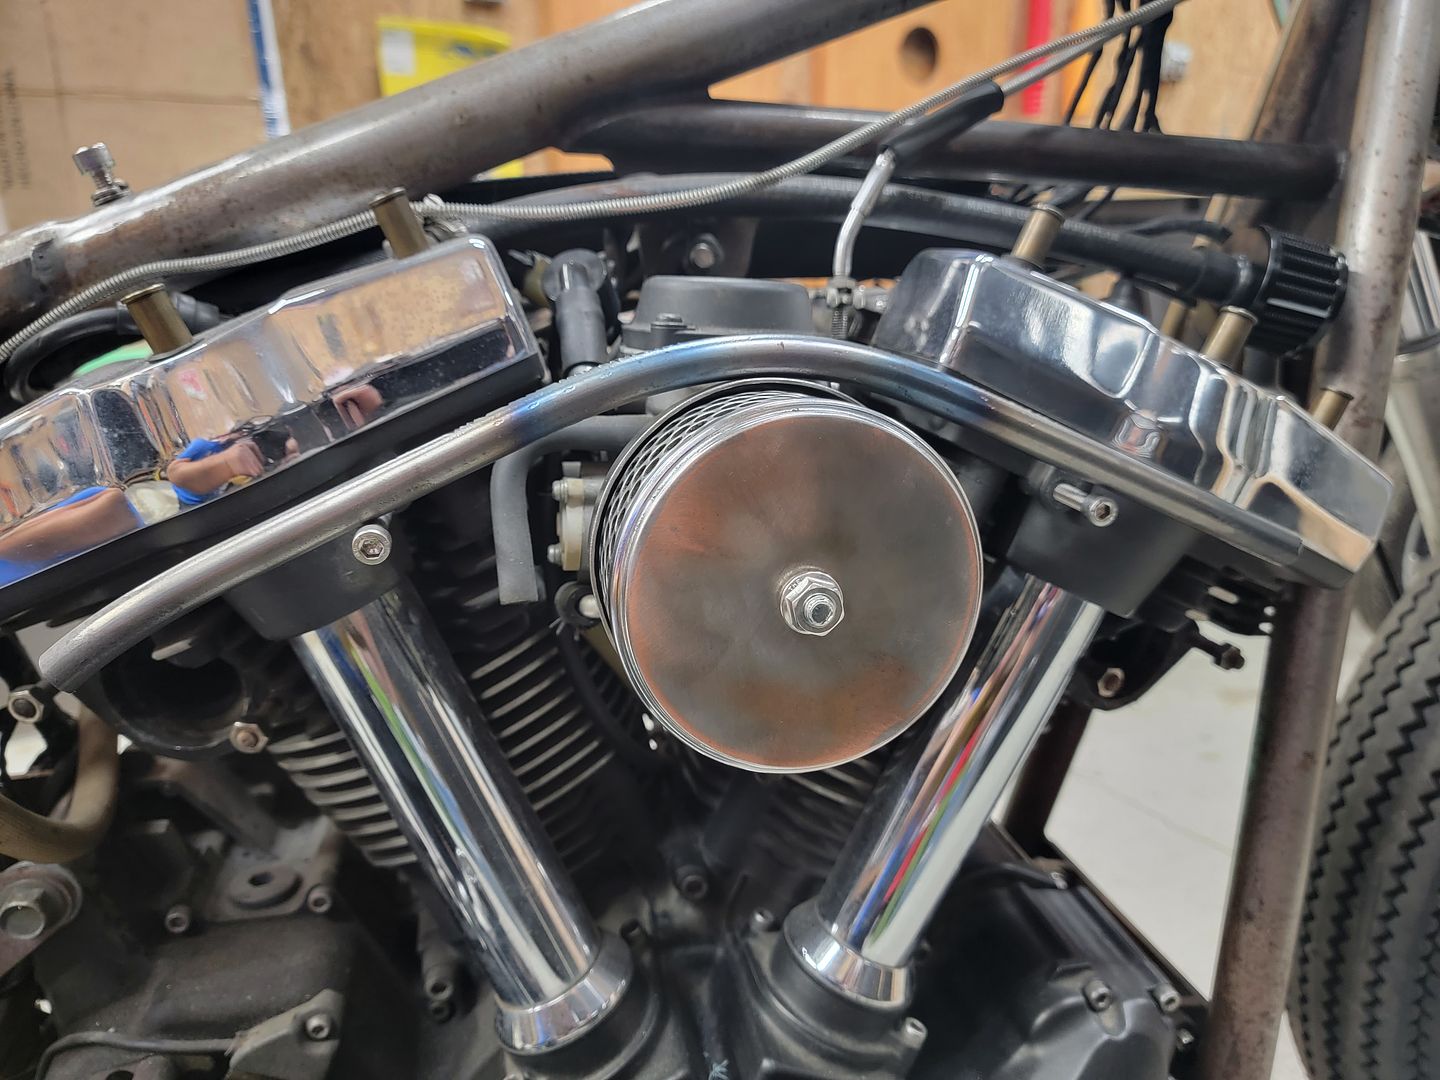
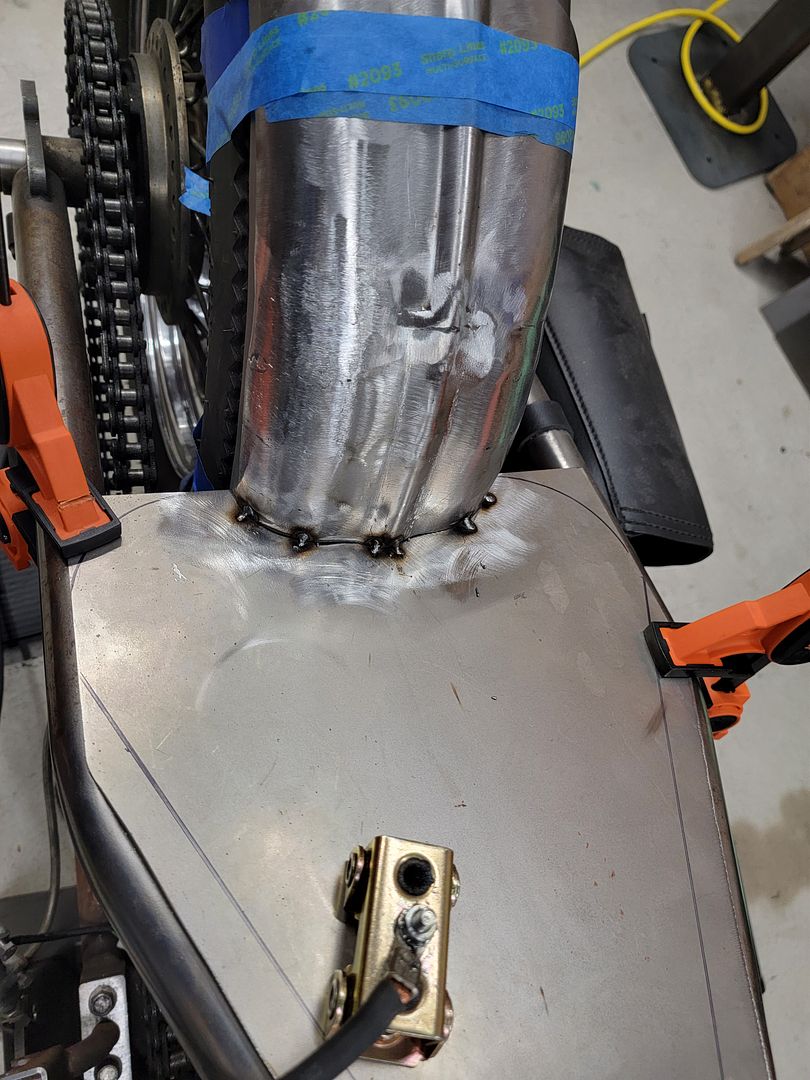
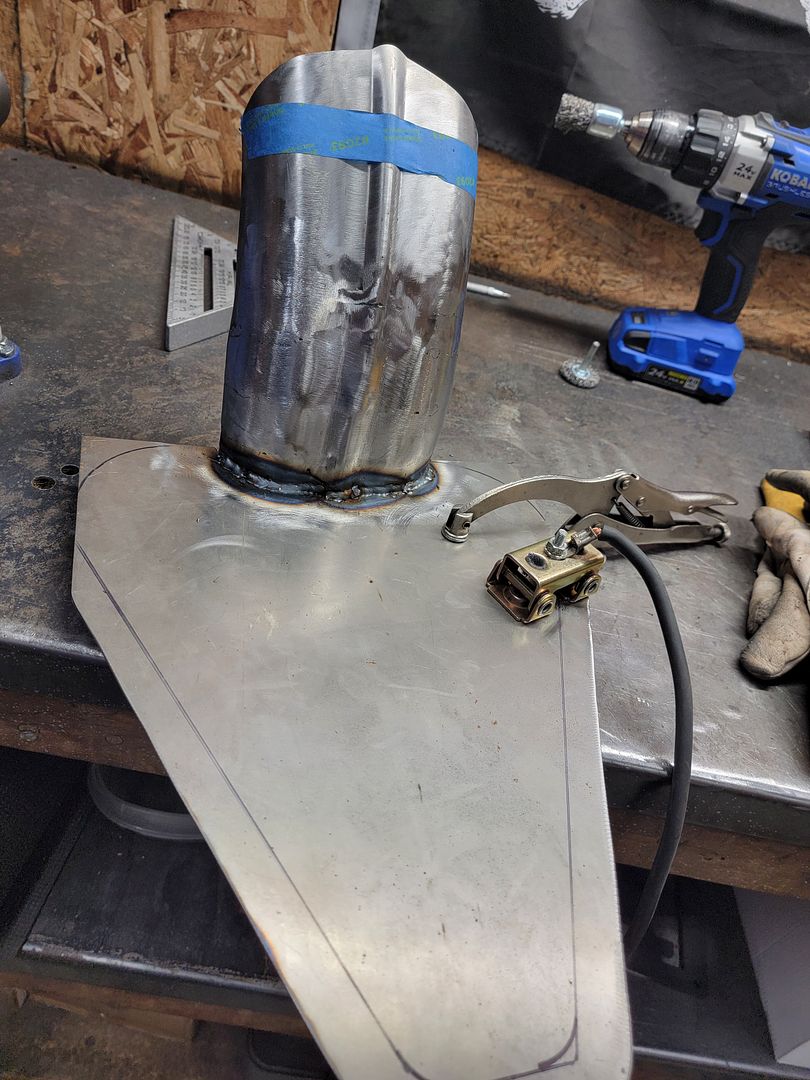
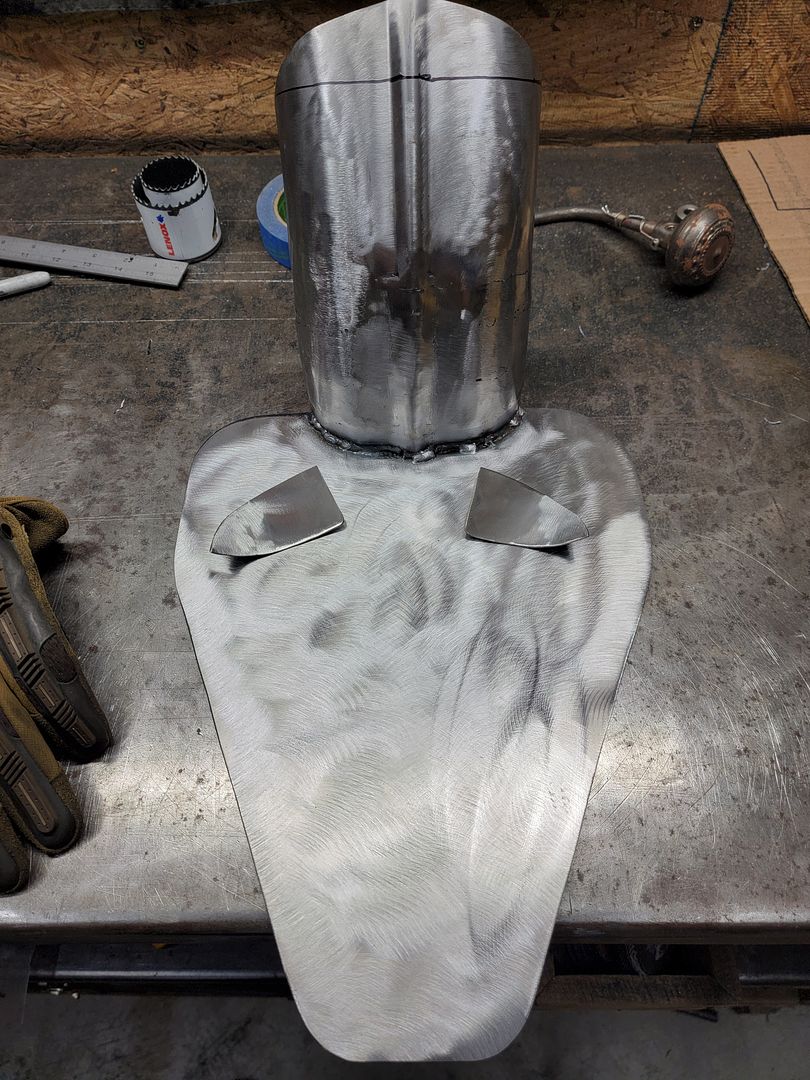
Waiting on some more hardware/bungs for the seat and fender install so I decided to make a new intake "housing" as the one I had was pretty half ass thrown together a few years back. Didn't get her complete but I think you guys can see what im going for in the last picture.


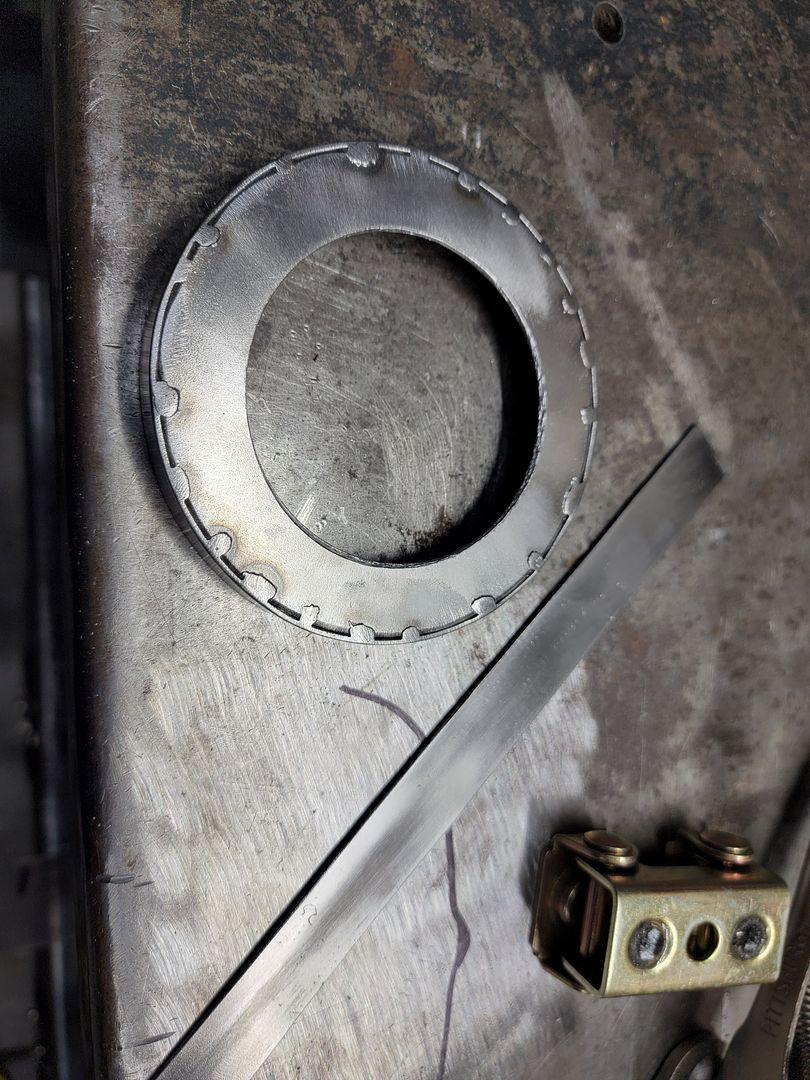

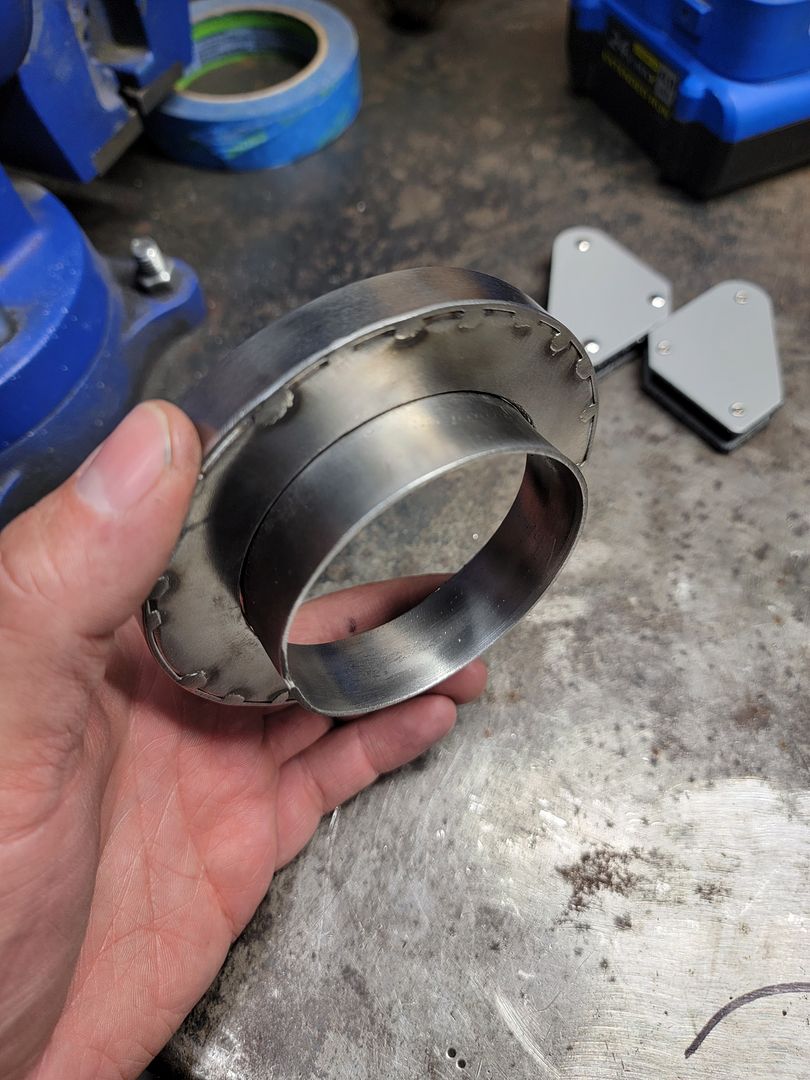

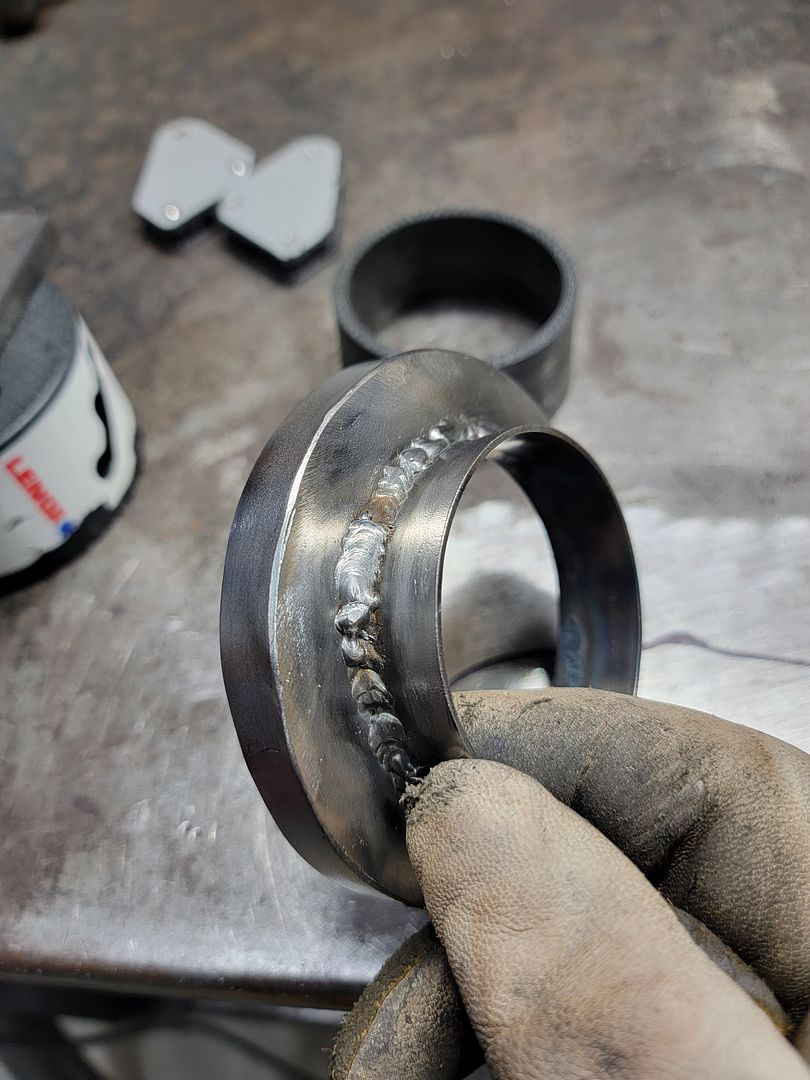
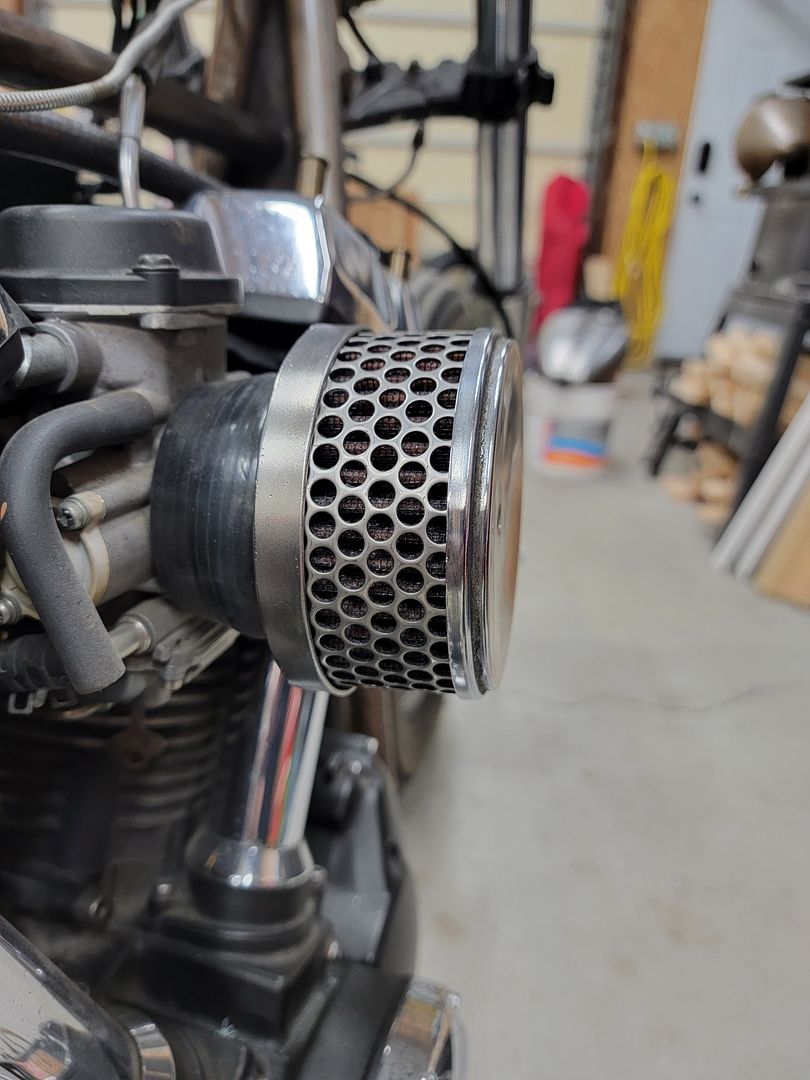
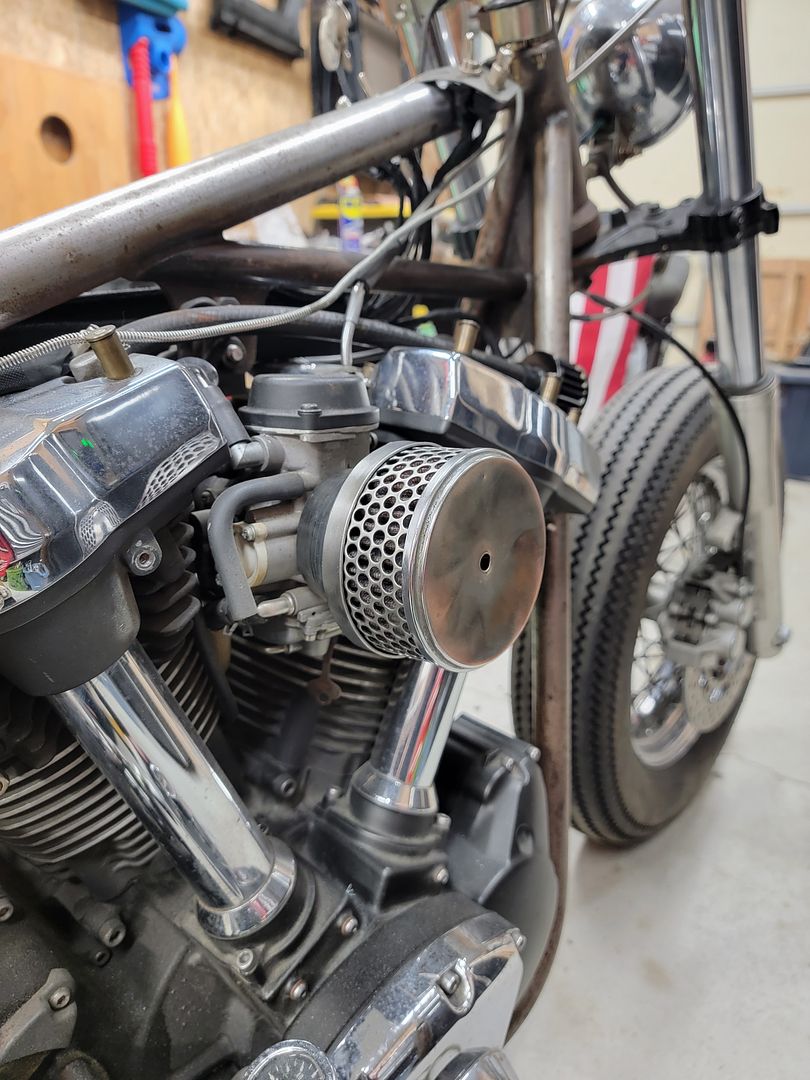
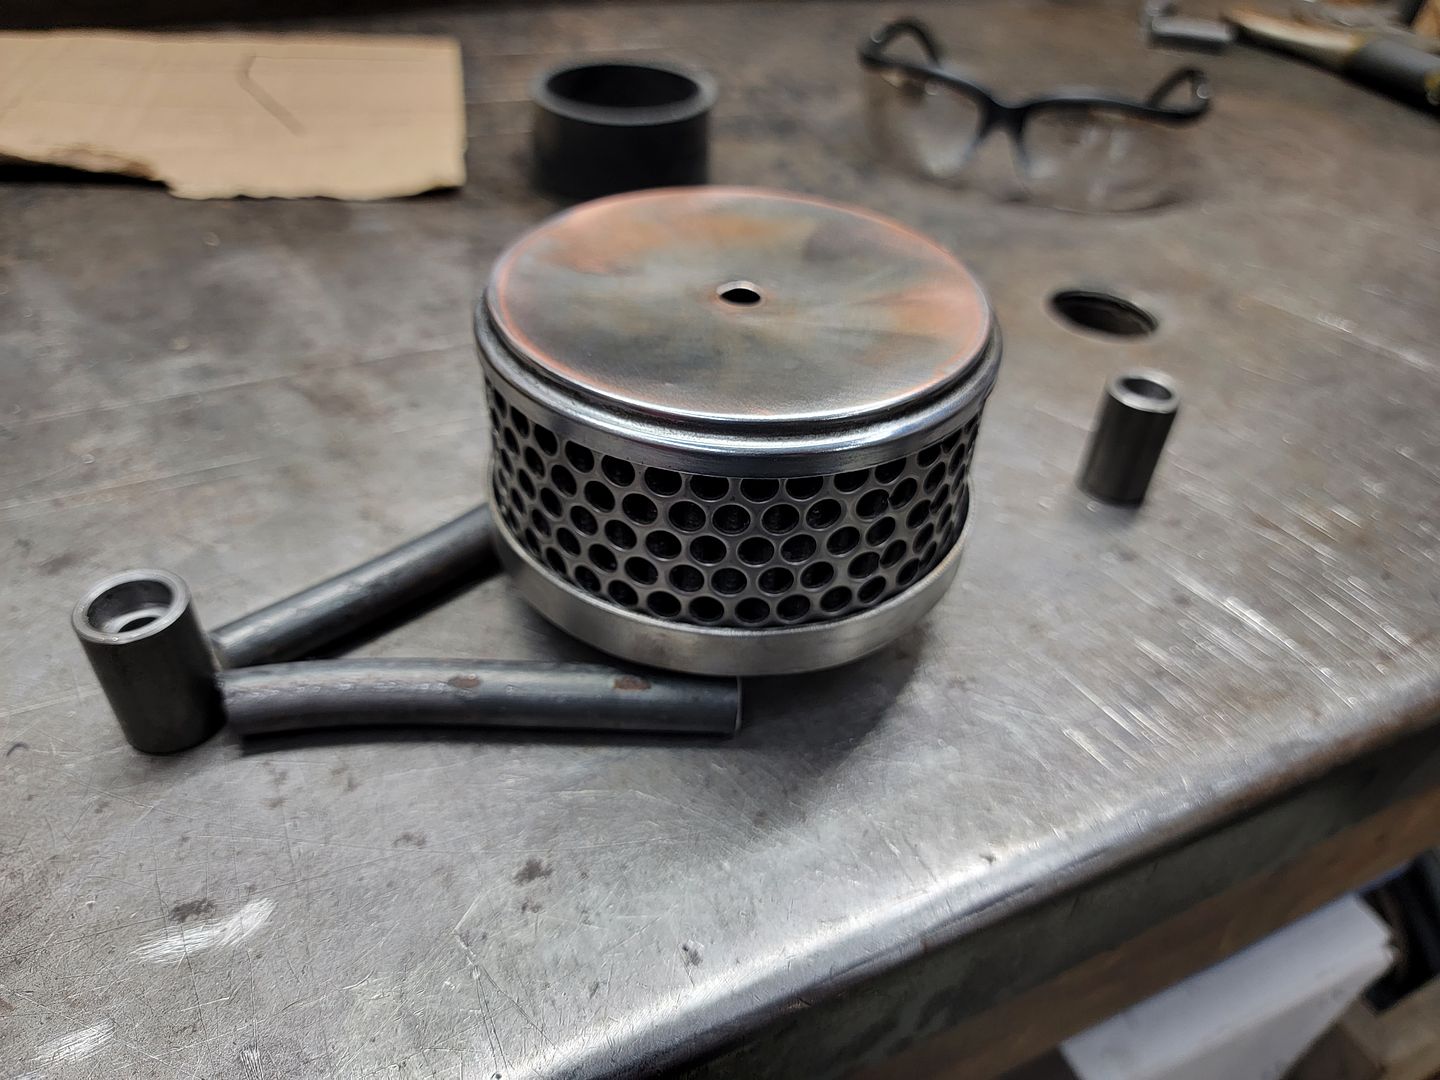
Comment
-
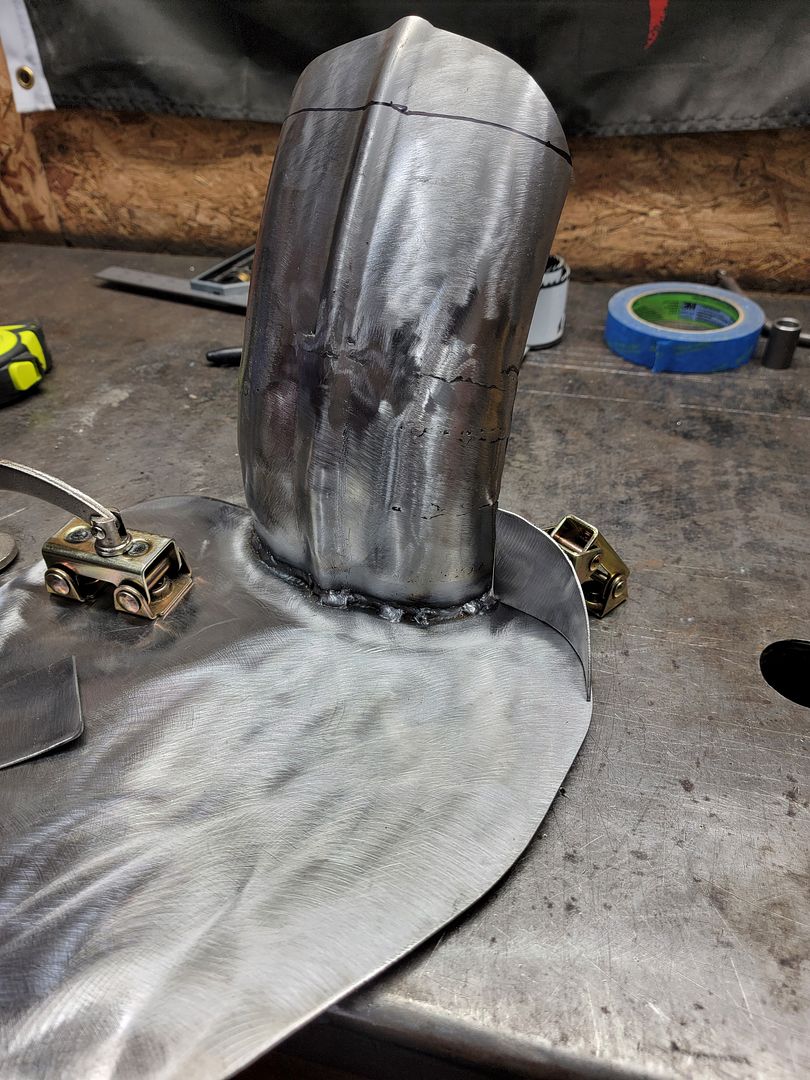
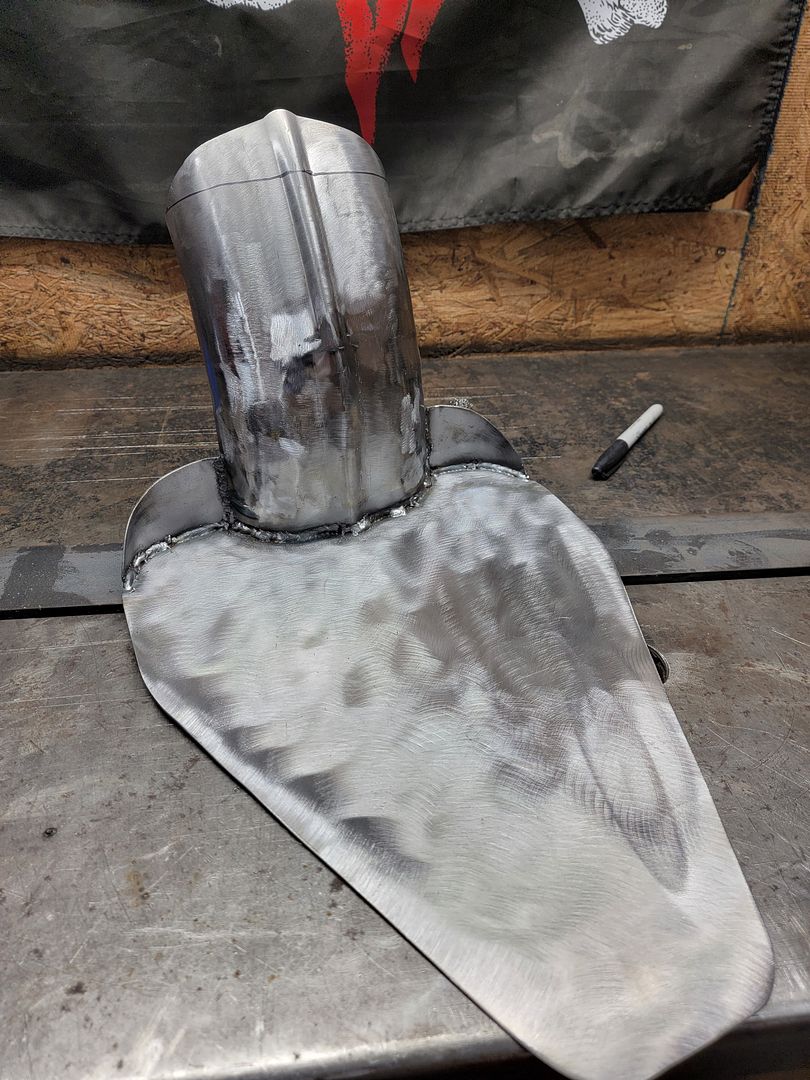
Some progress on the intake and seat pan tonight


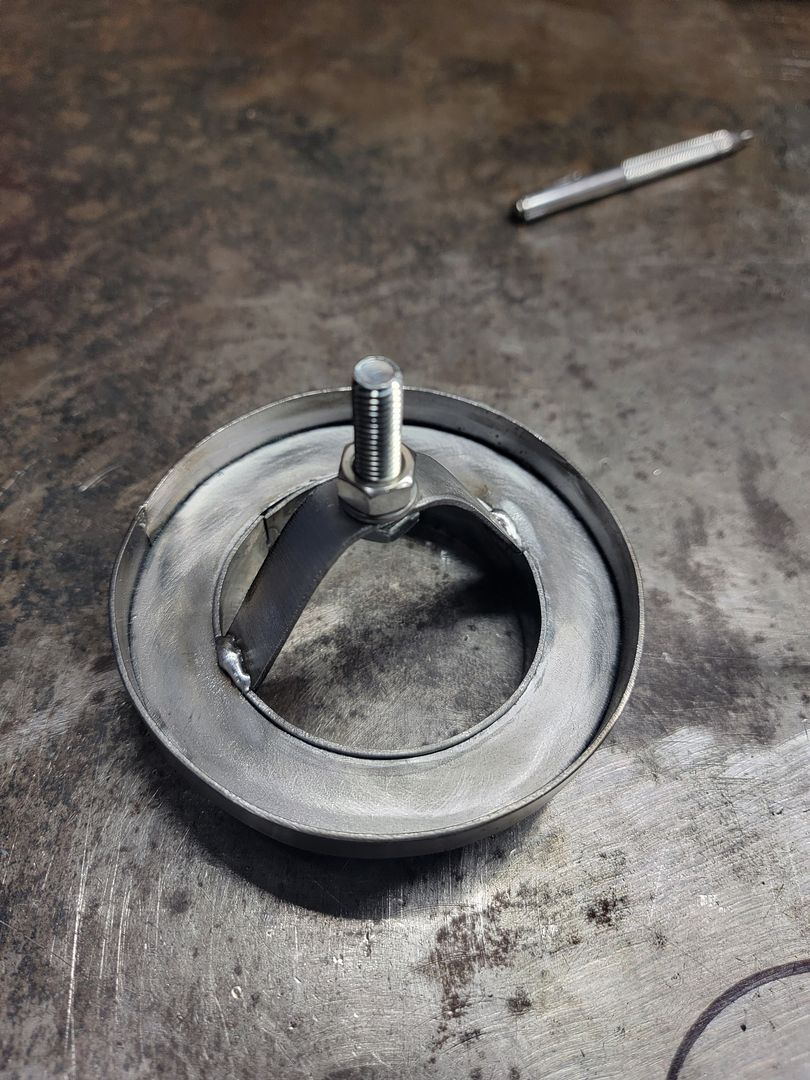


Comment
-
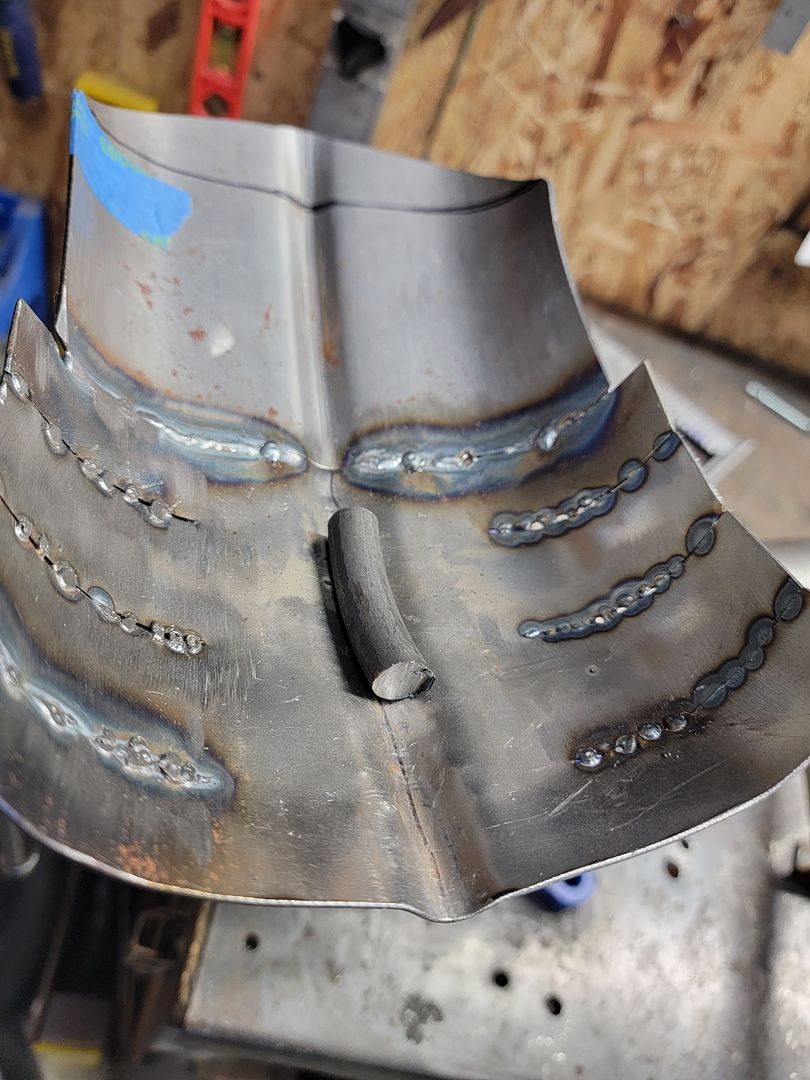
Added some rear gussets to the seat pan. Will be drilling (4) holes and welding in bolts that will pass through to the bottom. The (2) in the rear will pass through some brackets I weld onto the frame. The front (2) will bolt to a piece of flat bar that will then bolt to the frame. The idea is to give my seat a little bit of adjustment front to rear. Hoping I can start speeding up the process so I can ride this damn thing this season.
Comment
-
Looking good! Will your mount allow you easy access to the battery and circuit breaker?Comment


Comment