 Tweet
Tweet
I like following this one! Pics and words are cool. Love the oil tank , run one similar on my shovel.
-
-
The words and pictures are awesome mate, I appreciate the detail and the thought process. This bike is going to turn out great with your approach and the access to machines is pretty handy too.Comment
-
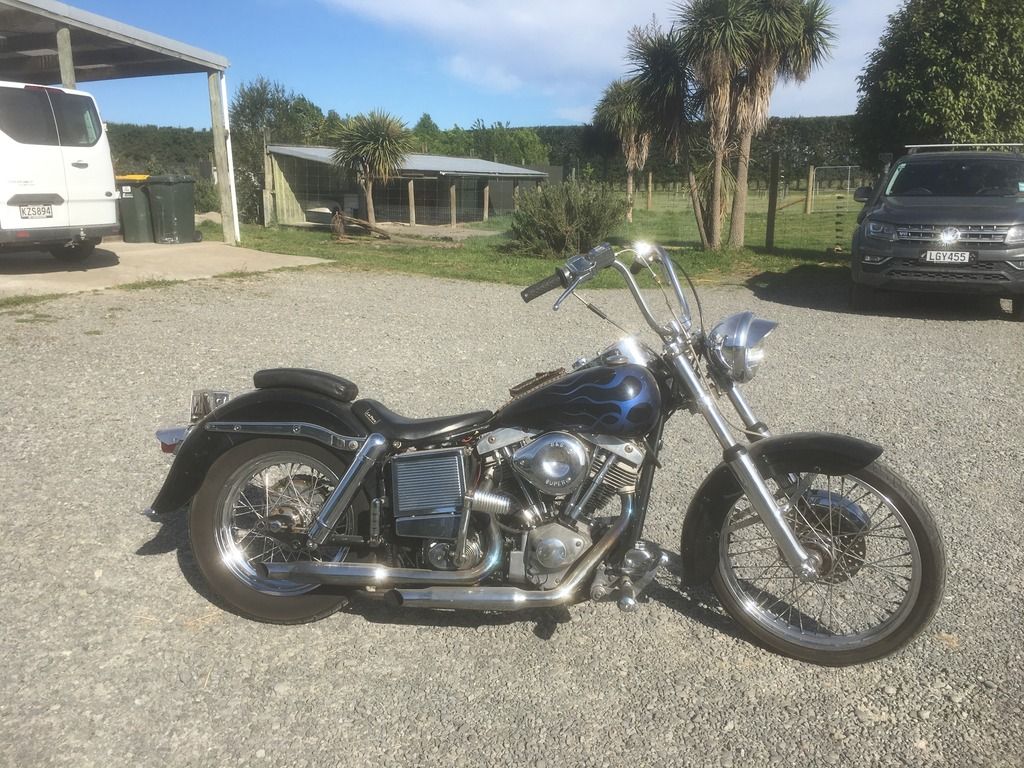
The weekend been saw the last days of the bike as it was, i snapped a few pics before it pulled it down. I truely did love how this bike looked...one day ill have another the same.
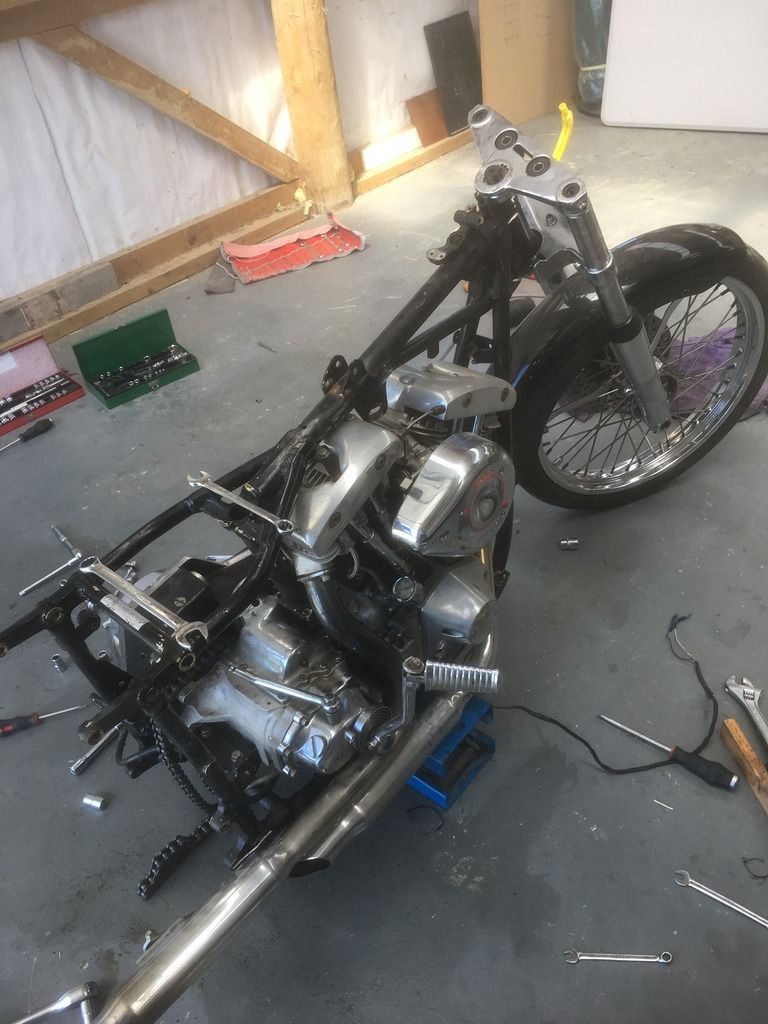
I pulled it down to a bare frame. Honestly it was good i did, i found alot of small issues that would have made it unsafe too ride and/or casued me gried given more miles. Here where we are at now..
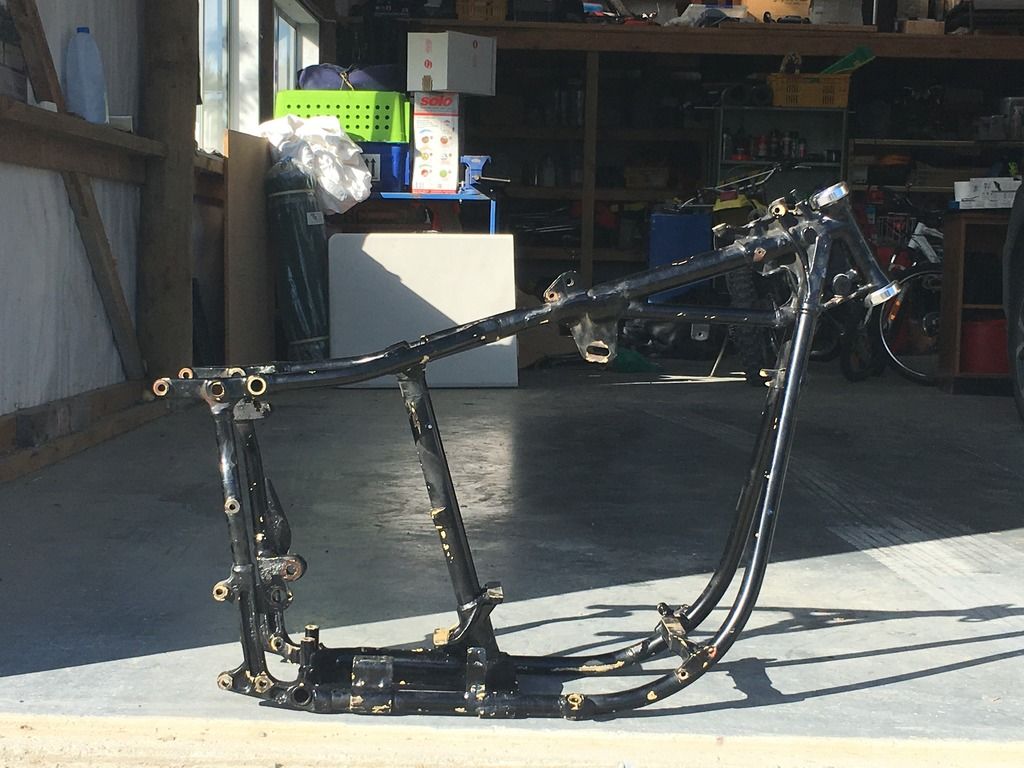
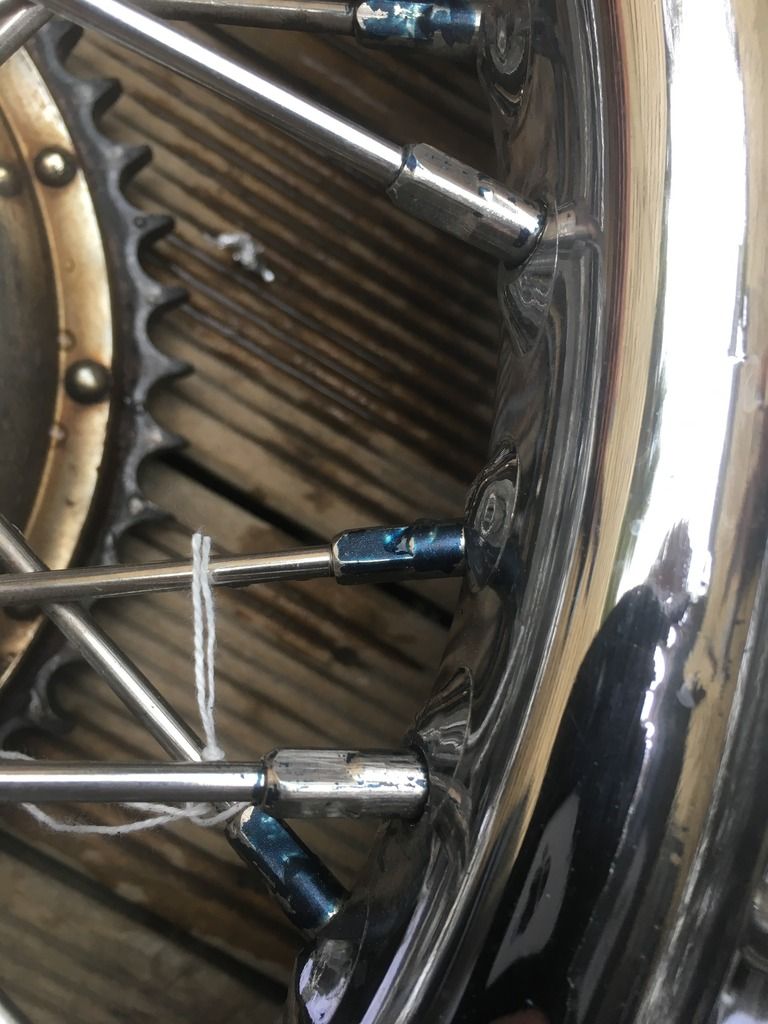
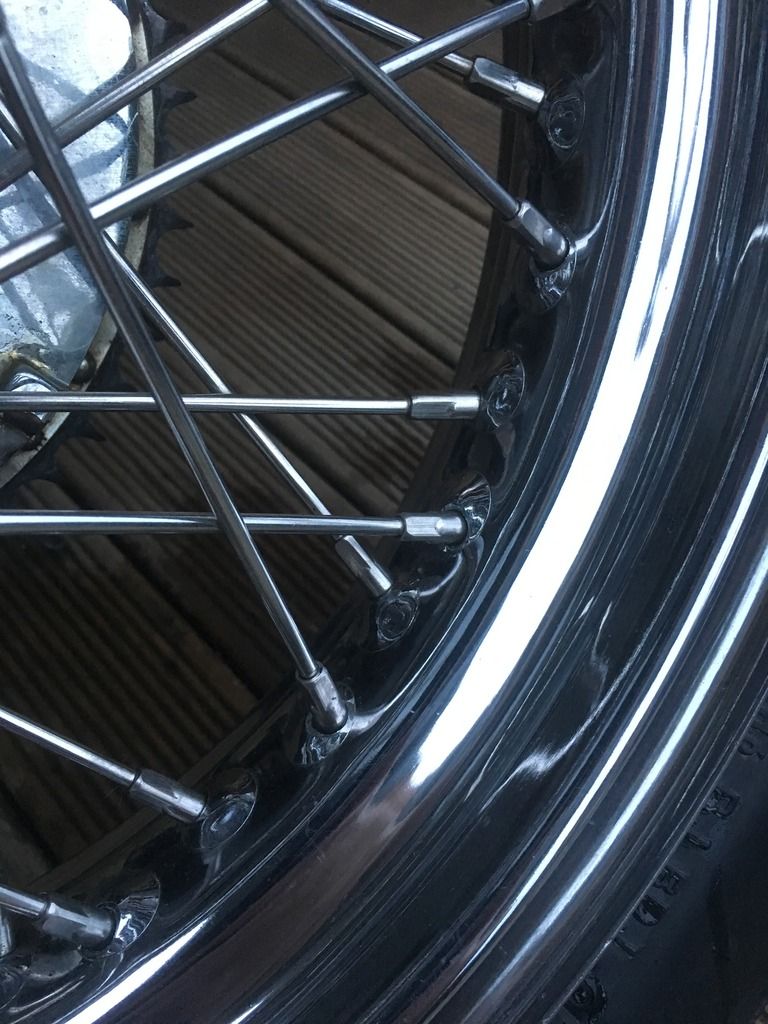
Frame has been dropped for an acid bath to remove all the paint and crud, front hub and rim are being laced up, about a fortnight away for both. Today i had the new rear tyre fitted and did some cleaning work on the rear rim. The PO has painted the nice SS nipples blue which had to come off, luckily a good knife and some scotch bright were all that was needed to scrape it off. The crhome on the hub and rim was just sweetened up with some tin foil and water. Came up nice.
When i pulling the rear drum apart i found the brake shoes were stuffed, so will be ordering new ones there. Also, the rear sprocket is missing teeth and needs replacing, luckily i have a new one so today i ordered a 10-24UNC Helicoil kit to do the swap to capscrews as per Saddlebgrails method. http://www.caimag.com/wordpress/2011...ead-of-rivets/
Need to get a allen key for the drum bolts so that will be this weekends mission, will clean the drum up while im at it.Comment
-
Great job on the machining and fabbin' mods.
Not sure if I missed something but have a question on your bearing conversion. That link for the starhub upgrade (https://www.shovel-head.com/tech/fah...conversion.pdf ) shows the hub bore at 47mm, yet the 6240-2RS bearing is listed as 36mm OD. I don't see a sleeve in there...did you need to make a sleeve to fit those 2 bearings into the 47mm hub?
I see the other side of the hub is the same as the 63004-2RS bearing, at 42mm.
Another question; what is the OD of the hub spigot on the outside of that 47mm bore - just wondering about that wall thickness, as I am doing a bearing conversion for a Hallcraft wheel on my rigid T120 and kinda worried about the thin space between the bottom of the inner bore of the hub and the OD of the spigot.If buildin' old school choppers was easy, anyone could do it... ain't nobody said it's gonna be easy...Comment
-
Hi TriNortchopz,
Sorry that was a typo i missed, i have updated the post now. Should have read 2x 6204-2RS1 which is a 47mm OD bearing, two of those on the brake side. So no sleeve for the bearing OD was made, just bore and press fit into the hub.
I can measure that tonight for you, there is a few mm wall on either side and i'm not worried about the structural integrity with the given wall thickness in anyway. I have seen hubs done in the past where they have bored the ID as i have, then pressed in a sleeve, and used something like a 40mm OD bearing, giving extra wall thickness in the spigot, could be something for you too consider if you are worried.Comment
-
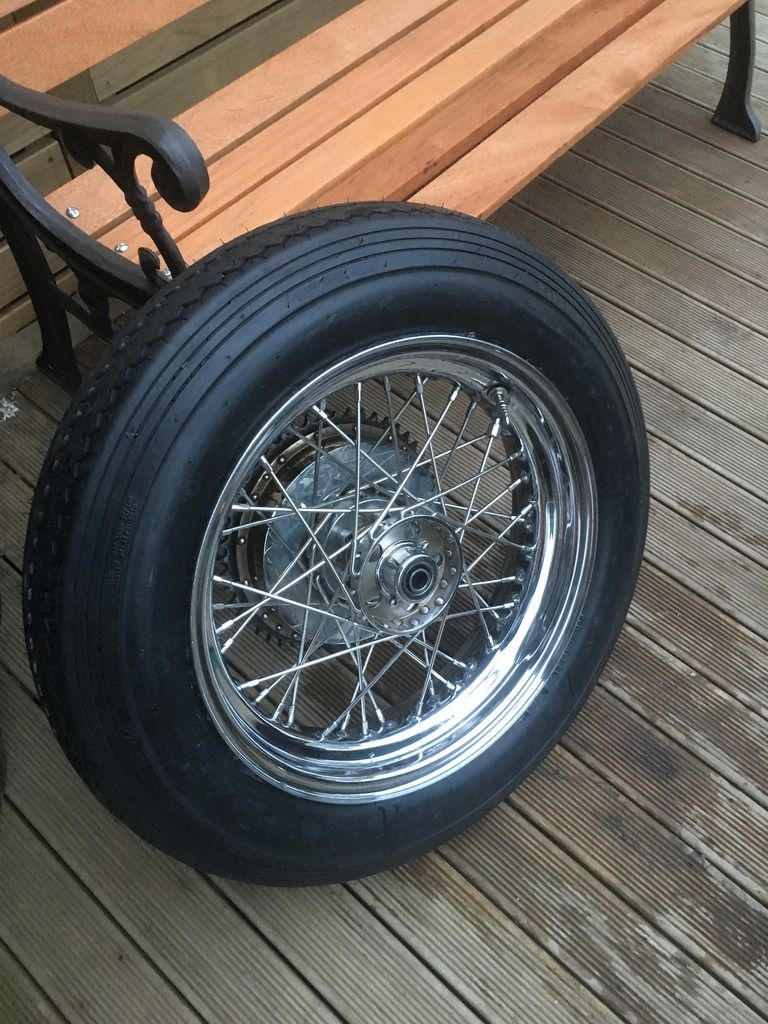
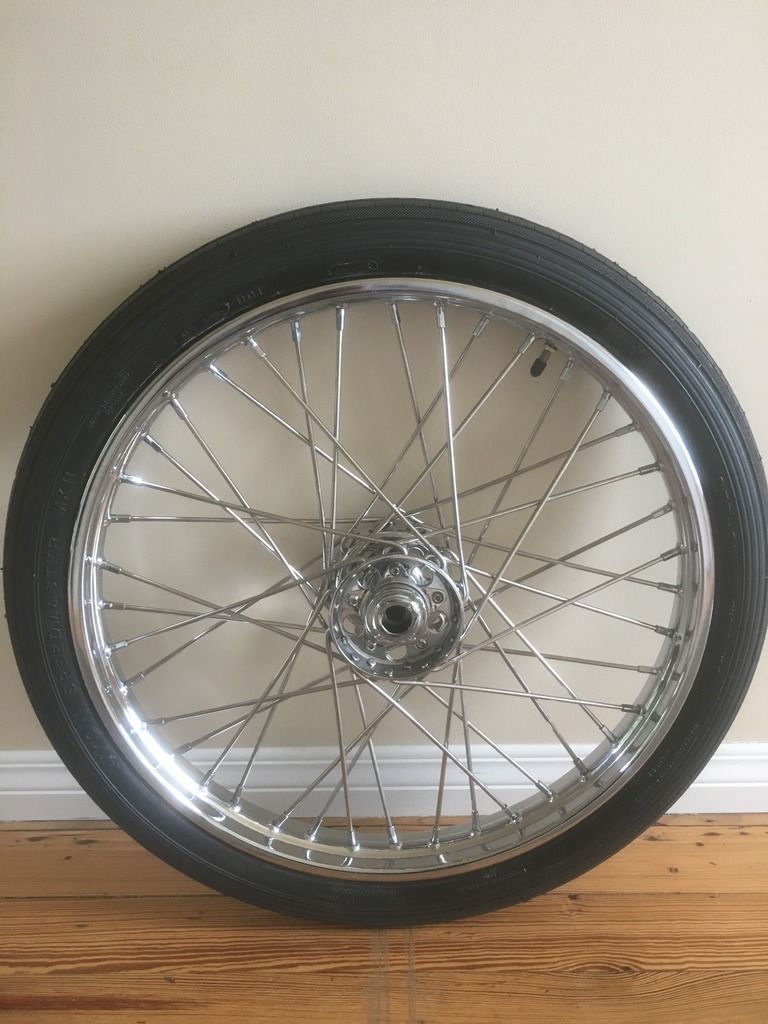
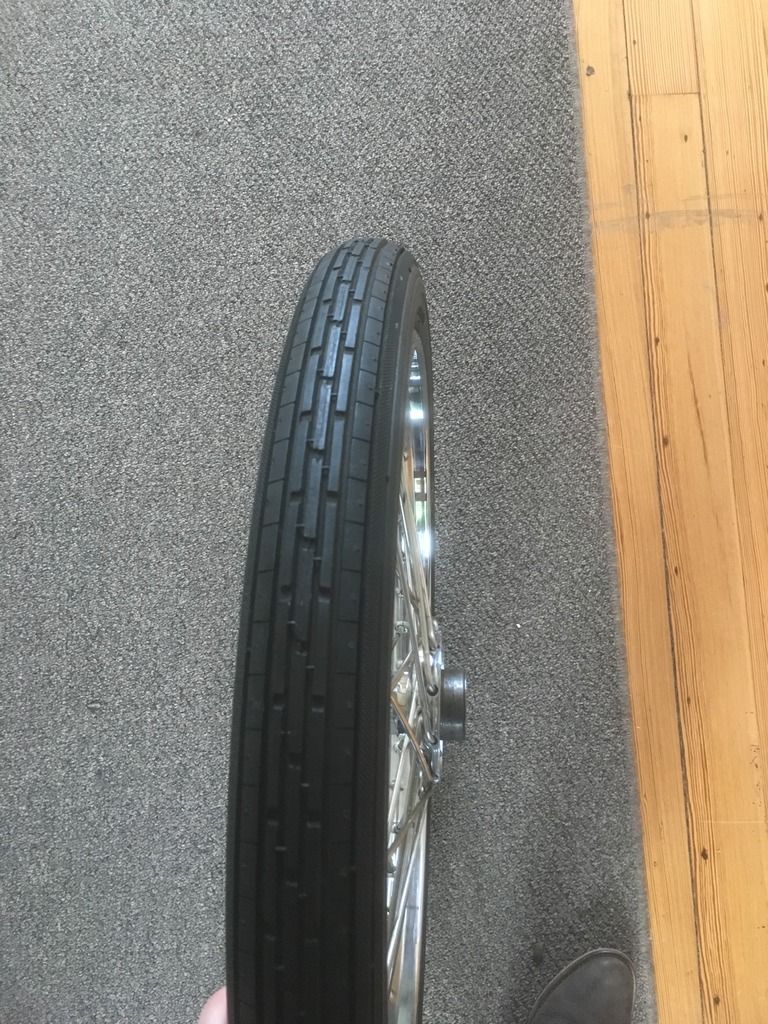
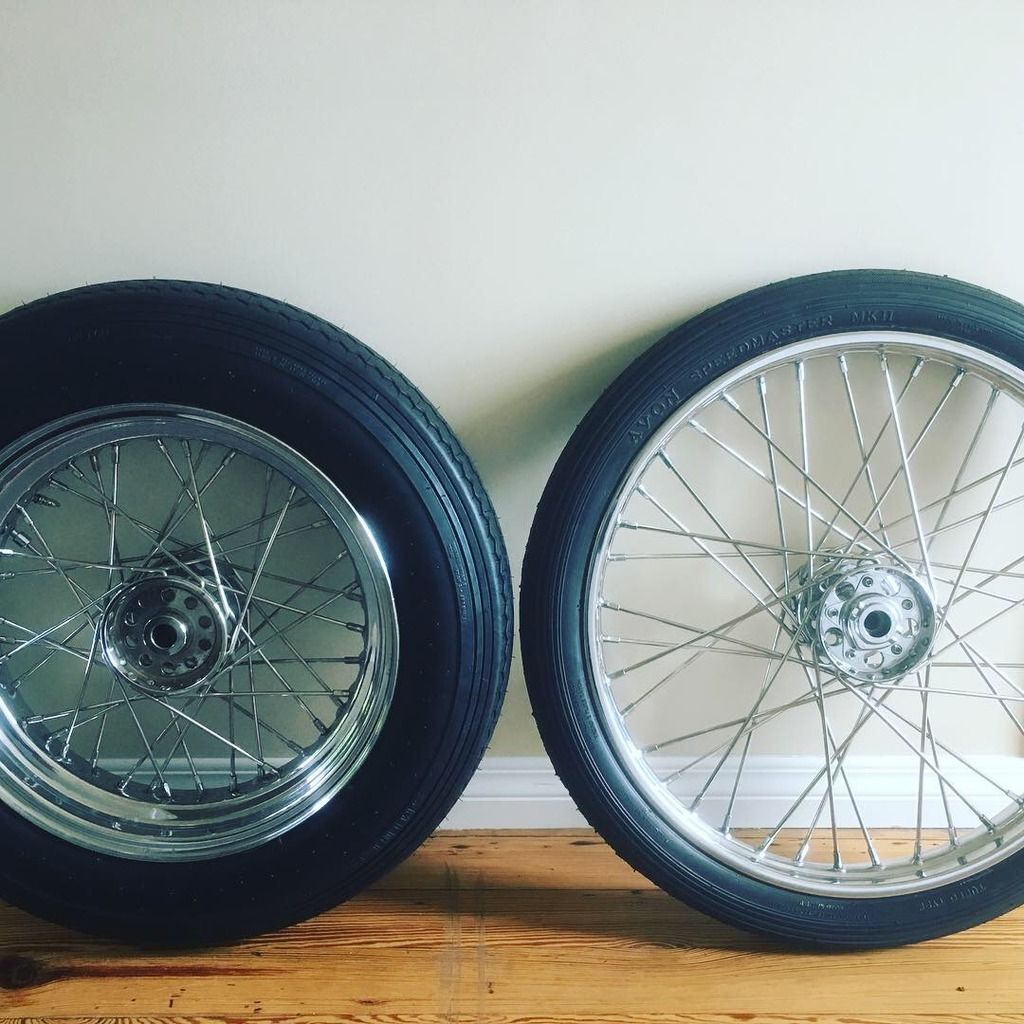
Front wheel came in early so managed to get it all buttoned up. It's a 21" x 1.60" chrome steel rim that i had laced with SS spokes and nipples. Dropped it to the local bike shop and had them fit up the NOS 2.75" Avon...so the wheel set is officially done and im fizzing about how they've both come up!!

Comment
-
god damn i want a starhub 21....Comment
-
Some updates.
Well things have been going slowly but surely..which is good. Rushing never results and a nice finished product. The big news is a pick my frame up from Steves this week...I'll come back to that.
In the meantime my trans was leaking so i ripped it down...this was the culprit.
I'd previously machined the MDG spacer for the o-ring, however it had picked up and torn. Upon closer inspection i wasn't happy with the machine work and expected this same issue would happen again as i dont believe i quite got the groove spot on when i first machined it.
So, in the gearbox i found -
-MDG end play way out of spec
-Countershaft thrust way out of spec
-MDG Bushing to mainshaft way over spec
So i machined a new MDG spacer, made a press tool and replaced the MDG bearing and honed ot size, added an O-ring to the groove present on the Andrews main drive gear, and re-assembled after a full clean down of everything. Good as new now.
Comment
-
Comment
-
The interesting part here is the frame. I always planned to hard tail my frame and Steve said he wanted to do it, so of course off we went.
In order to do this we first needed a frame jig, so Steve built one. This is the ducks nuts of frame jigs. Built off of an original Panhead frame in mint condition, everything was machined from high grade aluminium and doweled for factory HD positions, as well as having full adjustability for the varying frame changes.


Next, in order to get the lower rail bends the same as the Panhead frame Steve made a custom large radius former, and came up with a tricky bend solution to match the chain clearnace bend.


I dont have a pic of the completed product yet but heres a few more, will update later in the week.


 Last edited by AndyNZ; 03-25-2019, 3:07 PM.
Comment
-
So got the frame home and did the last of the trimming, removed the factory dash mounts as well as a few other brackets and unnecessary tabs, came up good.
I then test fitted the tank and cut off the front bracket as ill be using the split tank mounts at the front to mount this.
I liked the way the lines were looking so i fitted up the front end and rear wheel to see what work was needed. Two small issues in the front...
1) The "Roller bearing conversion kit" had one incorrect bearing being it was too big on the ID and had no bottom bearing dust cover
2) The crown nut is incorrect and for loose bearings so causes clearance issues with the top clamp.
Both easy fixes and will suss in the coming weeks, no major hurry on these
Rear wheel fit good but will need some adjusting. The frame has pulled in just on the left meaning we are just off line, a bit of tweaking will have the rear wheel and brake on with no offset lacing to the wheel needed which is ideal. Will take care of this in a two weeks when im back at Steves.
Had to sit on it and test the Bluetooth handlebars out....risers are being worked on ATM, got something cool going on...if it works...
In the meantime will be sorting the oil and gas tank mounting as well as gathering up fasteners for everything.Comment
-
Started making small bites of progress on mounting the oil tank and gas tank.
I found that once i actually sat the oil tank in the frame and bolted up the front mounts there were a number of issues.
-The factory oil tank mount plate caused the oil tank to hit the upper rear frame rails so would need modifying, not good due to chrome on it
-Making a new plate for the bottom was not an option due to clearance issues with the clutch arm
-The shifter plate on the trans fouled the bottom front corner of the oil tank
-The front mount on the oil tank was welded on crooked and offset so the tank sat further toward the kicker side than should be which made the line looking down from the top of the bike horrible
So this was my solution. I made up a spacer plate (apparently factory spacers are 8mm) out of 5mm plate, then made a new front mount plate for the oil tank. I also made 2 threaded bungs and tabs to mount of the frame rear cross bar, these are just dummied in in the pics and will have plates welded in before being welded to the top of the tank to prevent cracking.


Next up was the gas tank mount. I wanted to use the split tank mounts on the front and one at the rear giving effectively 3 mounting points which is much stronger, so i cut of the front tank made and made this up. Still needs final welding but should work well.


Lastly, i started playing with headlight mounting. Going to mount at this height by turning a stepped bar that will mount between the lugs on the springer, should look cool.


Another issue (if you can call it that) was that my rear tyre always bugged me, something just never looked right. Well Steve pointed out my rear rim looked off, after giving it a measure it is not the factory Harley 16" x 3" as i thought, its closer to 4.5" wide meaning the tyre was stretched on...Bingo, problem found. I've got a new 16" x 3" on the way as well as a new Avon SM MK2 to suit, do it once do it right.
Oh yeah, as you can probably see now im literally building this in my lounge and on my deck...where theres a will theres a way rightLast edited by AndyNZ; 04-08-2019, 3:31 PM.Comment
-
coming along real nice man!Comment
-
Looks awesome so far! Love the hardtail frame for sure! keep up posted.
JakeComment
-
Thanks for the words of encouragement guys!!
Slowly continuing onward.
Spun up a headlight mount, still need a tab welded to the back that bolts to the springer bridge to stop it rotating, but it works well...only bugger is i discovered the unity headlight i'd bought had an issue with the decorative piece at the top of the bevel not being center which really looks bad, i may change it out for something else...


I also machined up the riser part of my risers, these are a slow work in progress with a lot of work to come, you may get some idea of where im headed with these now though.

As i mentioned in my last post too i was changing my rear rim and tyre out, got that all buttoned up and am much happier. Have moved on to getting the rear fender widened to suit now and am cutting some strip to do so today at work on the guillotine.


We have a 10 day holiday here in NZ coming up so will be spending this at Steves place, hoping to have the roller locked down, tins finish welded and mounted, rear wheel spacing sorted, and the rear fender/sissy bar made.....wish me luckComment


Comment