
 Tweet
Tweet
Been a long while since I posted here but I was hoping I could get some tips and/or opinions on my first custom seat project...
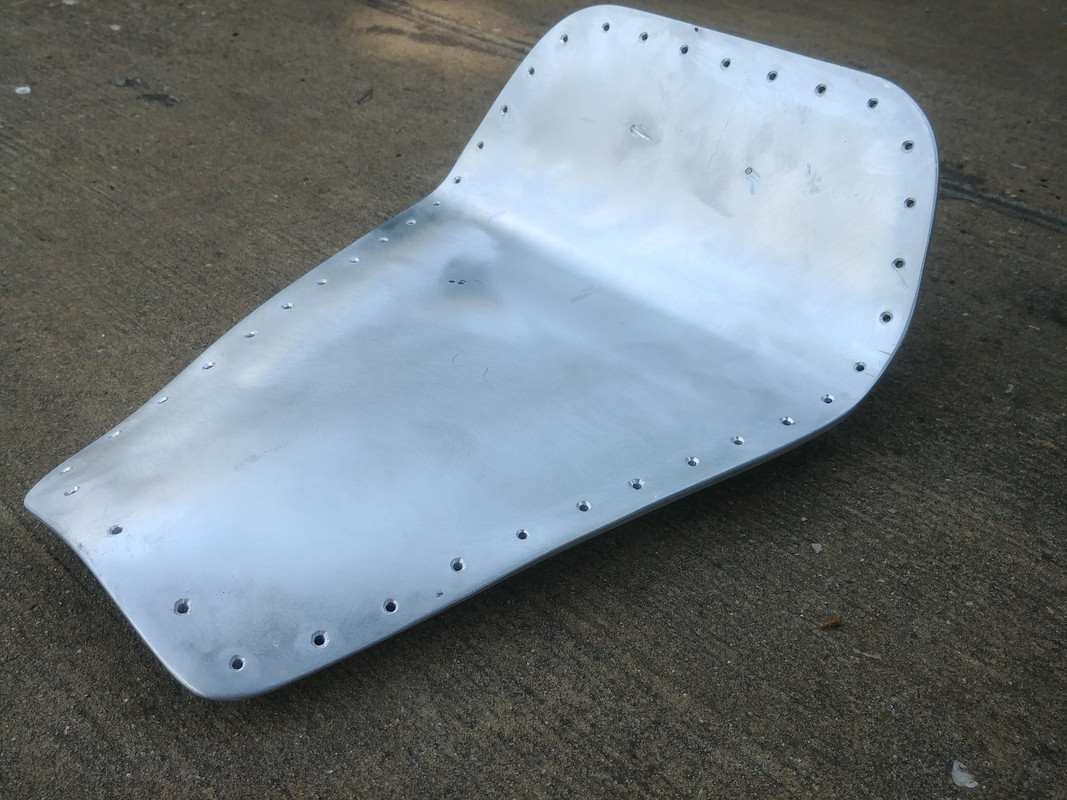
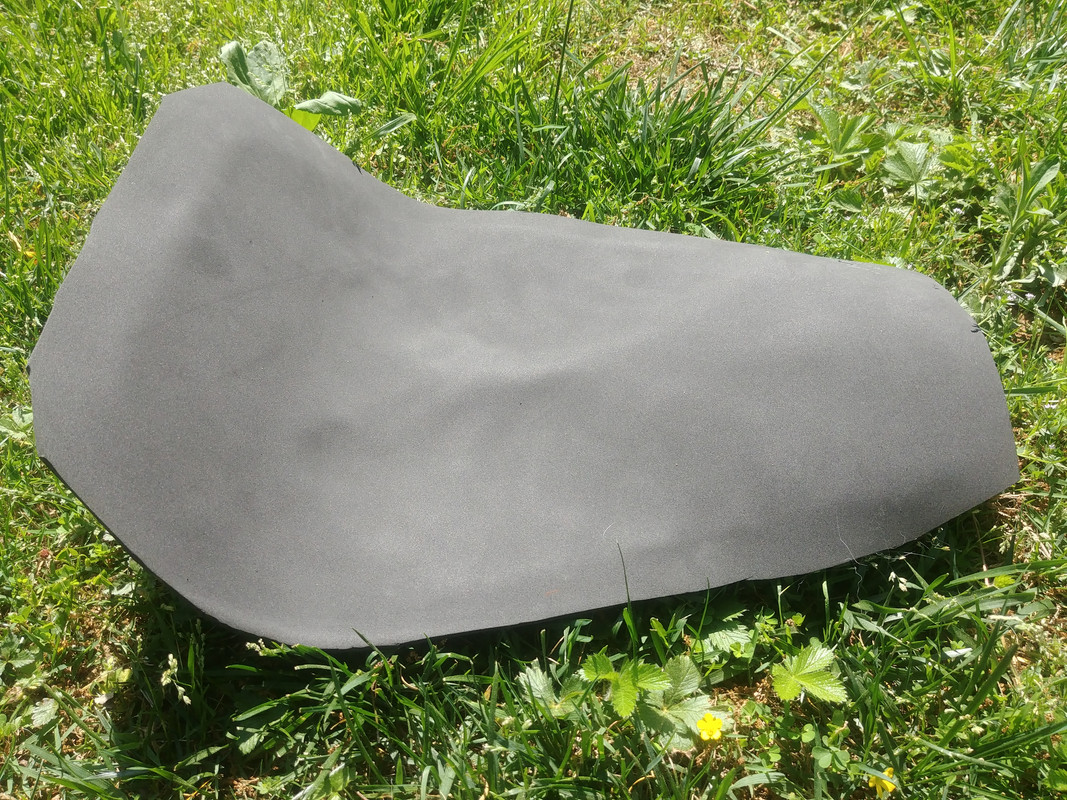
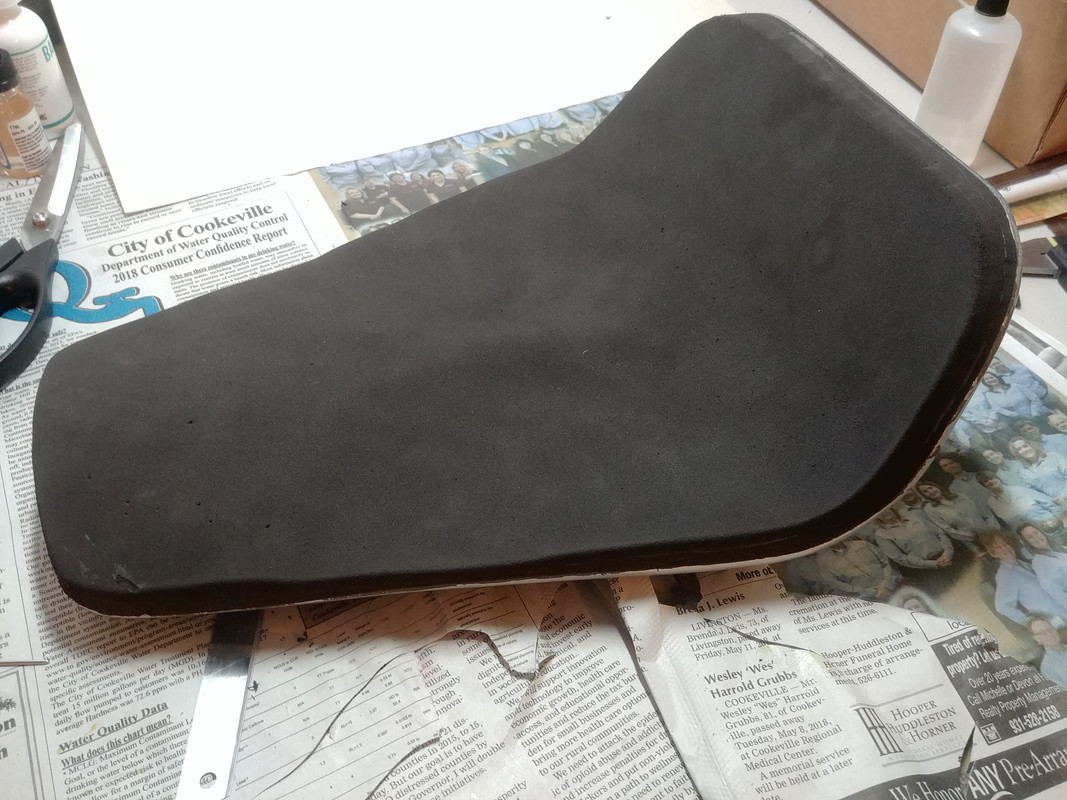
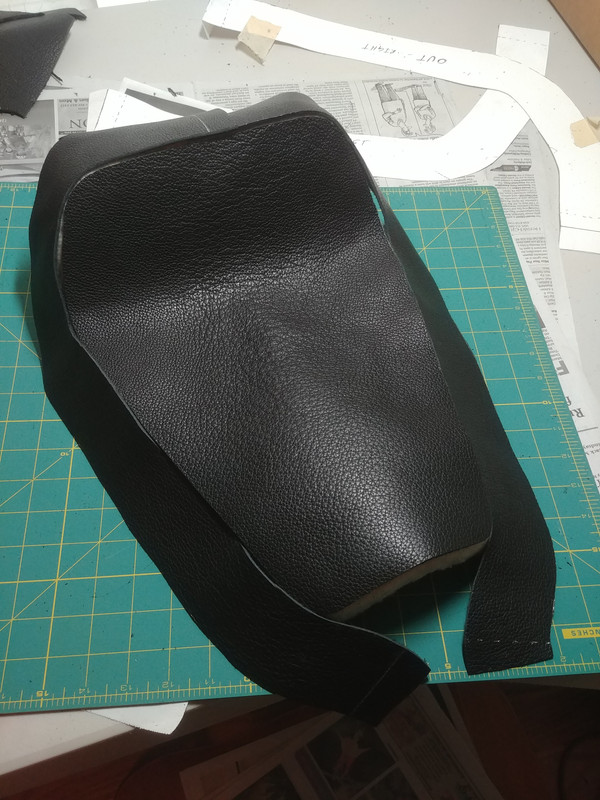
I've got the pan formed and I'm laying on foam now.
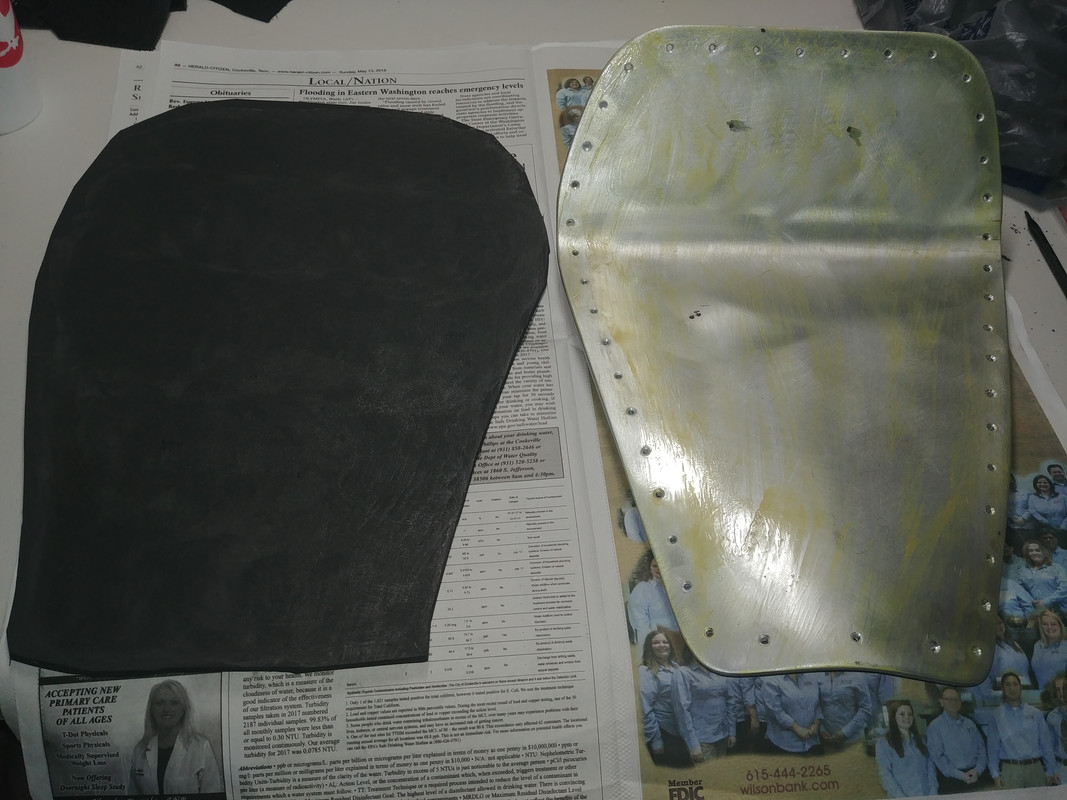
The pan is 1/4" aluminum
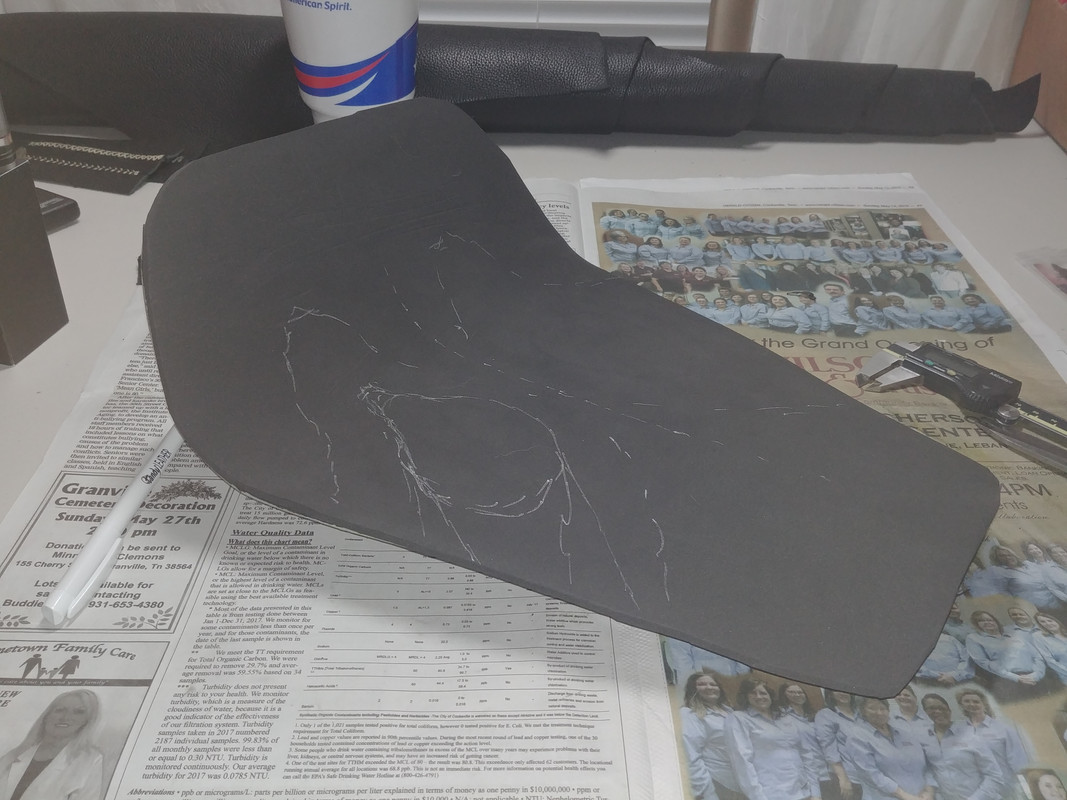
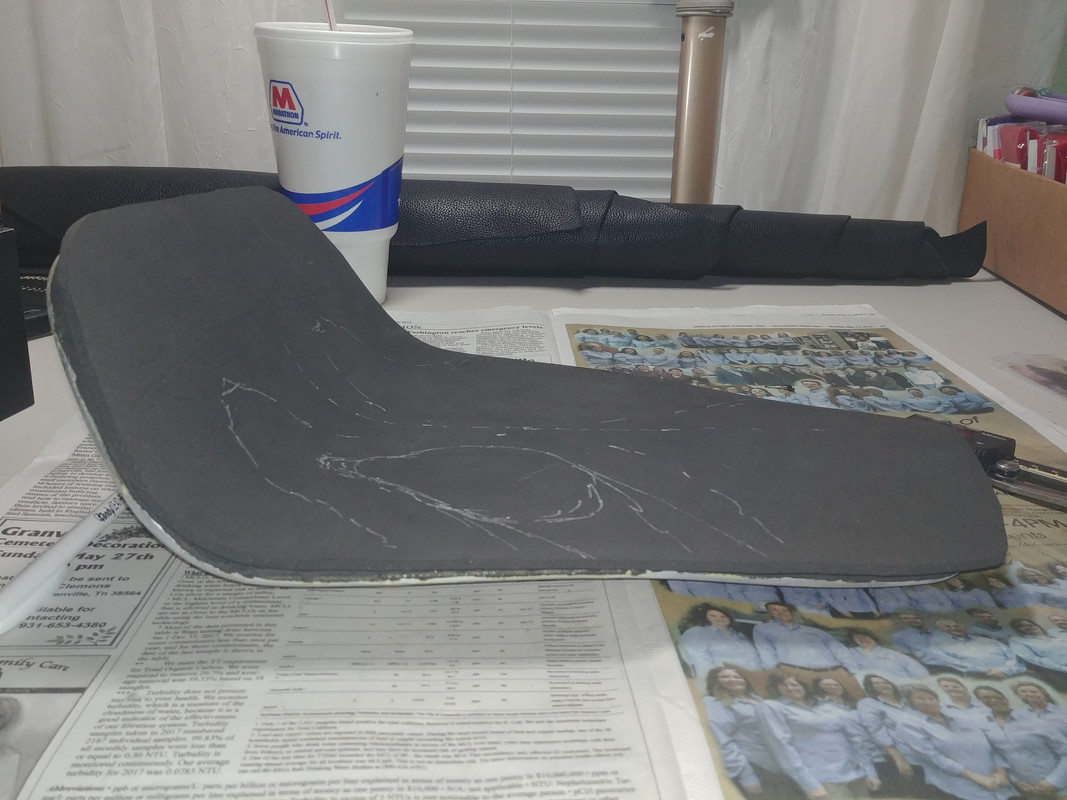
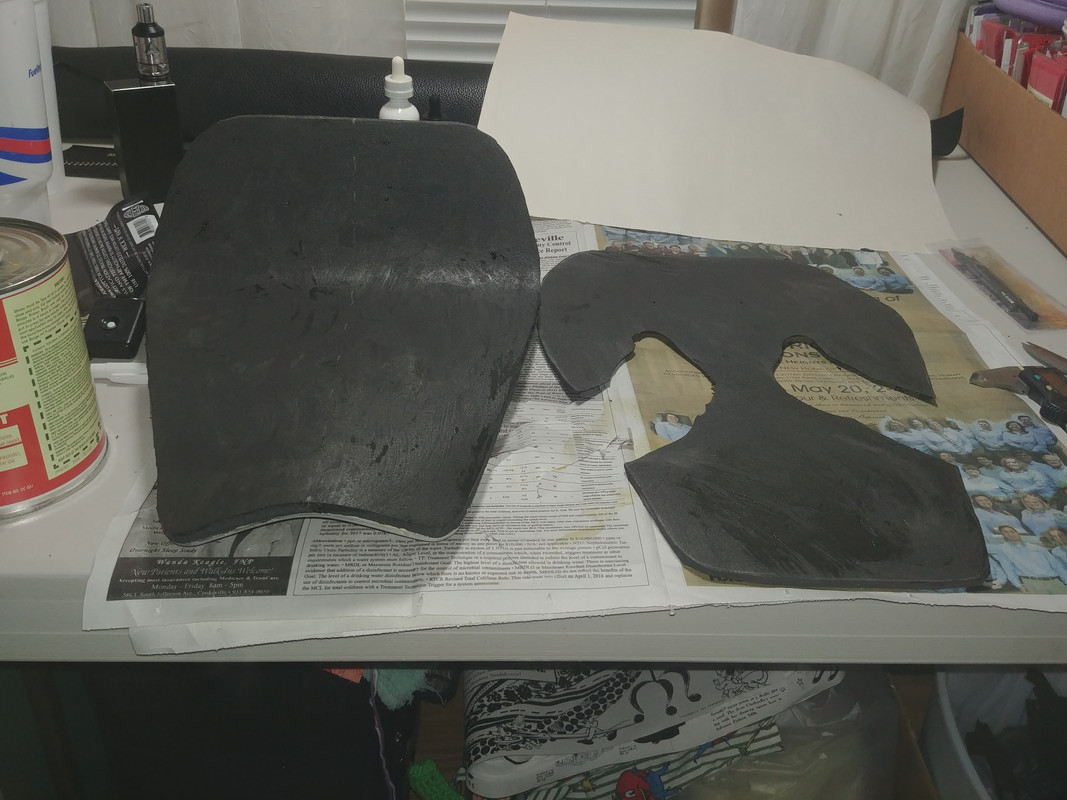
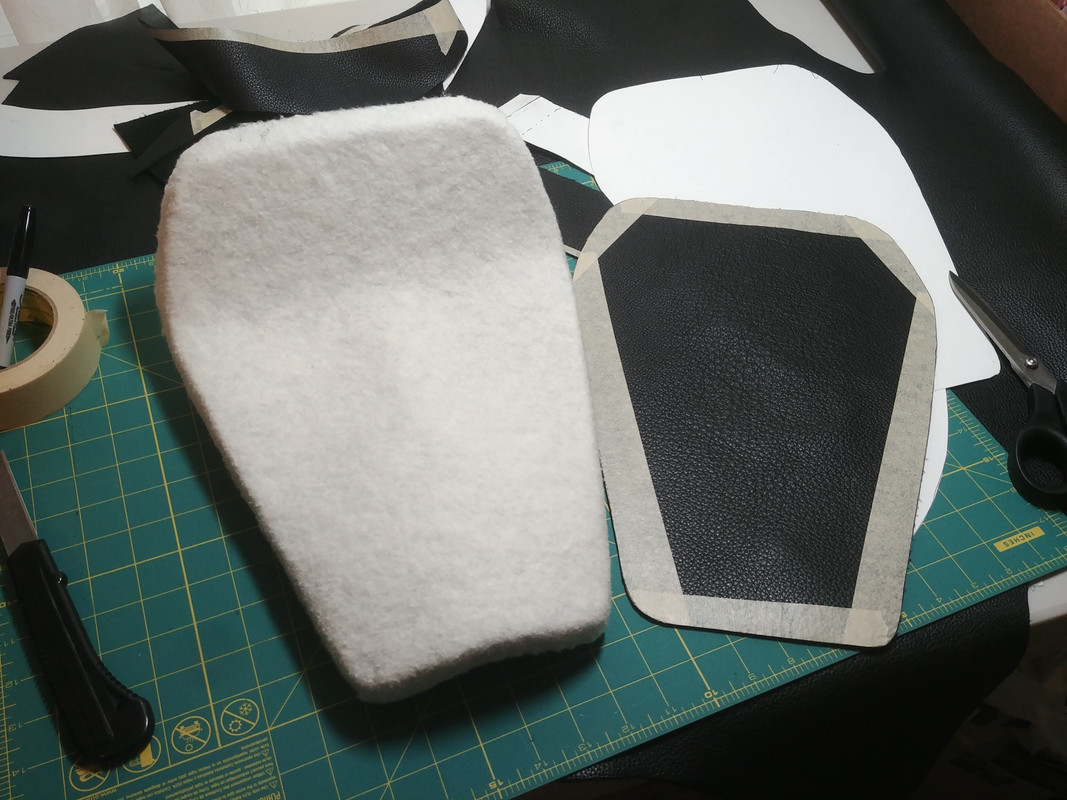
Foam is 1/4" neoprene. Probably 3 layers.
I'm using Barge contact cement to laminate the foam.
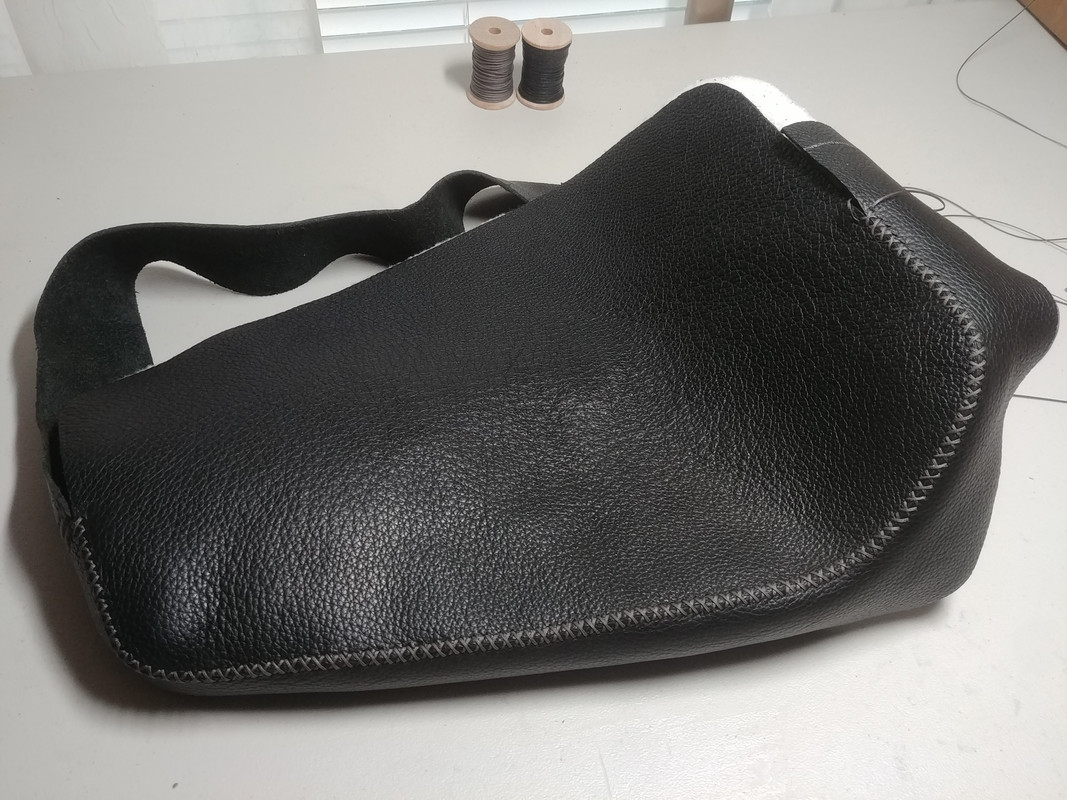
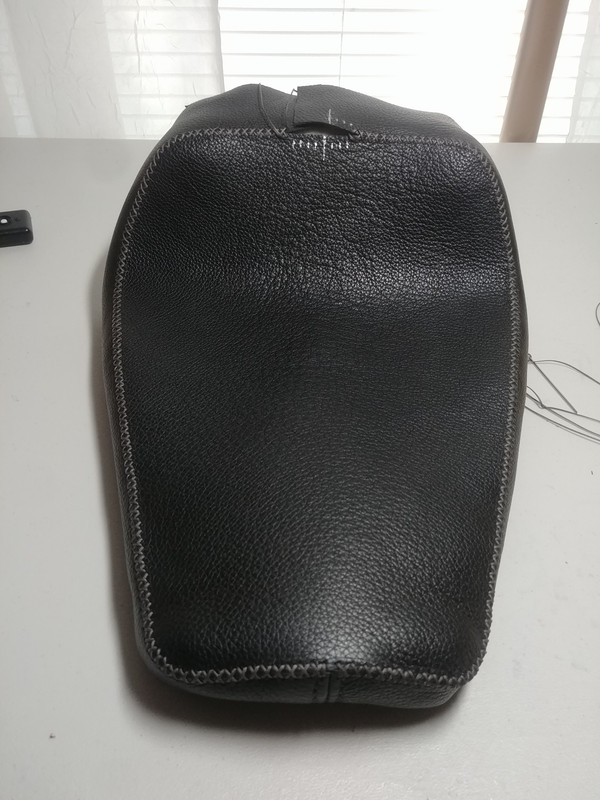
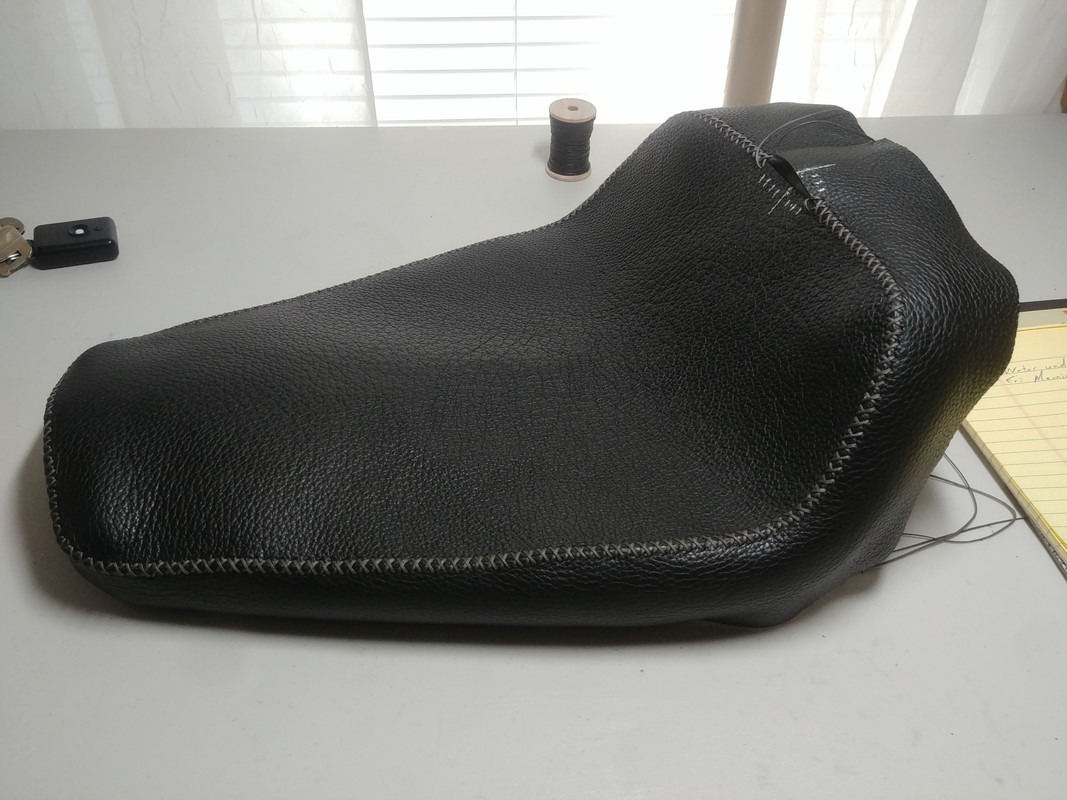
The cover is leather. "Black Motorcycle Side" from Tandy. 4-5oz weight. I believe it's chrome tanned. It's soft and somewhat stretchy.
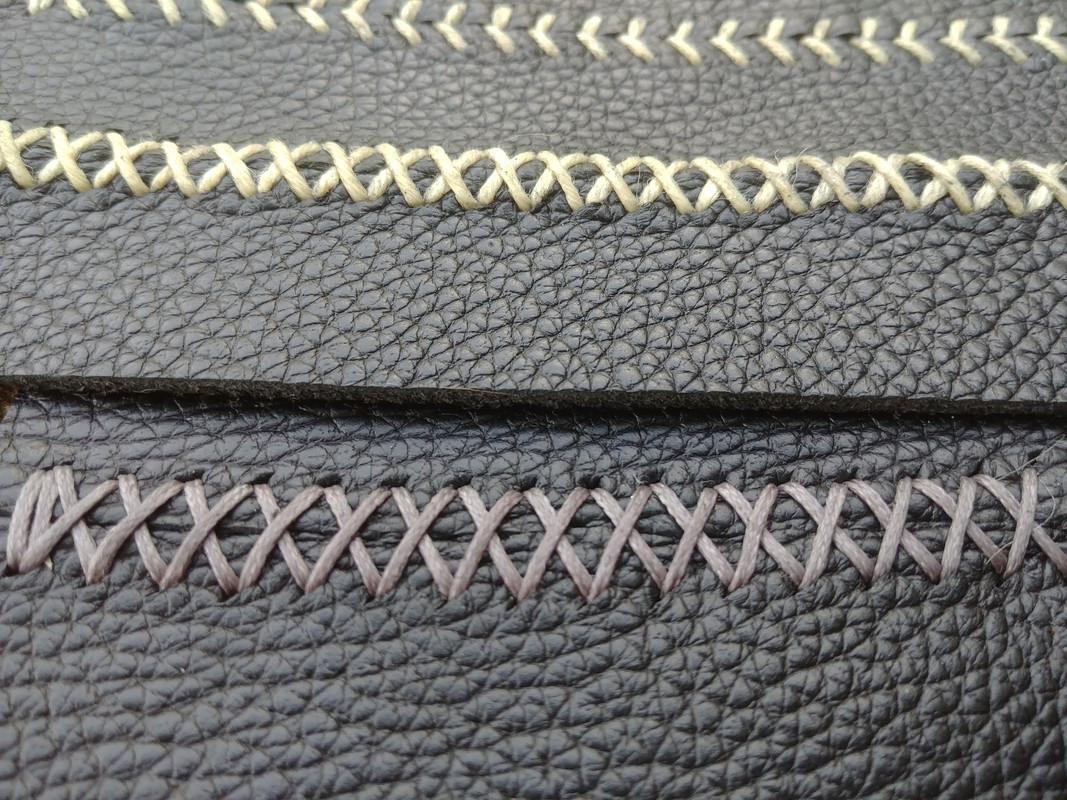
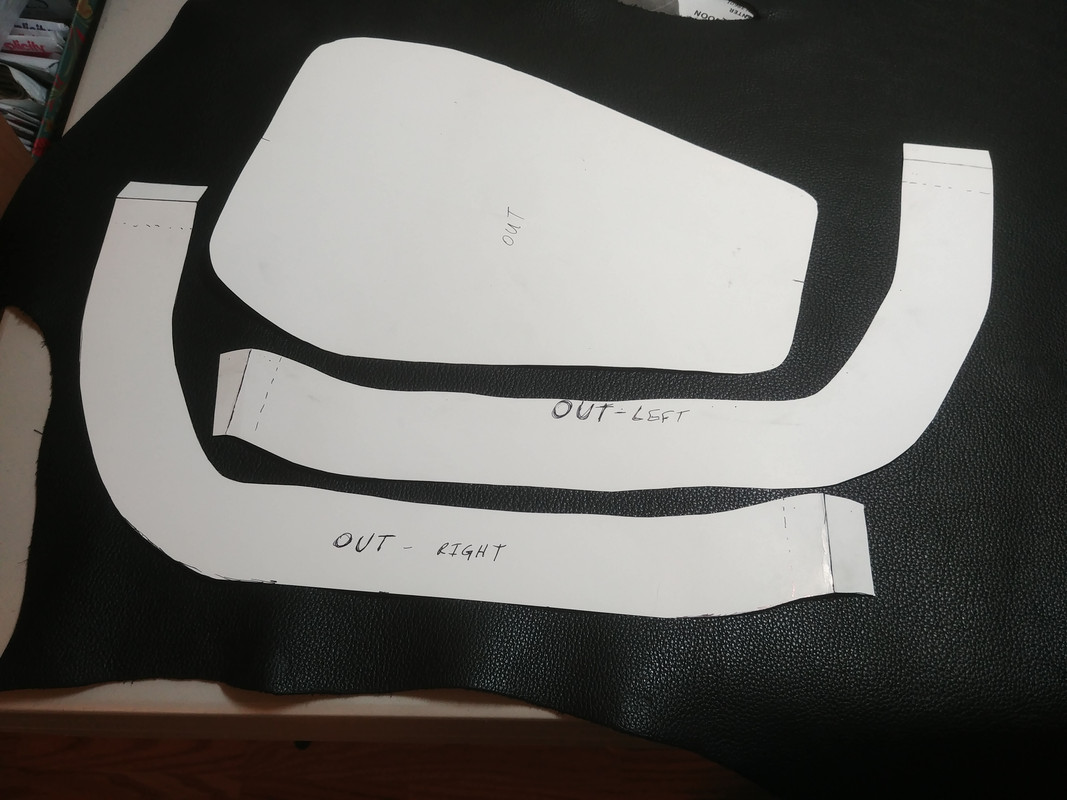
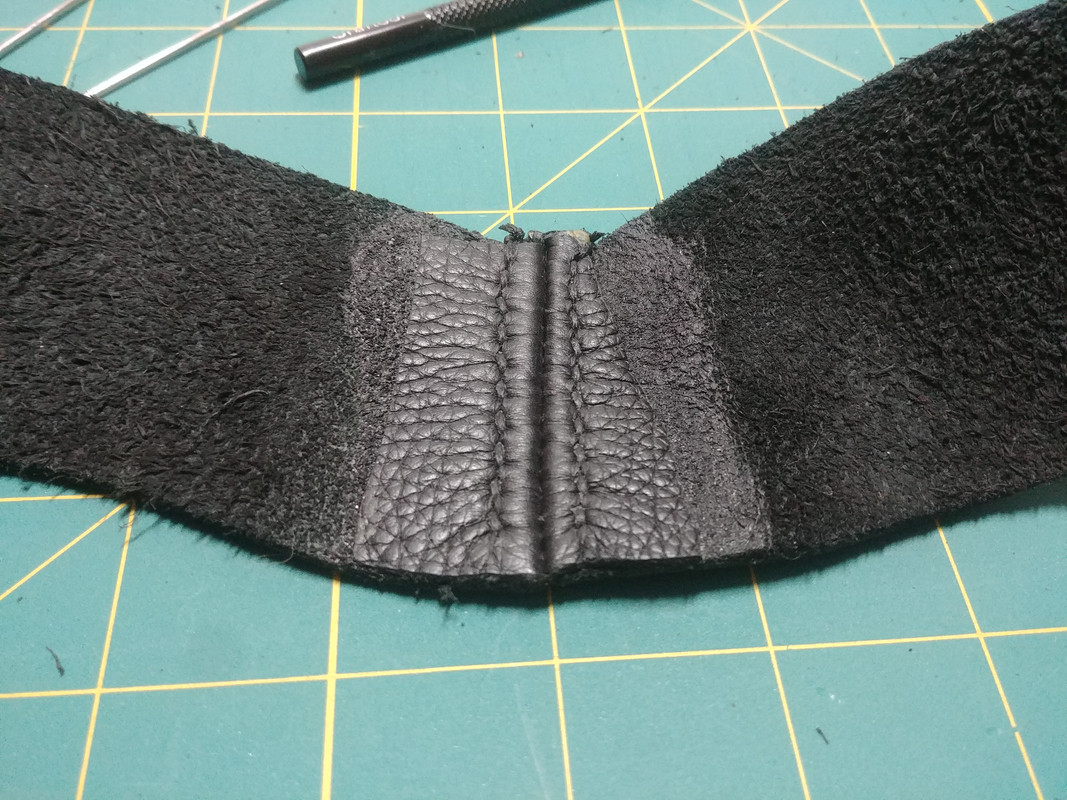
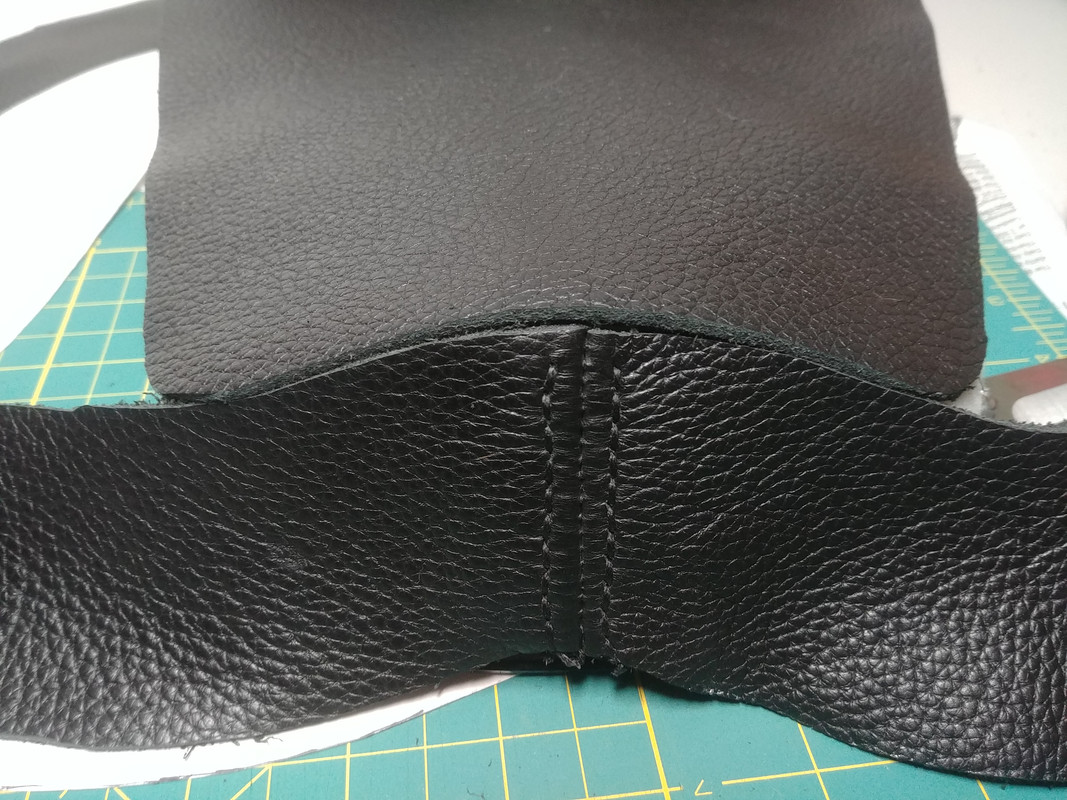
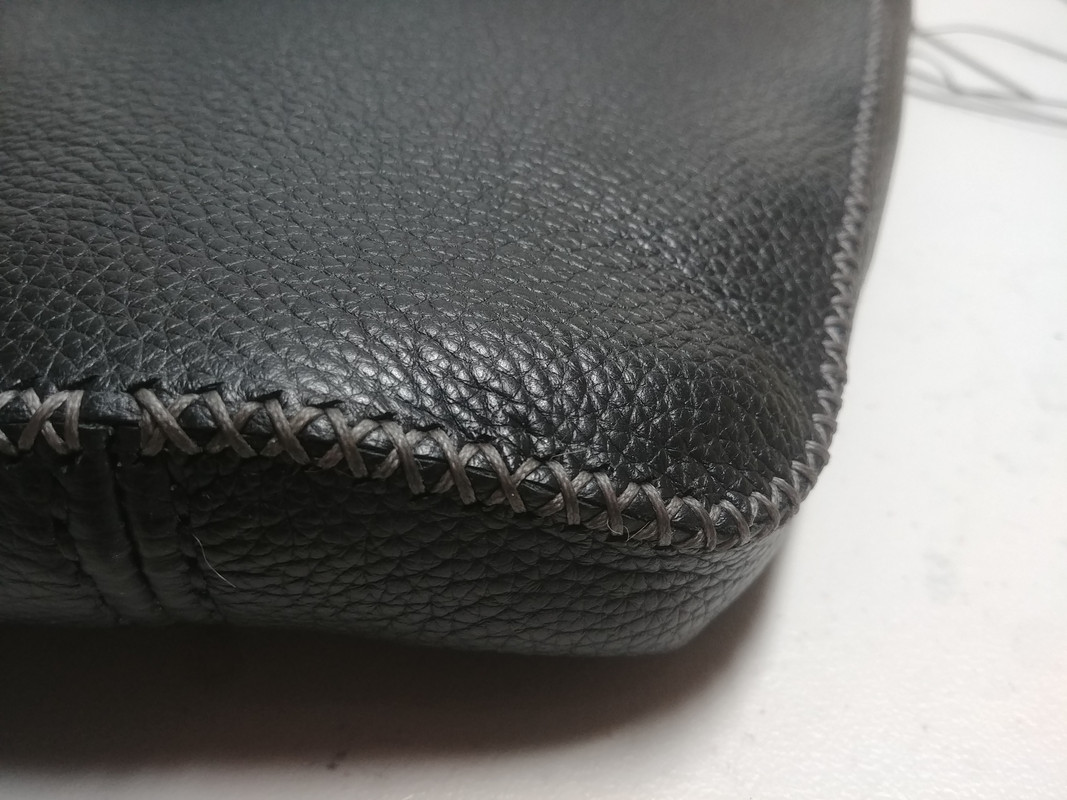
I still have to make the cutting pattern but I'm planning to do it in three pieces. One for the top ane two bands around the sides. The joints will be butt stitched by hand with a cross stitch using Ritza 25 (Tiger) 1.0mm thread.
I'll include some pics below to help explain, but here are the couple questions I have...
1. Given three layers (5/8") of foam, would there be significant benefit is cutting out some reliefs for tailbone and sitting bones? Any real world experience riding on an ergonomic shaped seat would be helpful. I've only ever had "flat" seats. I'm thinking a bit of shape might be more comfortable, but I'm not sure.
2. Once the foam is done, is there any difference between cementing the leather to the foam or leaving it "dry"?
Thanks all!
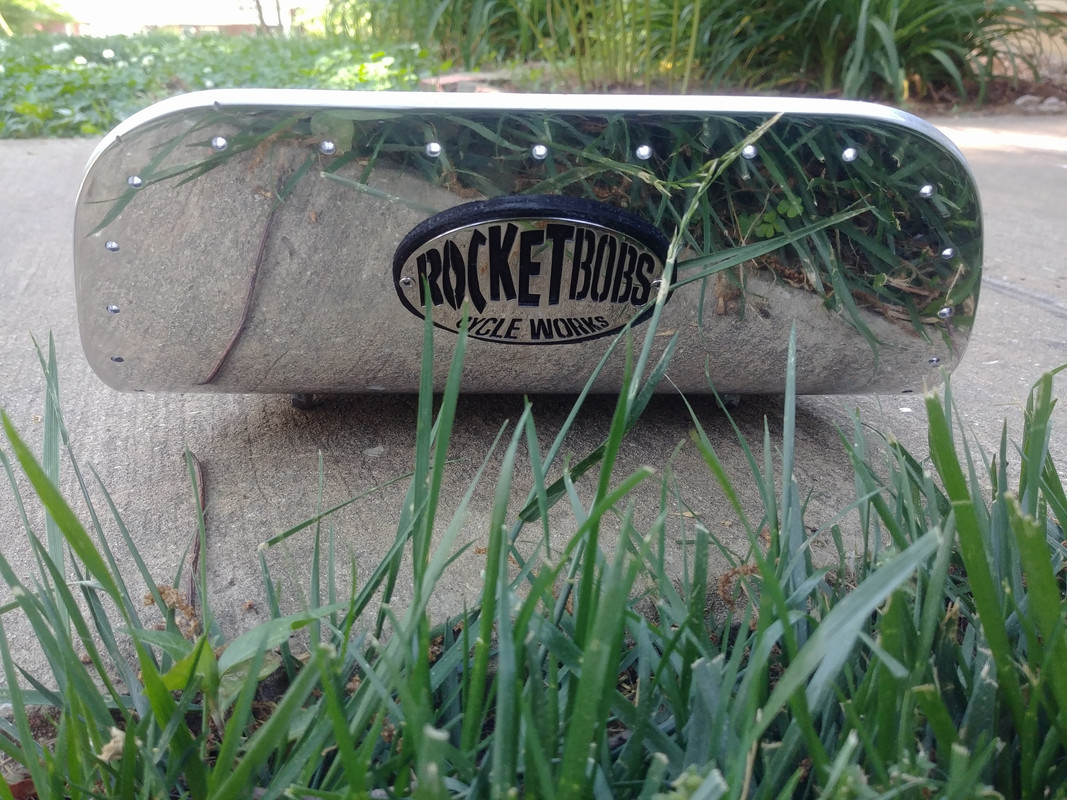
The pan
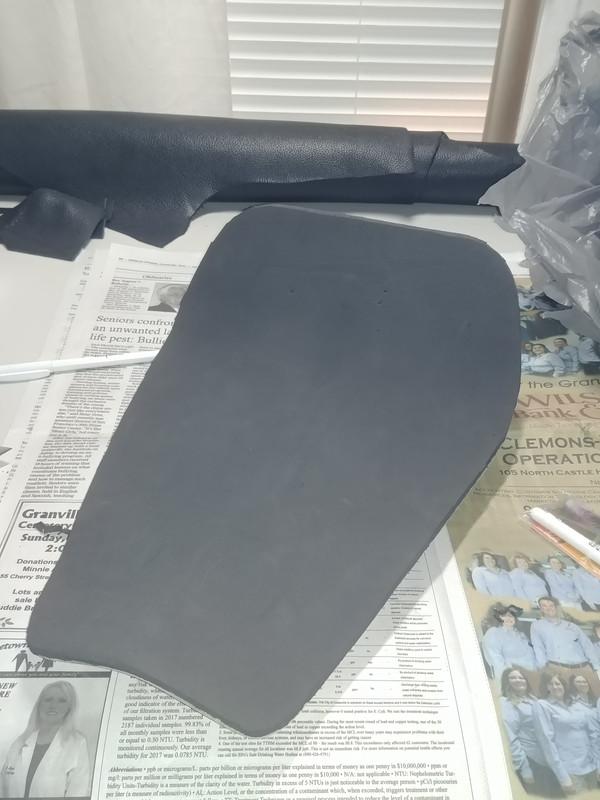
Stitching trials
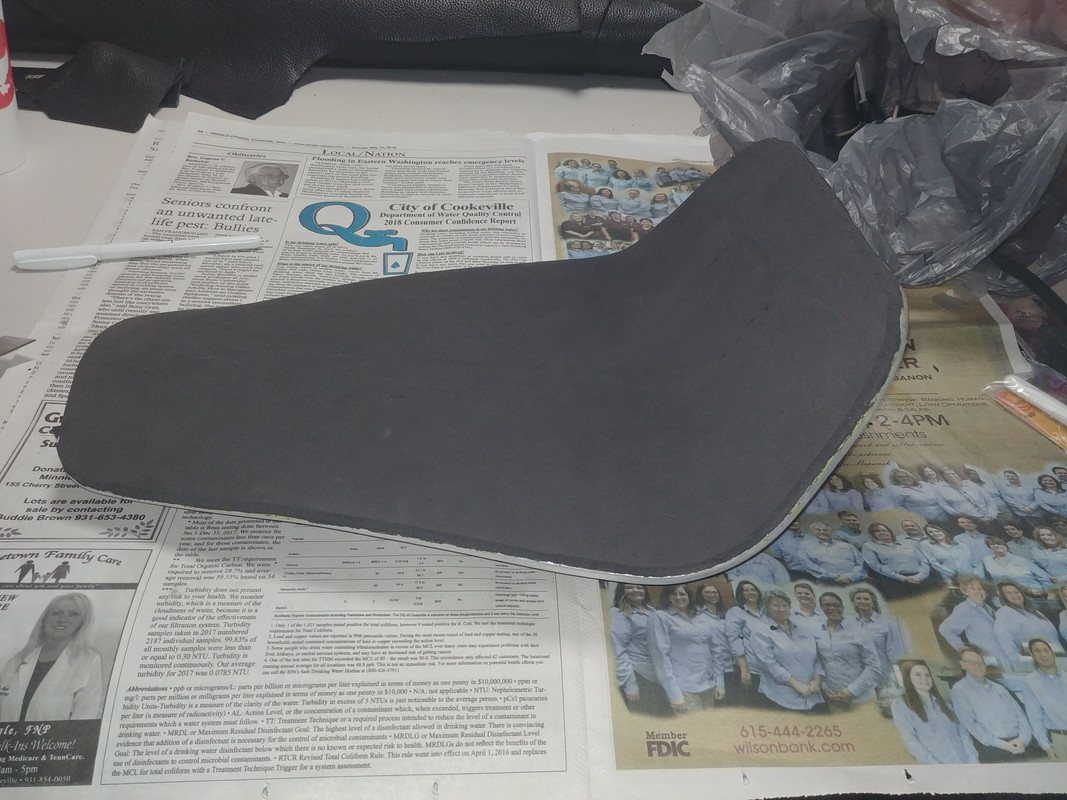
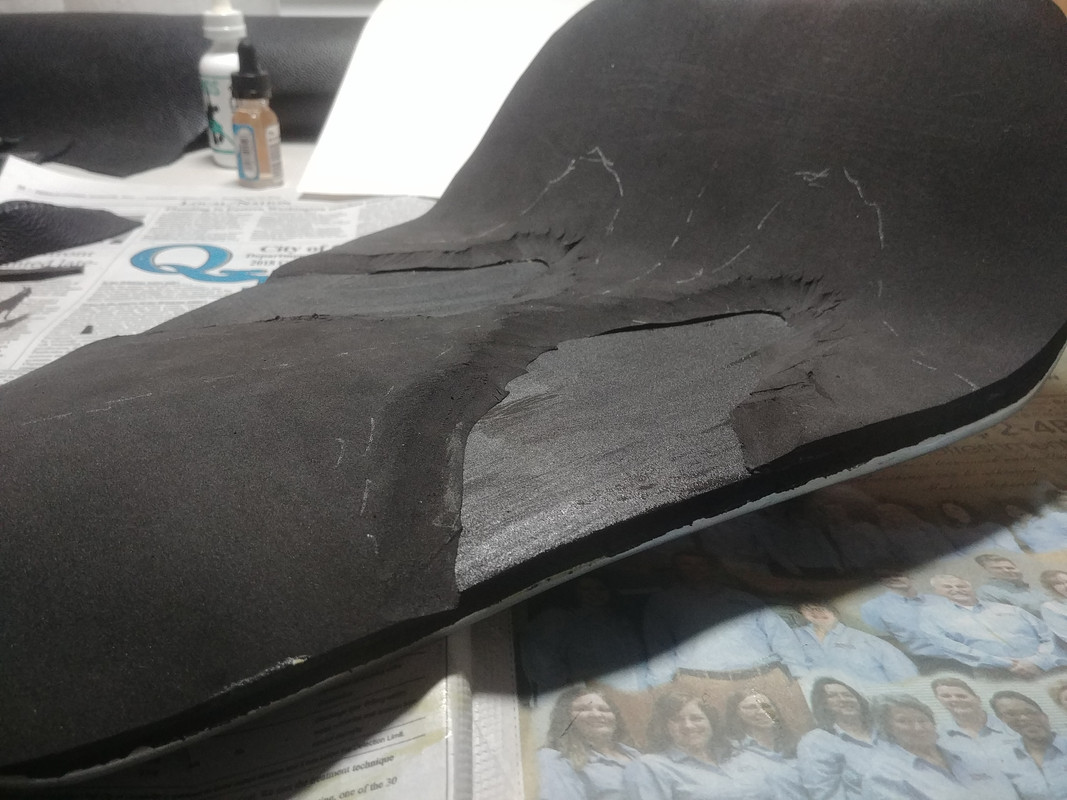
Ready to shape foam...maybe? how/where? The silver lines are sorta where the highest pressure areas are with me on it. Was thinking of dishing those areas by 1/4" - 3/8"...
Cement leather to the foam?
I've got the pan formed and I'm laying on foam now.
The pan is 1/4" aluminum
Foam is 1/4" neoprene. Probably 3 layers.
I'm using Barge contact cement to laminate the foam.
The cover is leather. "Black Motorcycle Side" from Tandy. 4-5oz weight. I believe it's chrome tanned. It's soft and somewhat stretchy.
I still have to make the cutting pattern but I'm planning to do it in three pieces. One for the top ane two bands around the sides. The joints will be butt stitched by hand with a cross stitch using Ritza 25 (Tiger) 1.0mm thread.
I'll include some pics below to help explain, but here are the couple questions I have...
1. Given three layers (5/8") of foam, would there be significant benefit is cutting out some reliefs for tailbone and sitting bones? Any real world experience riding on an ergonomic shaped seat would be helpful. I've only ever had "flat" seats. I'm thinking a bit of shape might be more comfortable, but I'm not sure.
2. Once the foam is done, is there any difference between cementing the leather to the foam or leaving it "dry"?
Thanks all!
The pan
Stitching trials
Ready to shape foam...maybe? how/where? The silver lines are sorta where the highest pressure areas are with me on it. Was thinking of dishing those areas by 1/4" - 3/8"...
Cement leather to the foam?


Comment