1979 FLH Shovelhead Build

Collapse

Desktop Ad Forum Top

Collapse

Mobile ad top forum

Collapse
X
 
  • Time
  • Show
Clear All
new posts
  • Eldergiraffe
    Senior Member
    • Oct 2015
    • 133

    1979 FLH Shovelhead Build

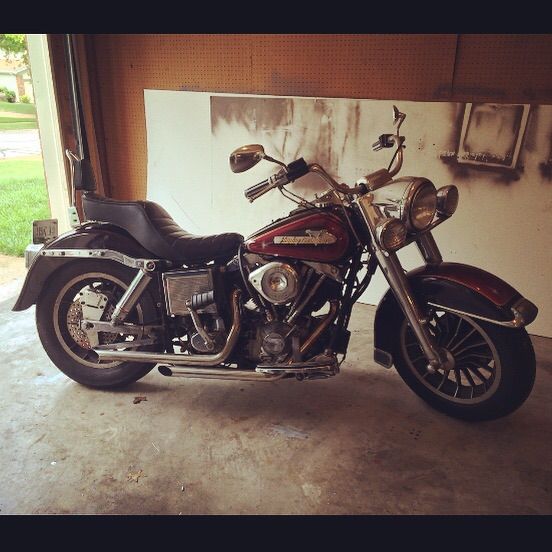
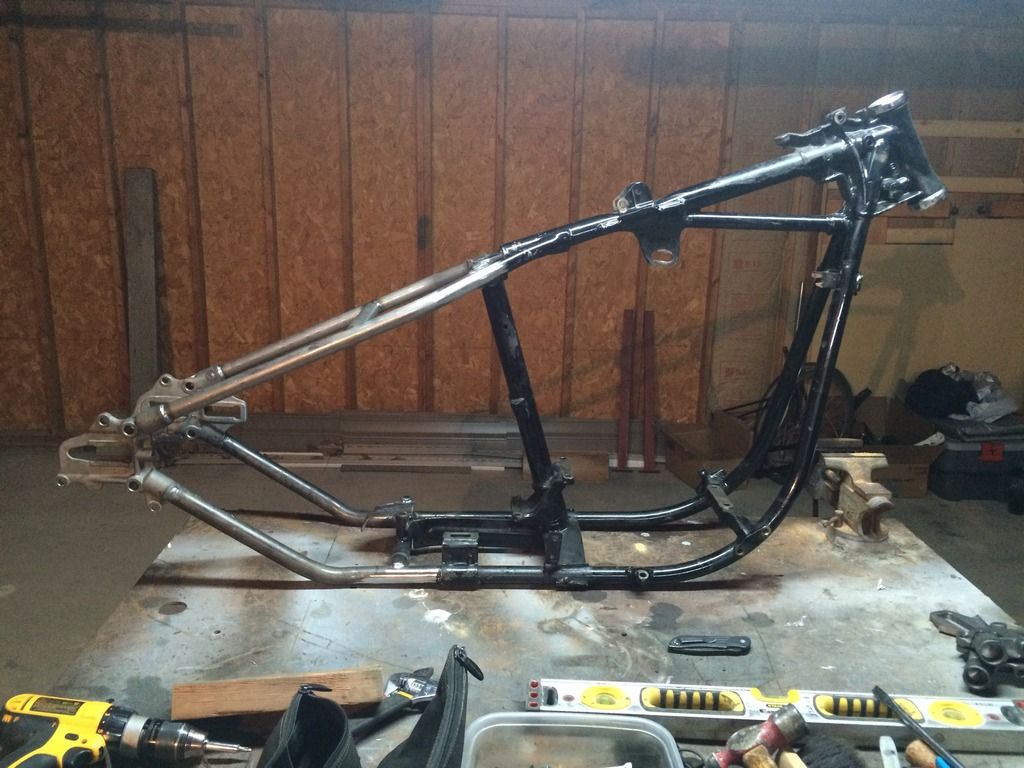
    I purchased a 1979 FLH in October of 2014 as my first motorcycle. I rode it until May 2015 and decided to take it apart and rebuild it differently. I sent the frame to Fab Kevin to get hardtailed, and he did an excellent job. He also added a Visionary Cycle Products lower frame fender mount to it. Im changing the rear disc brake to a juice drum brake set up and deleting the front brake. Here's some pictures of my progress so far.

    The bike when I bought it.


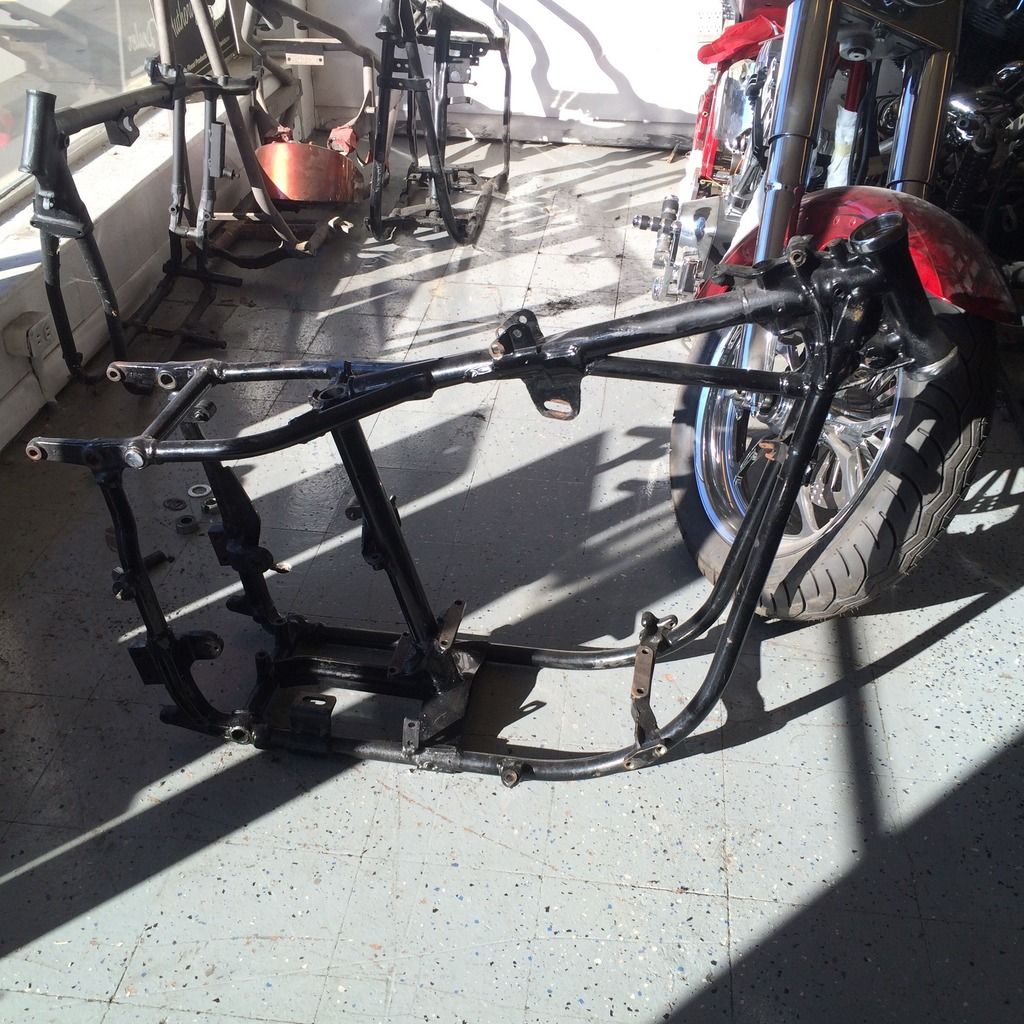
    The swing arm frame before hardtail.


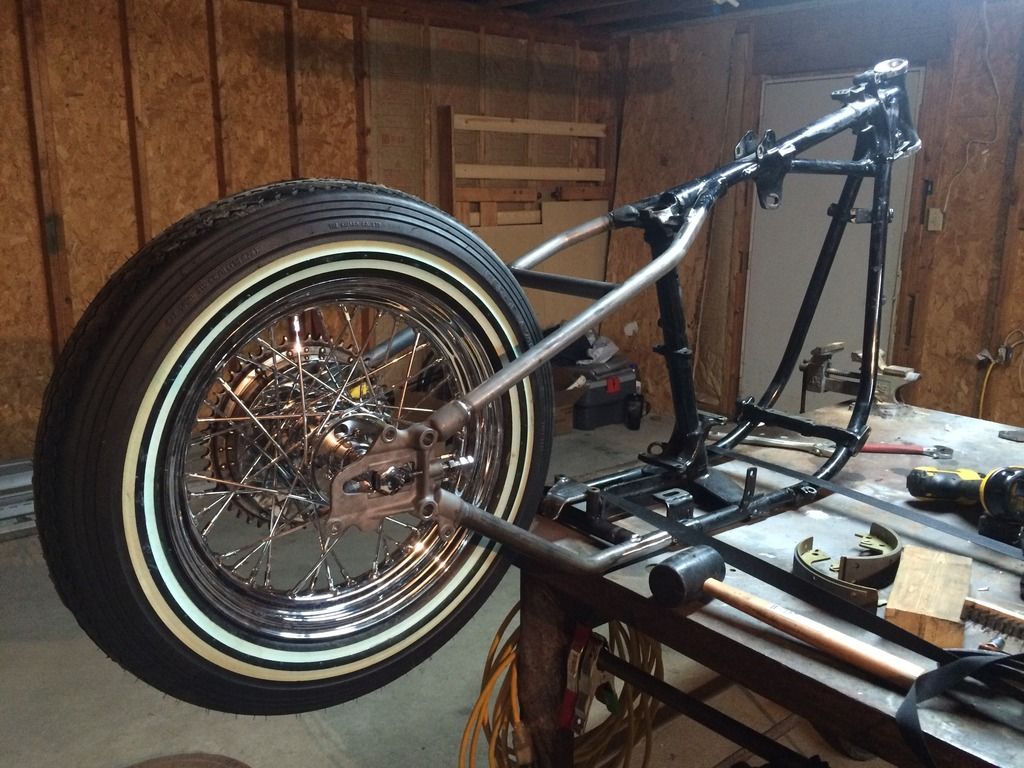
    The frame after Fab Kevin's hardtail.


    With rear wheel and brake.


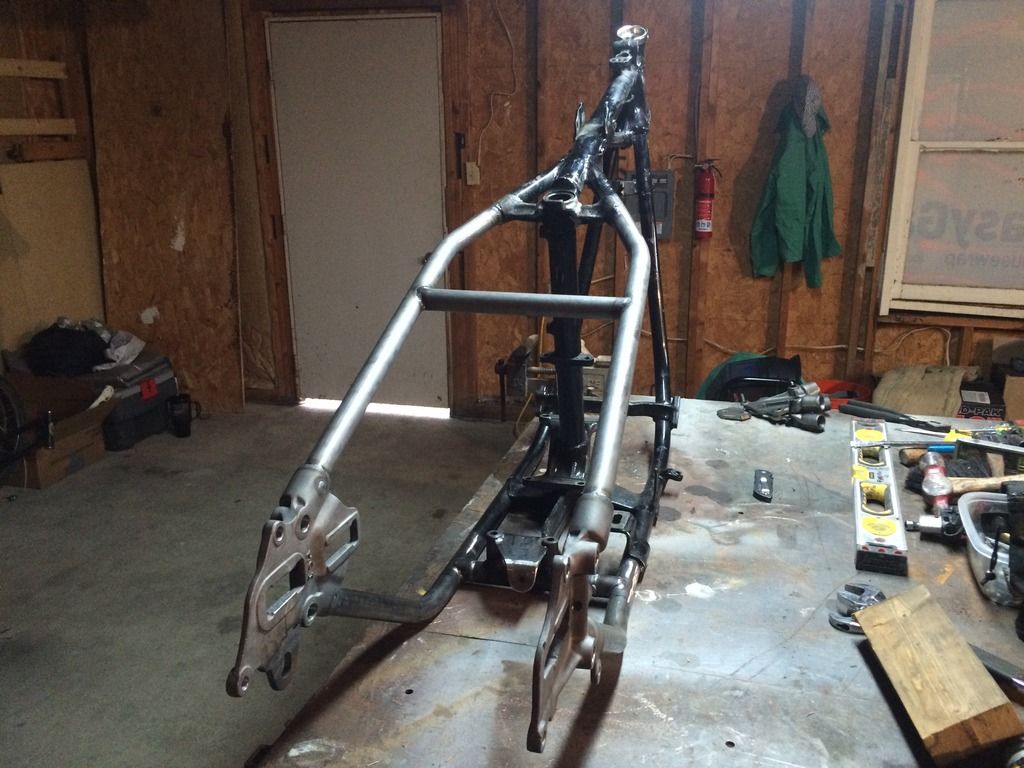
    Here I put on the wide glide front end, half the handle bars, gas tank, transmission, suicide clutch, and brake lever.


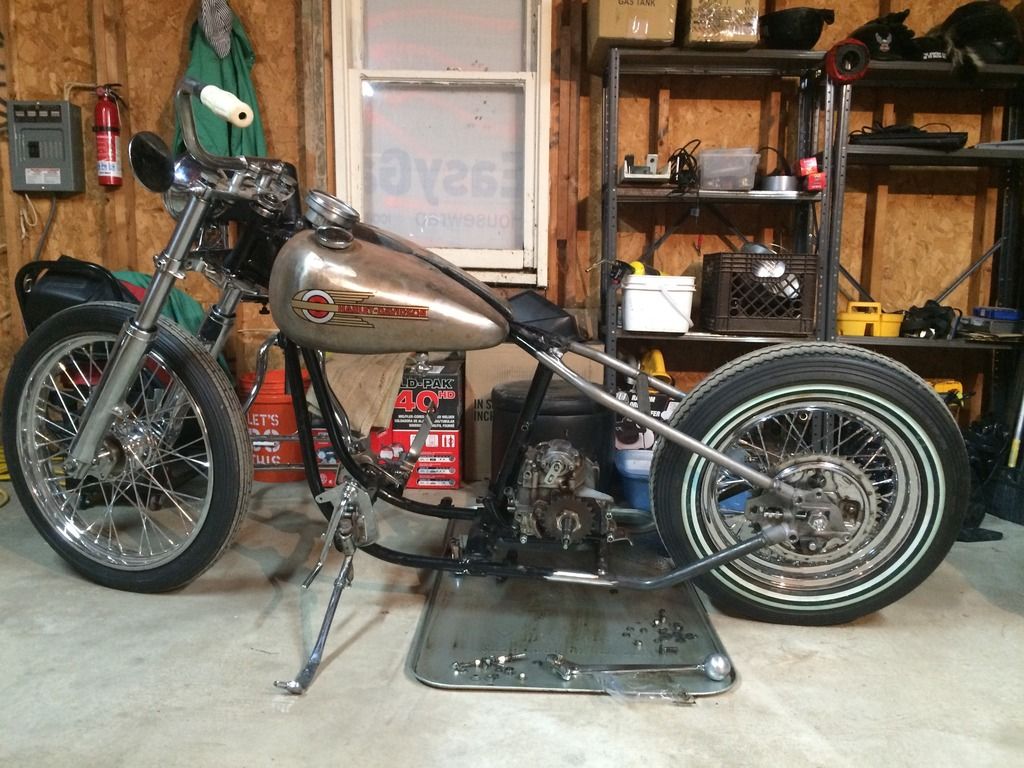
    I'm at a stand still until I get the motor back from rebuild. I'll post more details on that later.
    Last edited by Eldergiraffe; 03-10-2016, 3:54 PM.
  • Tattooo
    Senior Member
    • Sep 2012
    • 12407

    #2
    Very nice looking so far...............

    Comment

    • jsaz666
      Senior Member
      • Mar 2015
      • 215

      #3
      This is your first bike? Good job!

      Comment

      • BoulevardTrash
        Member
        • Sep 2015
        • 65

        #4
        it's nice to see that the left-half only handlebar trend is starting to cath on!

        nice start for sure. just lose that dual flange front hub and you'll be rockin. curious though as to why he left the top cross brace straight and didn't put the little bend in er like the old pan frames. not a big deal, and depending on what kinda seat you use you'll probably never notice, but it just stuck out a bit at first glance.
        Last edited by BoulevardTrash; 03-11-2016, 6:40 AM.

        Comment

        • Eldergiraffe
          Senior Member
          • Oct 2015
          • 133

          #5
          Originally posted by jsaz666
          This is your first bike? Good job!
          Yep, I went with a big heavy beast of a bike to learn on. I dropped it twice and learned a lot of valuable lessons!

          Comment

          • Eldergiraffe
            Senior Member
            • Oct 2015
            • 133

            #6
            Originally posted by BoulevardTrash
            it's nice to see that the left-half only handlebar trend is starting to cath on!

            nice start for sure. just lose that dual flange front hub and you'll be rockin. curious though as to why he left the top cross brace straight and didn't put the little bend in er like the old pan frames. not a big deal, and depending on what kinda seat you use you'll probably never notice, but it just stuck out a bit at first glance.
            The left only handlebar trend is coming back, throttle is a little tricky to explain though
            Last edited by Eldergiraffe; 03-19-2016, 12:29 PM.

            Comment

            • SBMarks3
              Junior Member
              • Mar 2016
              • 2

              #7
              Very nice looking project.

              Comment

              • Eldergiraffe
                Senior Member
                • Oct 2015
                • 133

                #8
                So I've been torn with which way to go with this project. I thought going with the original wide glide front end was the one but when I put this old springer front end on it again...I think this is definitely the way to go. I'm not going to use the fat bob split tanks or the dog bone risers and drag bars.


                Last edited by Eldergiraffe; 03-19-2016, 12:36 PM.

                Comment

                • Natehate
                  Senior Member
                  • Aug 2013
                  • 276

                  #9
                  i was hoping you were gonna run the 41mm hydraglide stripped down

                  Comment

                  • Eldergiraffe
                    Senior Member
                    • Oct 2015
                    • 133

                    #10
                    Trying to figure out a way to use both...being able to swap them out quickly along with gas tank

                    Comment

                    • Eldergiraffe
                      Senior Member
                      • Oct 2015
                      • 133

                      #11


                      I decided on the Throttle Addiction Frisco mount Sportster tank, I thought it looked better than the Wassel tank. I got the tank to fit up after cutting off the fat bob mount tabs and the speedometer mount. I ordered some 3/8 top hat bungs from Lowbrow to weld into the backbone to mount the tank.
                      Last edited by Eldergiraffe; 03-19-2016, 12:38 PM.

                      Comment

                      • Eldergiraffe
                        Senior Member
                        • Oct 2015
                        • 133

                        #12
                        I was fitting up the 67-72 mid star wheel and brake drum to the backing plate while installed in the frame and was having clearance issues with the backing plate and mechanical brake stay on the HCI axle plates. I have read about this problem on other build threads so I wasn't surprised. I spent about 4 hours grinding and cutting out the brake stay. I used a dremel tool on the hard to reach areas and a flapper wheel to blend the metal smooth to look like it was never there.


                        Filed the edges and polished smooth with emery cloth
                        Last edited by Eldergiraffe; 03-19-2016, 12:40 PM.

                        Comment

                        • farmall
                          Senior Member
                          • Apr 2013
                          • 9983

                          #13
                          Looks great. Good lighting/composition on the pics too.

                          Comment

                          • Eldergiraffe
                            Senior Member
                            • Oct 2015
                            • 133

                            #14
                            Originally posted by farmall
                            Looks great. Good lighting/composition on the pics too.
                            Thank You Farmall, the iPhone has a pretty damn good camera


                            I got a phone call Friday night from T-Bone that he had finished the top end rebuild on the shovelhead. So I drove 2 1/2 hours to Bone-A-Fide Cycles in Pekin, IL. T-Bone took me into the back and showed me how to set the push rods and let me do the final torque on the head bolts and cylinder base studs. This guy knows what's up when it comes to the V Twin motor. He had a Knucklehead in his engine test stand and several Panheads lined up. A couple Indian scouts too. I had a great time looking and talking motorcycles with him. If you live within 3 hours of Pekin, IL I would highly recommend Bone-A-Fide Cycles. He was fair with his prices and did the work in a timely manner.

                            I dropped off the motor in pieces and T-Bone found that this 80" shovelhead has an S&S Stroker kit with the oil return holes drilled into the cases. It has a 4 3/4" Stroke and 3 1/2" Bore. Still has the stock cylinders that are bored 0.020 over. The heads were in bad shape. They had bad gouges from a gasket scraper and were in need of media blasting and resurfacing. They also needed a valve job and several rocker studs were stripped. So instead of putting money into these heads I bought some 80" S&S heads. T-Bone honed the cylinders and refinished the outside and painted them. New Hastings piston rings on the S&S 7.5:1 Pistons. This makes it an 89" CI motor.

                            Here's when I took the motor out back in May 2015


                            Here you can see the gouges on the head surface


                            The bottom of the heads were beat up pretty good. T-Bone said the piston was hitting the head because of the increase in stroke, and the previous engine builder didn't take that into consideration. These are stock 74" heads too.


                            Here's the motor when I picked it up, T-Bone showed me how to install and set the pushrods and do the final torque.


                            Back home safe and sound


                            Here It is back in the frame. I've got a lot of parts to order and a lot of work to do!
                            Last edited by Eldergiraffe; 03-27-2016, 6:49 PM.

                            Comment

                            • Eldergiraffe
                              Senior Member
                              • Oct 2015
                              • 133

                              #15
                              Im setting up a 67-72 Hydraulic Drum Brake and I can't figure out this piece that I'm missing. I have a Bendix 322922 backing plate with all the correct parts except the piece by the lower springs that the two 5/16" x 24 tpi bolts hold. I'm assuming this is for holding the brake shoes in place. I can't find a part # for this. Does anyone know what I need? Thanks


                              Comment

                              300 mobile ad bottom forum

                              Collapse
                              Working...
                              ;