Zodiac: 1955 Swingarm Panhead Build

Collapse

Desktop Ad Forum Top

Collapse

Mobile ad top forum

Collapse
X
 
  • Time
  • Show
Clear All
new posts
  • ericthebeard
    Senior Member
    • Jul 2015
    • 119

    #16
    Originally posted by brooklynbomber
    Just know that the pan swinger will drop the rear by a bit. You could do a swing arm mounted fender so that it hugs the wheel and wouldn't have to worry about bottoming out with a lady on the back. But it moves with the wheel so gear and or passenger would move also.
    I've thought about that solution (swingarm mounted fender) but for some reason every example bike I see that on doesn't look right to me. The "flow" from the rear section onto the fender/wheel is all broken up and it just looks like poop. Or it looks like they're trying to look too much like a hardtail.

    And I like the kinda jaunty hillclimber fender mounting anyhow, with some good air gap between the tire and tin. And I'm just adding another thing to the dependency chain as noted before... gotta get the swingarm mounted to get the wheel mounted after getting the tire fitted before I can get the fender positioned before starting on the seat to establish the rider position to I can get to re-attaching the floorboard.

    Choppers man.

    Comment

    • ericthebeard
      Senior Member
      • Jul 2015
      • 119

      #17
      Originally posted by dlandberg
      Great bike and cool project!

      Thanks a bunch man. I really hope people dig it... I always love a quality build thread so here's hoping I can make it similar to the ones I'm into.

      Comment

      • ericthebeard
        Senior Member
        • Jul 2015
        • 119

        #18
        Got my (for now) final front pipe mockup and tacked together.

        Stared at this a bunch, the old painters tape and paracord dangle.

        IMG_3060 by Eric Bott, on Flickr

        IMG_3061 by Eric Bott, on Flickr

        IMG_3064 by Eric Bott, on Flickr

        Then to the bandsaw, sander, hang, stare, sand, stare, fuss, file, then fuckit. Commit.

        IMG_3035 by Eric Bott, on Flickr

        (I am pretty embarrassed about my welds... they suck. I know.)
        IMG_3062 by Eric Bott, on Flickr

        IMG_3034 by Eric Bott, on Flickr

        IMG_3065 by Eric Bott, on Flickr

        Fitted a longer bit for the final runout, and got it basically where I wanted it: Parallel with the line created by the cast manifold split, and tucked in reasonably tight to the frame. Terminating the pipe before the aft-most part of the oil tank meant it could hug in a little more. Probably will add a little turnout at the tips.

        IMG_3066 by Eric Bott, on Flickr

        IMG_3067 by Eric Bott, on Flickr

        IMG_3072 by Eric Bott, on Flickr

        IMG_3068 by Eric Bott, on Flickr

        IMG_3069 by Eric Bott, on Flickr

        IMG_3070 by Eric Bott, on Flickr

        Comment

        • billybiltit
          Senior Member
          • Aug 2009
          • 771

          #19
          kickass build thread!
          can't wait to follow along.
          so cool to see someone do a build with a dovetail.
          i have a dining room ornament with a shovelhead in it that needs to work it's way back to the front burner.Click image for larger version

Name:	PICT0053.jpg
Views:	1
Size:	264.4 KB
ID:	1288184


          keep us posted,
          leon

          Comment

          • dlandberg
            Senior Member
            • Nov 2015
            • 135

            #20
            great fabrication on those pipes! Always love bulding exhaust pipes and its cool to se other do to!

            Comment

            • nuklhd
              Senior Member
              • Sep 2013
              • 1248

              #21
              coming along nice. I dig swing arm frames. my 64 was one of the most comfortable rides I've owned. good call on getting rid of the rear disk and going with the stock pieces. good luck. your welds look fine. grind and sand grind and sand

              Comment

              • ericthebeard
                Senior Member
                • Jul 2015
                • 119

                #22
                Originally posted by dlandberg
                great fabrication on those pipes! Always love bulding exhaust pipes and its cool to se other do to!
                Thanks! It is pretty fun I think... getting the flow just right.

                But... I did hit a snag. Someone pointed out to me that it may be hard to reach my clutch pedal with the pipe as high as it is. It's pretty tight up against the head, but its still adding quite a bit to the overall width at that elevation.

                I hopped on the moto this evening, made vroom-vroom noises and realized that to get to the high pipe is right in the way. Poop. I *really* don't want to scoot the foot controls out at all, and with the removal of the compensator sprocket up on the left and the fwd mounted brake master on the right I am planning on shifting the floorboards at least an inch in from stock. For some reason I really irks my eye to see a killer, narrow chop with pegs that dangle an extra inch or so out (generally because of the peg length PLUS the clevis, hinge, and mount). I'm not going for the classic lanesplitter style here, but still want to weed out all the "Big Dog Chopper" stench where I can.

                So, I'm working on lowering it while still maintaining the overall vibe I want. Gotta do it right or just might as well buy some Paughco's or something... Its a shame because I did like the "scrambler" high pipe vibe the higher pipes were emitting. But the major theme of "left side shotguns" will come through nonetheless.

                Chop chop chop
                Last edited by ericthebeard; 01-20-2016, 12:18 AM.

                Comment

                • ericthebeard
                  Senior Member
                  • Jul 2015
                  • 119

                  #23
                  Also got a round swingarm from a local guy off another board, unfortunately the fine-thread 3/8x24 axle adjuster pots were a little buggared up.

                  Found a random 3/8 NF tap to chase the threads, carefully mucked with it for about half an hour trying to get it started in the threads before realizing it was a left-hand tap. WTF. At least I didn't "persuade" it any more than I did.

                  Got myself a proper thread chaser and with a lot of lube and washing out got it re-established. In hind sight it would have been really good to grab a rifle bore brush to clean out the cut gunk. May still do that if they continue to feel gritty...

                  IMG_3095 by Eric Bott, on Flickr

                  IMG_3096 by Eric Bott, on Flickr

                  IMG_3097 by Eric Bott, on Flickr

                  Comment

                  • ericthebeard
                    Senior Member
                    • Jul 2015
                    • 119

                    #24
                    Obigitory "vroom vroom" shot, tinkering with foot positioning. Now thinking about ditching the floorboards for pegs off the rear floorboard tabs.

                    Then hacking up the Pangea Speed clutch pedal and integrating that with the left mount...

                    IMG_3098 by Eric Bott, on Flickr

                    Comment

                    • RokDoctor
                      Member
                      • Feb 2011
                      • 71

                      #25
                      Subscribed! Love all the pics, and I'm in about the same spot with my 56.


                      And I will buy all the floorboards and mounting bits if you don't want them.

                      Comment

                      • ericthebeard
                        Senior Member
                        • Jul 2015
                        • 119

                        #26
                        Originally posted by RokDoctor
                        Subscribed! Love all the pics, and I'm in about the same spot with my 56.


                        And I will buy all the floorboards and mounting bits if you don't want them.
                        Rock on man, thanks for the kind words glad you dig it.

                        I'm still waffling on the board but leaning toward ditching them and likely will end up doing just that... PM sent.

                        Comment

                        • ericthebeard
                          Senior Member
                          • Jul 2015
                          • 119

                          #27
                          Some progress, exciting parts arrivals, more teardown and attempted arson!

                          First off, got the round swingarm in hand and the existing tapered bearings were sad looking... at least that's what I was assuming they looked like under that 7 lbs of grease.

                          IMG_3133 by Eric Bott, on Flickr

                          The other side was missing the seal flange thing and the bearing cage was spun in the housing. That was easy (ish) to beat out.

                          IMG_3134 by Eric Bott, on Flickr

                          Then zero progress, lots of pounding with a drift with little effect (and little desire to get tooooo crazy on it). The inner lip of the outter race, still left stubbornly in the housing) is protected by a seat in the housing... so getting a purchase on it for pummeling was slow going. Until someone on here suggested welding a nub on the race to pound against. Damn near lit the whole thing on fire. Turns out grease is flammable.

                          SUCCESS.

                          IMG_3141 by Eric Bott, on Flickr

                          IMG_3140 by Eric Bott, on Flickr

                          New bearings are on the way, and I'm going to try to clean this guy up as much as I can (for mockup purposes at least) until then.

                          Also got the stock clutch basket pulled off the mainshaft, and the front pulley. Ready to replace with the belt primary.... once I can find a shop to press out the Primo clutch hub out of this old setup and into the new basket.

                          IMG_3131 by Eric Bott, on Flickr

                          IMG_3132 by Eric Bott, on Flickr

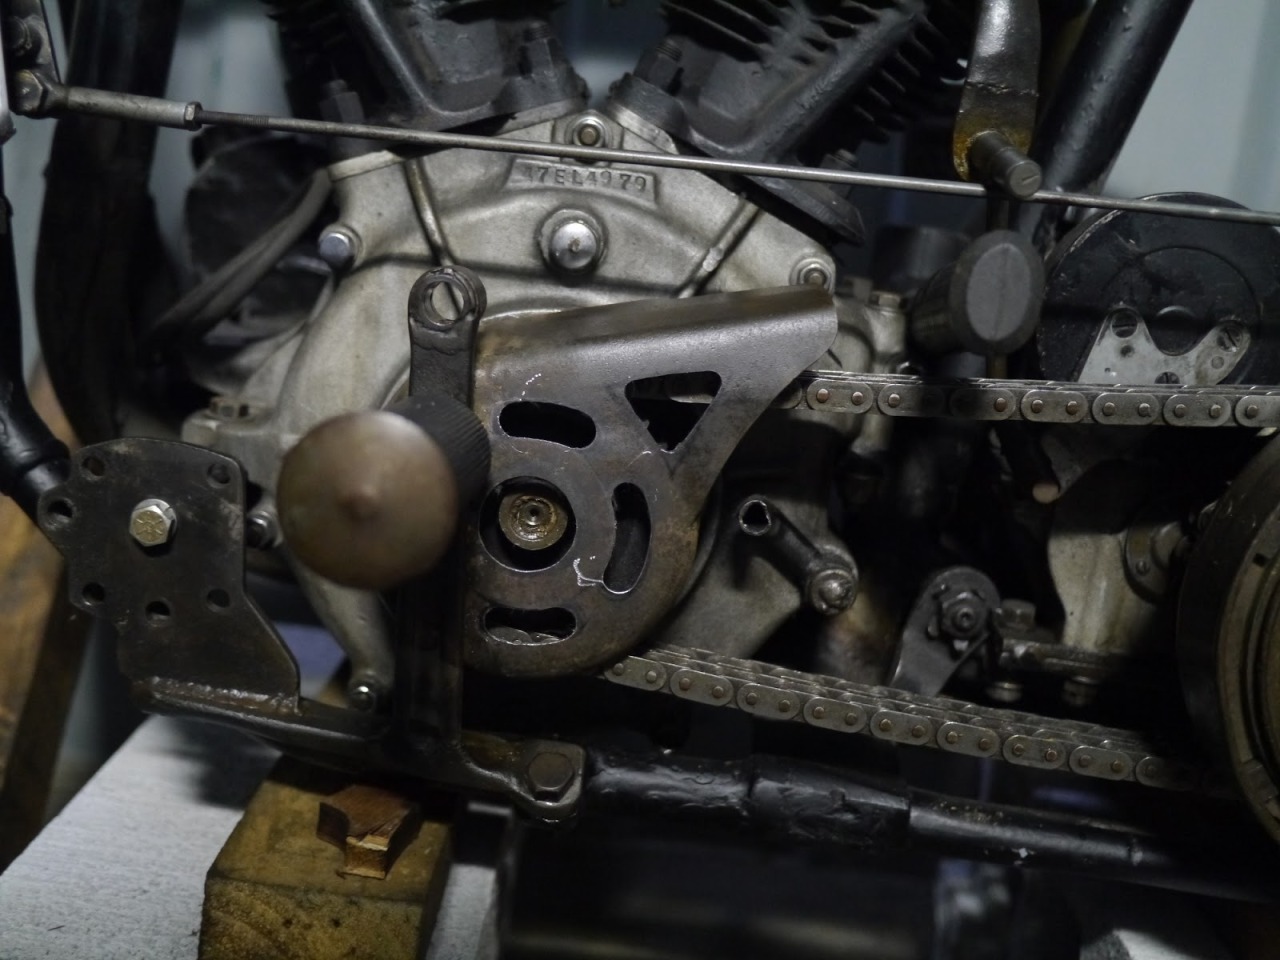
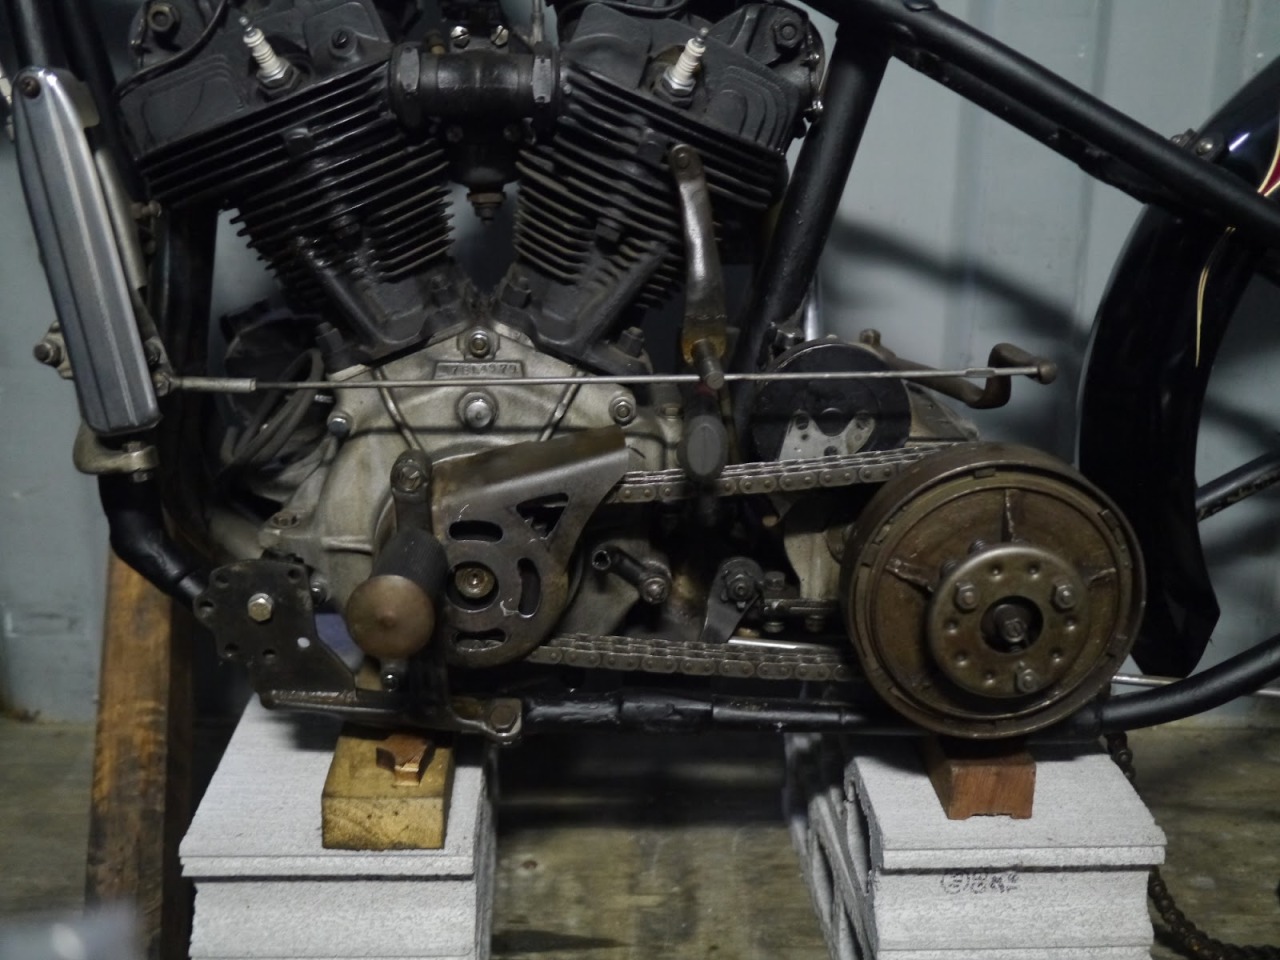
                          I also need to just sit and stare at this for a while while I imagine up foot control solutions. I want to keep things open but am too much of a pussy to run with at fully open belt... not for gross bodily harm issues just dont want my pants and shit chewed up in it. Or my foot, that applies too.

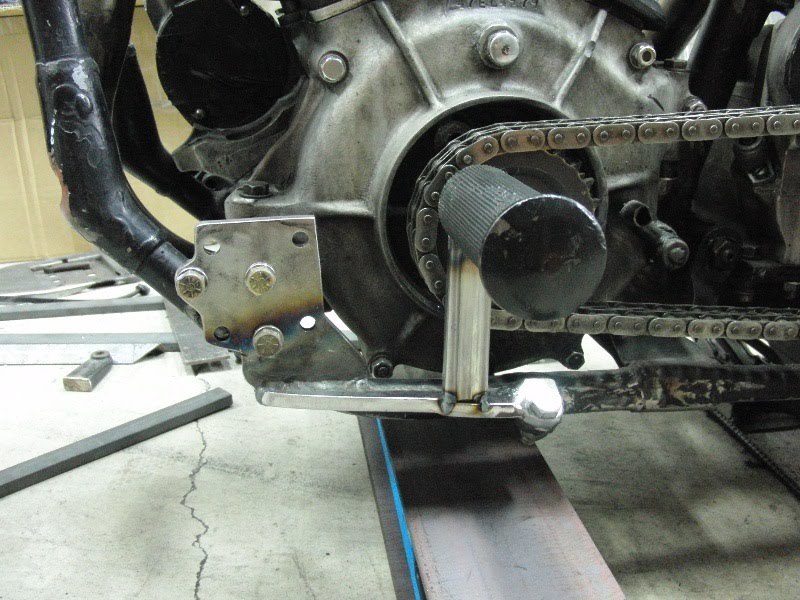
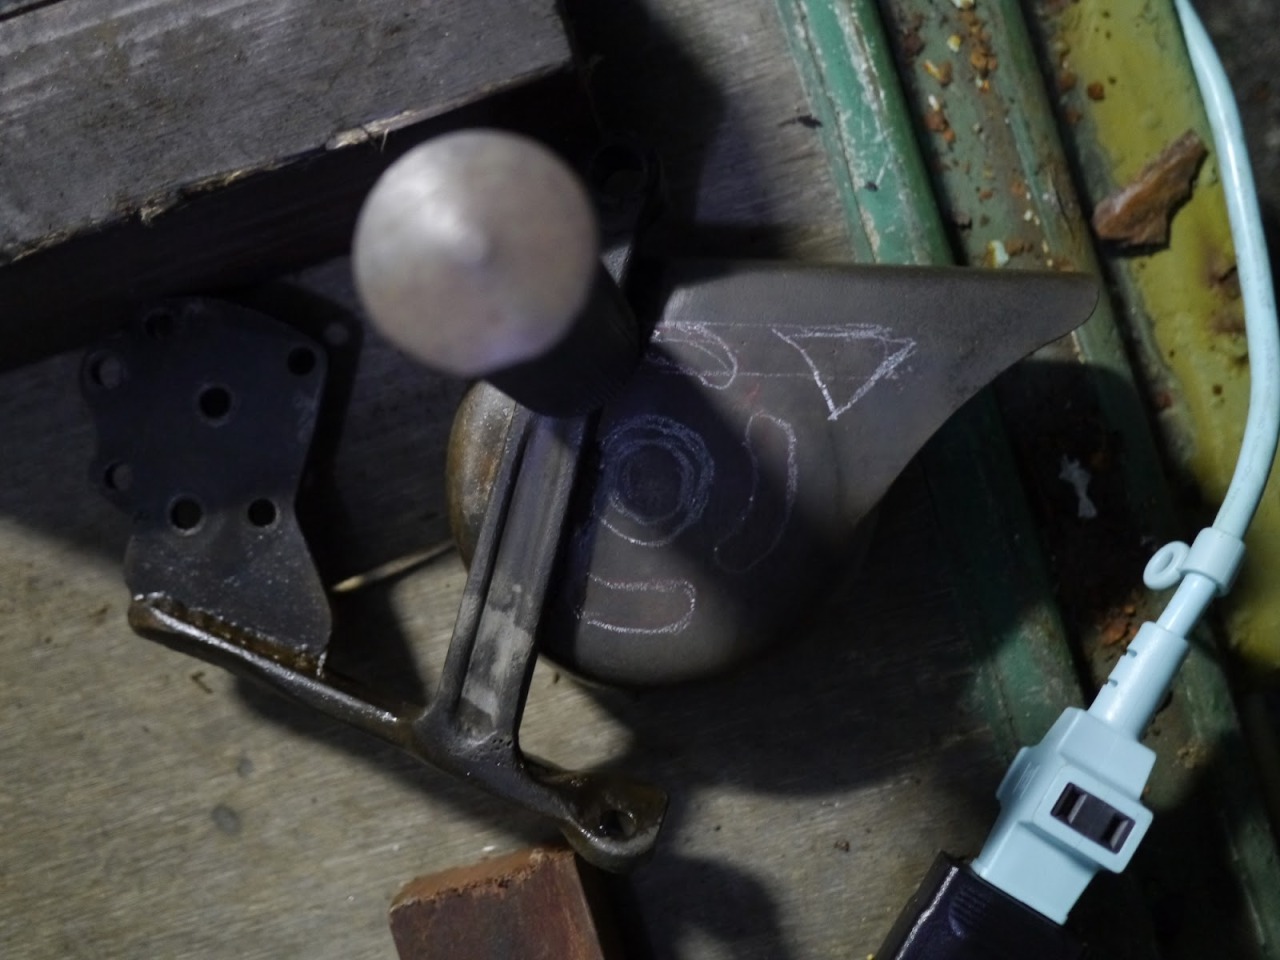
                          So, the left side puzzle is minimal but good looking belt guard (mostly guarding the upper, rear portion of the front belt... the hungry bit) with the foot peg location with a clutch pedal. All looking sezzy of course.

                          And with the tins out of the way I can get at the speedo gear, replacing it with a plug form Baker.

                          IMG_3137 by Eric Bott, on Flickr

                          Small victories.

                          Comment

                          • ericthebeard
                            Senior Member
                            • Jul 2015
                            • 119

                            #28
                            I think the Japanese kickass builder friend Mr. Daikoube has the right idea for my setup... taking inspiration from his PERFECTLY well executed Knuckle (NOT my pics).


                            I like the integration of the foot mount, mounting location, and integrating that with a good looking pulley guard.

                            Plus its never a bad time to ogle that bike again.
                            Attached Files

                            Comment

                            • ericthebeard
                              Senior Member
                              • Jul 2015
                              • 119

                              #29
                              New bits! Got a new front wheel/brake combo.

                              Its a '68 Bonneville TLS 19" round thing. Very excited how this looks all mocked up.

                              IMG_3165 by Eric Bott, on Flickr

                              IMG_3166 by Eric Bott, on Flickr

                              IMG_3167 by Eric Bott, on Flickr

                              The 8" drum is a big boy. Classy stopping.

                              IMG_3150 by Eric Bott, on Flickr

                              IMG_3151 by Eric Bott, on Flickr

                              She should clean up nice...

                              IMG_3154 by Eric Bott, on Flickr

                              Comment

                              • ericthebeard
                                Senior Member
                                • Jul 2015
                                • 119

                                #30
                                Now for the question and answer period: Getting the Triumph wheel to the Harley wide glide.

                                What I know thus far:
                                -Triumph is designed for a 20mm axle.
                                -Harley axle is 3/4" (~19mm).
                                -Bearings in the Triumph hub are Timken/Fafnir 204k, 20mm bore x 47mm OD x 14mm wide.
                                -The backing plate is also sleeved to ride on a 20mm axle.

                                My plan was to make a combo axle sleeve/inner spacer like this after putting in new bearings (the 6204-2RS are the sealed 20mm bore replacements for the 204k's) like this (from DBBP.com):


                                And then typical 3/4" spacers outside the hub for centering the wheel and side load transfer.

                                BUT. That would leave around 0.5mm of meat left on the sleeve between the stock axle and the inner race. Seems not only small but a pain to machine.

                                OR the other option is to make a copy of the Harley wide-glide axle with a 20mm center section instead of 3/4". Then in assembly I'll have a set three of 20mm ID spacers to go between the fork leg and bearing, between the bearings, and between the opposite bearing and opposite leg. Same philosophy as before.

                                So... which option does ya'll suggest?

                                Pics of junk:

                                Triumph axle:
                                IMG_3159 by Eric Bott, on Flickr

                                Triumph left side bearing on the axle:
                                IMG_3161 by Eric Bott, on Flickr

                                Trans Atlantic axle standoff:
                                IMG_3163 by Eric Bott, on Flickr

                                IMG_3164 by Eric Bott, on Flickr

                                Figurin' the bearing OD:
                                IMG_3158 by Eric Bott, on Flickr

                                Right side bearing in the hub, the backing plate rides on this inner race:
                                IMG_3157 by Eric Bott, on Flickr

                                Comment

                                300 mobile ad bottom forum

                                Collapse
                                Working...
                                ;