
 Tweet
Tweet
Well, I got this build going on a couple other sites, but someone said I oughta put it up here too. Hope I'm not whorin' myself out too much. I've been collecting parts for this build for years now, always something got in the way (usually money) of finally starting on it. Enough people made fun of me that I resolved this was the year. I tried to get it going about 2 years ago, sent a frame and a bunch of money to an asshole who ripped me off of pretty much all of it, and gave up. This time around I think it's gonna happen right. Ok, enough backstory, here's Part 1,the beginning. Sorry, it'll be a bit long, it's been a long time coming.
This crap all started a few years back when I was trolling eBay and found this bike. These are the original and only 2 pics that were in the auction listing:
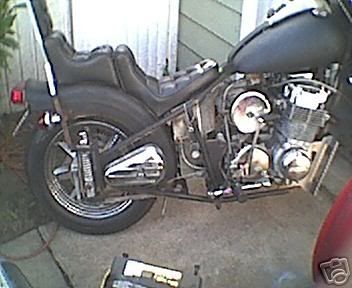
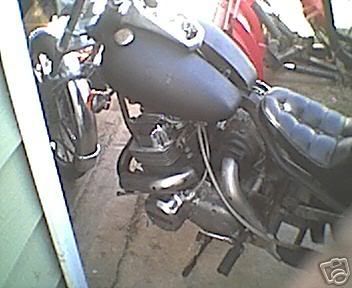
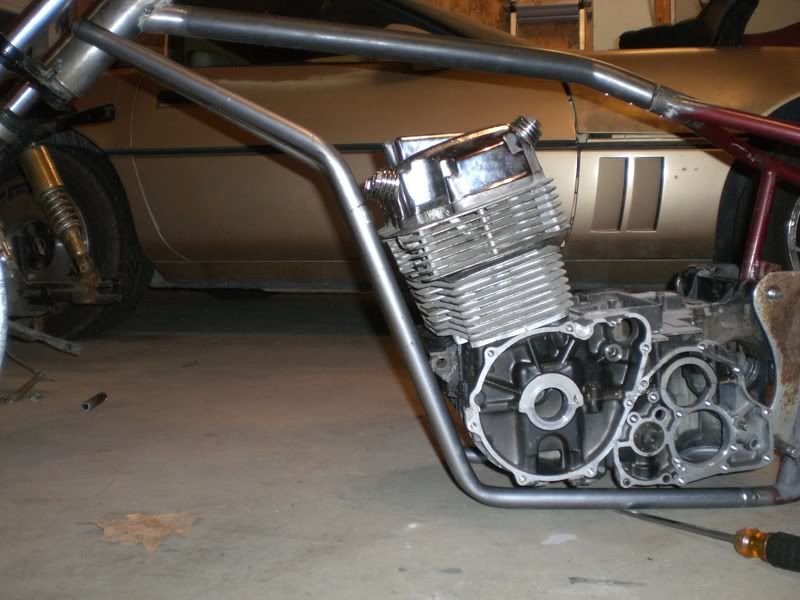
Yeah, that's a turbo on it. Called the dude up, and after figuring out his accent (drunken Long Islander) we negotiated a price and he pulled the auction down. Me and a buddy drove the hellish trip up there on a rainy Friday, hitting the bridge at just about rush-hour, and it was all mine. BUT, the pics were a bit misleading (go figure, as large and clear as they were). The story on the bike, according to the now-hungover guy who helped us load it, is that some dude was building it in his basement and passed away. That part I could believe, since nothing was tight (anywhere) and more than a few things were not gonna fly. The frame was spray-bombed black with the motor in there, and there was a lot of corrosion on everything. Apparently the basement was damp But, all was not lost. There were some AMAZING parts on that bike. Both rims are invaders, and the rear is a one-off hallcraft "galaxy" from their last year in business. I figured it out talking to a long-time Triumph shop owner near DC who has the only set ever made for a Triumph on a show bike in his store. He ordered them brand new and got 'em like 2 months before the company went bust, it was their last new wheel idea. The spokes on it cross like a laced wheel, very cool. In fact, I still don't have a bike worth running it on. The front was an absolutely cherry, NOS 10-spoke 21" invader with dual Honda discs, but sadly that wheel was also lost when I got fucked outta my frame/money by that guy in Indiana. Still got the back wheel though. The Amen Savior frame was also NOS (for real). Not a single hole in it, prefect bushings in the rear suspension, not a spec of bondo; perfect.
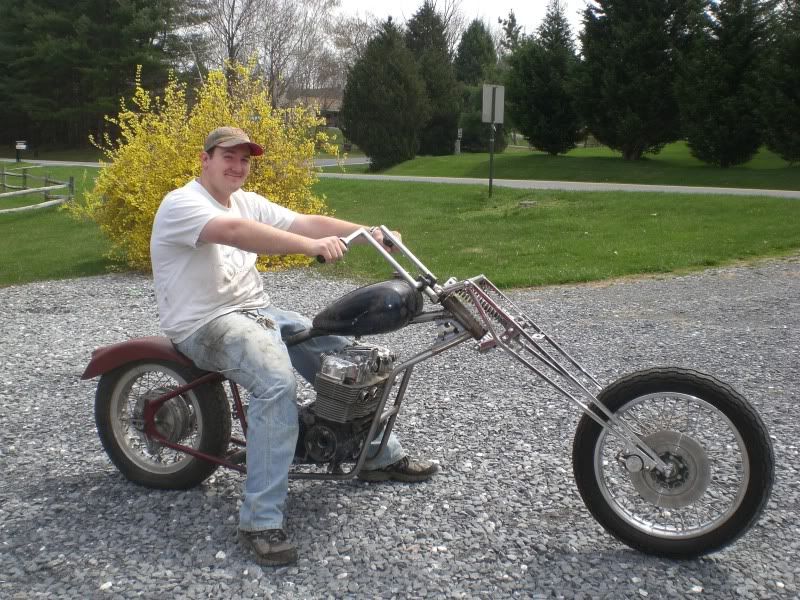
Ok, that's getting too long. Long story short, I parted out most of that bike keeping only the wheels and the turbo kit. I got enough for the other parts that the turbo kit became free. That's where the trouble started. I wanted to just throw it on my stock CB chop and roll with it. Kinda wish I had done that. The American Turbo Pak literature (they made the kit) said up to 4-5 pounds of boost was fine for a bone stock motor. Wouldn't even have to change the timing. Well, that never happened. I didn't wanna make my only bike at the time unreliable, so I decided to build a motor for the turbo kit and later put the whole thing into my chop. I started wasting my money on any interesting parts that came by for the motor. Last year I got serious and picked up the real goodies.

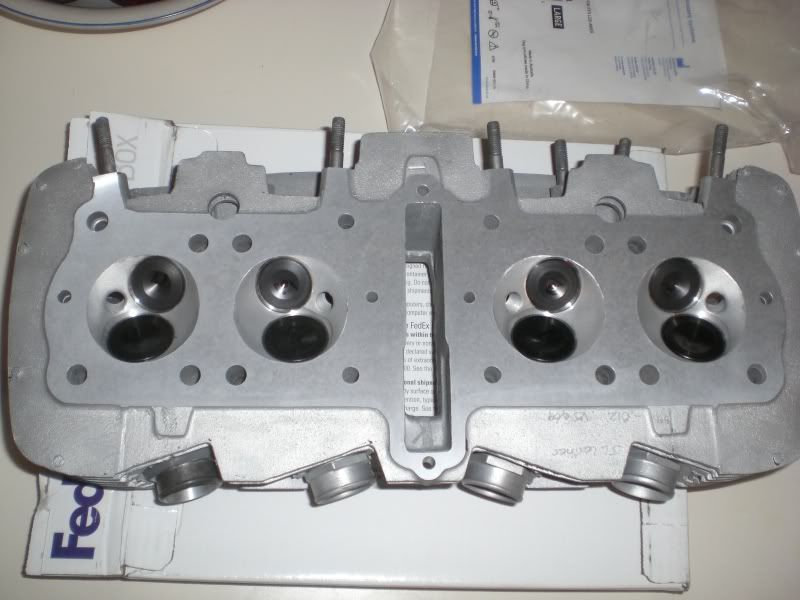
Vintage MTC forged low-compression 836 pistons. At the same time I picked up a second complete ATP turbo kit with the competition-style piping (stainless and equal length). I had the turbo rebuilt, and all looked good. Nope! I sent the MTC pistons off to be refurb'd by an excellent machinist, Mike Rieck, and he informed me that the pistons had had it. Too many years of running, and the guy who pulled the motor apart to ship 'em to me had bent the oilrin groove on one. Another strike. Took me 2+ years to find that set, where the hell was I gonna find another?
I'm writing this at work, and I gotta run for a bit. More to follow...
This crap all started a few years back when I was trolling eBay and found this bike. These are the original and only 2 pics that were in the auction listing:
Yeah, that's a turbo on it. Called the dude up, and after figuring out his accent (drunken Long Islander) we negotiated a price and he pulled the auction down. Me and a buddy drove the hellish trip up there on a rainy Friday, hitting the bridge at just about rush-hour, and it was all mine. BUT, the pics were a bit misleading (go figure, as large and clear as they were). The story on the bike, according to the now-hungover guy who helped us load it, is that some dude was building it in his basement and passed away. That part I could believe, since nothing was tight (anywhere) and more than a few things were not gonna fly. The frame was spray-bombed black with the motor in there, and there was a lot of corrosion on everything. Apparently the basement was damp
But, all was not lost. There were some AMAZING parts on that bike. Both rims are invaders, and the rear is a one-off hallcraft "galaxy" from their last year in business. I figured it out talking to a long-time Triumph shop owner near DC who has the only set ever made for a Triumph on a show bike in his store. He ordered them brand new and got 'em like 2 months before the company went bust, it was their last new wheel idea. The spokes on it cross like a laced wheel, very cool. In fact, I still don't have a bike worth running it on. The front was an absolutely cherry, NOS 10-spoke 21" invader with dual Honda discs, but sadly that wheel was also lost when I got fucked outta my frame/money by that guy in Indiana. Still got the back wheel though. The Amen Savior frame was also NOS (for real). Not a single hole in it, prefect bushings in the rear suspension, not a spec of bondo; perfect.Ok, that's getting too long. Long story short, I parted out most of that bike keeping only the wheels and the turbo kit. I got enough for the other parts that the turbo kit became free. That's where the trouble started. I wanted to just throw it on my stock CB chop and roll with it. Kinda wish I had done that. The American Turbo Pak literature (they made the kit) said up to 4-5 pounds of boost was fine for a bone stock motor. Wouldn't even have to change the timing. Well, that never happened. I didn't wanna make my only bike at the time unreliable, so I decided to build a motor for the turbo kit and later put the whole thing into my chop. I started wasting my money on any interesting parts that came by for the motor. Last year I got serious and picked up the real goodies.
Vintage MTC forged low-compression 836 pistons. At the same time I picked up a second complete ATP turbo kit with the competition-style piping (stainless and equal length). I had the turbo rebuilt, and all looked good. Nope! I sent the MTC pistons off to be refurb'd by an excellent machinist, Mike Rieck, and he informed me that the pistons had had it. Too many years of running, and the guy who pulled the motor apart to ship 'em to me had bent the oilrin groove on one. Another strike. Took me 2+ years to find that set, where the hell was I gonna find another?
I'm writing this at work, and I gotta run for a bit. More to follow...
Attached Files


 Standard hi-po parts not pictured are HD cylinder studs, HD lower-end studs, HD cam chain, all new tensioners and such, etc. Basically everything you can think of, it's goin into this motor. Why? I have no idea. I coulda bought and parted out a damn crotch-rocket and had a much more reliable powerplant that was probably more hp too, but I didn't. Instead I wanna see 3-4x the original rated power from a 35+ year old aircooled antique. But then, I coulda skipped all this and bought a new geezerglide too right?


Comment