'03 Vulcan 1500 Engine Rebuild

Collapse

Desktop Ad Forum Top

Collapse

Mobile ad top forum

Collapse
X
 
  • Time
  • Show
Clear All
new posts
  • JPWilliams
    Senior Member
    • Nov 2009
    • 321

    '03 Vulcan 1500 Engine Rebuild

    EDIT : Don't use Facebook for image hosting. My earliest stuff has all fallen victim to broken links. I redid this write-up here. http://tearitupfixitrepeat.blogspot....aultvml-o.html I cleaned it up and organized a bit better. I'm not trying to take away from chopcult. I just wanted to share the info


    You guys asked for it so here goes.

    Getting started.


    That's my friend "Hot Sauce" with a quick cup of inspiration,


    Tank and seat gone. Hot Sauce goes too fast to get good action shots.


    Pipes in the pile.


    Drain the anti-freeze.


    Left board gone.


    Right board gone.


    Hot Sauce unplugging the electronics.


    Hey, let's drain the oil!


    Up on the jackstands now.


    Subframe piece off....


    Engine on the jack and disconnect the driveshaft.


    Big pry bar to move the jack sideways a bit.
    Last edited by JPWilliams; 06-25-2012, 6:30 PM.
  • JPWilliams
    Senior Member
    • Nov 2009
    • 321

    #2


    Engine is offically disconnected.


    Engine on the ground in just under 2 hours.


    Big hole.


    On the rebuild cart.


    Rocker box covers off, first.


    Rear head. It was the noisy one, but nothing is obviously wrong.


    Front head looks okay.


    Okay enough for one day, put your crap up.

    Comment

    • nohonestlyitsme
      Senior Member
      • Jan 2010
      • 163

      #3
      put that motor in a CB350 or bust. Ha im kidding... Or am I?

      Comment

      • JPWilliams
        Senior Member
        • Nov 2009
        • 321

        #4
        Sunday's Work


        Let's get started.


        Rear oil line off.


        Start to take off the nuts from the rocker boxes.


        GEEEEZZZ! The big ones are tight!


        Not sure what is on these long ones, but when I pulled them something really smelled wierd.


        Just like whack-a-mole.


        Underside of the rear rocker box. I haven't done full testing yet, but I think two of the hydralic adjusters are weak.


        Rear cam exposed.


        Here's the rear compression release I was thinking was the source of the noise. Still not sure.
        Last edited by JPWilliams; 02-19-2012, 4:50 PM.

        Comment

        • JPWilliams
          Senior Member
          • Nov 2009
          • 321

          #5
          On to the front cylinder


          Remove front oil line.


          NUTZ OFF!

          Whack-a-mole did get this one done so...


          there are two little pry spots I used. I hope that was what they were. There are two notches on both rocker boxes.


          Front cam.


          Underside of the front rocker box. These hydraulics seems good.

          Comment

          • JPWilliams
            Senior Member
            • Nov 2009
            • 321

            #6
            Behind here ...

            is the nut you can turn the motor with.


            There it is.


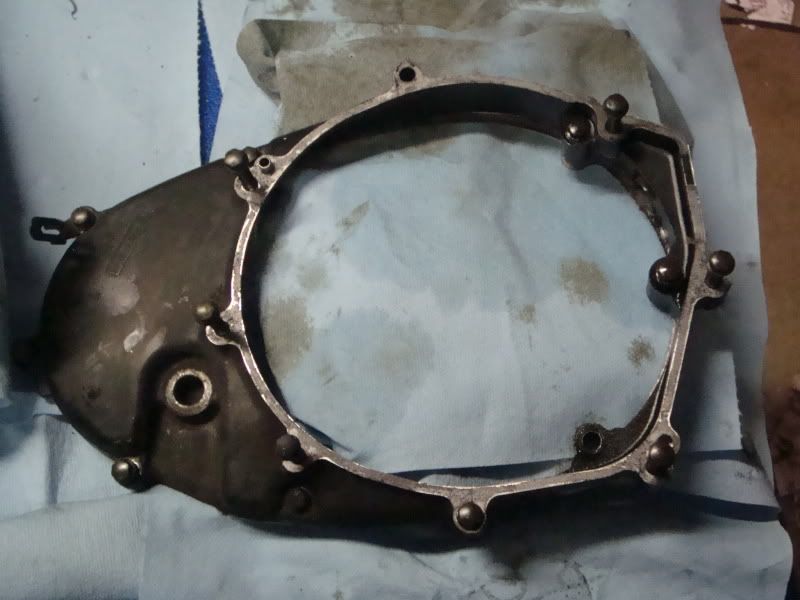
            I think the alternator cover should slide of the shift shaft, but I think my shift shaft is bent from some left side dumps. I'm not sure what if I'll replace this or not. I probably should though.


            Finally found the timing mark. Didn't look exactly like the book. It really shouldn't matter until I go back up, though.


            Taking the camchain tensioner off.

            Comment

            • JPWilliams
              Senior Member
              • Nov 2009
              • 321

              #7
              Got the tensioners off and the cams out, but didn't a picture of the cams.

              The spark plug tubes have to come out to get the heads off. It takes 27mm external hex. So off to ACE to get a bolt and two nuts $10.22. Sucks.

              27 mm Driver


              Works!
              27 mm Driver

              Yep, camchains were rubbing before I did those camchain extenders.

              Scored Tube


              Both tubes.

              Start again in the morning. I love Presidents' Day!!!
              Last edited by JPWilliams; 03-22-2012, 4:37 PM.

              Comment

              • jpswino
                Senior Member
                • Aug 2009
                • 349

                #8
                Real Cool. Got any plans to hop it up any?

                Comment

                • JPWilliams
                  Senior Member
                  • Nov 2009
                  • 321

                  #9
                  Originally posted by jpswino
                  Real Cool. Got any plans to hop it up any?
                  Afraid not. I could do a big bore kit from Thunder Manufacturing, but if I had an extra $1250 to blow on bike parts it go to a springer for my shovelhead. http://www.chopcult.com/forum/showthread.php?t=2573

                  Comment

                  • JPWilliams
                    Senior Member
                    • Nov 2009
                    • 321

                    #10
                    Monday's work


                    Two cap nuts hold each head to the cylinder.


                    This one is hard to get at.


                    Under side of the front head.


                    Top of front piston.


                    Rear head coming off.


                    The inside nut is easier with one head removed.


                    Underside of the rearhead.


                    Top of rear piston.

                    Comment

                    • JPWilliams
                      Senior Member
                      • Nov 2009
                      • 321

                      #11

                      Both heade gasket surface seam wet with antifreeze and the both head came off with out any effort at all. I wonder if the head gaskets were leaking causing the oil usage and/or the radiator boilover.


                      Front camchain extensioner shoe.


                      Rear camchain extensioner shoe.


                      Two nuts hold each cylinder on.


                      Front Piston out.


                      Front cylinder on the table.

                      Comment

                      • JPWilliams
                        Senior Member
                        • Nov 2009
                        • 321

                        #12
                        Rear cylinder.....


                        Both pisons hanging out of the crankcase, now we can really get to work!


                        Soak the piston tops in this stuff to soften the carbon.


                        Cover everything and quit again.

                        Comment

                        • JPWilliams
                          Senior Member
                          • Nov 2009
                          • 321

                          #13
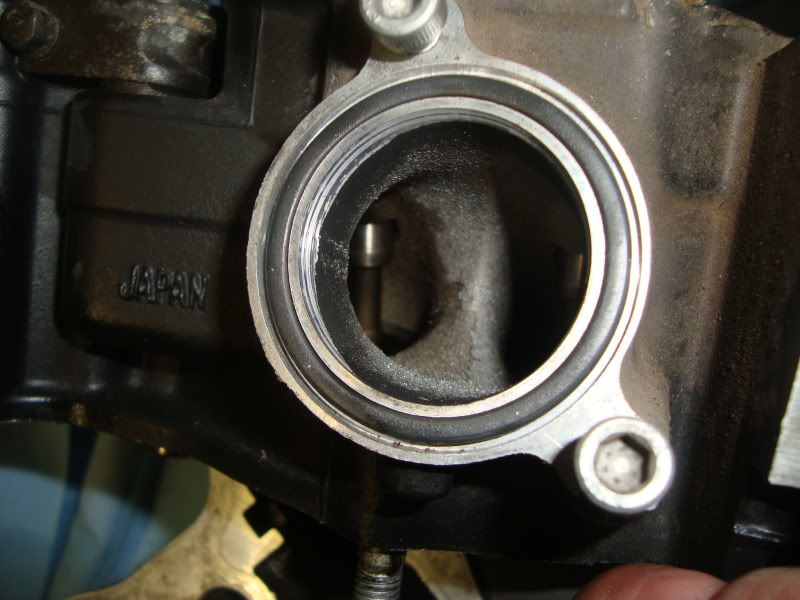
                          Here's what a leaky intake valve seal looks like.

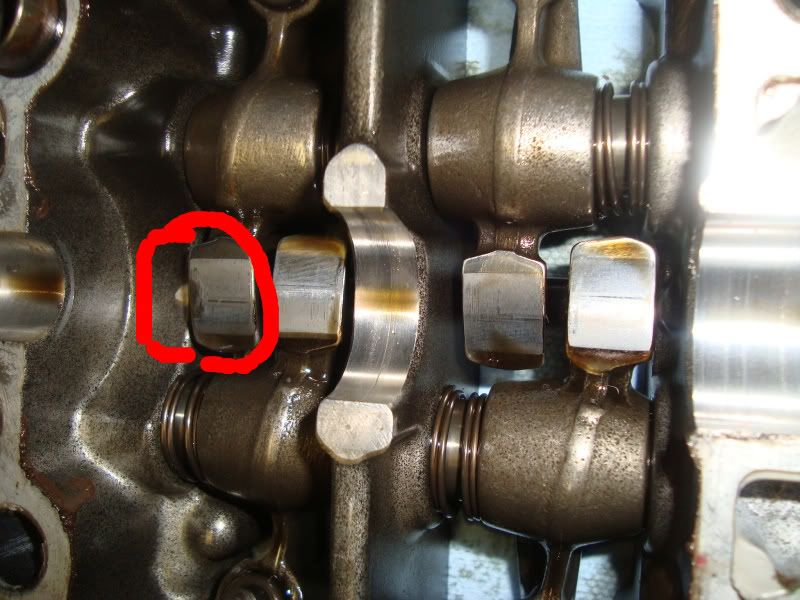
                          Here's what a really bad cam follower looks like.

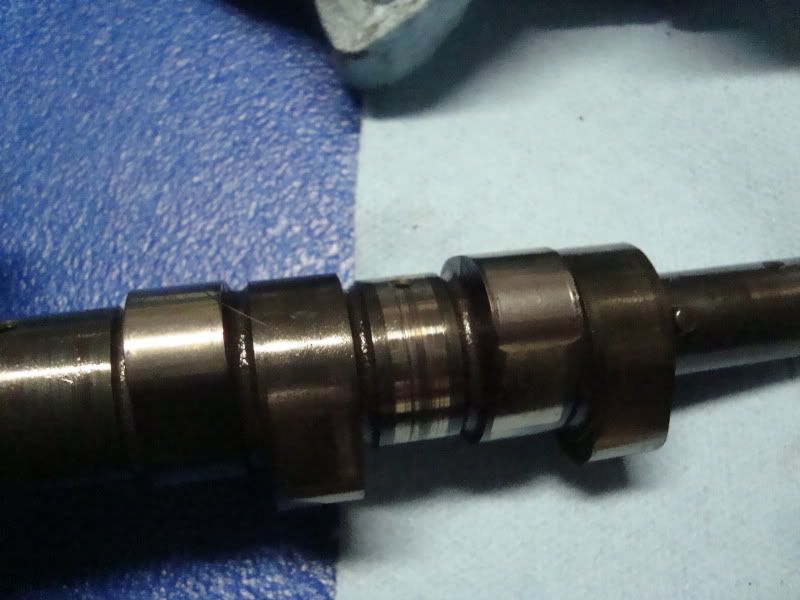
                          Here's the matching spot on the cam.

                          Look at the rest of this cam and it's smoked.


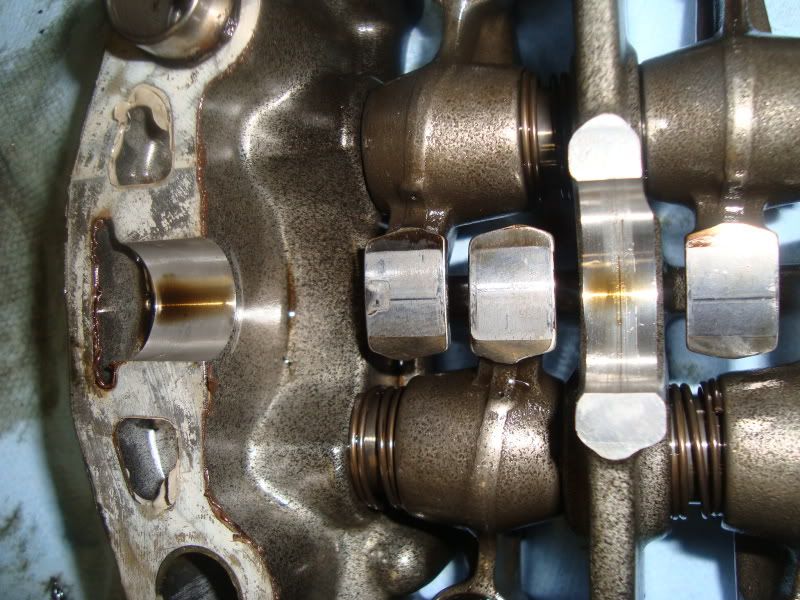
                          Both cams and all the followers are smoked.


                          Fortunately I found a set of salvage heads from http://www.shermscycleproducts.com/ Guy Mobbley really know his stuff on these engines.

                          Comment

                          • JPWilliams
                            Senior Member
                            • Nov 2009
                            • 321

                            #14
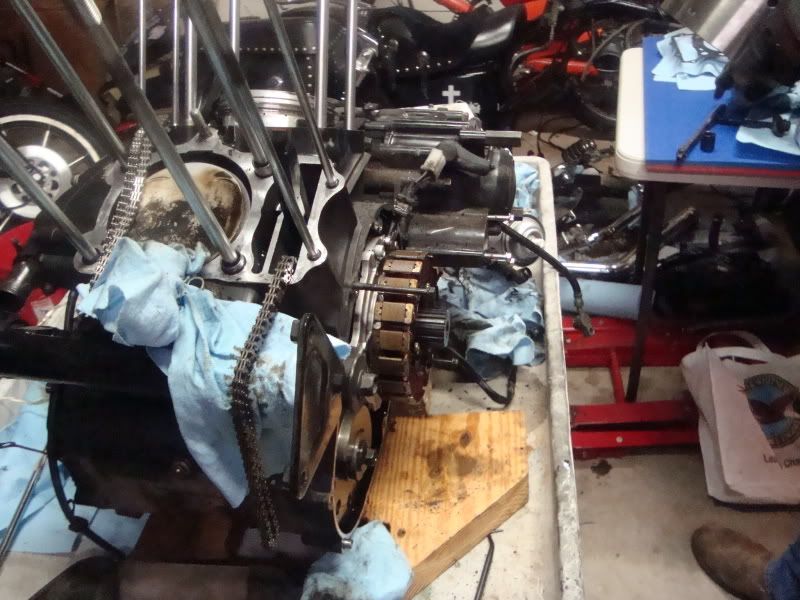
                            Left side inner cover off onto the bench.


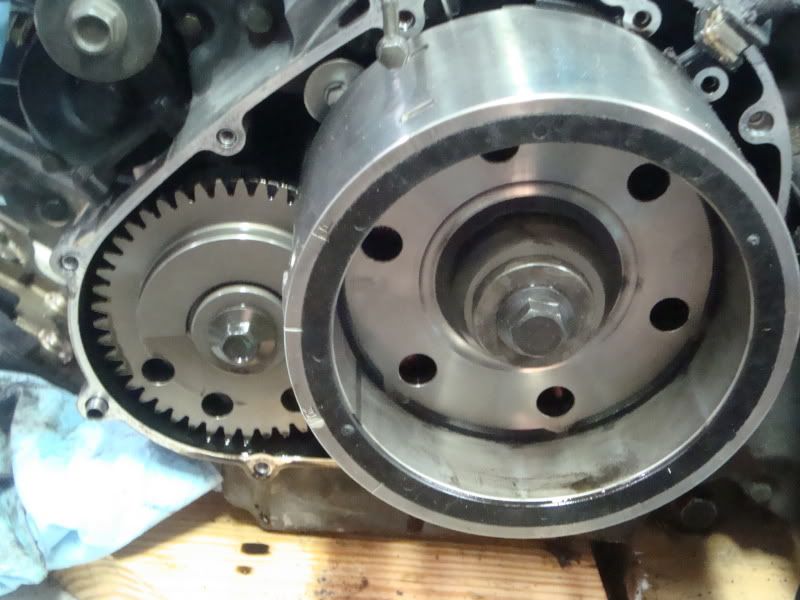
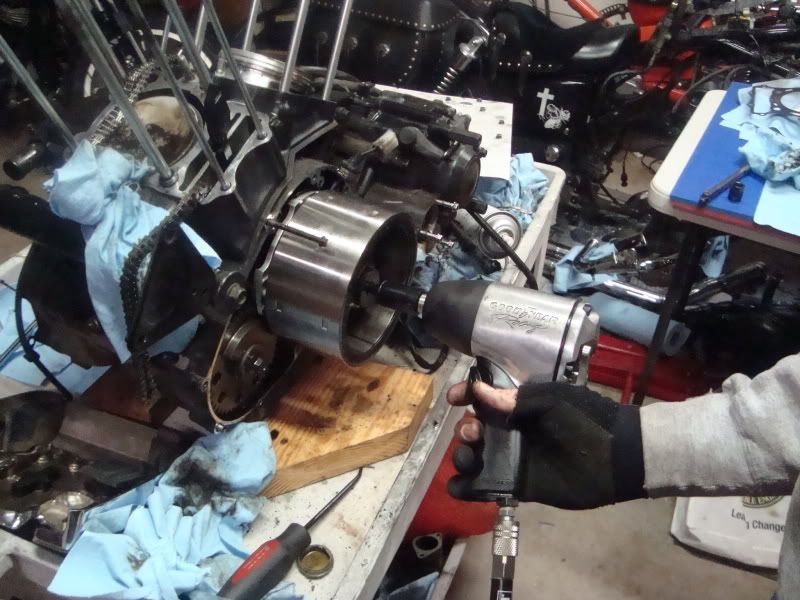
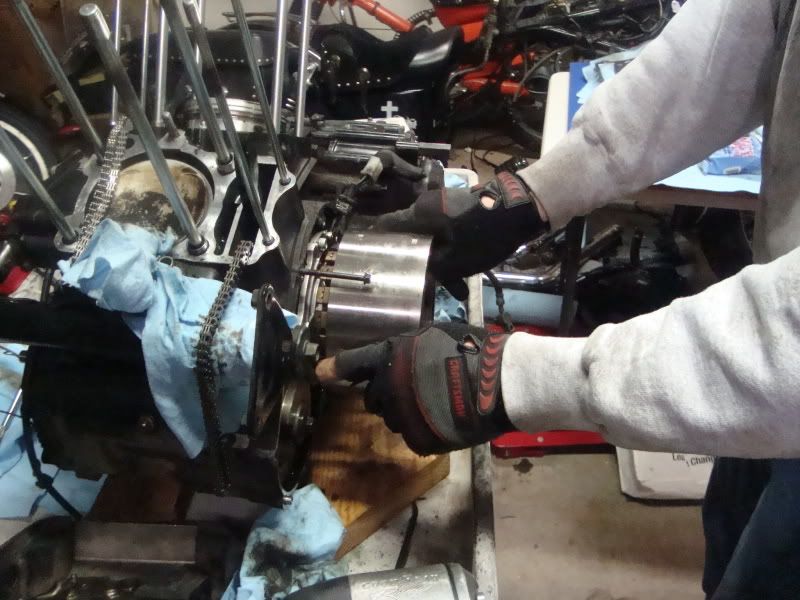
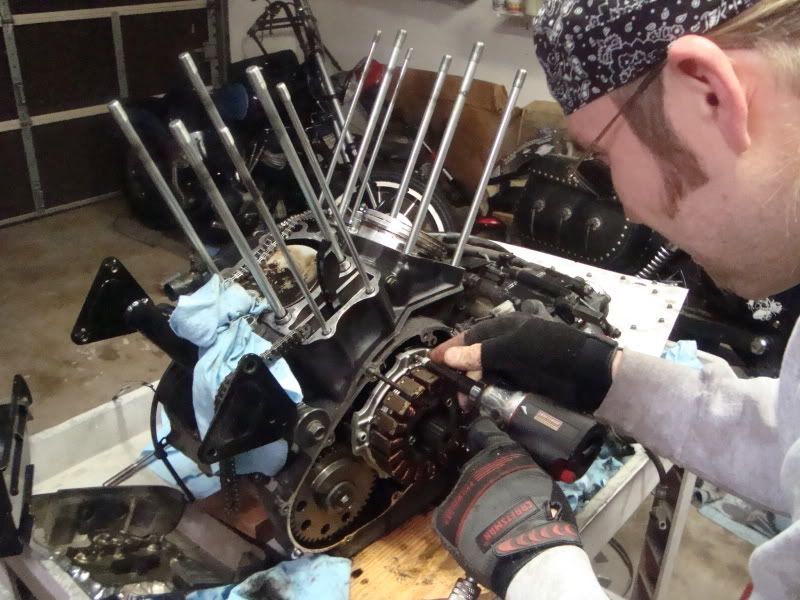
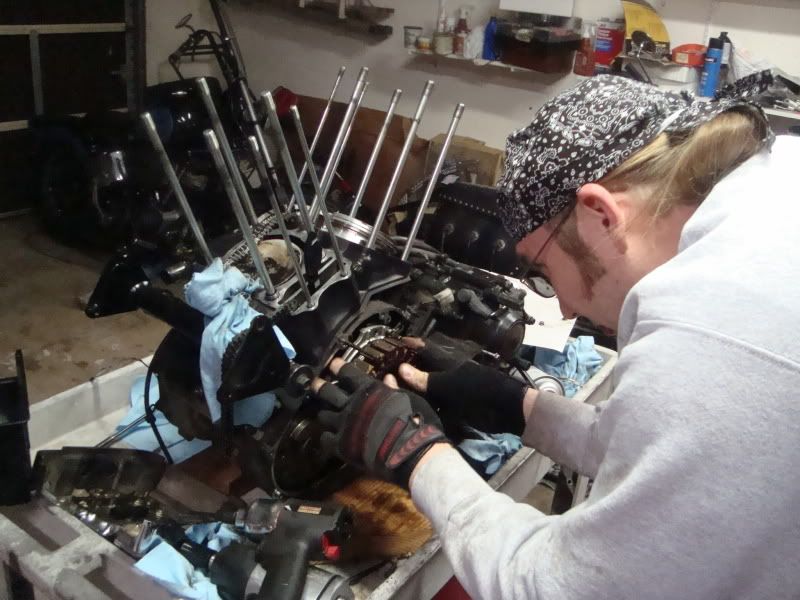
                            That's the alt rotor. We couldn't get the penny-on-a-string to lock up the motor on this side so we had to use the penny on the clutch side.


                            The other stator.


                            There's the front cam chain.

                            Sumthin's bent and sumthin's broke.

                            Comment

                            • JPWilliams
                              Senior Member
                              • Nov 2009
                              • 321

                              #15
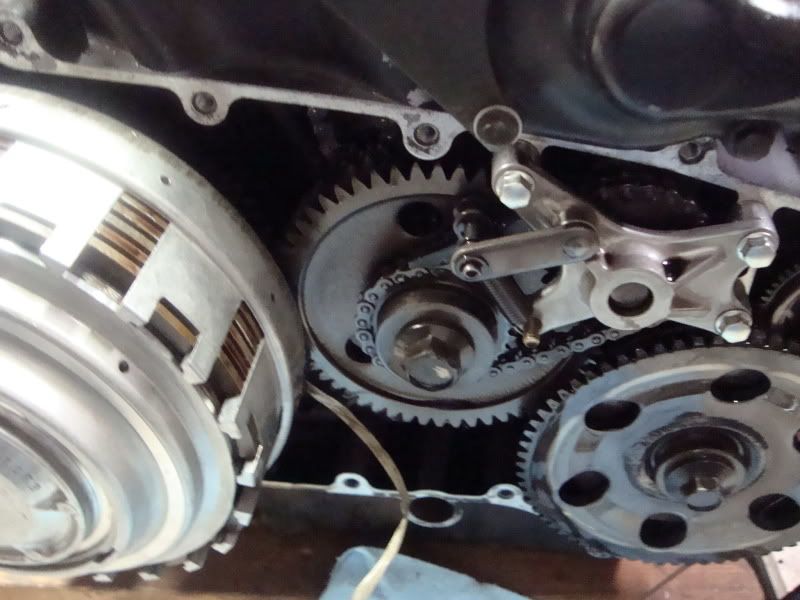
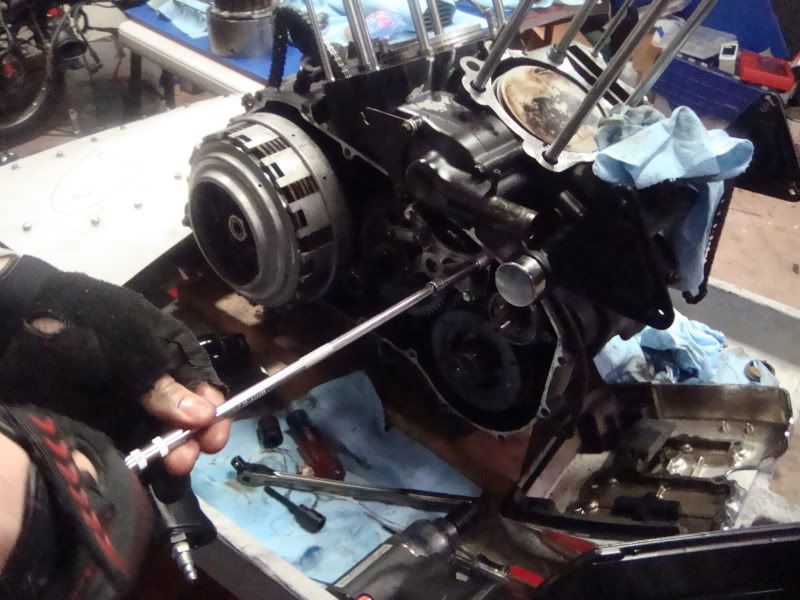
                              Penny on a ribbon in the clutch gear.


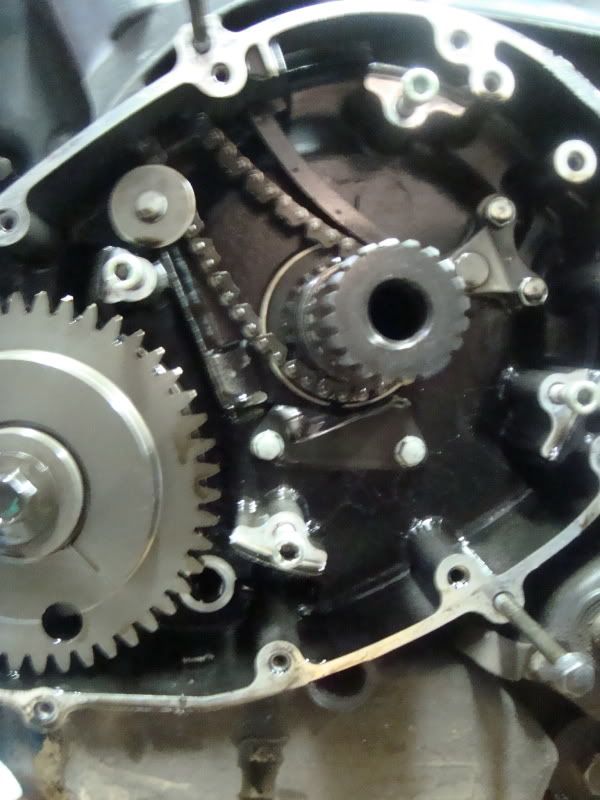
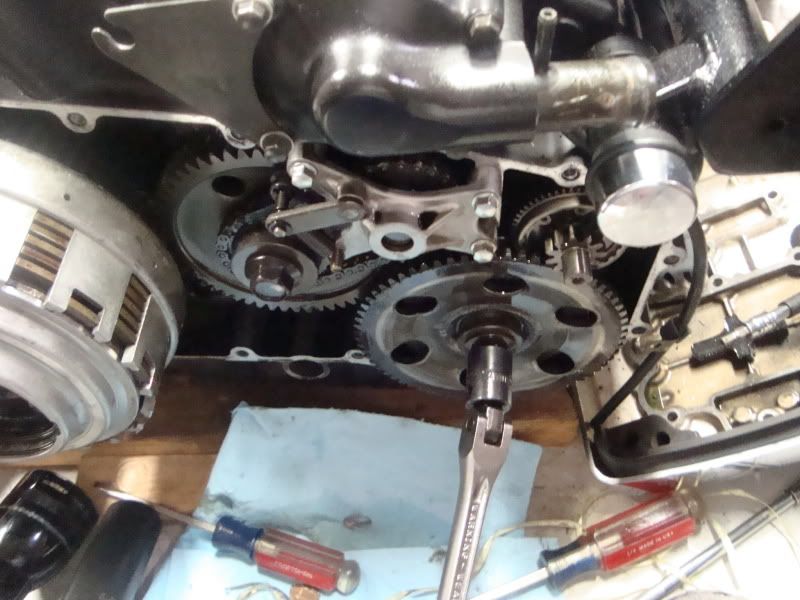
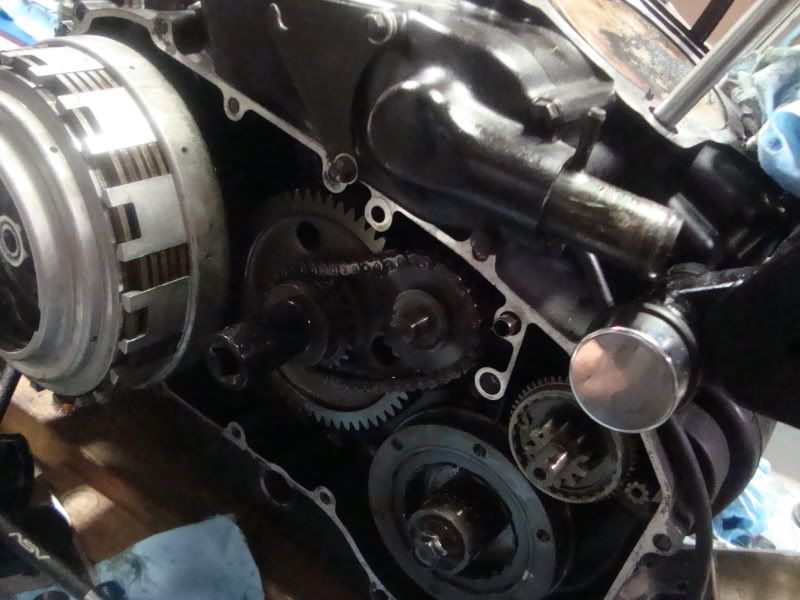
                              You actually don't have to take this bolt off to get the starter gear off.


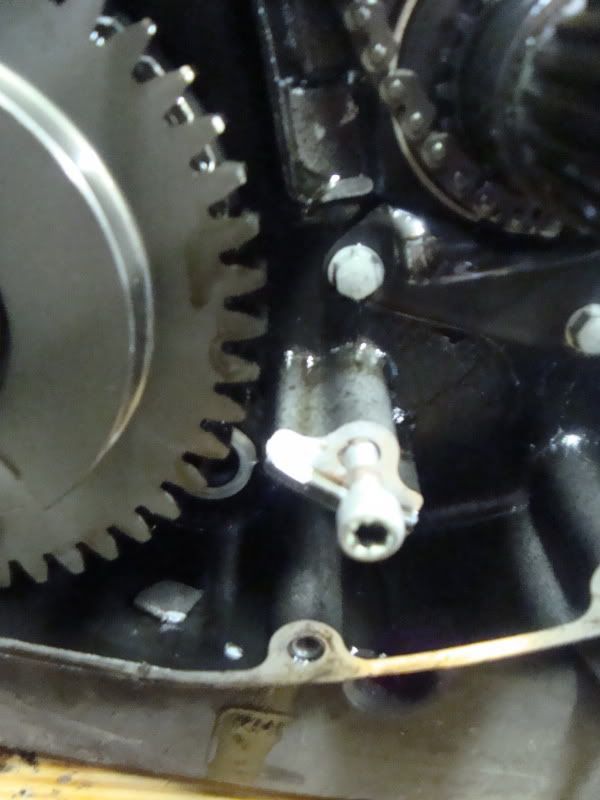
                              Getting the waterpump chain tensioner off.

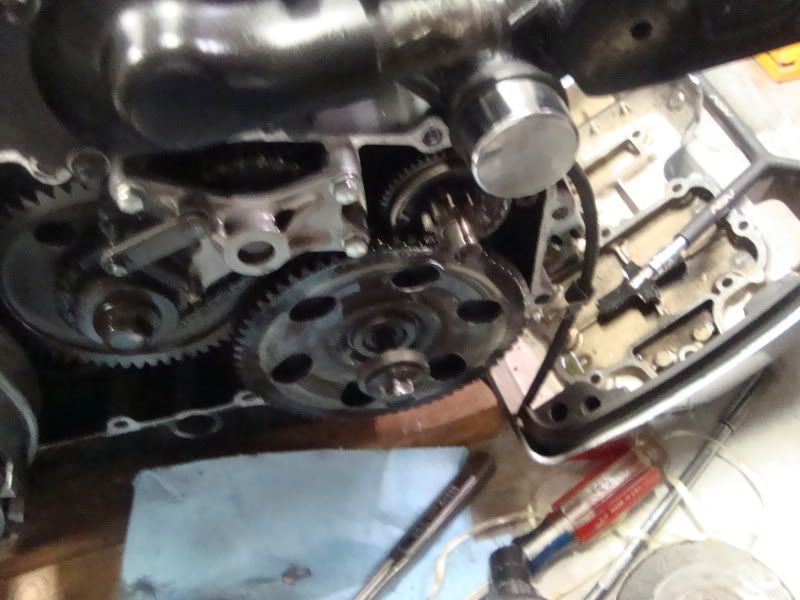
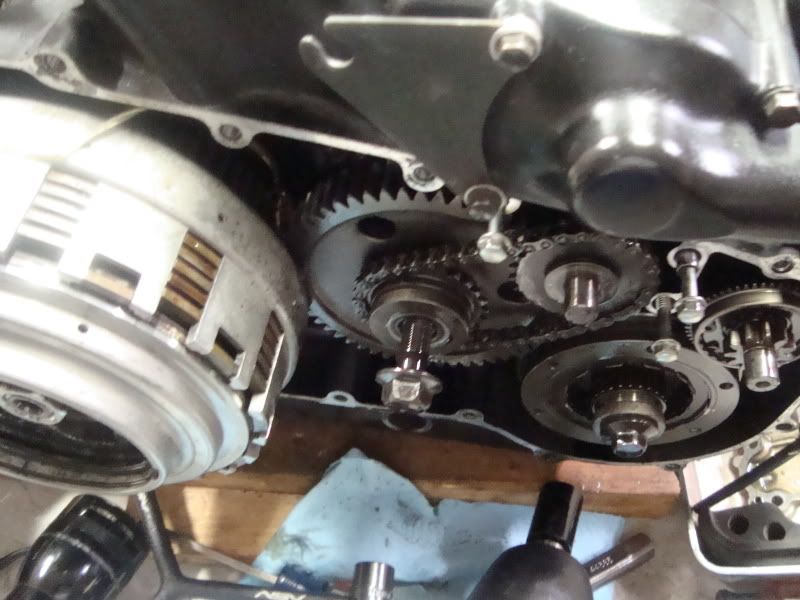
                              Waterpump chains


                              Lock the motor the other way to get this bolt.


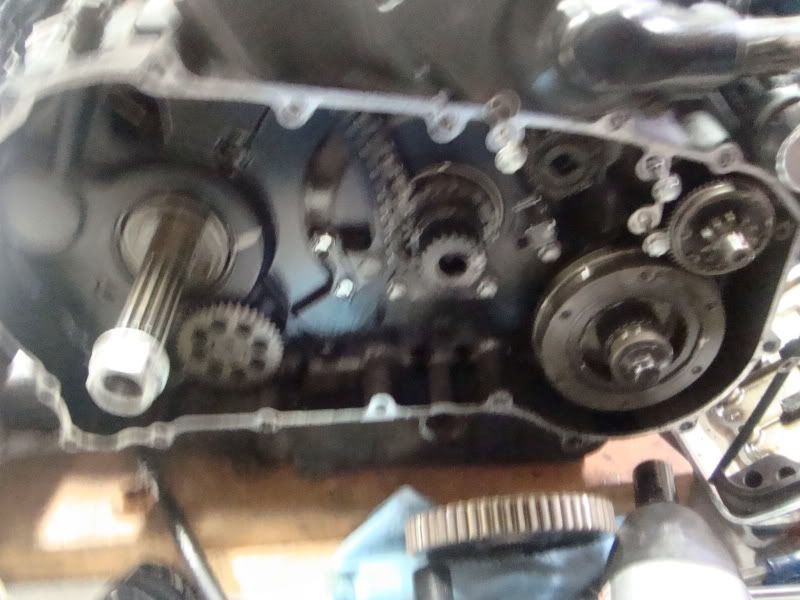
                              A little fuzzy, but there's the rear camchain.
                              Last edited by JPWilliams; 02-22-2010, 8:28 PM.

                              Comment

                              300 mobile ad bottom forum

                              Collapse
                              Working...
                              ;