1971 Ironhead Build racer style.... lots of pics

Collapse

Desktop Ad Forum Top

Collapse

Mobile ad top forum

Collapse
X
 
  • Time
  • Show
Clear All
new posts
  • alexfuckingp
    Senior Member
    • Jan 2012
    • 143

    1971 Ironhead Build racer style.... lots of pics

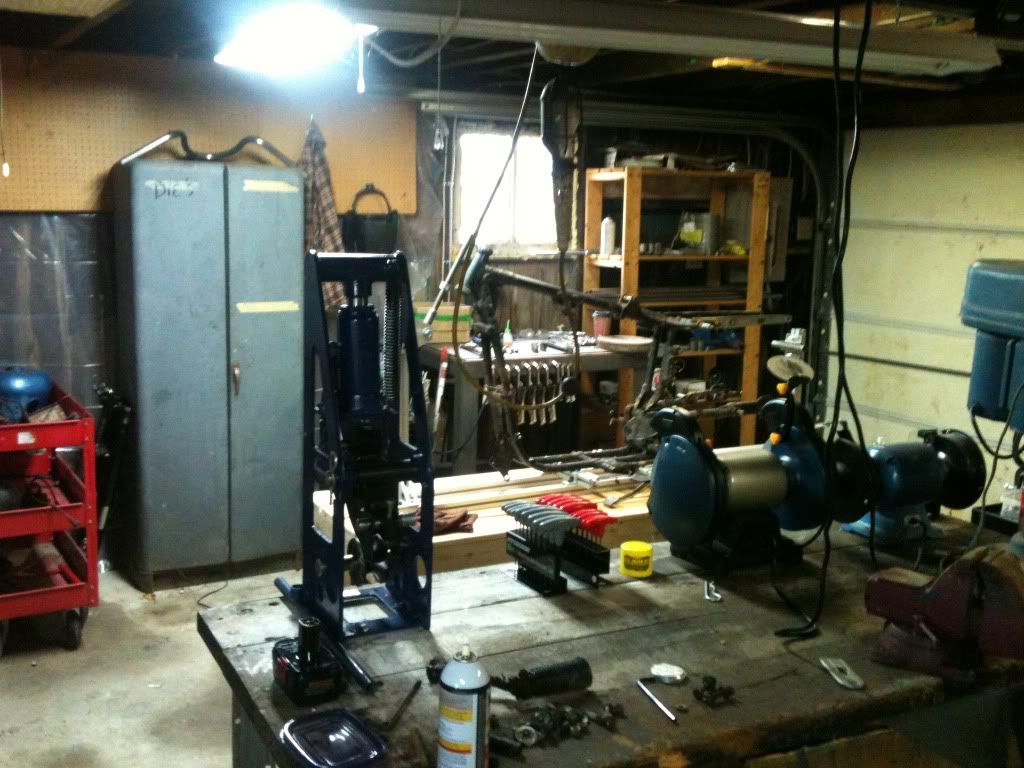
    Well i guess this is my official intro. 8 months ago i bought myself a beat up old 1971 Harley Ironhead Sportster that was sitting in 5 inches of mud under a tarp for 4 years, then it sat in a friends garage for 6 months. So i rented a garage, wired the garage, stocked the garage with tools and started this build a few weeks ago I'll just kind of go through with the process i've been doing. I'm just a garage builder working by myself, so any and all advise and criticism is welcome.

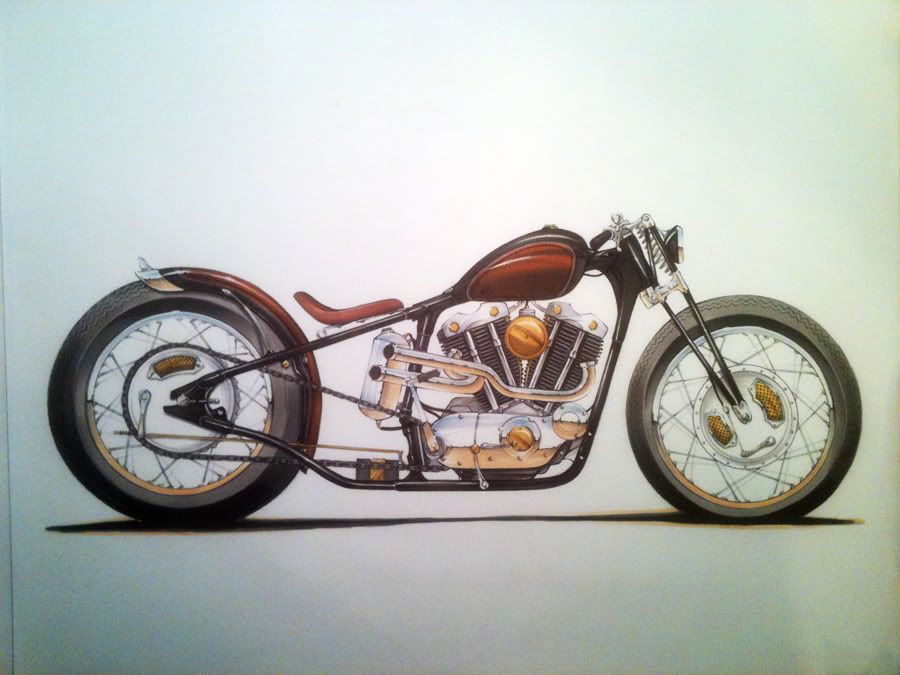
    The start: I did up this rendering and decided to go this route, there will be some changes as the build progresses but here's the basics direction.


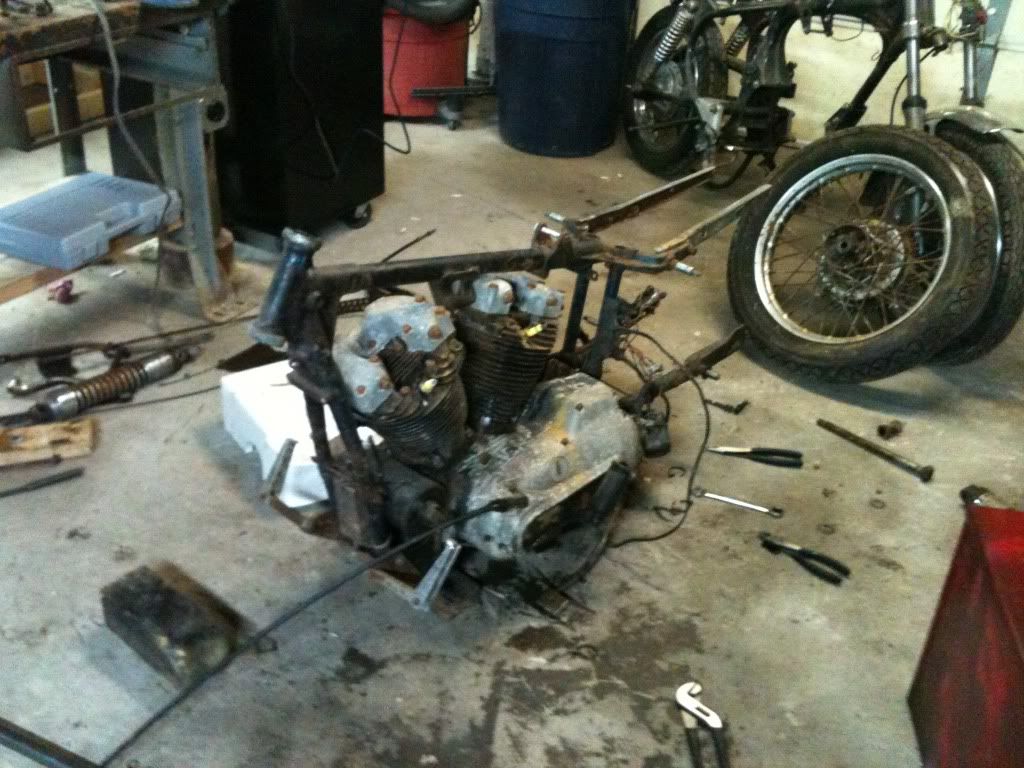
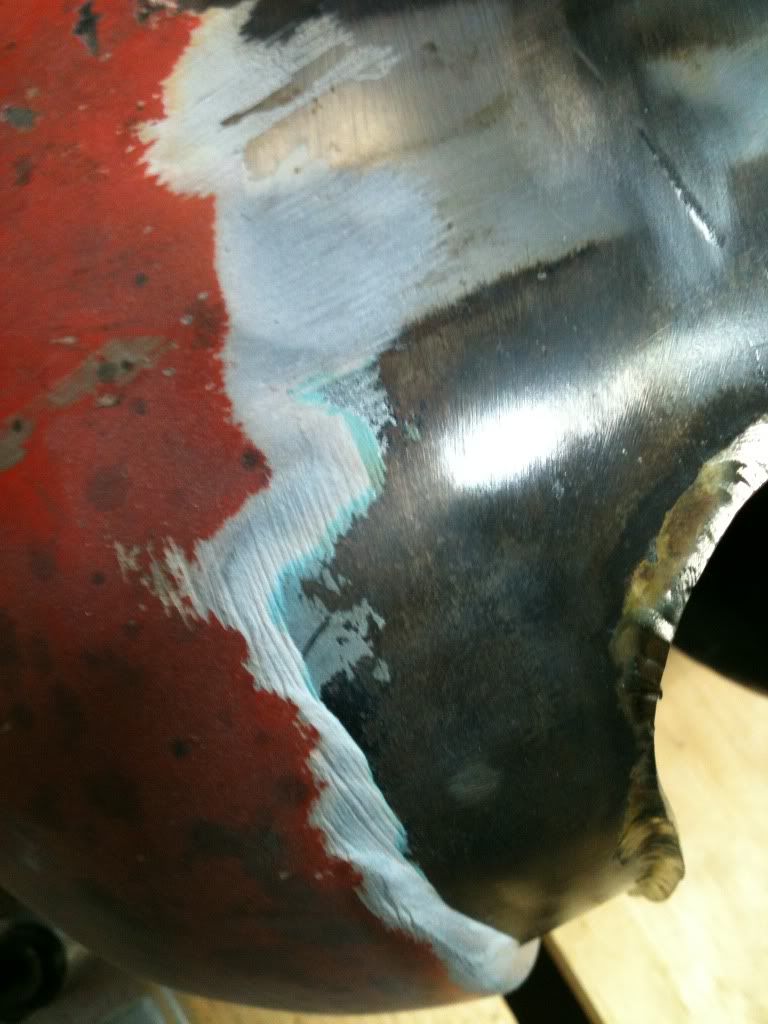
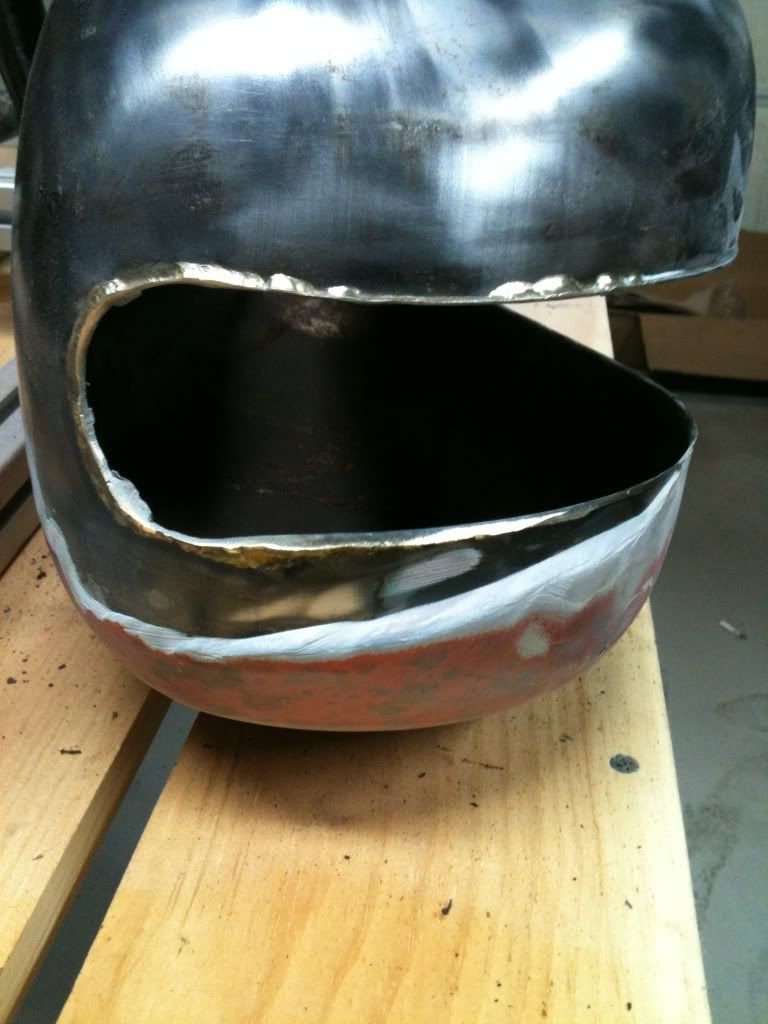
    Here's what i started with after tear down. Didn't feel bad about cutting up this crusty bucket.


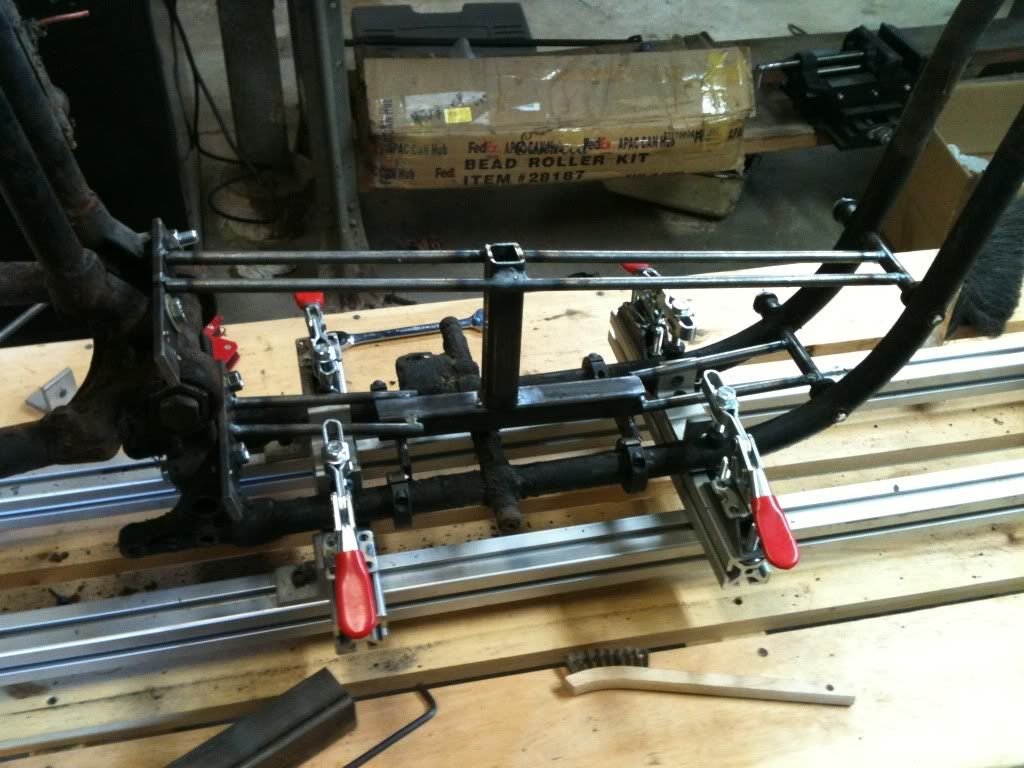
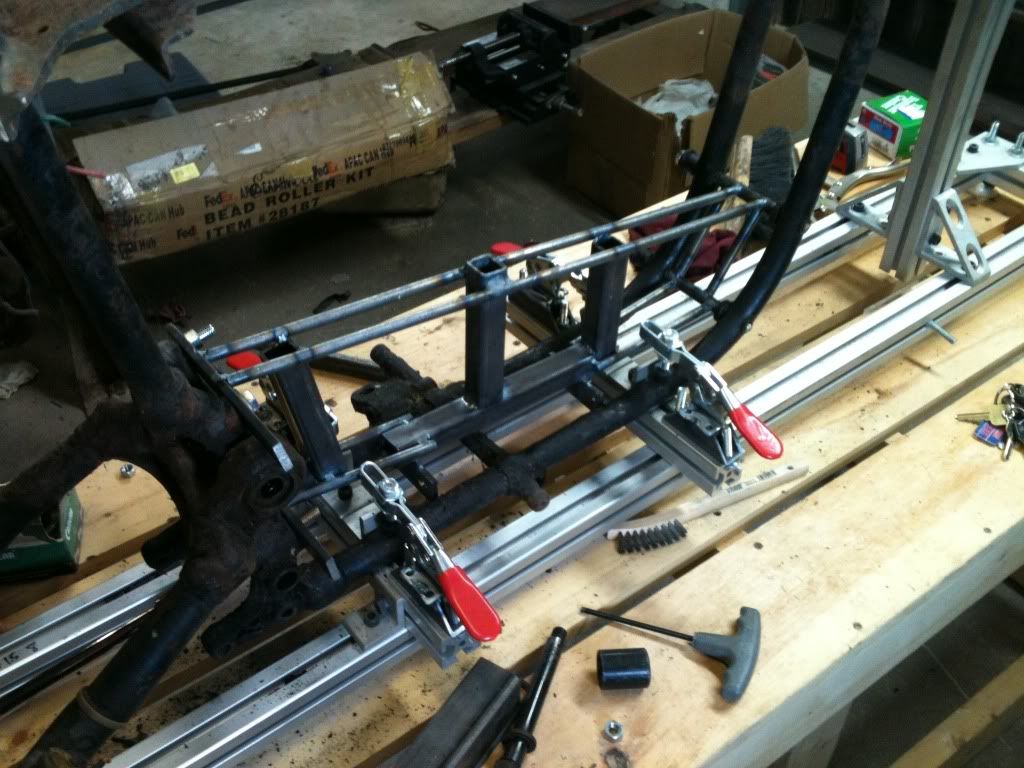
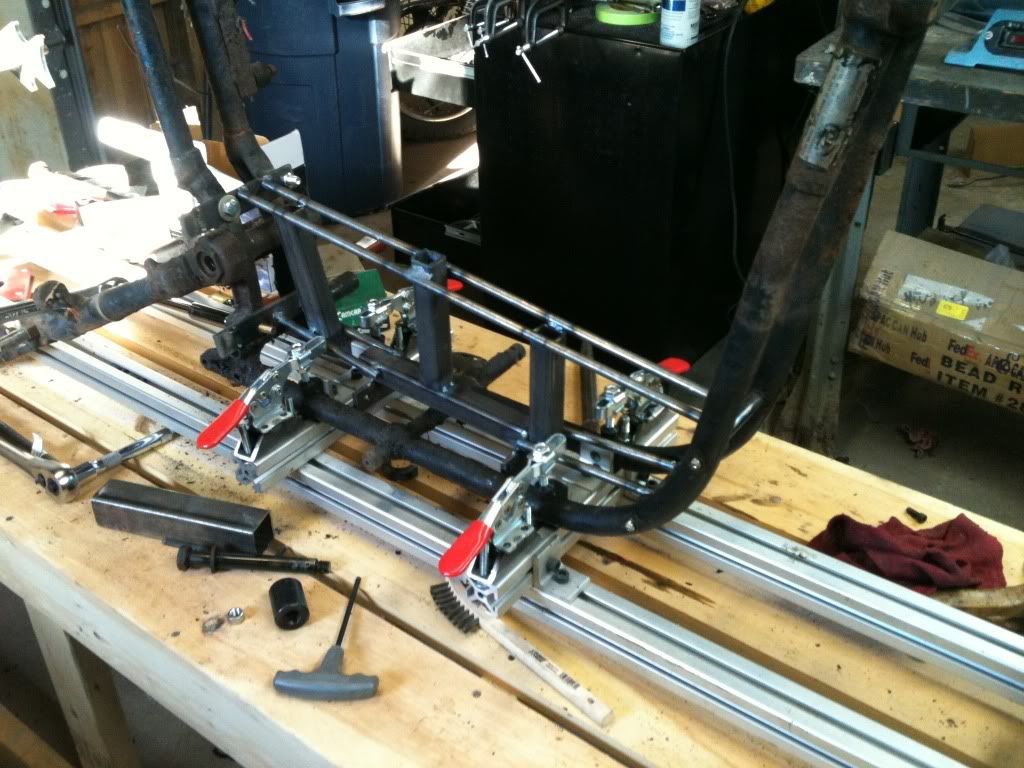
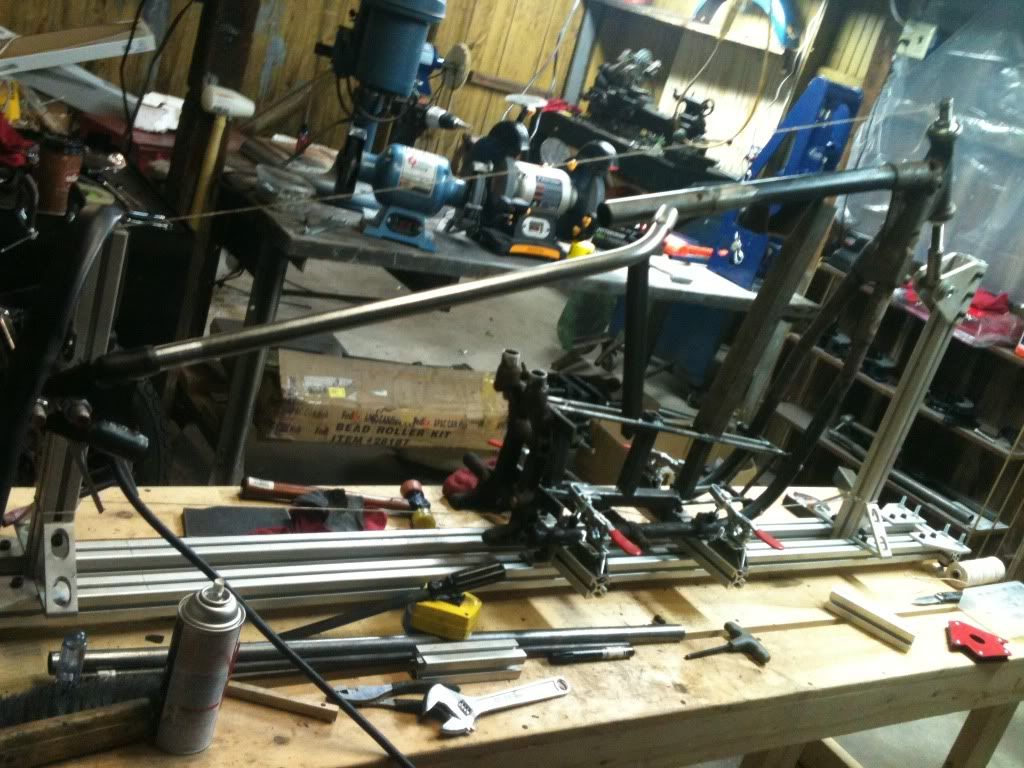
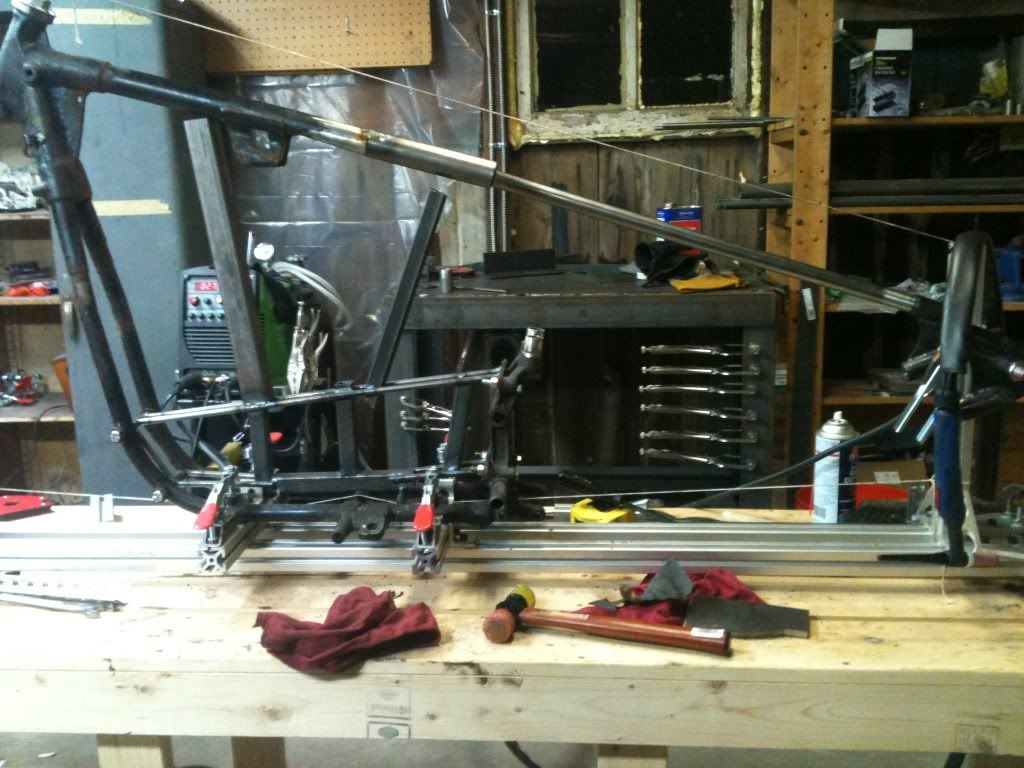
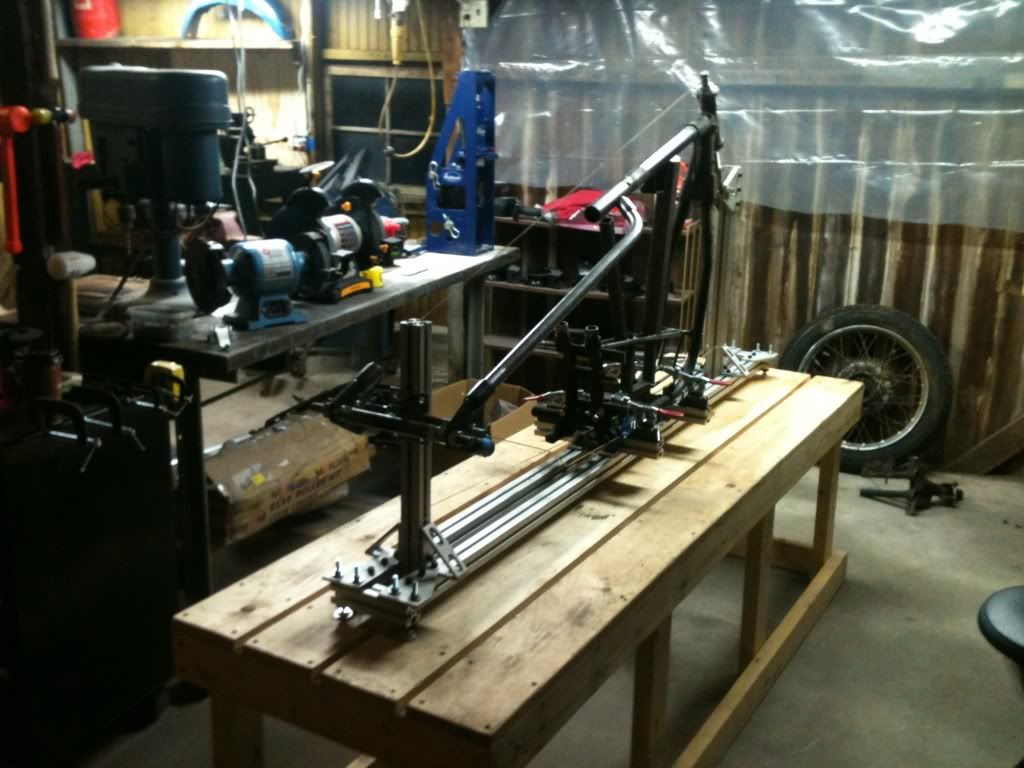
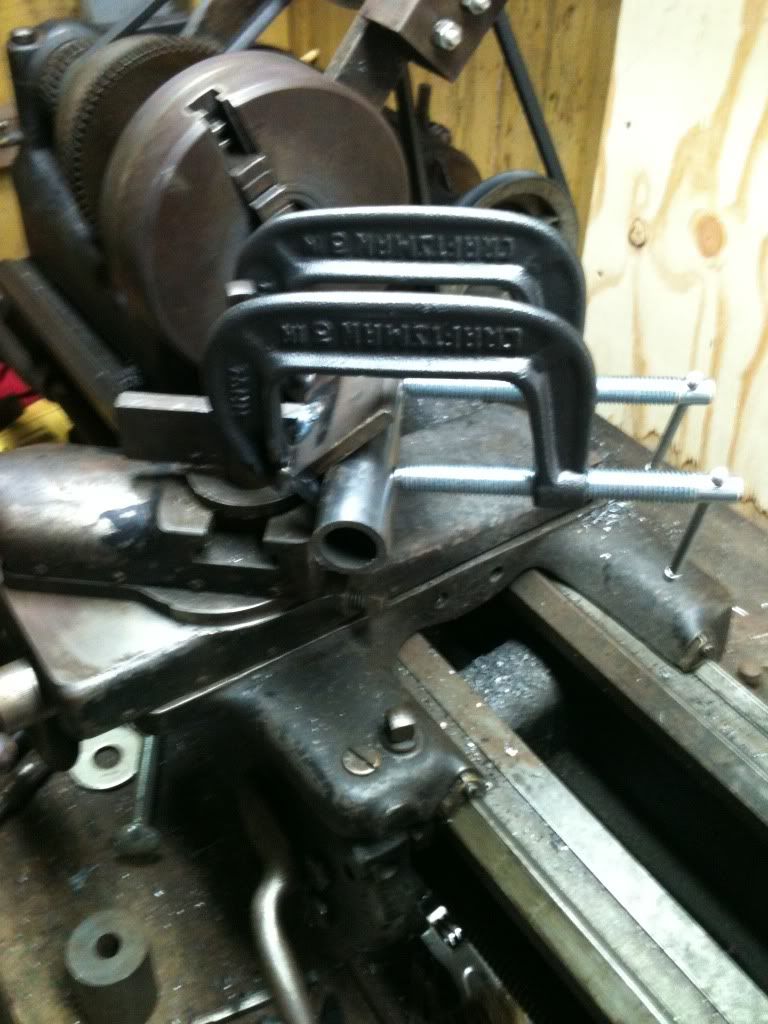
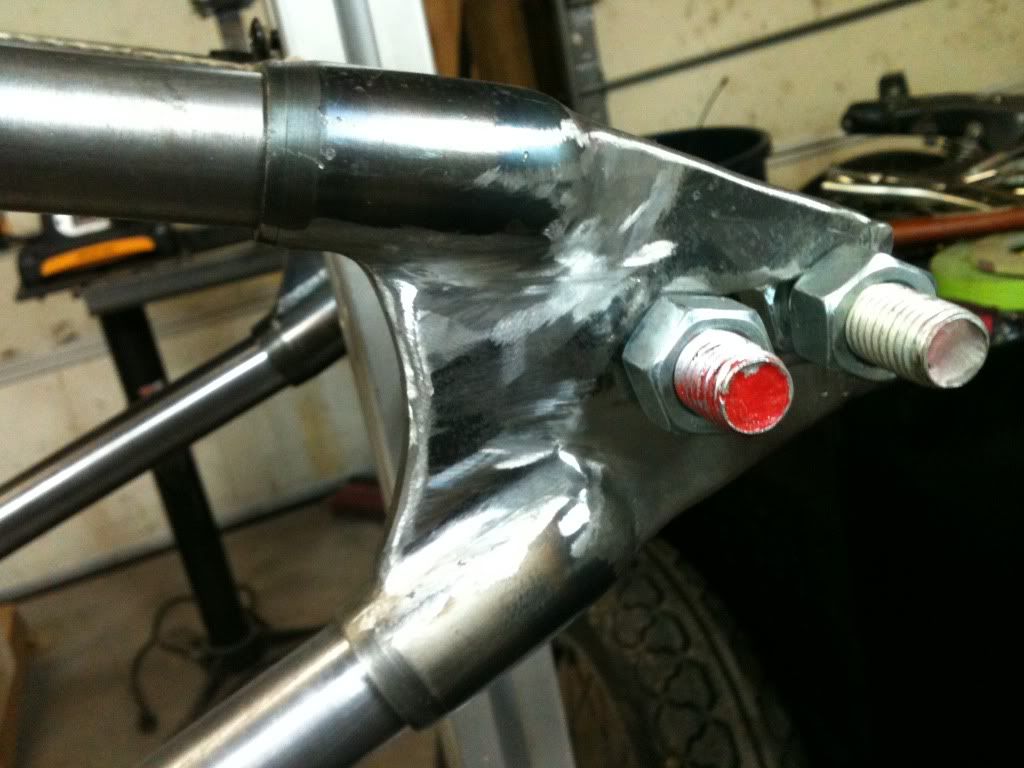
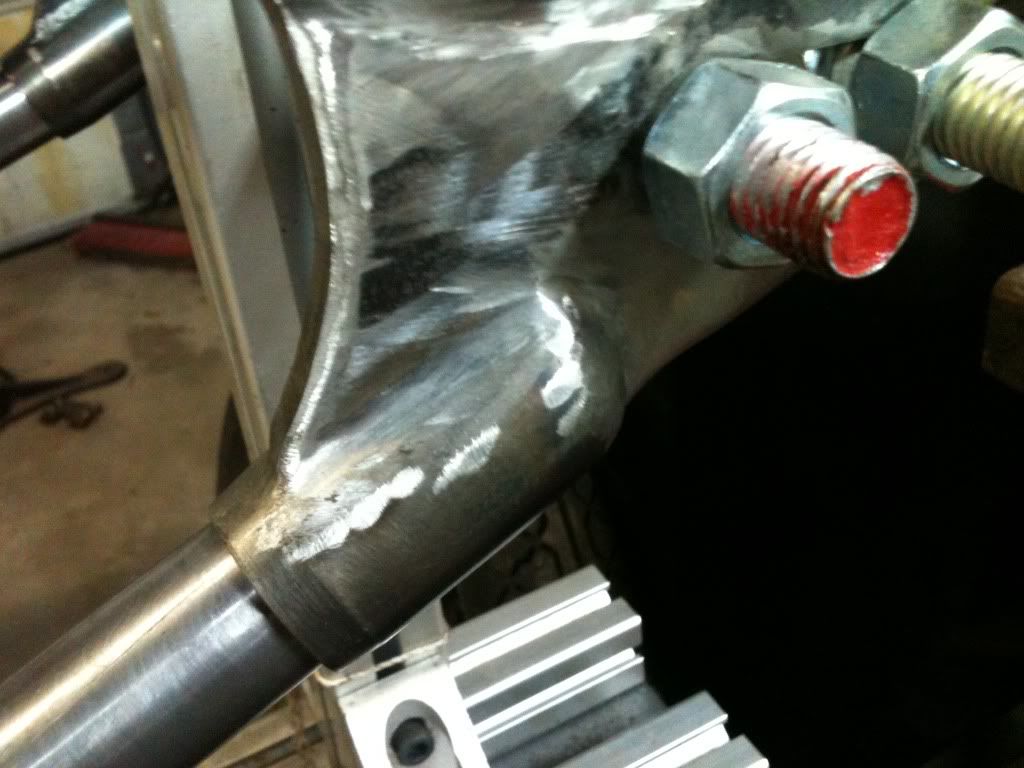
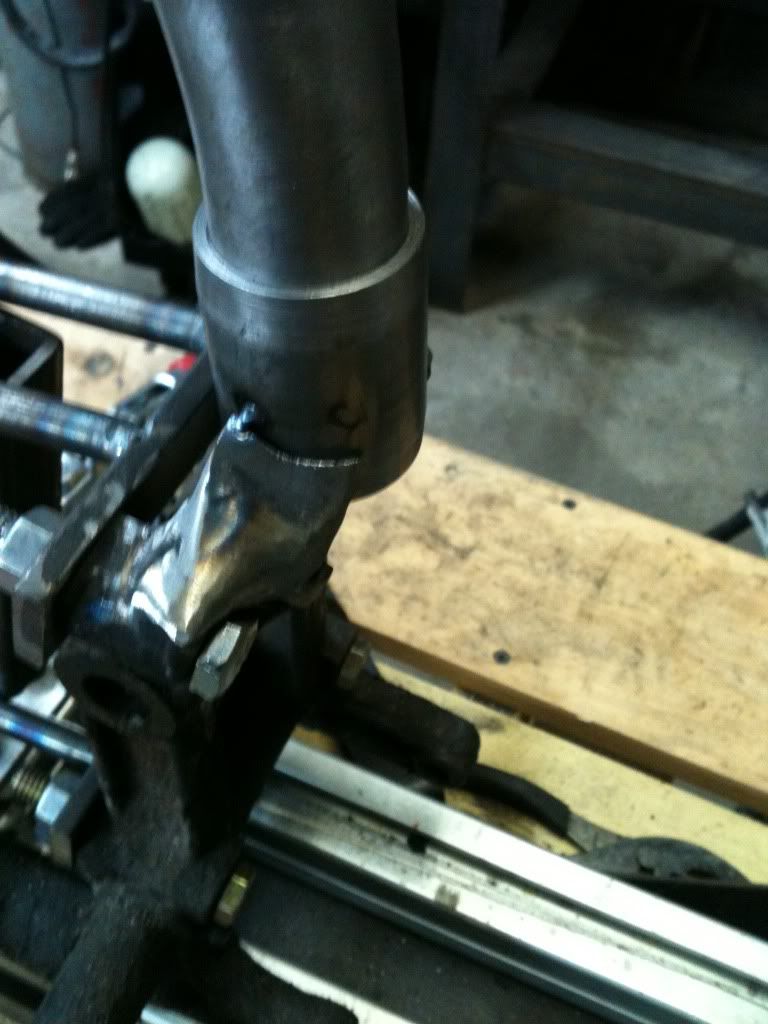
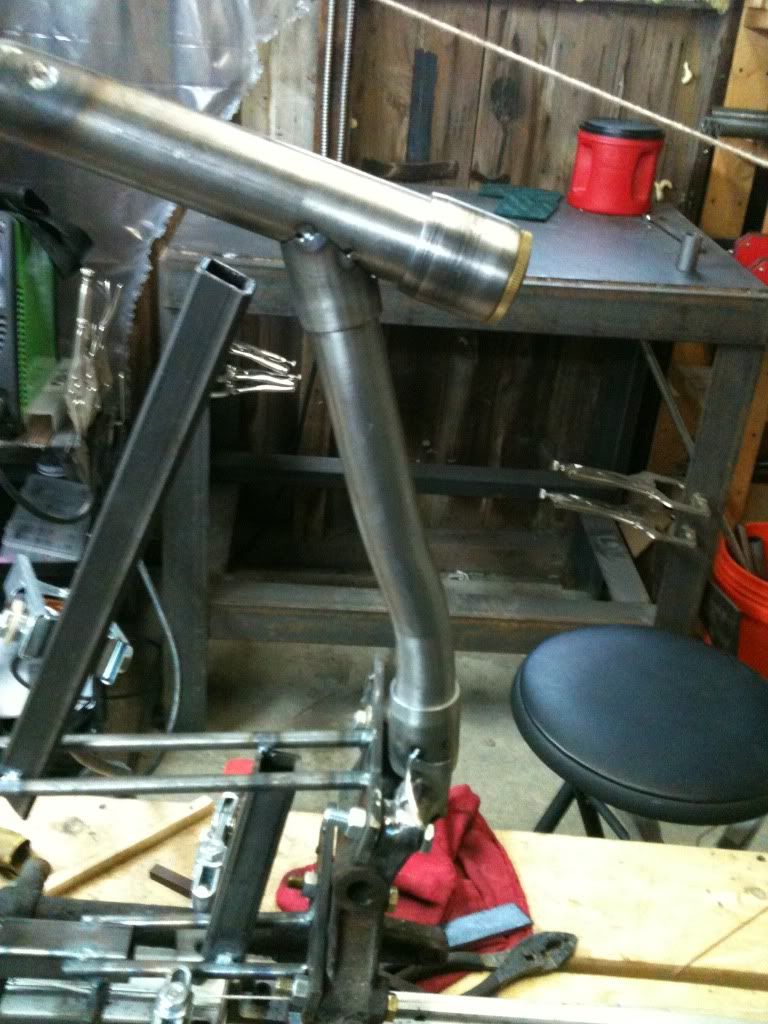
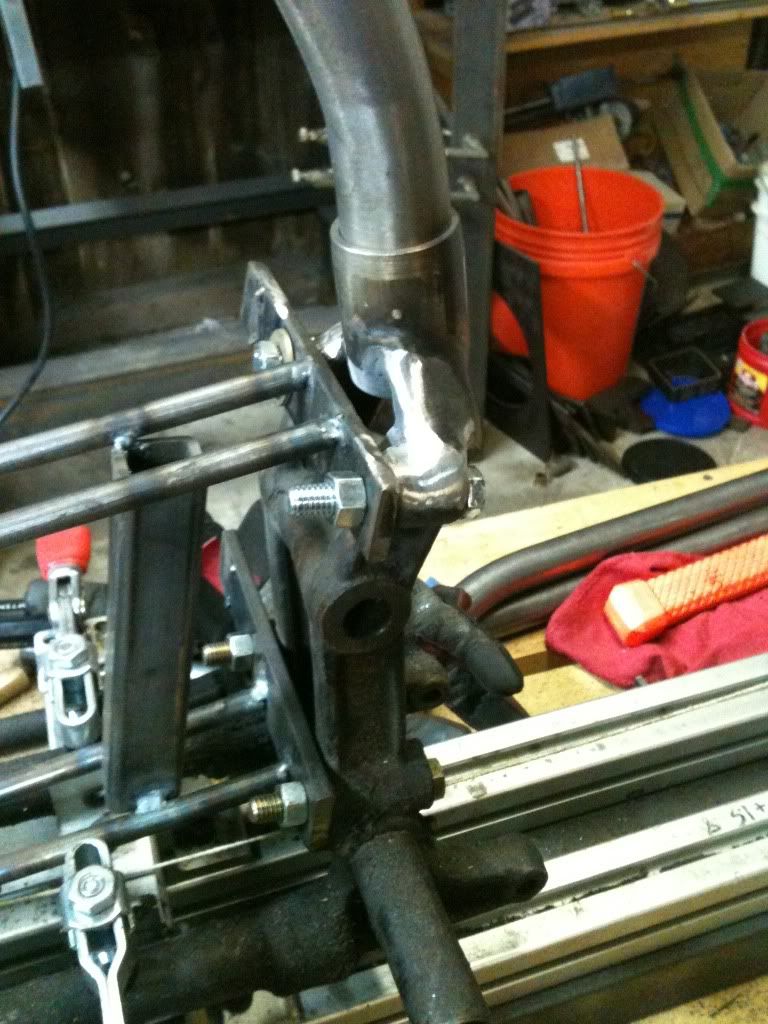
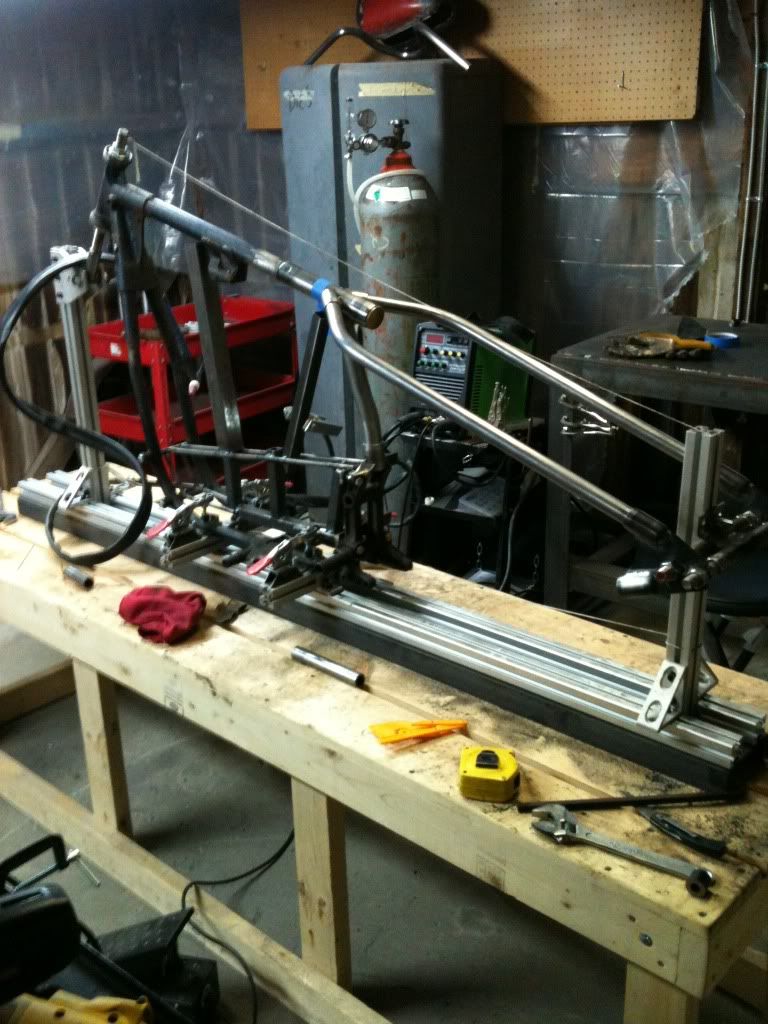
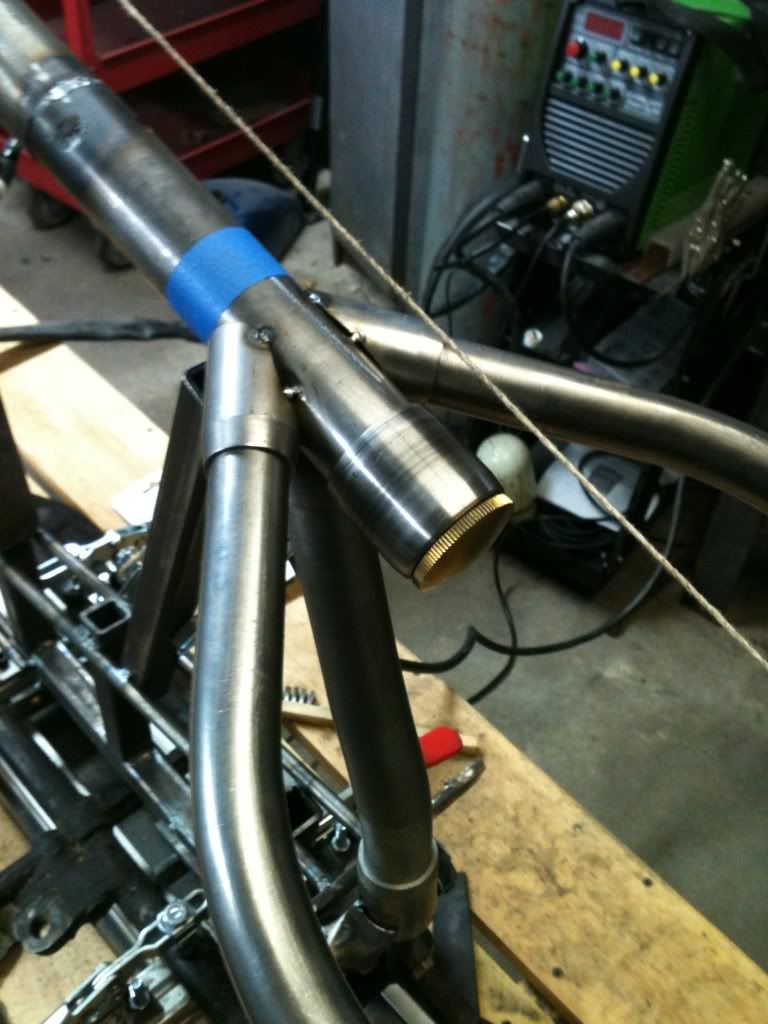
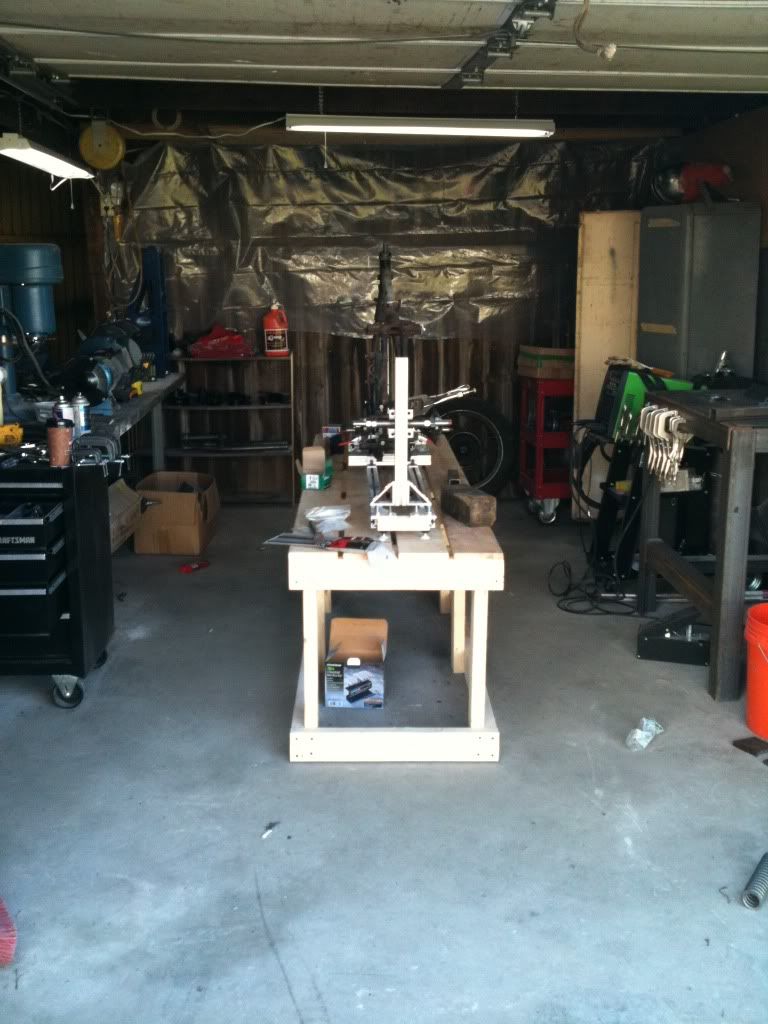
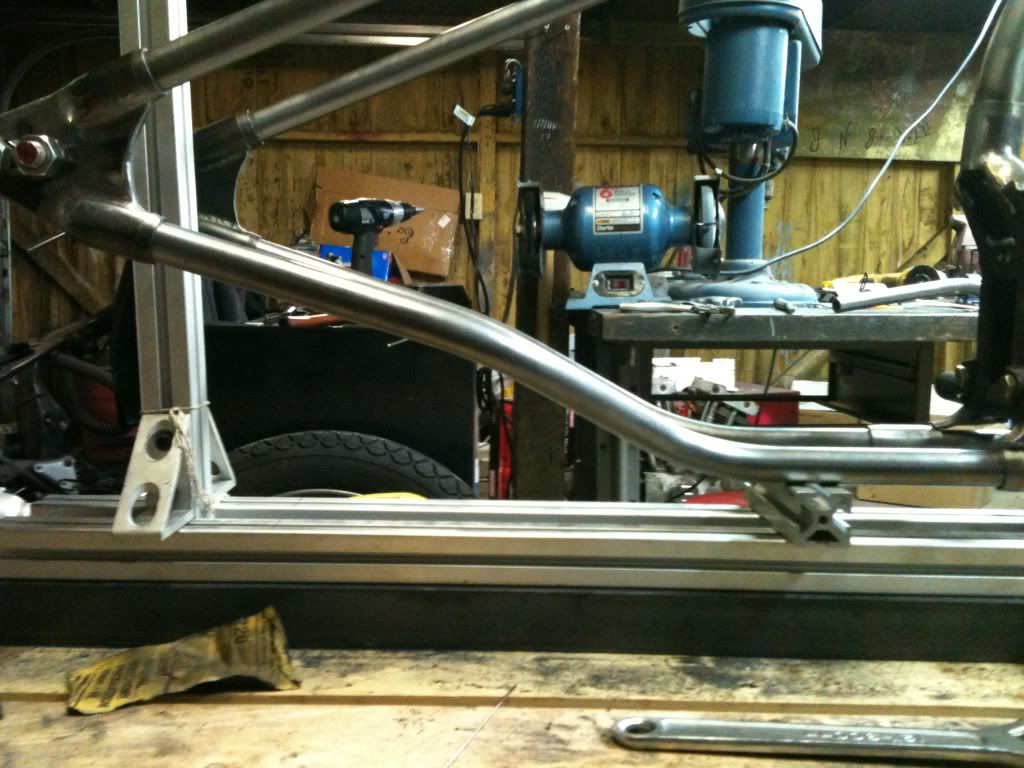
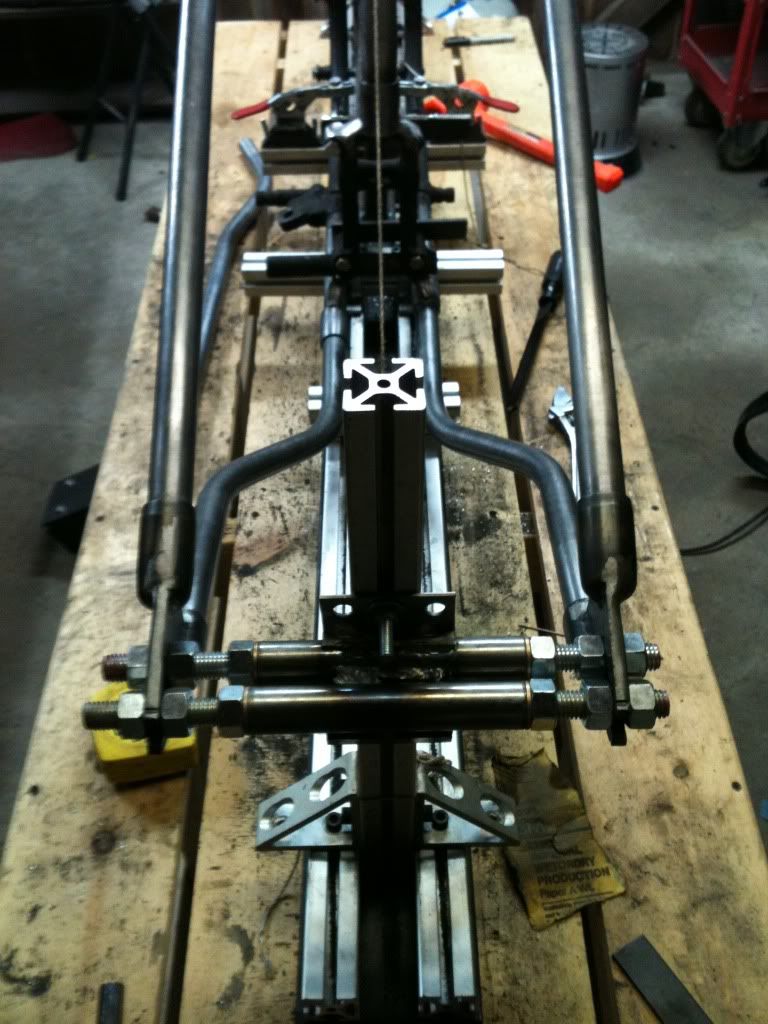
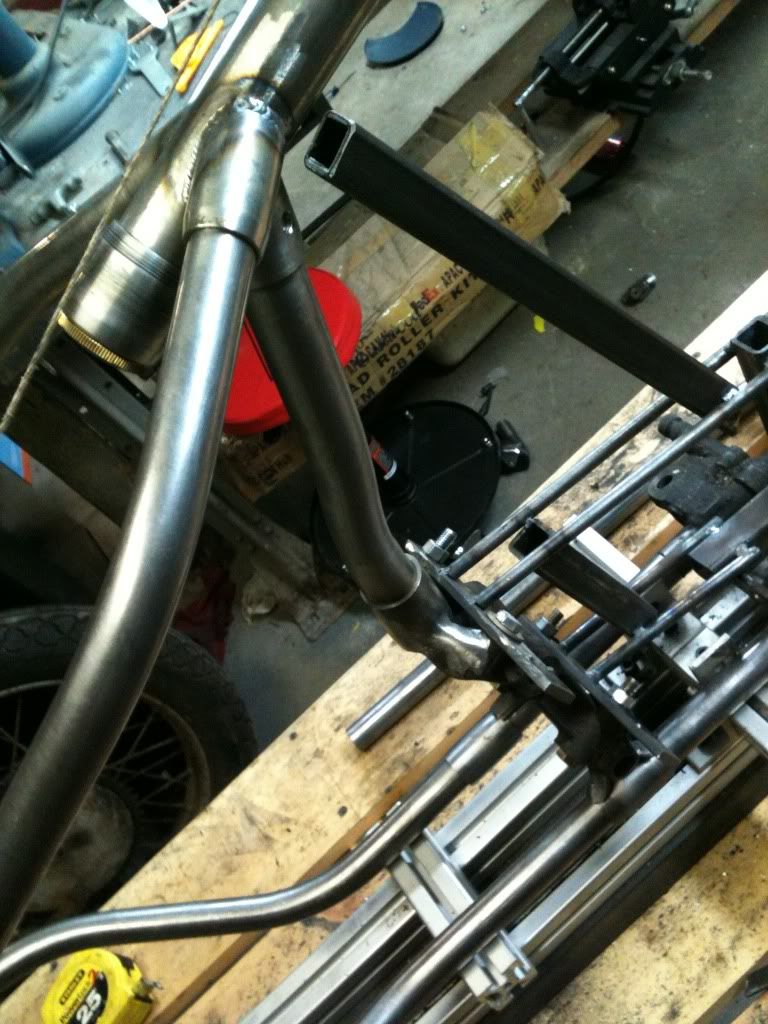
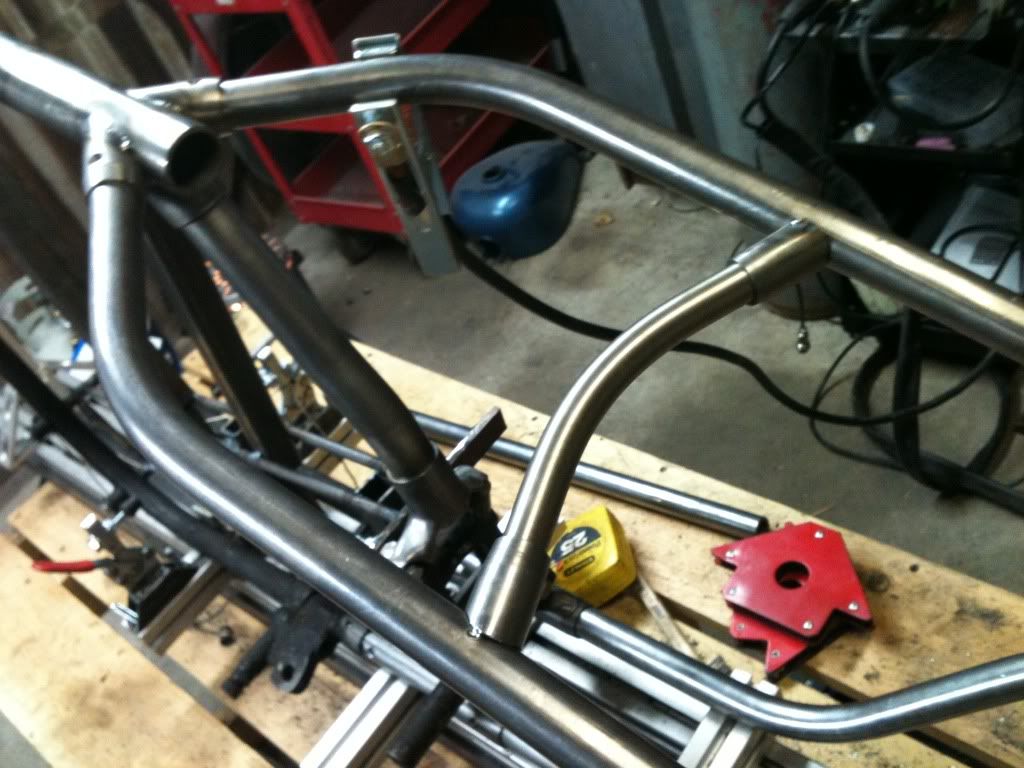
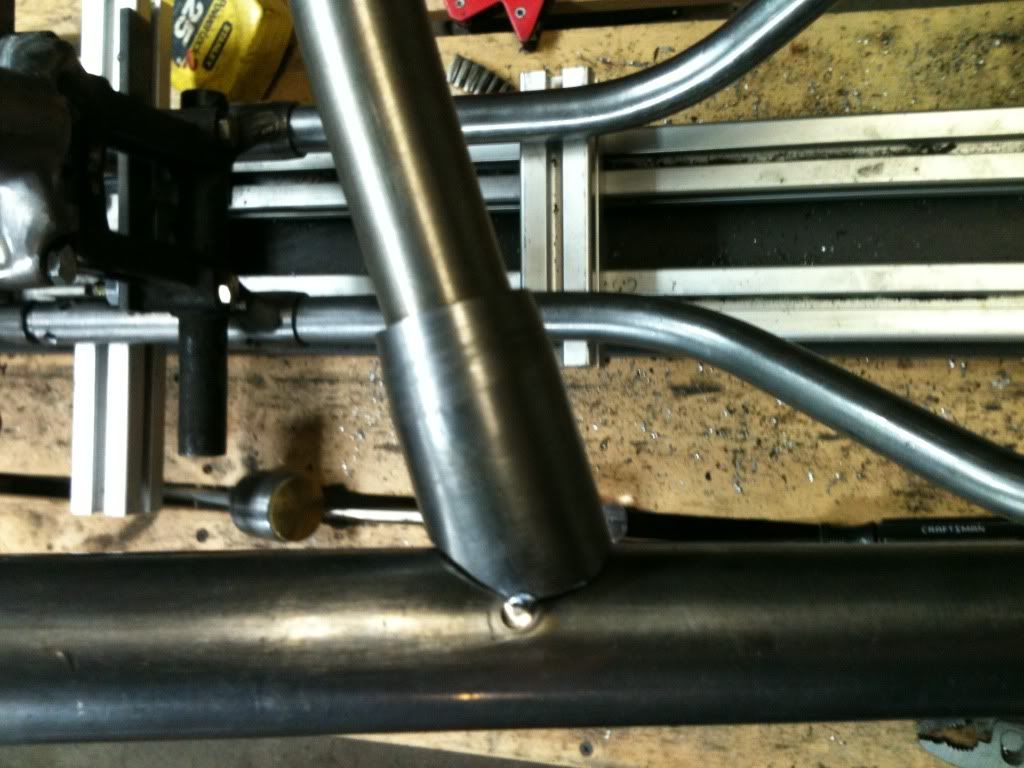
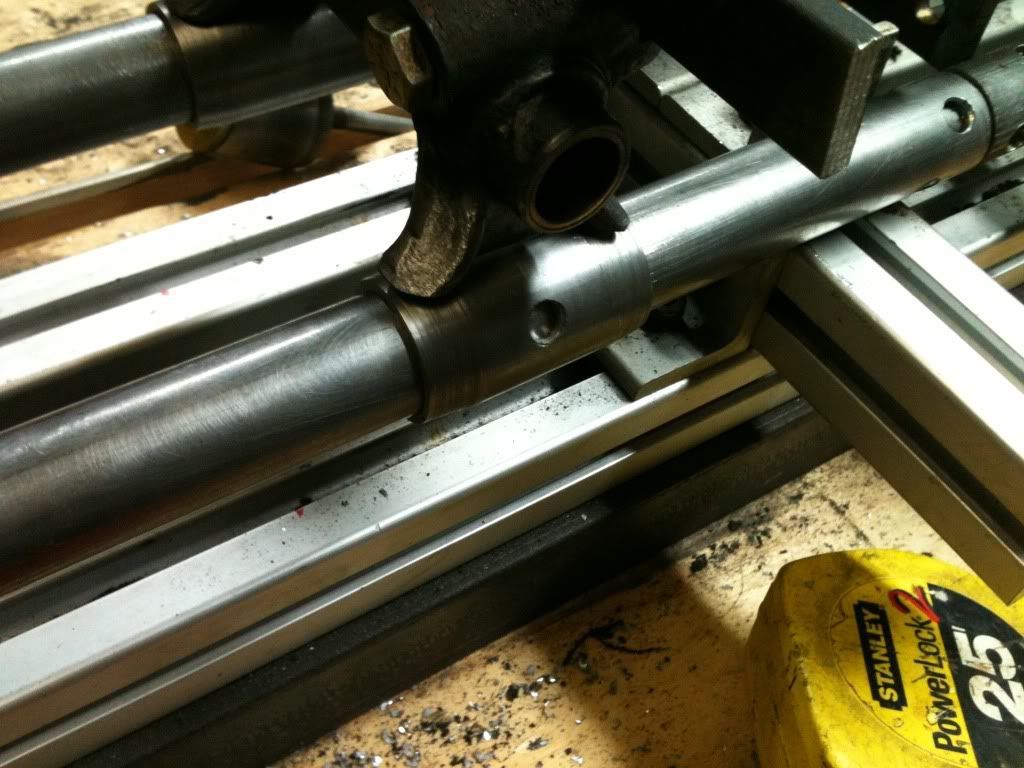
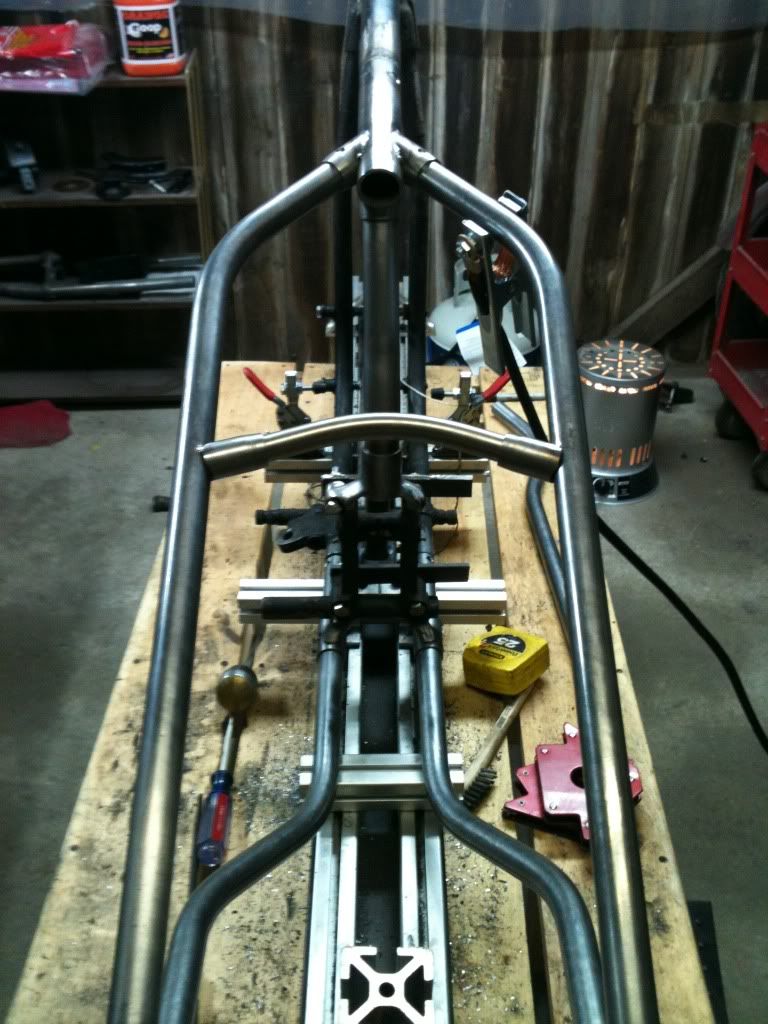
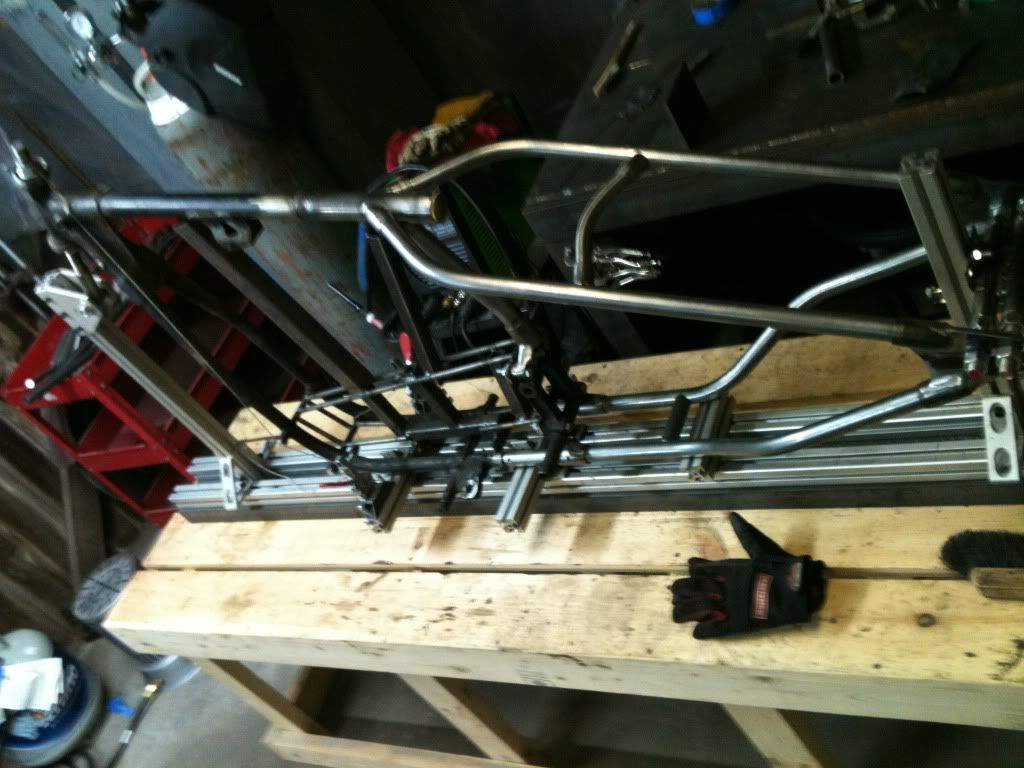
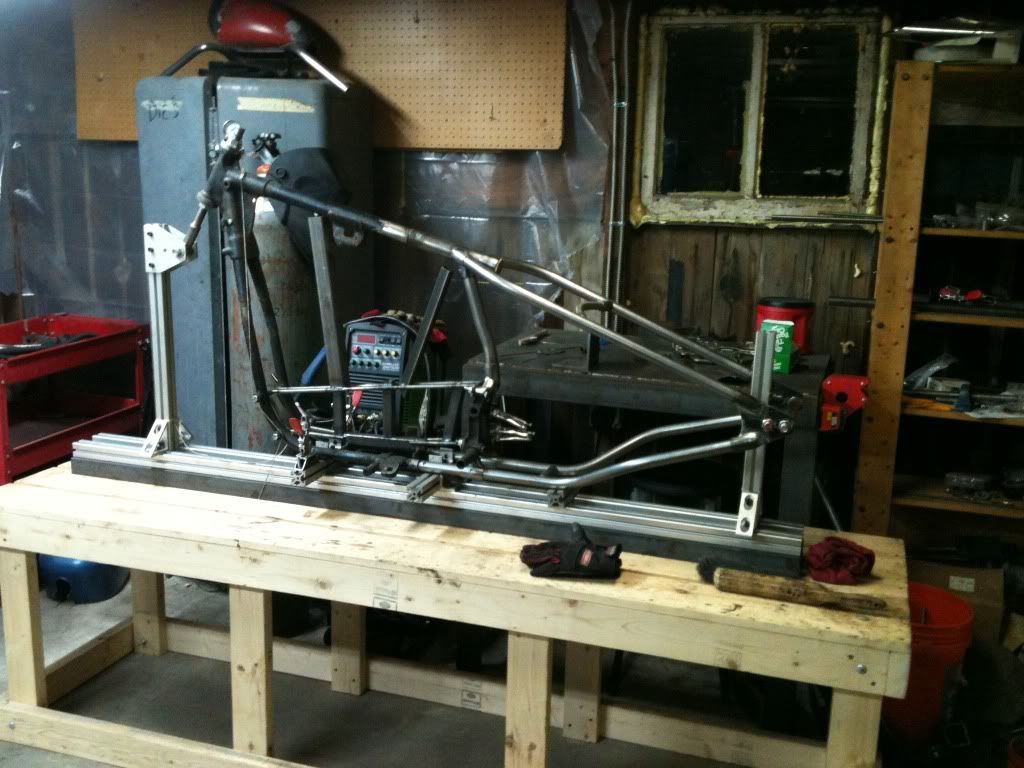
    Got it up on the table and started getting the motor mounts jigged up so nothing gets all wonky and out of shape. Also to set where the rear head is so i don't have to heat and hammer a dent in it later.


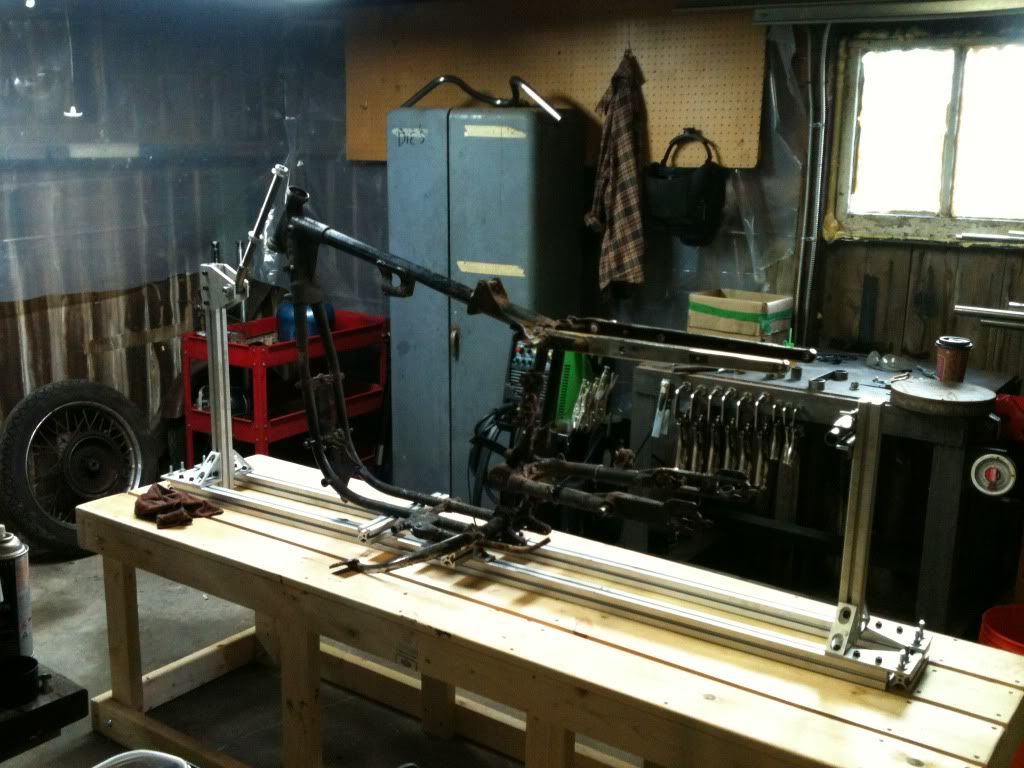
    Forgive the crappy photos they're taken with my cell b/c i don't have the foresight to bring a camera let alone a charged one with me to the garage.
    Last edited by alexfuckingp; 01-11-2012, 2:36 PM.
  • alexfuckingp
    Senior Member
    • Jan 2012
    • 143

    #2
    Cut out part of the rear motor mount and top tube (couldn't help it i hated those damn double tubes, worked on the axle plates and bent up a test top tube to see the lines for now.


    forgive my shitty tig welds it's been about 8 months since i welded last after my old hobart got stolen along with all my old tools.


    Comment

    • alexfuckingp
      Senior Member
      • Jan 2012
      • 143

      #3
      Don't know if i'm keeping this little detail but backbone stash tube from a bung and gascap i had lying around, lift up seat, good hidden spot to keep my registration and insurance when it gets to that stage.


      and my homebuilt notcher for my lathe, trusty old early southbend 9" still works great after some tinkering and adjustments.


      Comment

      • coryhebert
        Senior Member
        • Nov 2009
        • 100

        #4
        Heck yeah...looks awesome. I'm digging those 'sockets' you welded to the axle plates. Nice touch.

        Comment

        • alexfuckingp
          Senior Member
          • Jan 2012
          • 143

          #5
          Strengthened my jig with a 5" wide x72" 1/4" wall structural c-channel i picked up for $45 at the local fastenal

          filled and smoothed the axle plates, still need to fabricate add the adjuster bung, a plate behind it, and detail around the slot.


          Eventually it will be all filed and sanded smooth to look like a one piece casting. I'll add nothing is finalized or locked in place completely yet, still figuring out wheelbase and lines at this point.

          Next came the seat tube and rear motor mount. Hate the stock setup and the huge gap behind the rear head and cylinder so i came up with this. Welded it all in and molded it, again it will be filed and sanded. The "lugs" are plug welded and will be brazed later once everything is all in place.


          Comment

          • alexfuckingp
            Senior Member
            • Jan 2012
            • 143

            #6
            bent up both top tubes and created the lugs, cut, face, taper, cope, file, sand, repeat is a reoccuring theme in this build. but the welding is improving.


            Christmas present from my girlfriend, she's pretty awesome but will never visit my garage, man-cave!!!


            Necessities...

            Comment

            • alexfuckingp
              Senior Member
              • Jan 2012
              • 143

              #7
              Finally got the balls to bend up the lower legs (geometry, angles, and math are not my strong suit but finally figured it out after one mistake try.


              The axle plates aren't locked in yet, redid the jig attachment to hold them to make it stronger so it wont twist when i go to weld them in.

              Comment

              • alexfuckingp
                Senior Member
                • Jan 2012
                • 143

                #8
                Seat cross bar is temporary for now need to re-cope the tubing at a better angle to "flow" right, but 1"x.120 wall tubing lugs with 3/4" solid stainless bar. Will eventually polish the bar and paint the tubing and pinstripe the connection for a clean look.


                bottom of the rear motor mount will get the same treatment as the top of it, filled and molded metal finished to create a lugged effect like a factory part.

                Comment

                • alexfuckingp
                  Senior Member
                  • Jan 2012
                  • 143

                  #9
                  Here's where i left her off a week ago, too fat, gonna redo the top tubes to skinny her up in the seat area when i get back into the garage later this week.


                  But the lines are finally looking right to me so thats a start.

                  Comment

                  • alexfuckingp
                    Senior Member
                    • Jan 2012
                    • 143

                    #10
                    Lastly for today, i have an old OG wassell tank that someone butchered up, added a filler to "frisco" it but never redid the tunnel, what a mess. Cut out the tunnel and started getting into it only to find this crap, oh well, soft wire wheel on the bench grinder took care of most of it. Has some pitting i'll fill and smooth along with a new tunnel, but i'll cut out and patch in the made in england stamp from the original just because i can.


                    i took a road trip last night to pick up my front end for this sucker. 184 miles, $4 in tolls, 45 min of traffic for a car on the god damn shoulder and 4.5 hours of driving landed me this little gem. From all the research i've done it's an early Indian girder. The only ones i've found pictures of came off of one triumph show bike (thanks lackluster) and 1930's and 1940's Indian factory Hillclimbers. I may be wrong someone could provide more information i'd love to hear it.

                    The links were cobbled from some aluminum so they will need to be replaced and i'll need to fab a part thats missing and figure out handlebars but man this thing is short and skinny, only about 4" between the tubes so i don't know if my stock drum will work or i'll need to find another/ modify mine.


                    Comment

                    • ironlance
                      Senior Member
                      • Jan 2010
                      • 476

                      #11
                      nice fab work!!

                      Comment

                      • jbishop
                        Senior Member
                        • May 2011
                        • 123

                        #12
                        This bike is going to look so amazing when all is said and done.

                        Where did you get that frame jig? or did you make it.

                        I would love to get something similar.

                        Comment

                        • alexfuckingp
                          Senior Member
                          • Jan 2012
                          • 143

                          #13
                          The Jig is partially made, partially from purchased parts and pieces. the base of it is 5" wide 72" long and 1/4" thick structural c-channel i picked up from the local fastenal for $45. The other parts are 1-1/2" square thick wall aluminum t-slot extrusions. I made the rear axle holders, neck fixture, motor mount jig, and the bottom tube clamps. Works good, i strengthen and improve it as i go on and can afford it. Soon it will all be steel but the machining work is beyond my tools right now. For now it allows me x, y, and z, axis movements for quick adjustments i've made frames for a cb350, this sporty and my friends girl's cb400 coming up after this so it gets the job done.

                          All in all the jig has only cost me about $250-$300 and maybe 4 hours of fab time.

                          And even though that girder looks small and weak for a harley, it's actually made from solid steel, no tubing whatsoever.

                          Comment

                          • TimB1640
                            Senior Member
                            • Nov 2009
                            • 1102

                            #14
                            going to be a nice build! which everlast welder do you have? how do you like it?

                            Comment

                            • jbishop
                              Senior Member
                              • May 2011
                              • 123

                              #15
                              Thanks man that's kick ass.

                              Comment

                              300 mobile ad bottom forum

                              Collapse
                              Working...
                              ;