
 Tweet
Tweet
Excellent!
-
-
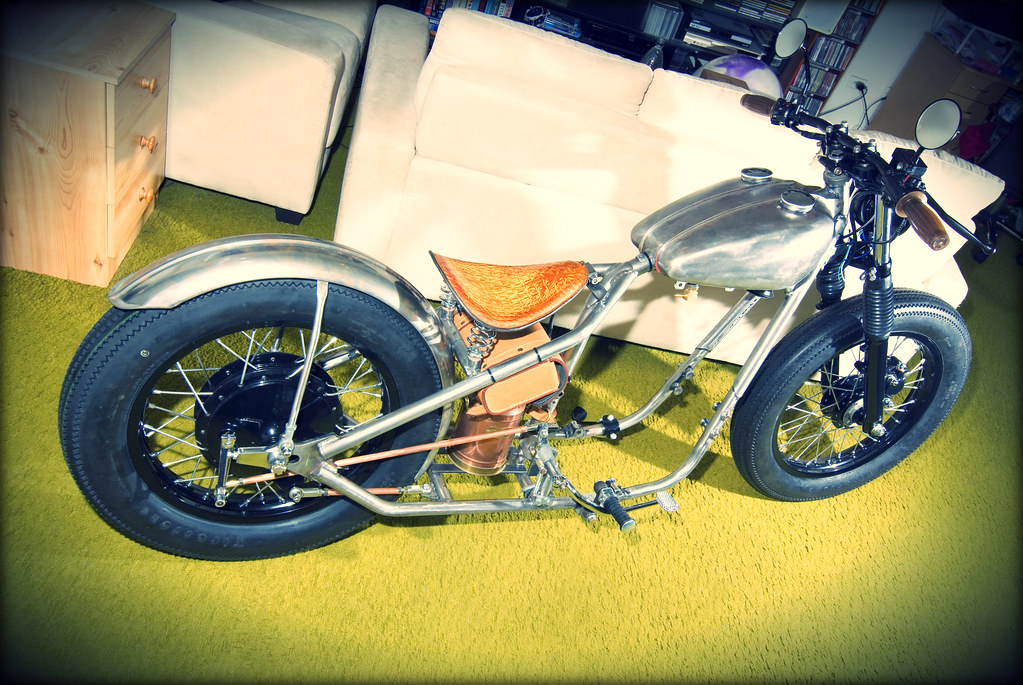
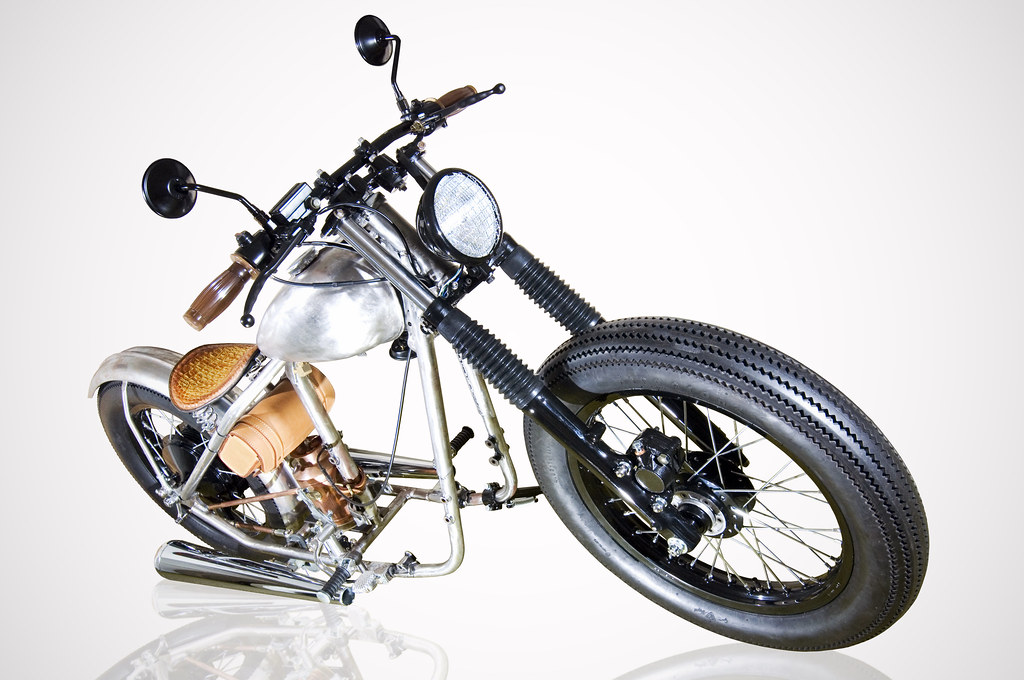
Saturday, 10 December 2011 - Trial butt test!
I managed to do a trial butt test for the first time today!
I finally tacked the seat and associated various bungs and brackets today upon the chassis, and allowed myself to test fit my ass upon it.
To say it was a milestone to hop upon what will resemble the layout of my baby is an understatement.
Next step will be to tack on the tank and fender bungs over the next couple of weeks.
Here's a few progress pics that also show the brake pivot and linkage arrangement tacked up and attached as well.

DSC_0762 copy b by inmotionphotography

DSC_0763 copy b by inmotionphotography
DSC_0764_1 copy b

DSC_0769 copy b
Cheers
Steve
Last edited by inmotionphotog; 01-03-2012, 3:35 AM.Comment
-
Nice Build up, subscribed!Comment
-
Thank you!
BTW, I've checked out your cool blogs!
Cheers
Steve
Comment
-
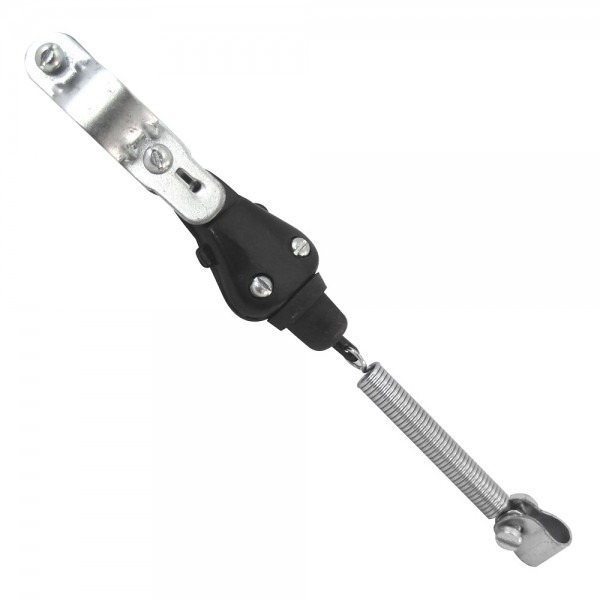
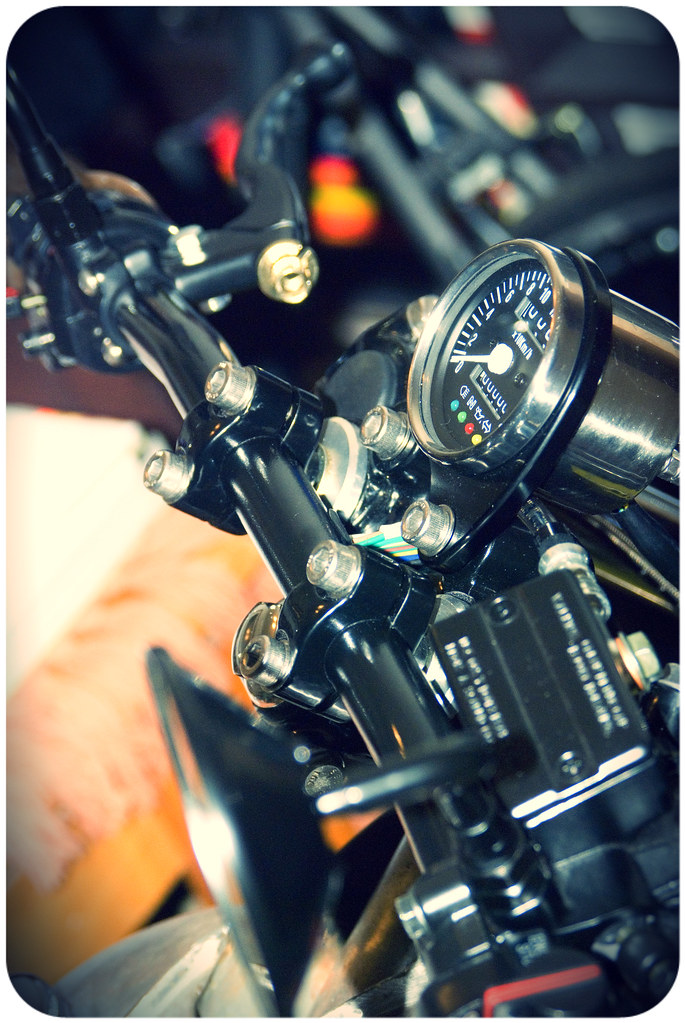
Tuesday, 13 December 2011 - Brake light switch solution
One of the details that had been bugging me for a few days, was the clean and effective solution to mounting the Lowbrow Customs brake light switch upon the chassis.
It was important that it integrated well with the bike whilst offering the flexibility of fine tuning it to work perfectly every time I used the rear brake pedal.
The solution was simple and staring me in the face the whole time. I attached a hose clamp to the tubular cross member, then thread a cable tie through the switch mount hole and clamp. I used a heavier duty spring to mount it to the rear bolt hole upon the brake pivot that I knocked up. I plan on welding on a hex nut on the back as well.
I now have the ability to simply loosen the clamp a small amount to allow it to rotate. The rotation of the clamp allows it to loosen or tighten the switch assembly, which in turn affects the sensitivity of the micro switch.
After testing it with the multimeter, I now have a switch that activates at the slightest tap of the brake pedal, whilst being mostly unseen and clean in appearance.
The other great benefit of having it in this location is the need to weld on permanent tabs has been eliminated. I also have the ability to hide the wiring neatly too!
large_336_black-universal-brake-light-switch-photo-1
DSC_0784 b

DSC_0786 b

DSC_0787 b

DSC_0789 b
DSC_0795 b

DSC_0796 b
Cheers
Steve
Last edited by inmotionphotog; 01-03-2012, 3:36 AM.Comment
-
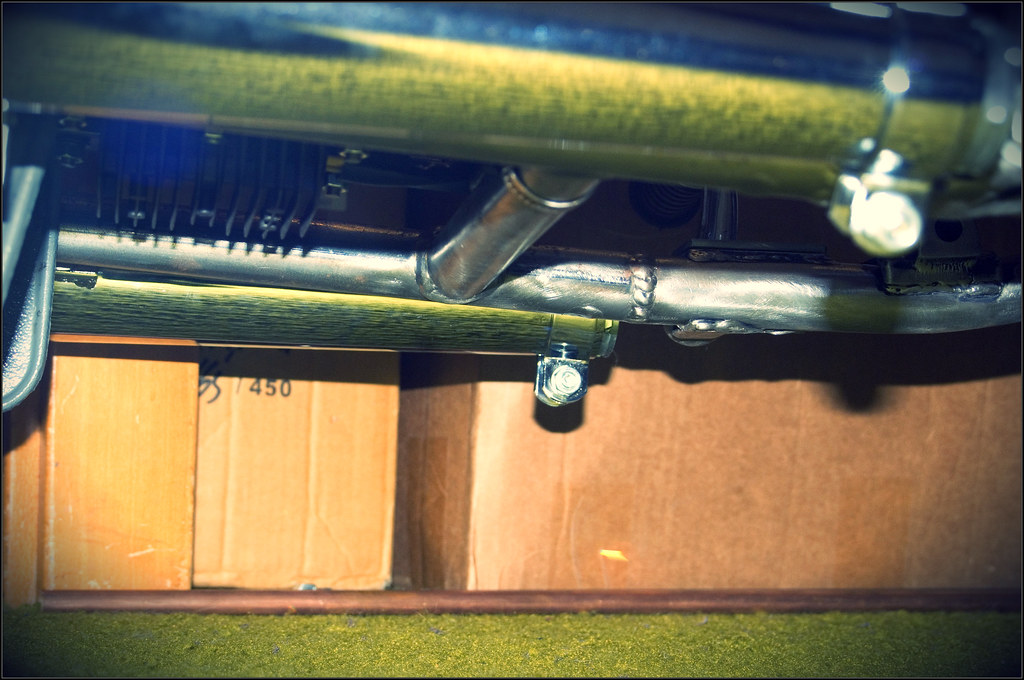
Sunday, 18 December 2011 - Muffler mounting
This weekend I finally designed and knocked up brackets for the Dunstall style mufflers that I am running.
I temporarily clamped them to the chassis to ensure that my bracket measurements managed to clear the foot pegs, brake pedal articulation and kick stand. They're pretty much in the exact spot that I intend to permanently attach them.
They'll be satin black ceramic coated, whilst the header tubes will be 45mm O/D covered in black header wrap.
Old school baby!
DSC_0858 copy copy copy copy

DSC_0838 copy copy copy

DSC_0859 copy b

DSC_0860 copy b

DSC_0864 copy b
Cheers
Steve
Last edited by inmotionphotog; 01-03-2012, 3:38 AM.Comment
-
Looking very nice so far.
Not sure if I missed it somewhere in the thread, how did you do the wire mesh grill over the headlight?
I live where there is dirt/rocks all over the streets in winter, so would like to run one on my headlight. Did you just sandwich the wire between the headlight ring?Comment
-
G'day Ember, you picked it with the sandwiching behind the headlight ring.
I bought a cheap ass mesh that despite being the correct diameter, had a completely different curvature. This coupled with crappy brackets left me no other option but to try the sandwich trick.
Since the headlight will be re-painted, I wasn't fussed with a scratch or two trying to make it fit.
Funnily enough, the mismatched curvature makes for a neat and tight fit wit the mesh keeping the globe firmly in place.
BTW, thanks for the feedback mate!
Cheers
Steve
Comment
-
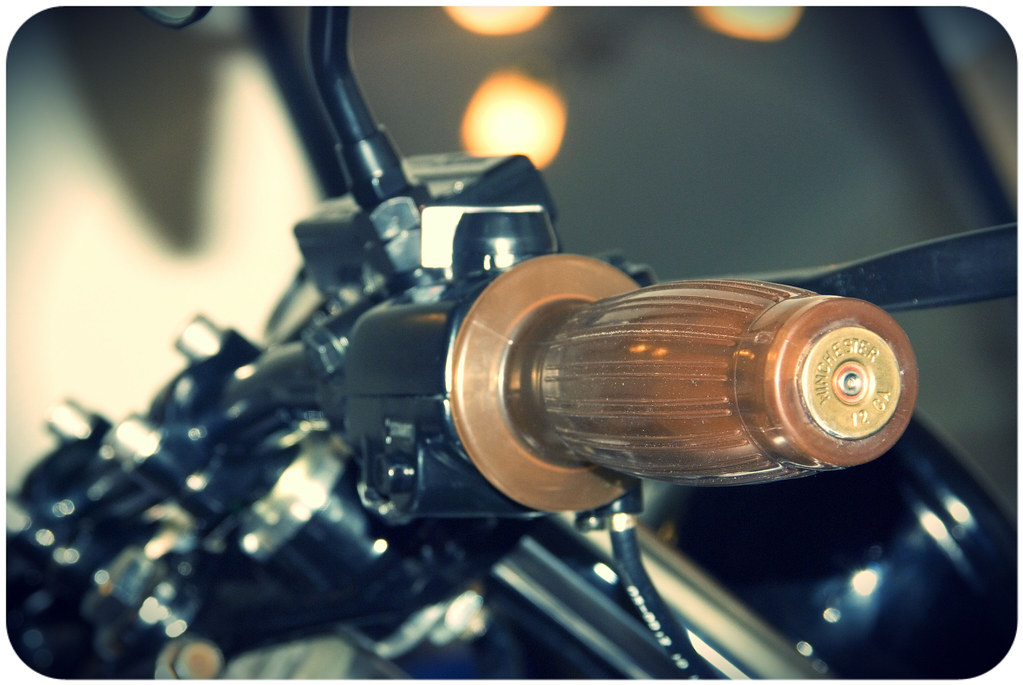
Monday, 26 December 2011 - It's a blast!
One of the things that I wanted to do was give the ends of the grips a point of difference.
Since there are already some brass and copper accents upon the scoot, some shotgun shells would be pretty cool.
So today I managed to fit some spent shotgun shells to my grips today as well as making suitable holes in the drag bar to hide the wiring from the switch assemblies.
DSC_0879 copy b

DSC_0892 copy b
DSC_0911 b.JPG
Cheers
Steve
Last edited by inmotionphotog; 01-03-2012, 3:39 AM.Comment
-
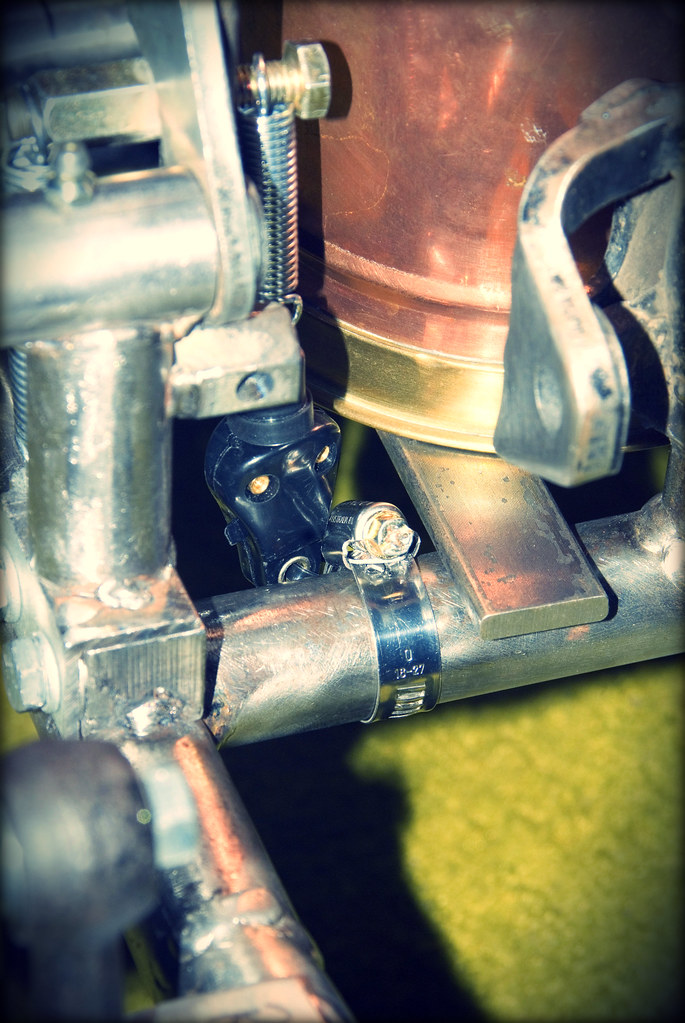
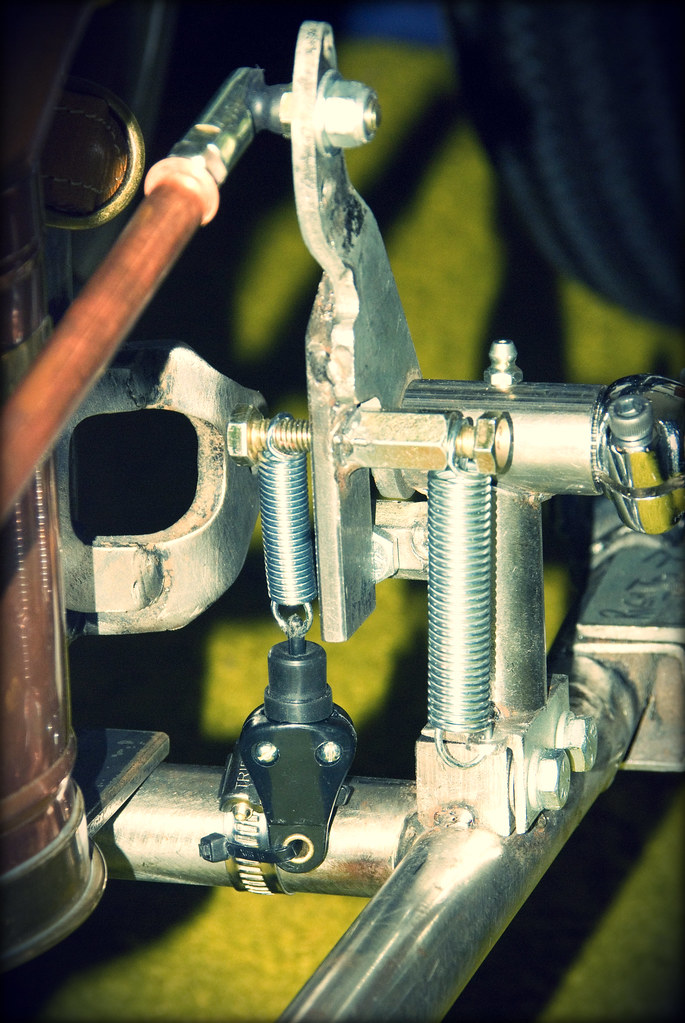
Wednesday, 28 December 2011 - Jug mount
Now is the time to focus on the electrics for the bike and making the mount for the milk jug.
I knocked up a solution that will house the battery, ignition switch, a couple of fused relays and the rectifier.
The battery I plan on using (4s3p A123) is tiny and powerful enough to run the starter motor, lights, etc. This will be located within the urn.
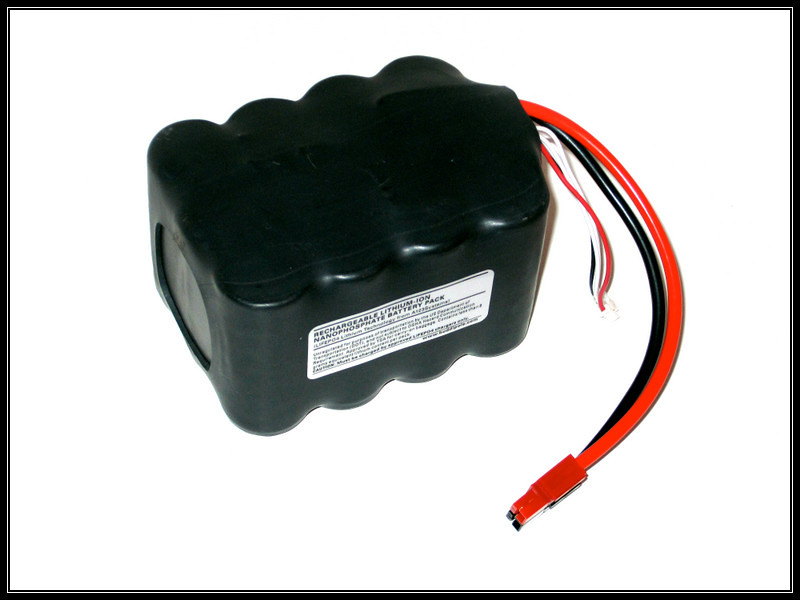
4S3Plarge
Here's a video of a similar version in action.
Here's some pics of the mocked up assembly showing the rectifier in position. It should still be able to get good air flow, whilst being protected (only just) by the chassis rails beneath the bike.

DSC_0929 b.JPG

DSC_0916 b.JPG
DSC_0925 b.JPG
Cheers
Steve
Last edited by inmotionphotog; 01-03-2012, 3:40 AM.Comment
-
Congrats Steve,
your ride looks awesome!
Seems - like some others also already mentioned - you plan pretty in detail
Like the firestones - like the hardtail - everything is nice
maybe i would check for more vintage looking switches but that's just a small add-on i would choose
what really irritates me is:
what the heck does "Thor's Hammer" have to do with a milk-jug?
like the jug but that thing would be the detail i'd drop ...
looking forward to the updates so keep 'em coming
btw:
cool work also with your helmet!
thomasComment
-
G'day Thomas.
Thanks for the positive and constructive feedback.
In relation to the milk jug, it's funny that I was actually thinking today of having a new brass plate made to replace the "MILK".
Now there's been a bit of conjuncture with some of the Chopcult members as to whether I use the English or Danish way of spelling "Thor's Hammer" on the gas tank.
Now I'm thinking of actually leaving the English version as "Thor's Hammer" on the gas tank, whilst I'll make a brass tag with "Mjölnir", the Danish translation upon the jug.
I think just this small change will give it more relevance to the theme of my build.
Cheers
Steve
Last edited by inmotionphotog; 12-28-2011, 1:30 AM.Comment
-
Wow....impressiveComment
-
Thank you!
Cheers
Steve
Comment


Comment