
 Tweet
Tweet
A few have asked so here ya go.
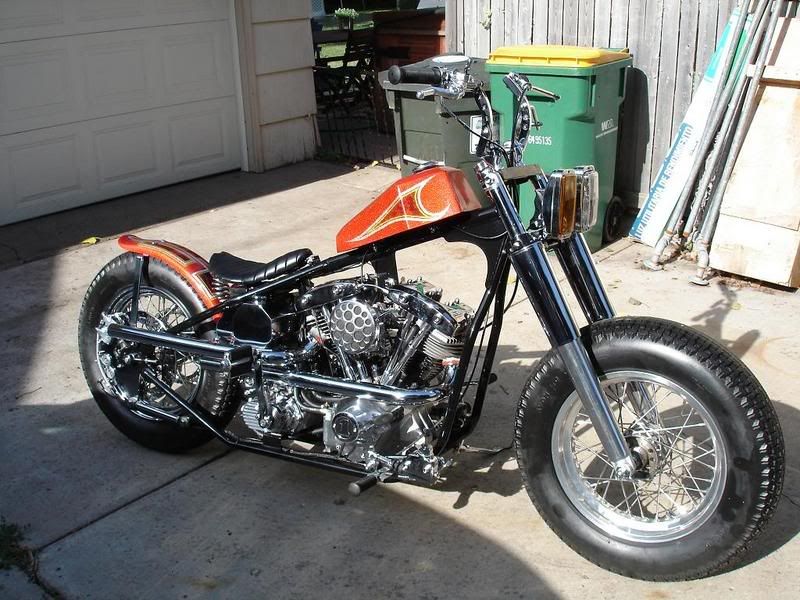
You want a front brake but you also like the minimalist look up front. Follow me down the rabbit hole.
I say rabbit hole because if you’re going to change up your master cylinder during this process, you’ve gotta make sure your get the correct size master cylinder. I kinda cheated and used the Internet to determine what other master cylinders worked with my Buell’s six piston caliper. The stock master cylinder was massive and the replacement (Nissin) was relatively small and inexpensive.
For simplicity’s sake we’ll assume you only need to replace the reservoir. If you don’t know how to bleed brakes, stop here and learn before going forward.
1. Remove reservoir
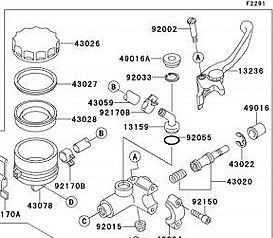
2. Remove the stem (part #13159 in the diagram)
3. Most stems, at least on the Nissin master cylinder, are L shaped
4. Cut the stem at the elbow
5. Ensure the cut is clean and there are no plastic filings waiting to get jammed into your master cylinder
6. Install the stem
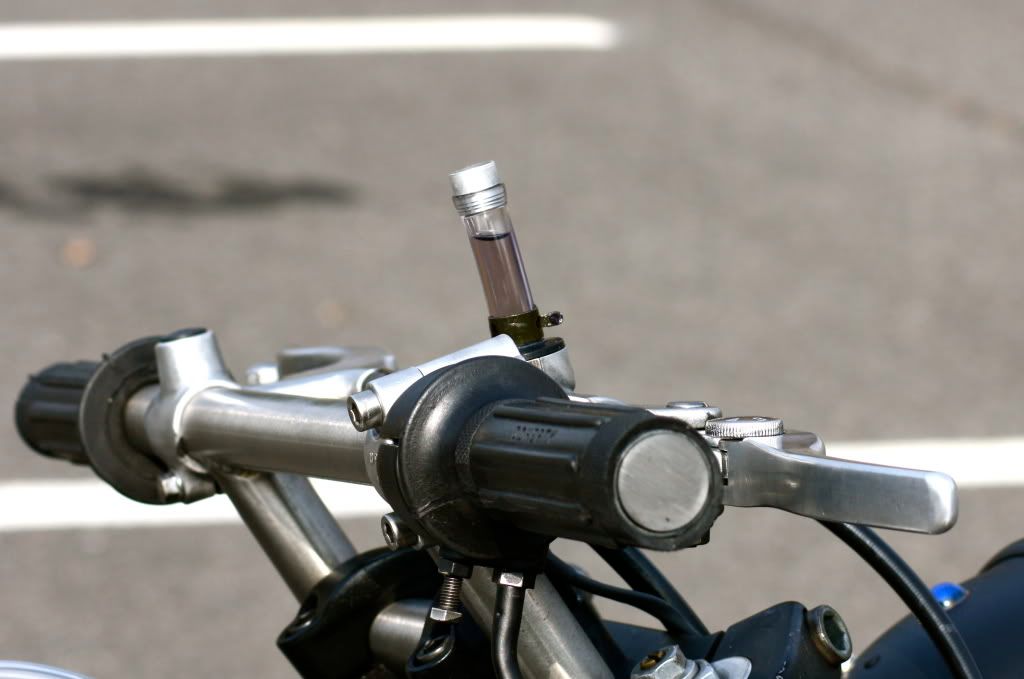
7. Don’t replace the dust cover (part# 49016a in the diagram). You can install the dust cover but it will leave you little room to install the clear reservoir tubing. I tried it this way (see first picture) only to have it fall to the ground after a hand smack.
8. Connect 6” of clear tubing to the stem. You’ll be cutting the tubing down but the extra few inches will prove valuable during the brake bleeding process
9. Secure tubing with safety wire or a small zip tie
10. Fill tubing with brake fluid and bleed brakes
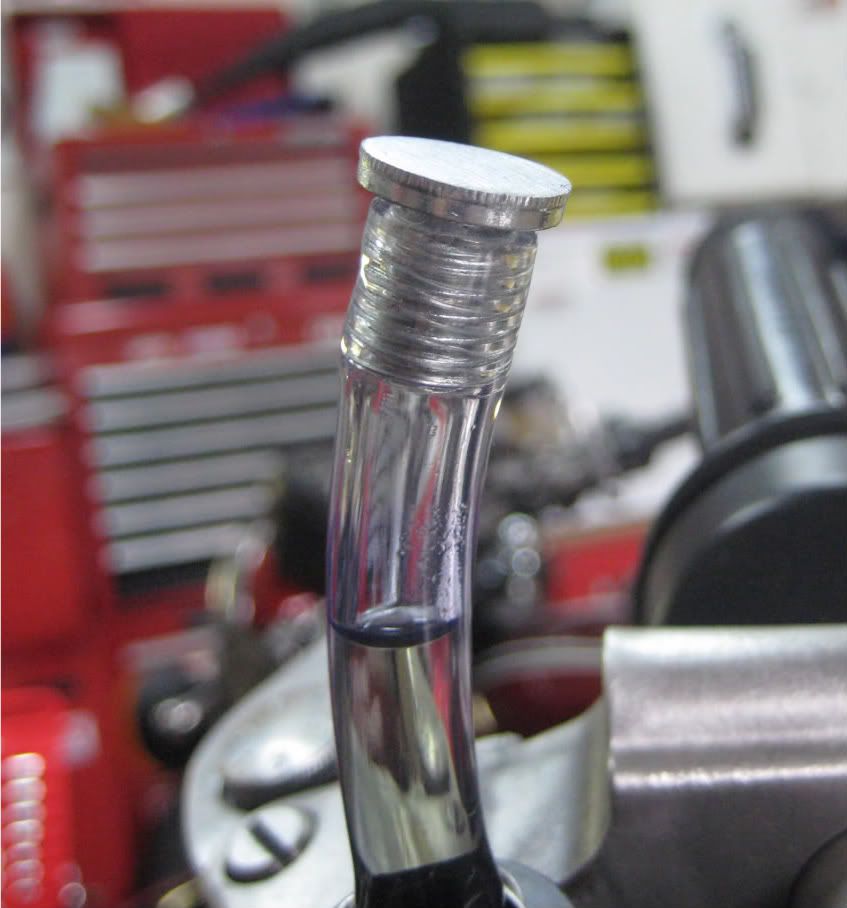
11. Find a stainless allen head bolt that is a bit bigger than the diameter of the clear tubing. I made a nice aluminum a cap for version one (see first picture) of my mini reservoir set up but it would pop off now and then. The threaded bolt will allow any fluid or air to escape under pressure while keeping water out of your master cylinder. I put the bolt in a lathe and turned down the top. Since most allen head bolts are etched on the side, it makes it easier to twist into the clear tubing.
12. Cut the clear tubing and install the cap.
I've got several thousand miles and rain storms on this set up. Works great.
You want a front brake but you also like the minimalist look up front. Follow me down the rabbit hole.
I say rabbit hole because if you’re going to change up your master cylinder during this process, you’ve gotta make sure your get the correct size master cylinder. I kinda cheated and used the Internet to determine what other master cylinders worked with my Buell’s six piston caliper. The stock master cylinder was massive and the replacement (Nissin) was relatively small and inexpensive.
For simplicity’s sake we’ll assume you only need to replace the reservoir. If you don’t know how to bleed brakes, stop here and learn before going forward.
1. Remove reservoir
2. Remove the stem (part #13159 in the diagram)
3. Most stems, at least on the Nissin master cylinder, are L shaped
4. Cut the stem at the elbow
5. Ensure the cut is clean and there are no plastic filings waiting to get jammed into your master cylinder
6. Install the stem
7. Don’t replace the dust cover (part# 49016a in the diagram). You can install the dust cover but it will leave you little room to install the clear reservoir tubing. I tried it this way (see first picture) only to have it fall to the ground after a hand smack.
8. Connect 6” of clear tubing to the stem. You’ll be cutting the tubing down but the extra few inches will prove valuable during the brake bleeding process
9. Secure tubing with safety wire or a small zip tie
10. Fill tubing with brake fluid and bleed brakes
11. Find a stainless allen head bolt that is a bit bigger than the diameter of the clear tubing. I made a nice aluminum a cap for version one (see first picture) of my mini reservoir set up but it would pop off now and then. The threaded bolt will allow any fluid or air to escape under pressure while keeping water out of your master cylinder. I put the bolt in a lathe and turned down the top. Since most allen head bolts are etched on the side, it makes it easier to twist into the clear tubing.
12. Cut the clear tubing and install the cap.
I've got several thousand miles and rain storms on this set up. Works great.


Comment