
 Tweet
Tweet
Figured I'd try and take the time to do another How-To for the Chop Cult Community.
TAGS: XS650 LS650 Bobber Chopper Suzuki Savage S40 Lowered lowering forks cafe racer Hughs HandBuilt Hugh's Hugh Owings Punkskalar
Lots of folks wish they could mod the Suzuki Savage LS650. Not alot of aftermarket support, and very little in the way of other mods are happening out there for them. So I decided to help a friend out and built his LS650 Savage. There will be a build thread otherwise, this is just for the forks.
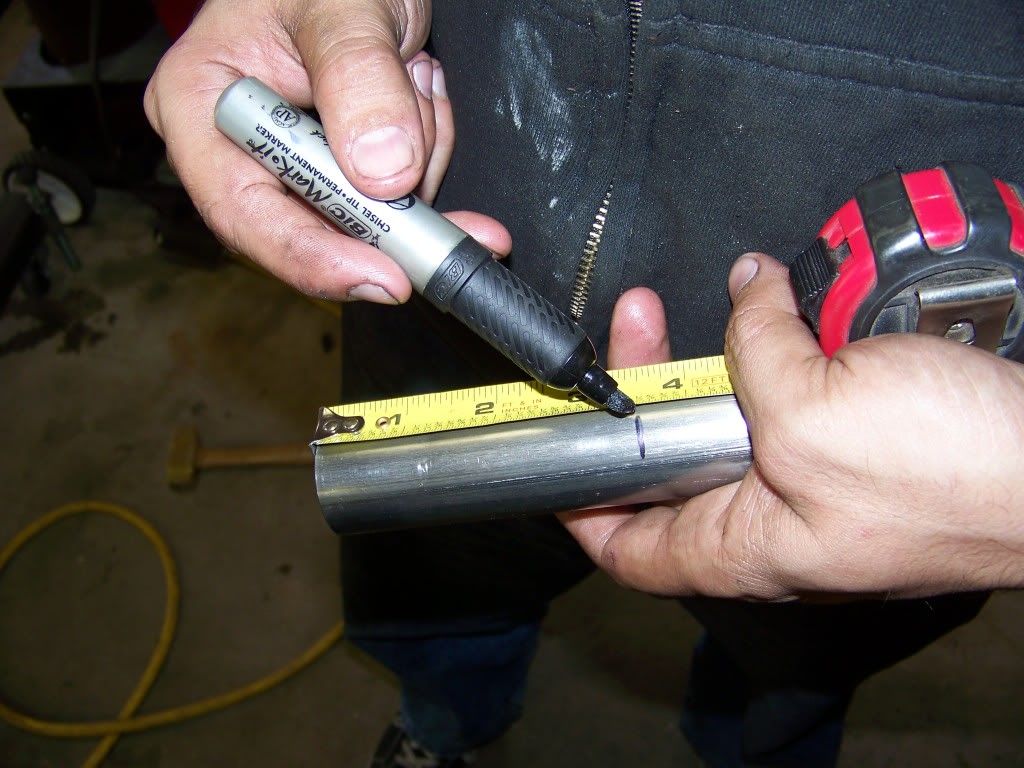
We set the stance of the bike, and it looked like we wanted the front forks to be lowered about 3.5" from stock. We removed the forks from the bike. If you need a how-to on that, then you might wanna think 2x about modding your bike and just leave it to someone else
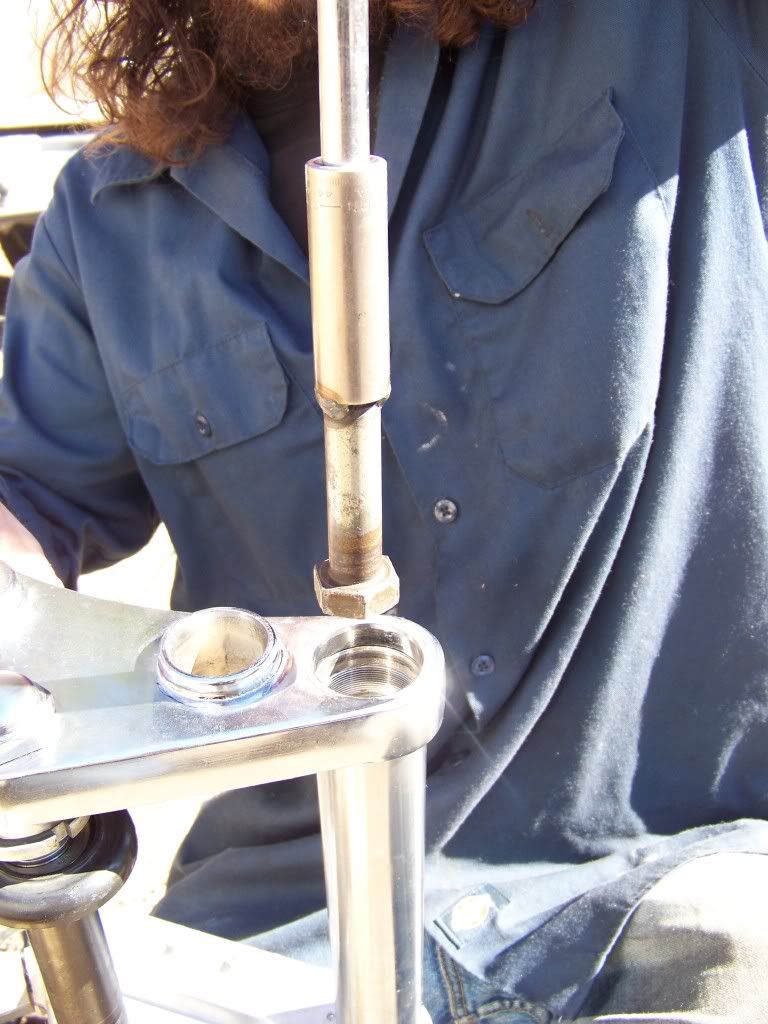
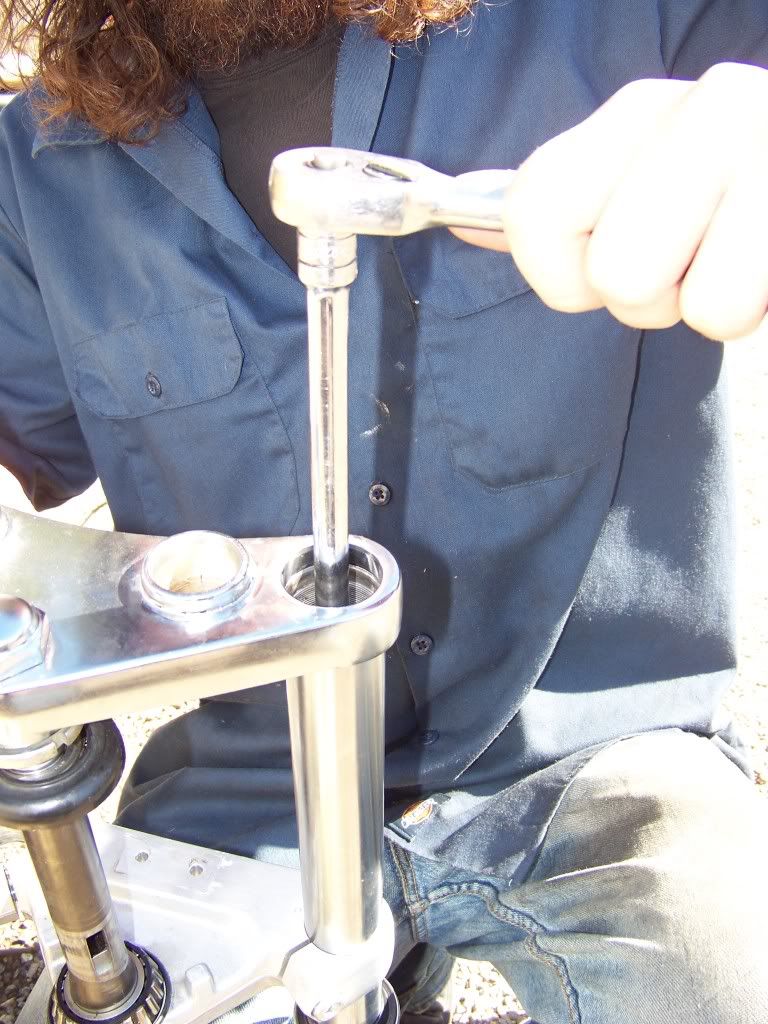
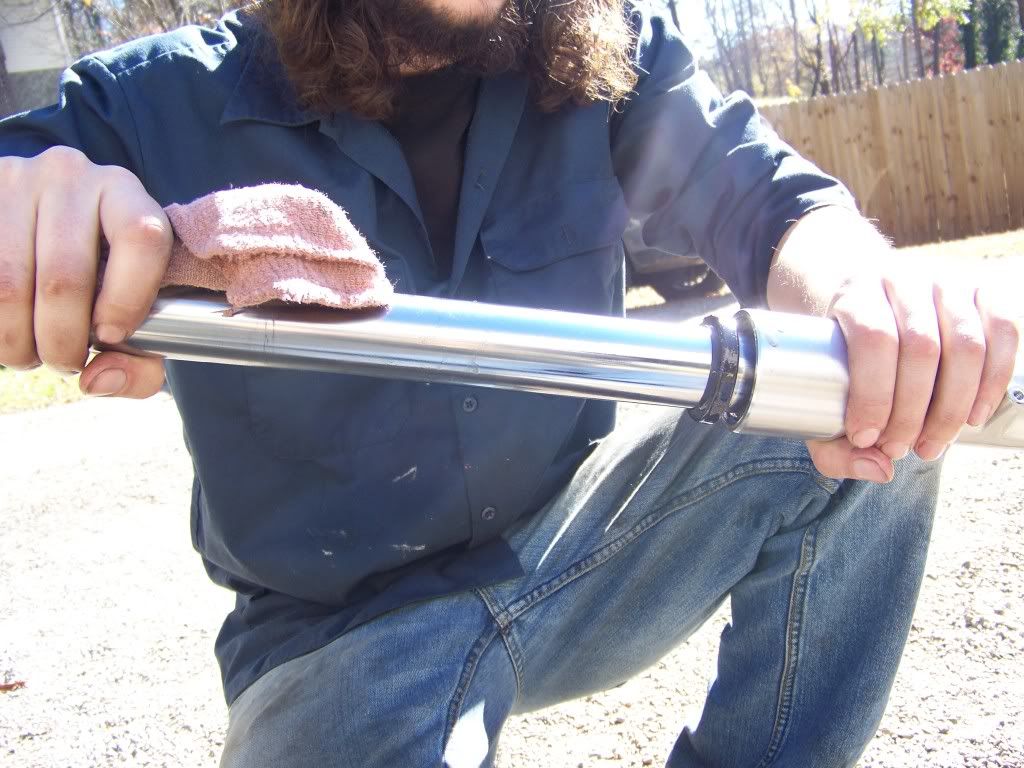
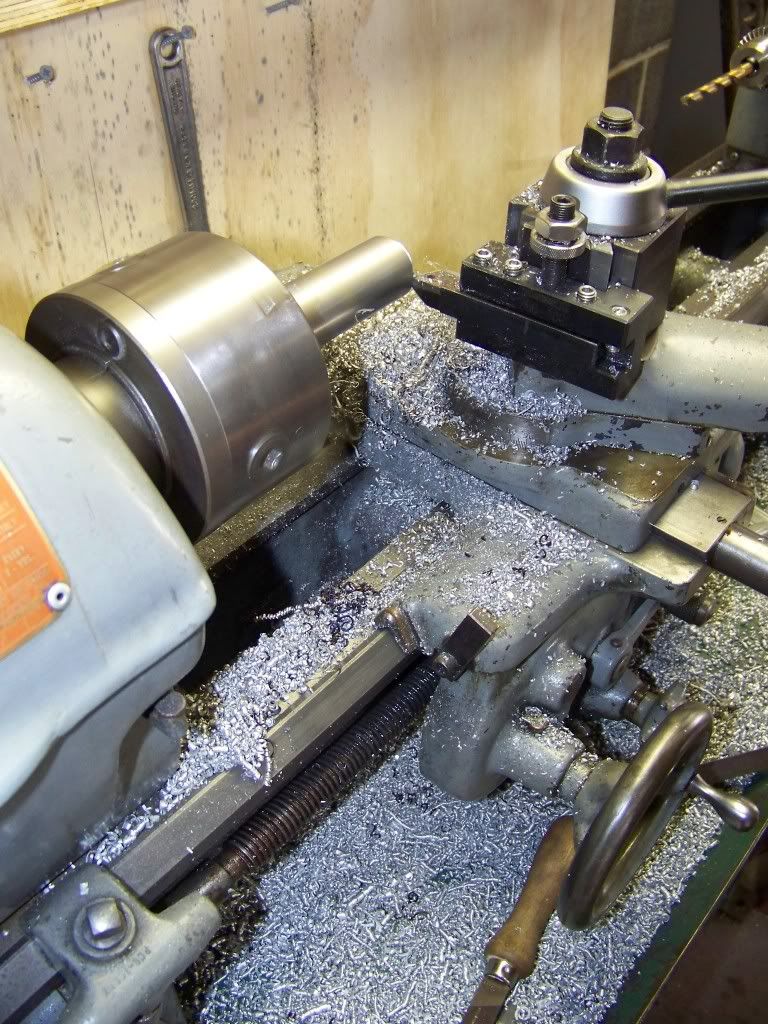
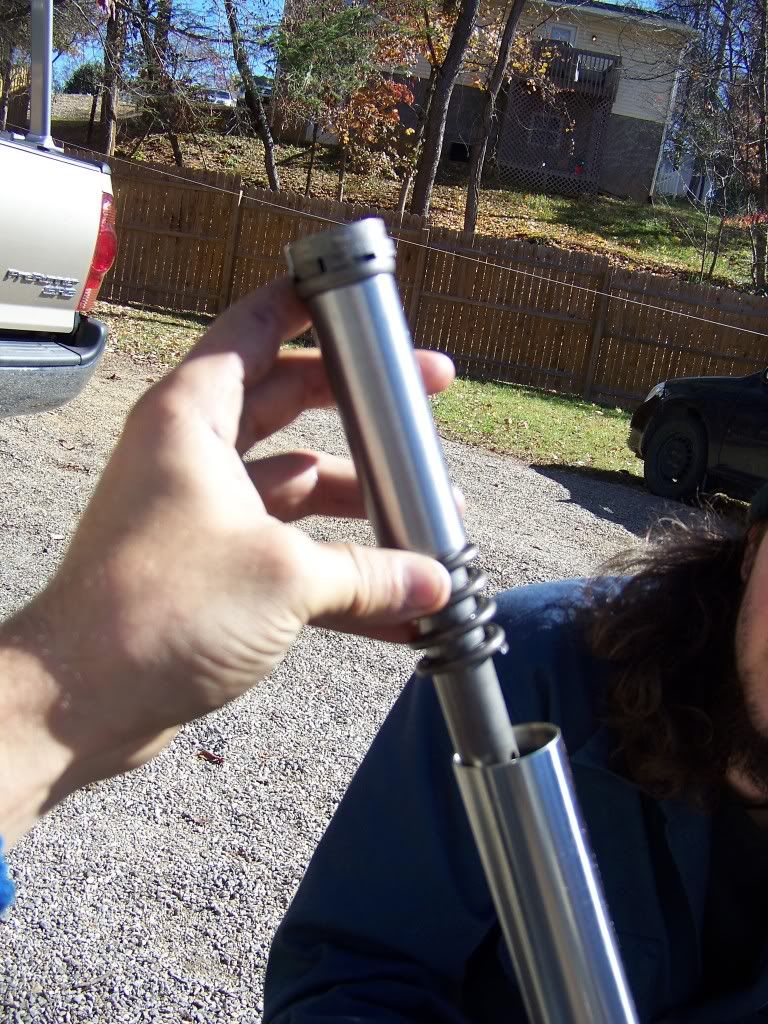
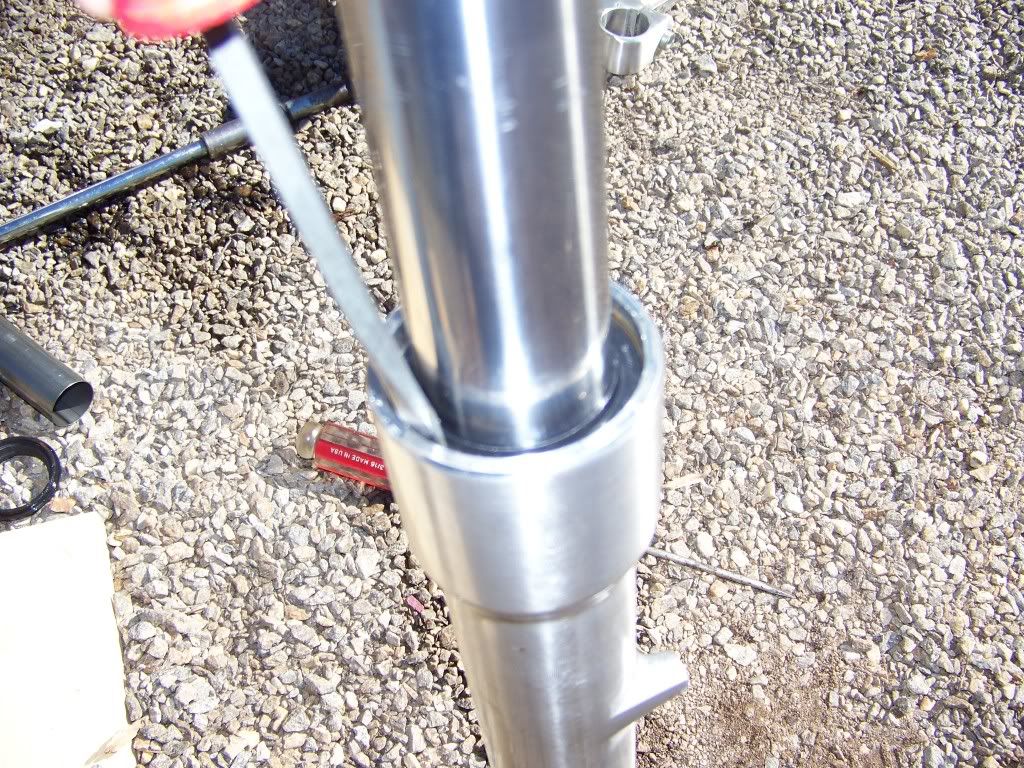
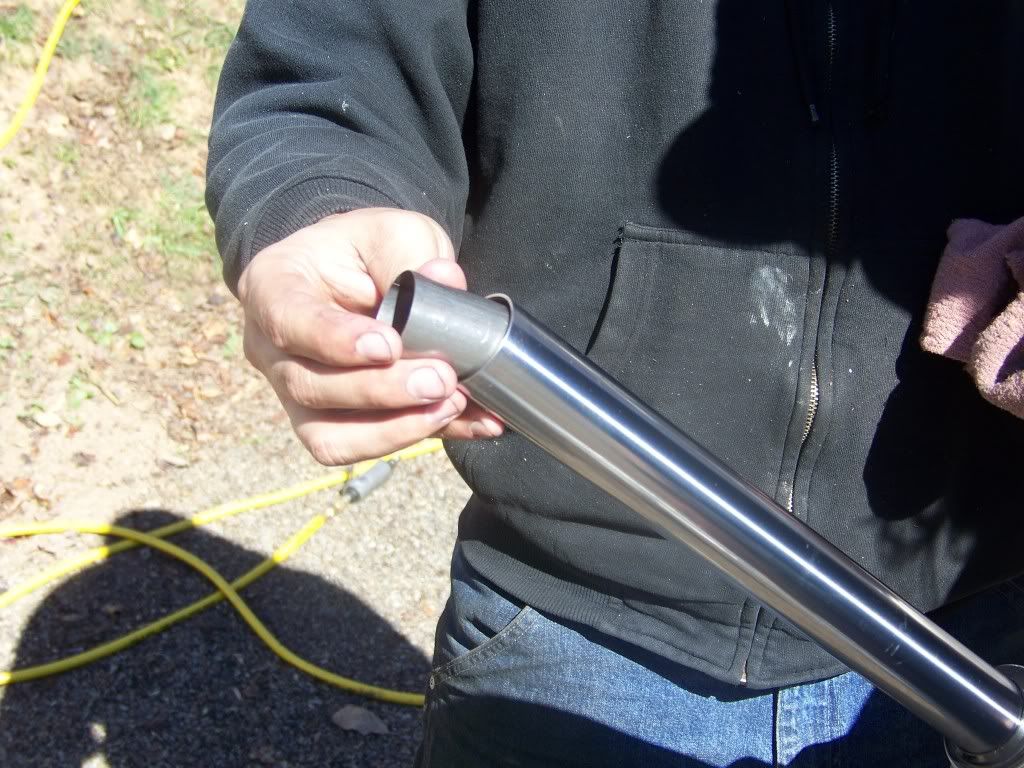
Here is the top cap of the fork, remove it using the proper tool (IE Crescent Wrench in this case)
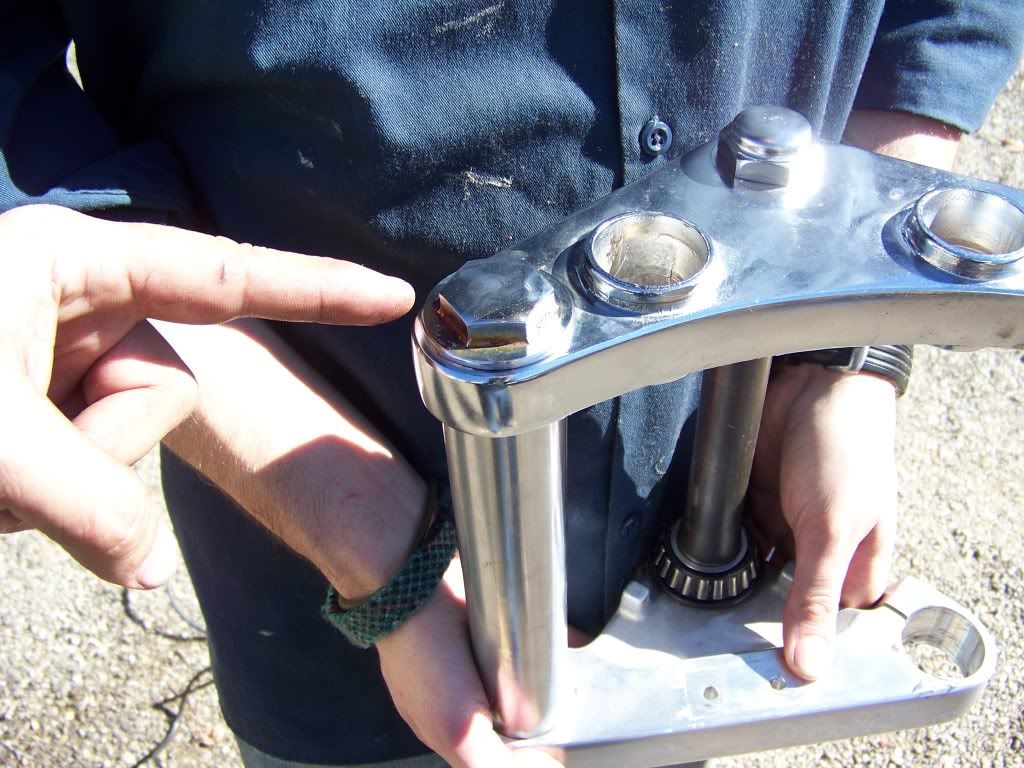
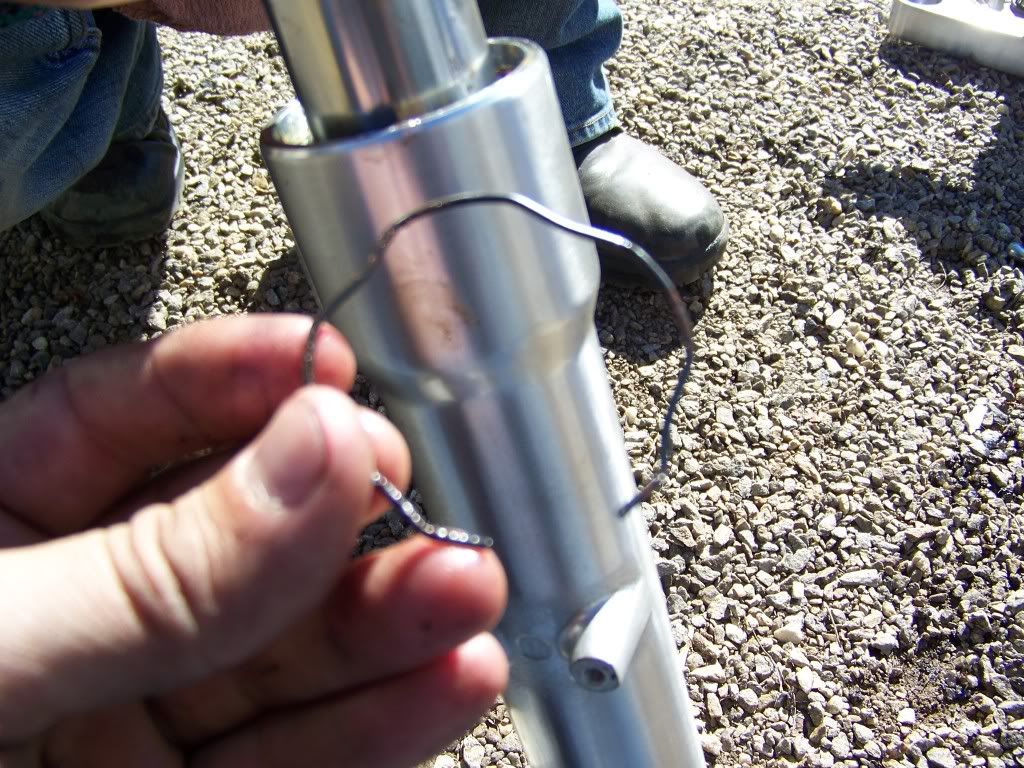
Under it will be a washer and a spacer. Remove the cap and washer.
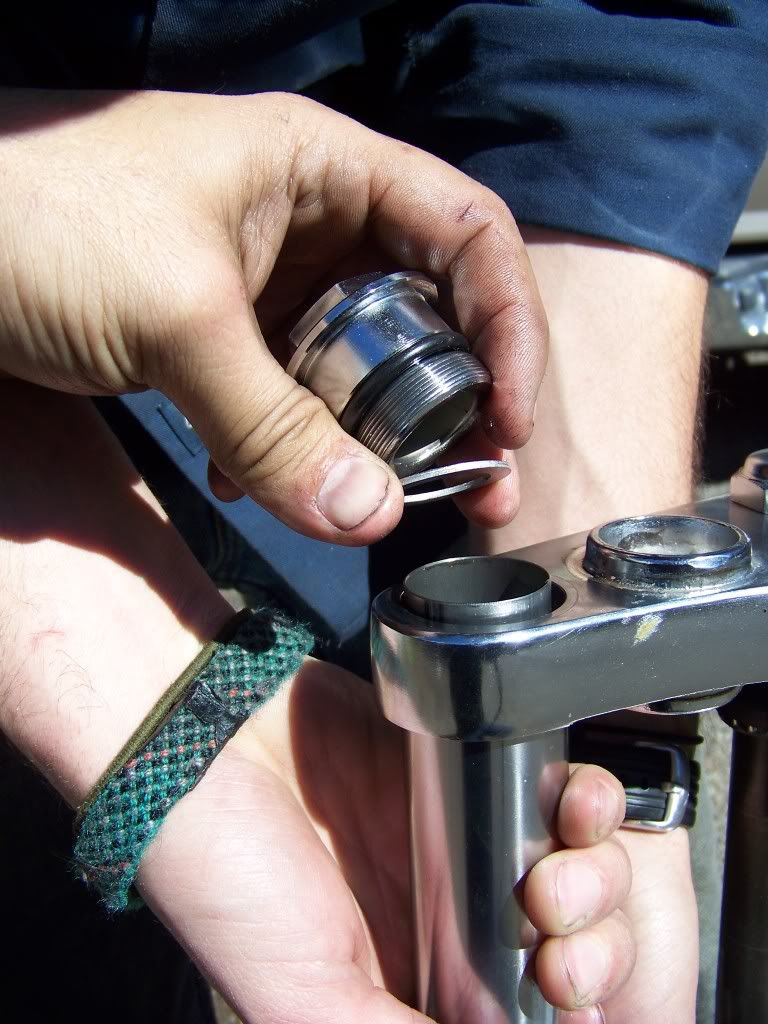
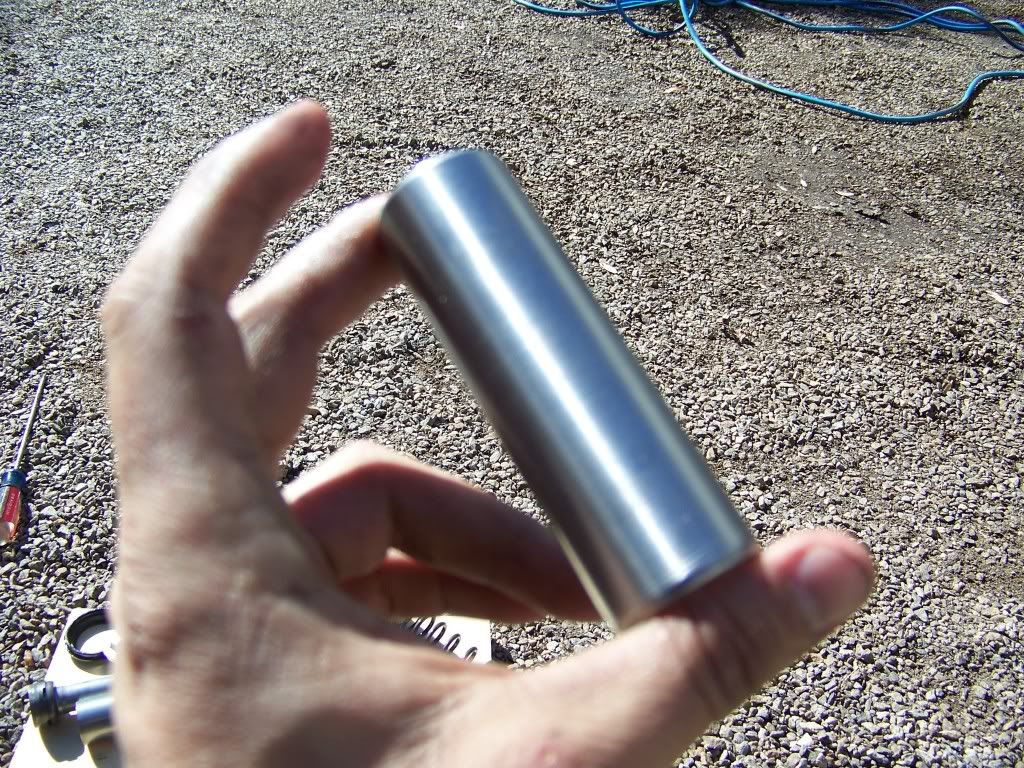
Then remove the spacer.
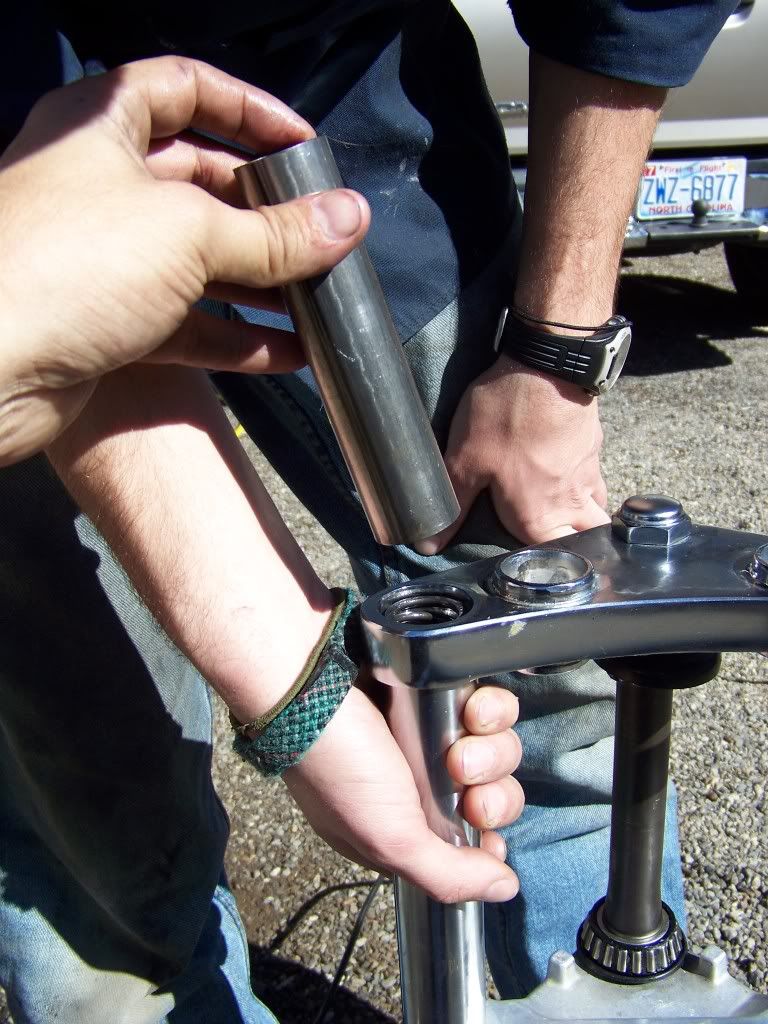
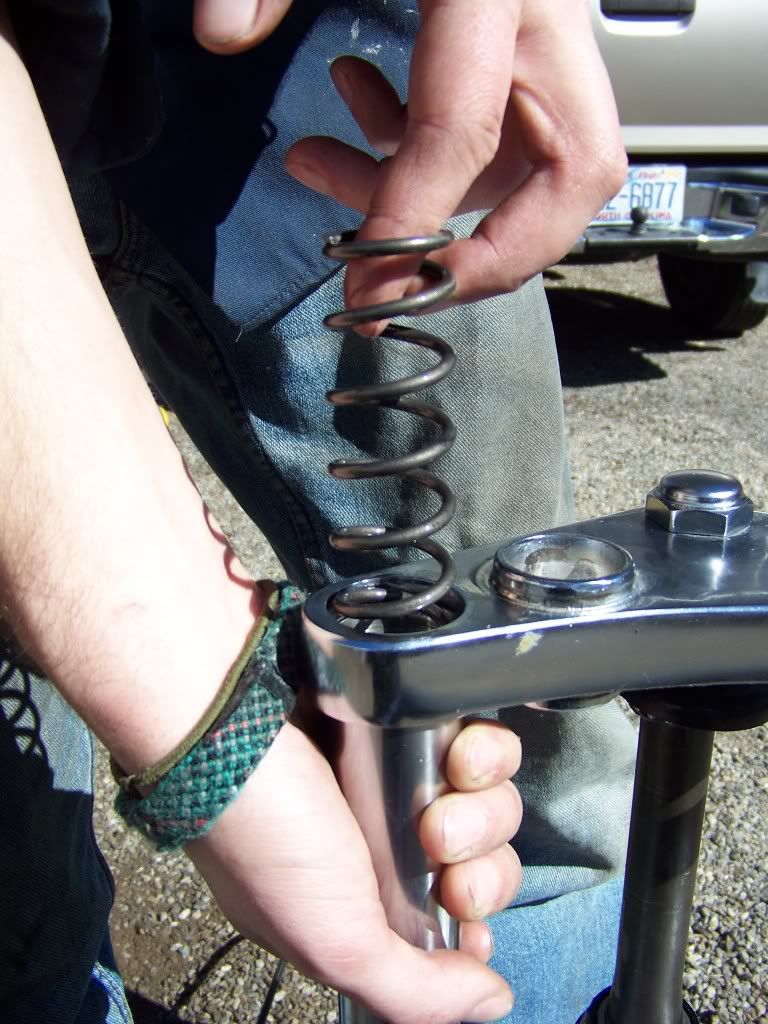
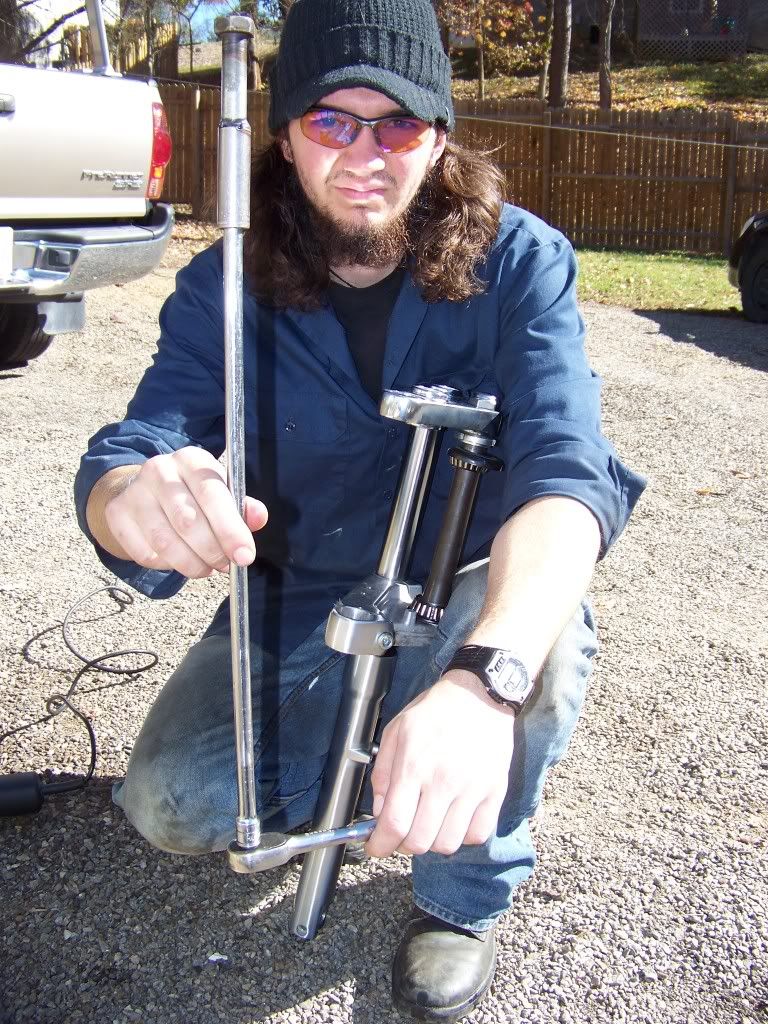
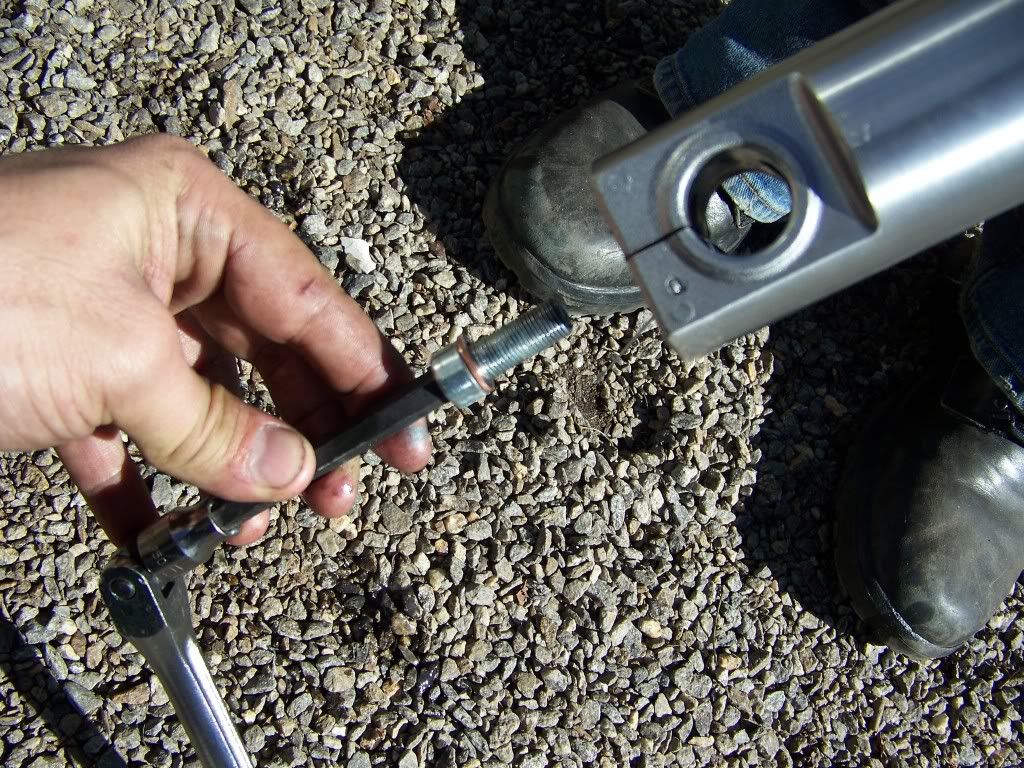
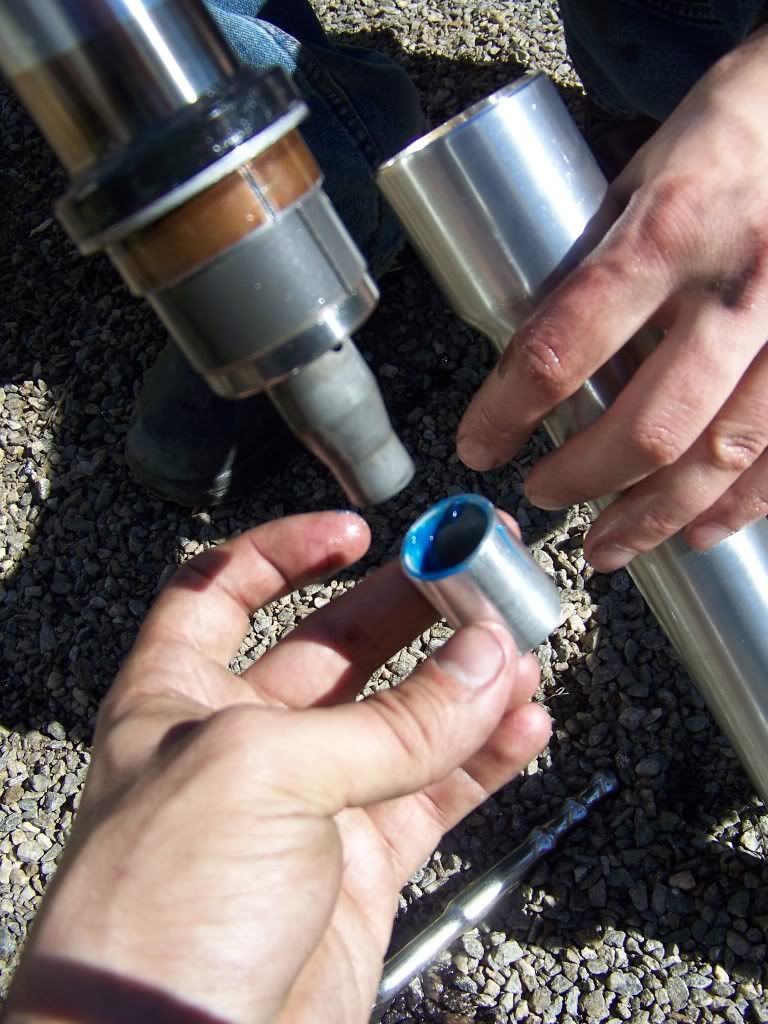
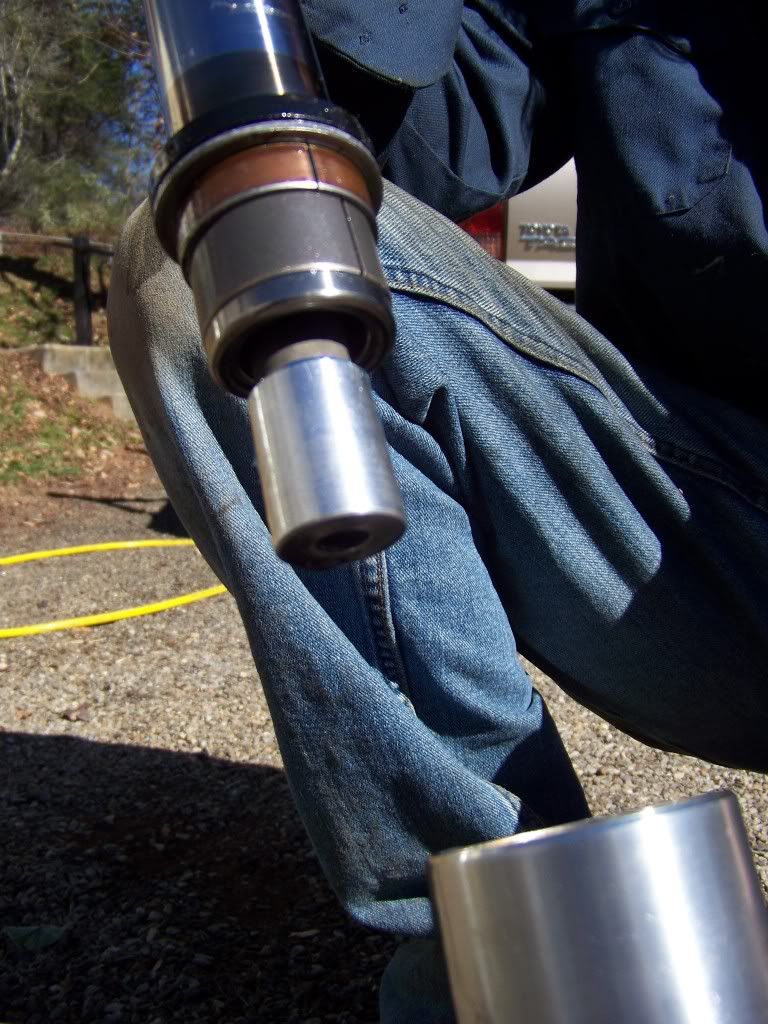
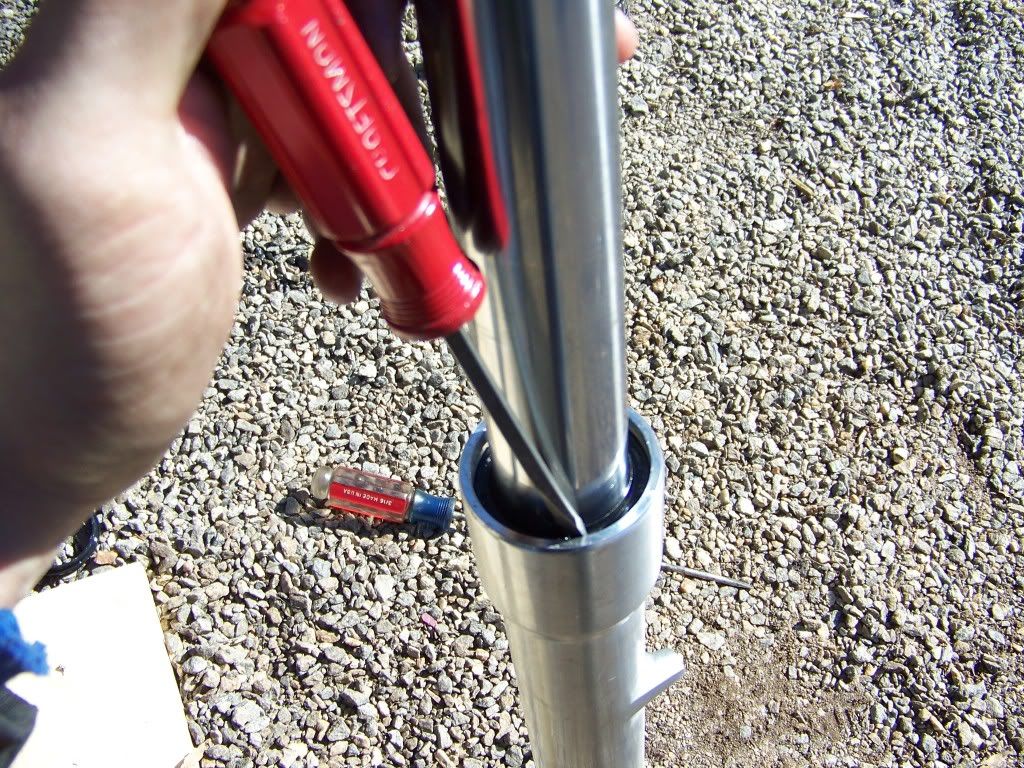
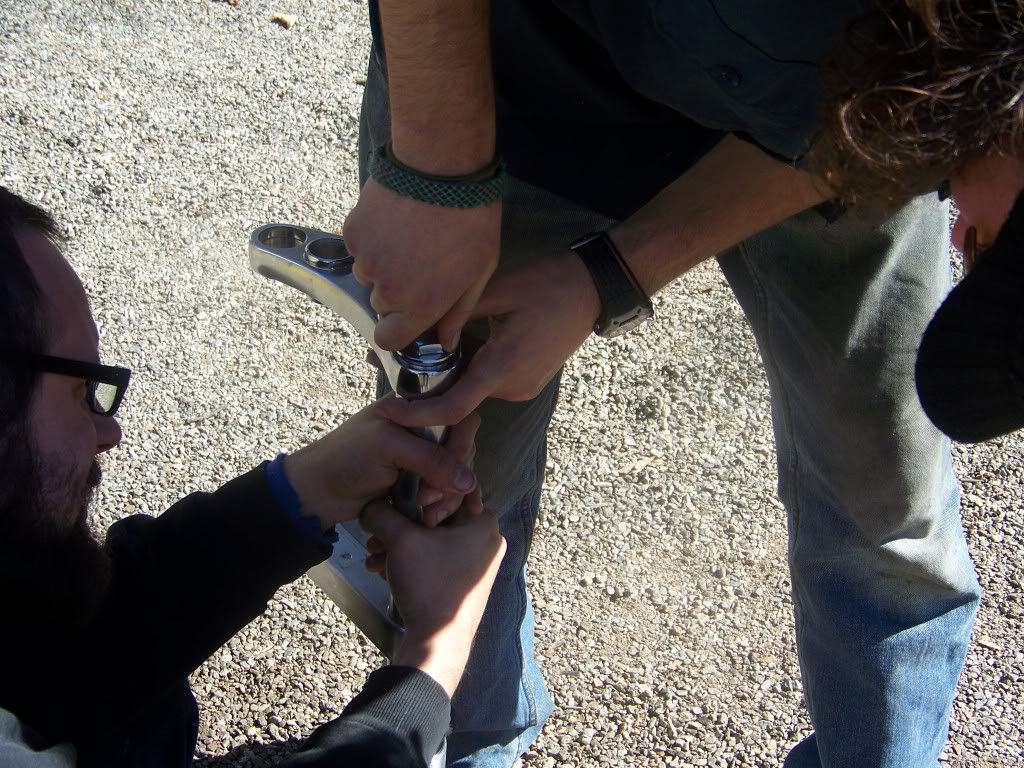
Compress the fork and you should be able to reach the spring, and remove it.
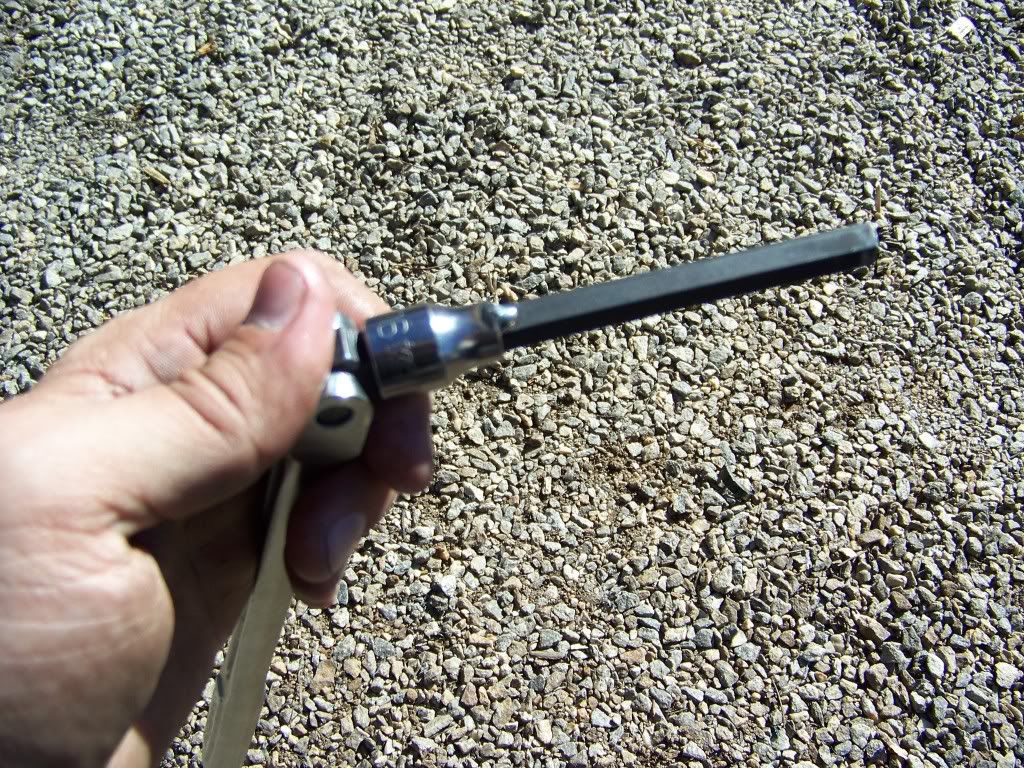
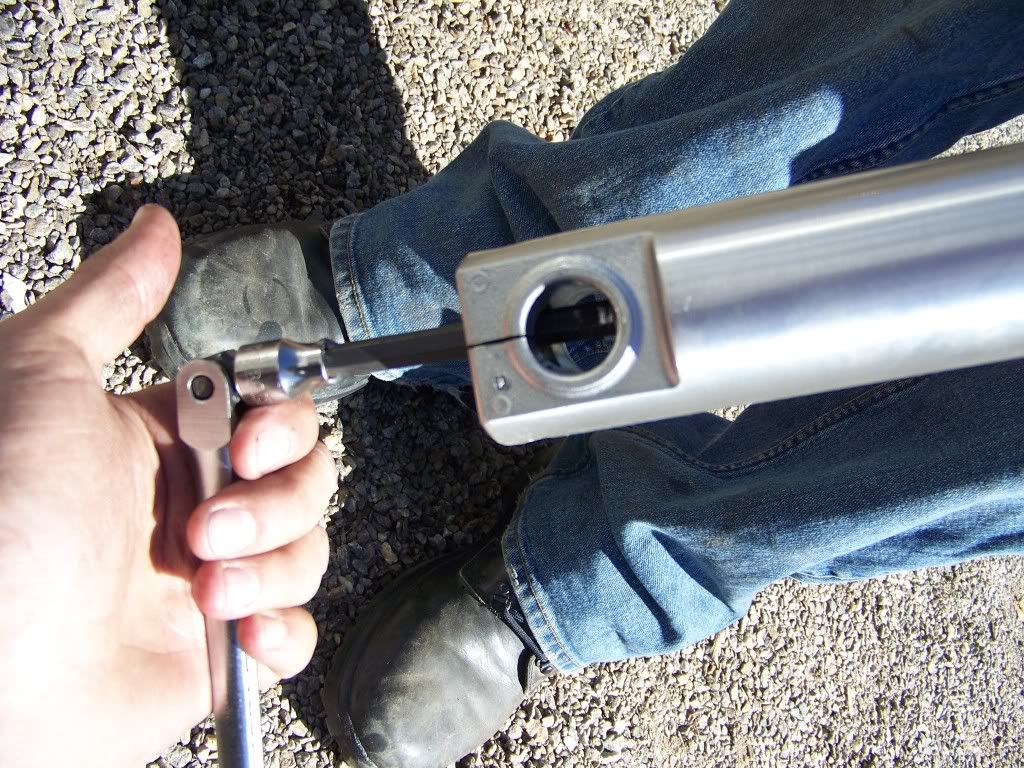
You will need a deep reach 8MM Hex Socket. I just chopped down a standard allen wrench, stuffed it into an old socket and tack welded it up. Cheap tools = More Beer Money
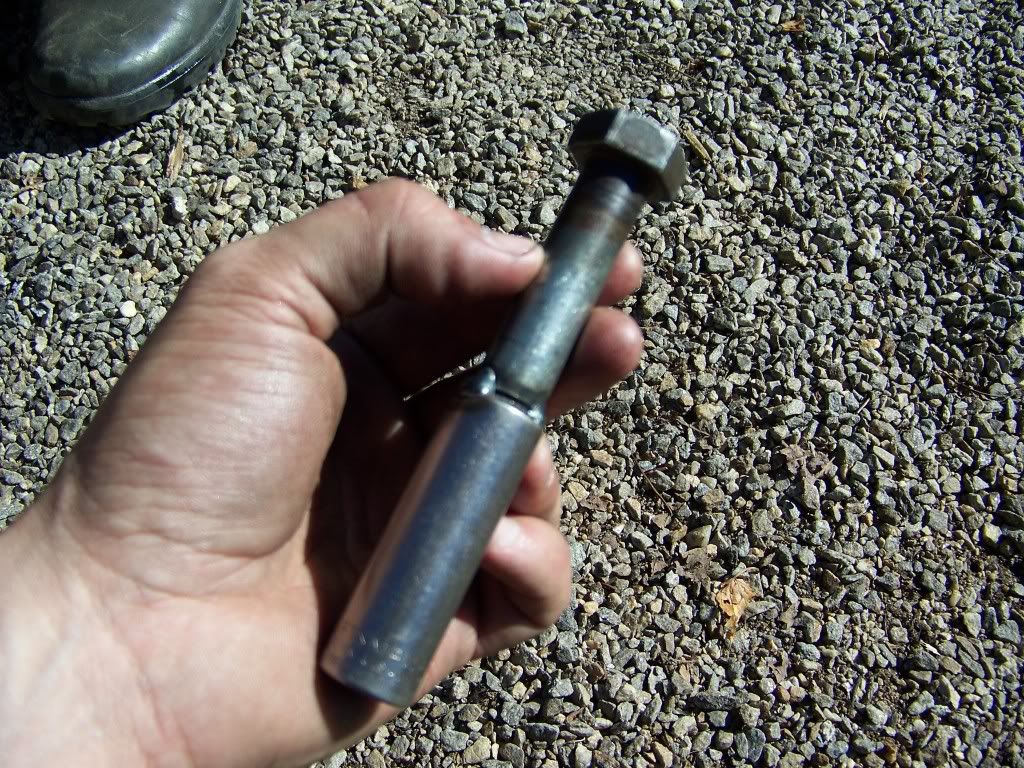
And you will need a tool like this: We used an old 15MM Deep Craftsman Socket and a Bolt with a 24MM head. Again, making tools like this out of scrap parts work just fine. I "pressed" the bolt into the socket with a BFH and tack welded it for good measure.
TAGS: XS650 LS650 Bobber Chopper Suzuki Savage S40 Lowered lowering forks cafe racer Hughs HandBuilt Hugh's Hugh Owings Punkskalar
Lots of folks wish they could mod the Suzuki Savage LS650. Not alot of aftermarket support, and very little in the way of other mods are happening out there for them. So I decided to help a friend out and built his LS650 Savage. There will be a build thread otherwise, this is just for the forks.
We set the stance of the bike, and it looked like we wanted the front forks to be lowered about 3.5" from stock. We removed the forks from the bike. If you need a how-to on that, then you might wanna think 2x about modding your bike and just leave it to someone else
Here is the top cap of the fork, remove it using the proper tool (IE Crescent Wrench in this case)
Under it will be a washer and a spacer. Remove the cap and washer.
Then remove the spacer.
Compress the fork and you should be able to reach the spring, and remove it.
You will need a deep reach 8MM Hex Socket. I just chopped down a standard allen wrench, stuffed it into an old socket and tack welded it up. Cheap tools = More Beer Money
And you will need a tool like this: We used an old 15MM Deep Craftsman Socket and a Bolt with a 24MM head. Again, making tools like this out of scrap parts work just fine. I "pressed" the bolt into the socket with a BFH and tack welded it for good measure.


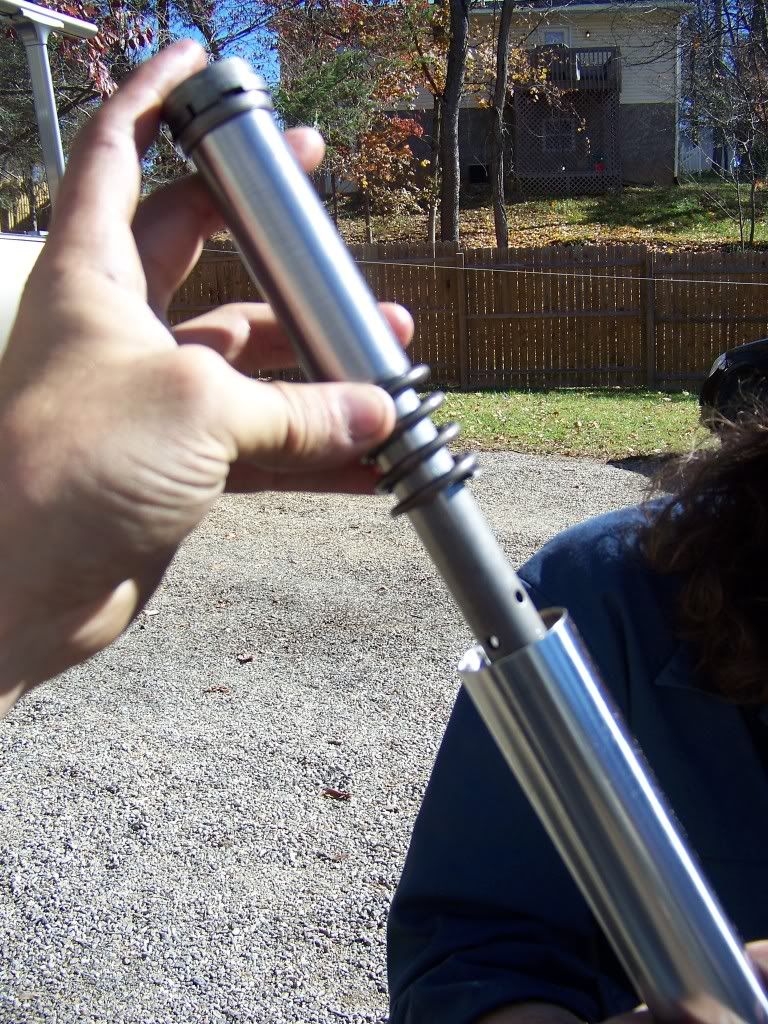
 PERFECT!!
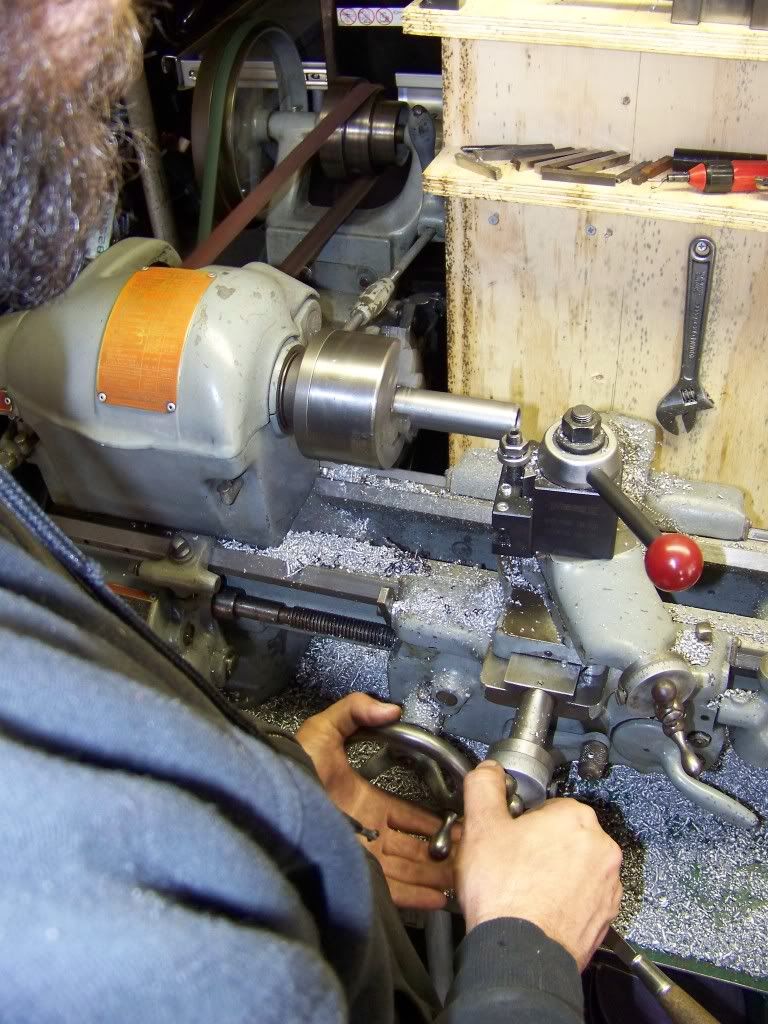
") )
) 
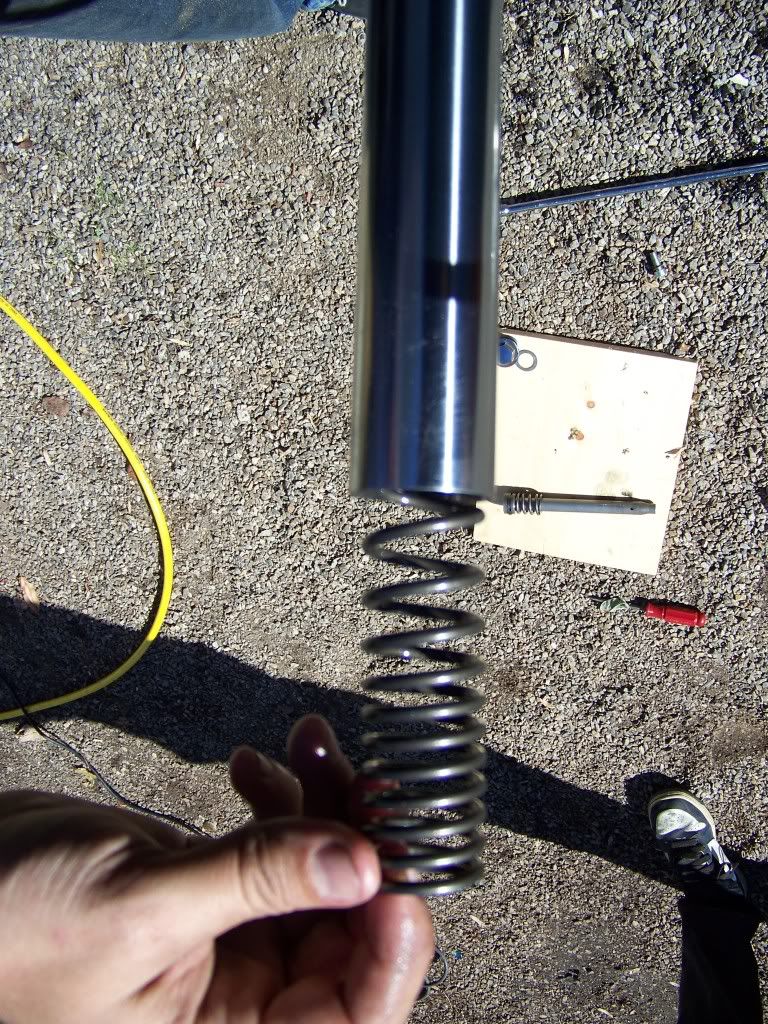
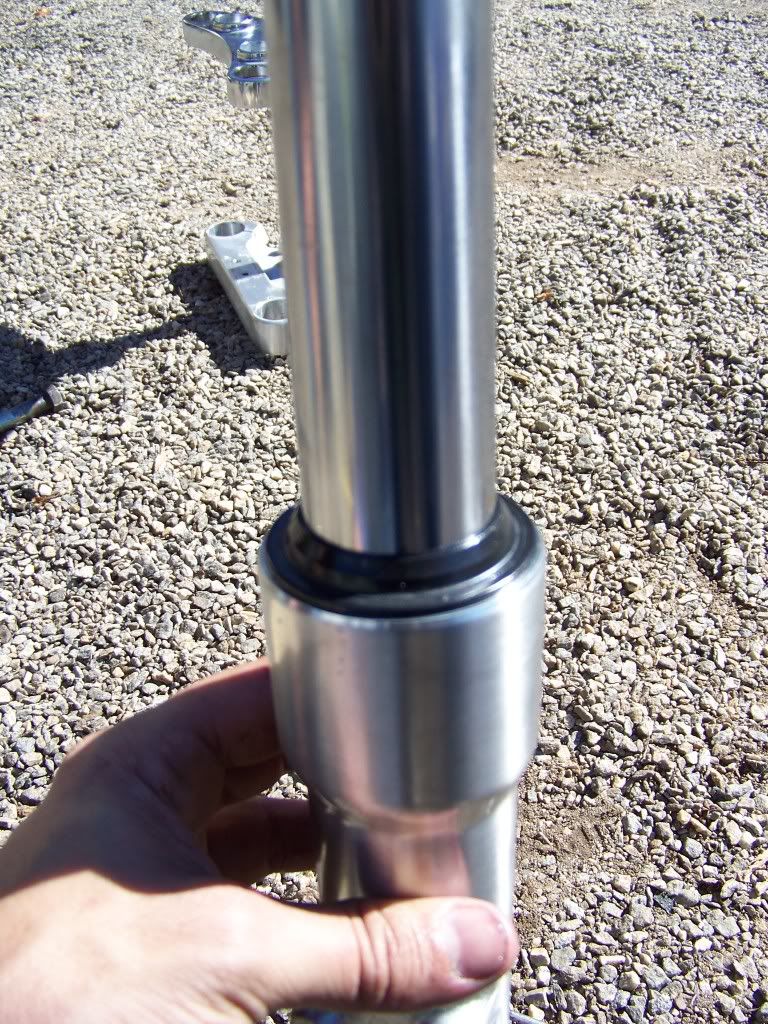
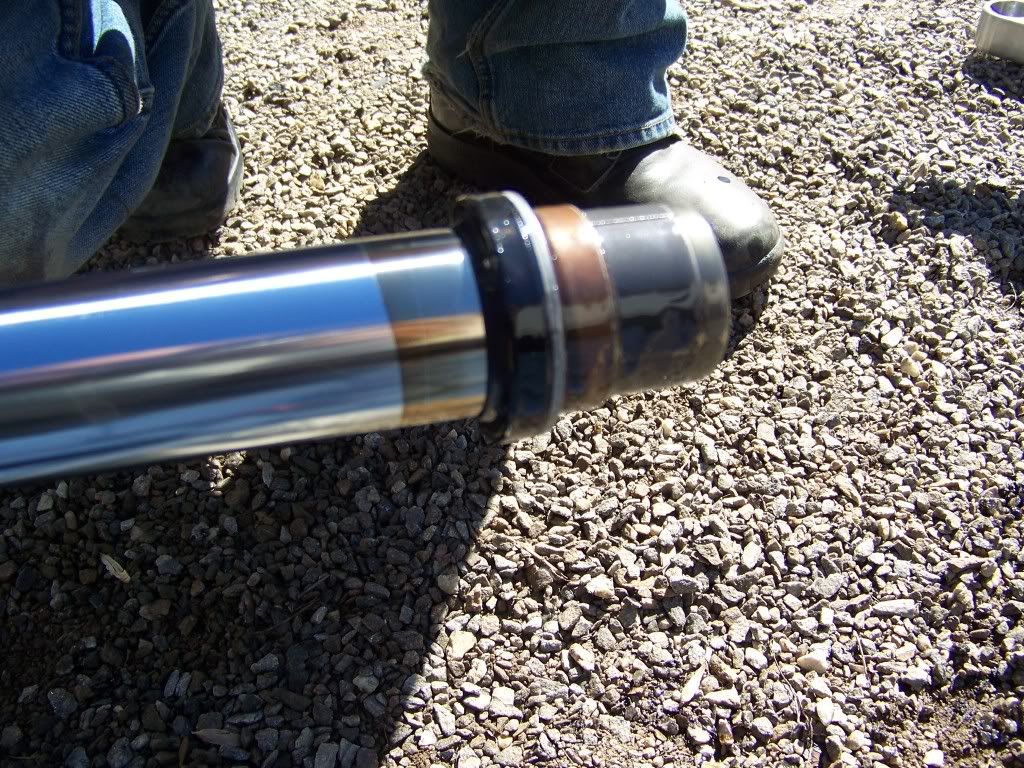
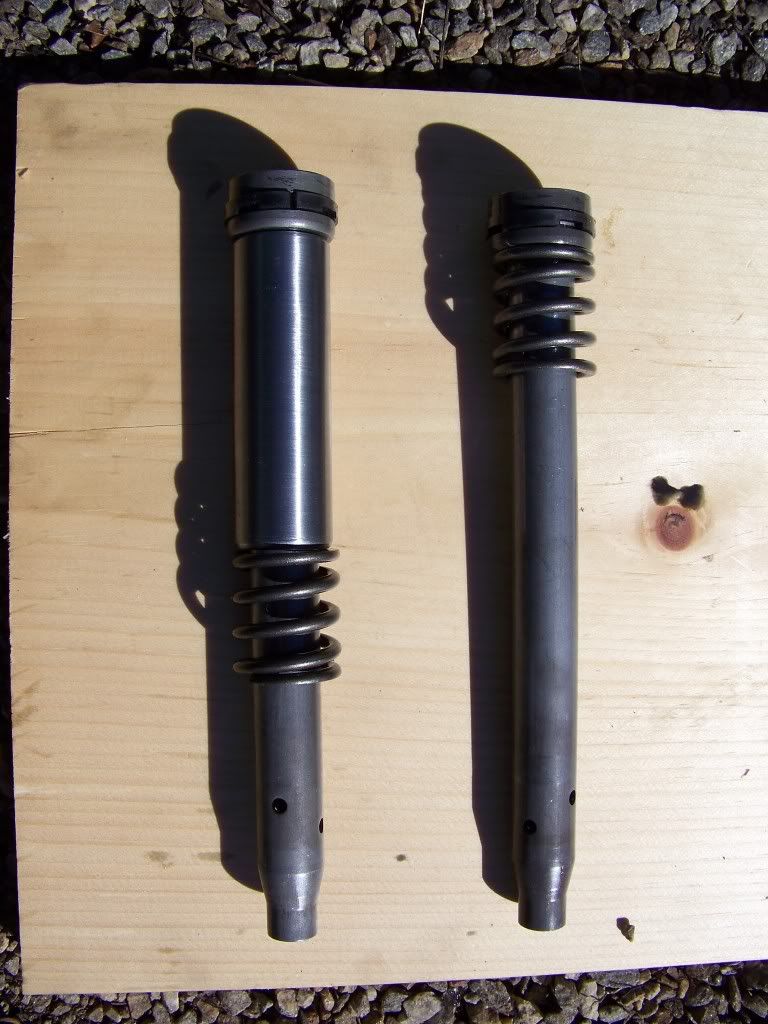
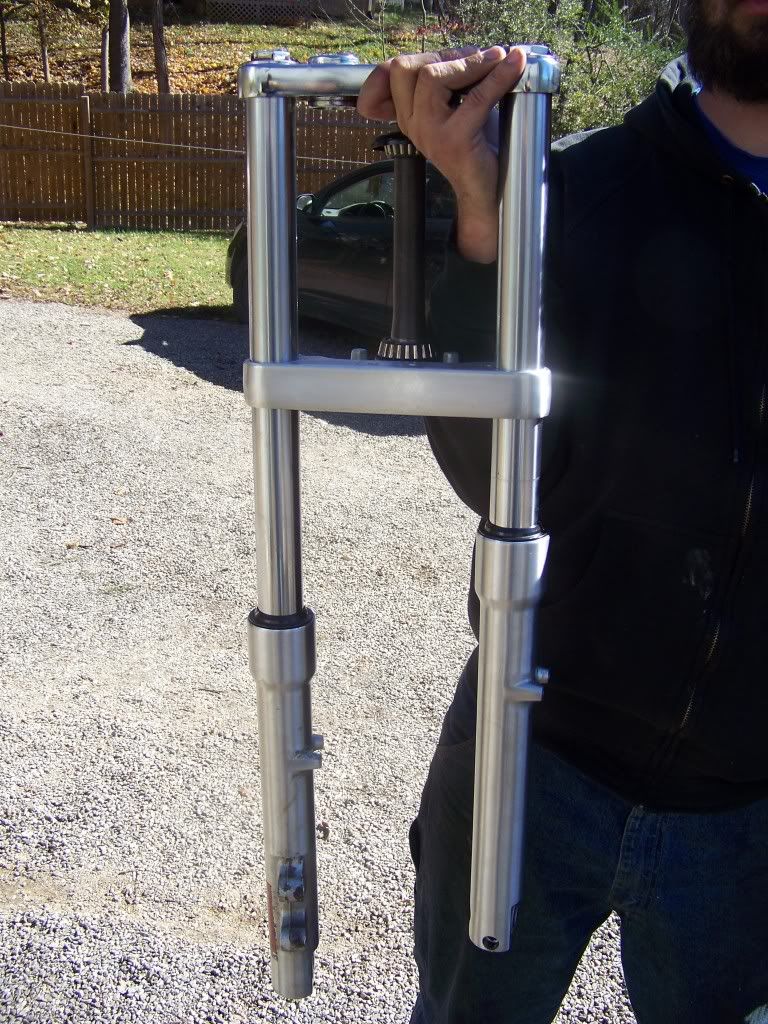
 Lowered fork on the right, stock on the left


Comment