
 Tweet
Tweet
Hello all,
Thought I would document how I set up my remote master cylinder setup for my VLX600. I am no expert by any means so there may be better ways to do this. As usual, i take no responsibility for what you do to your bike. This is simply documenting what i did.
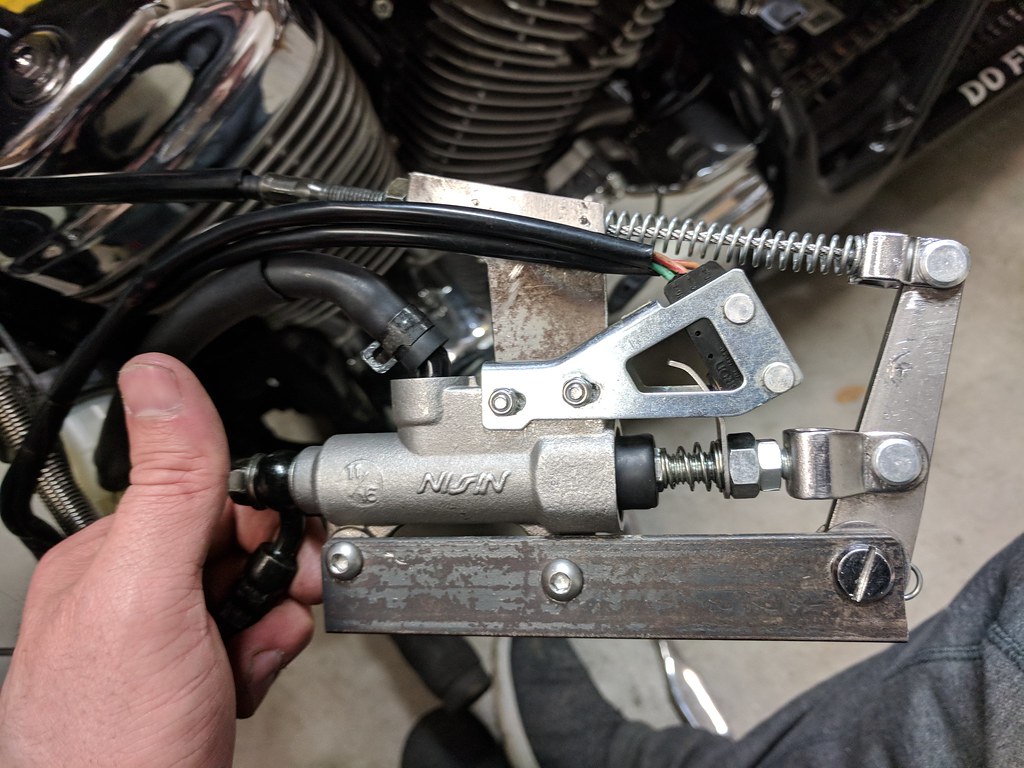
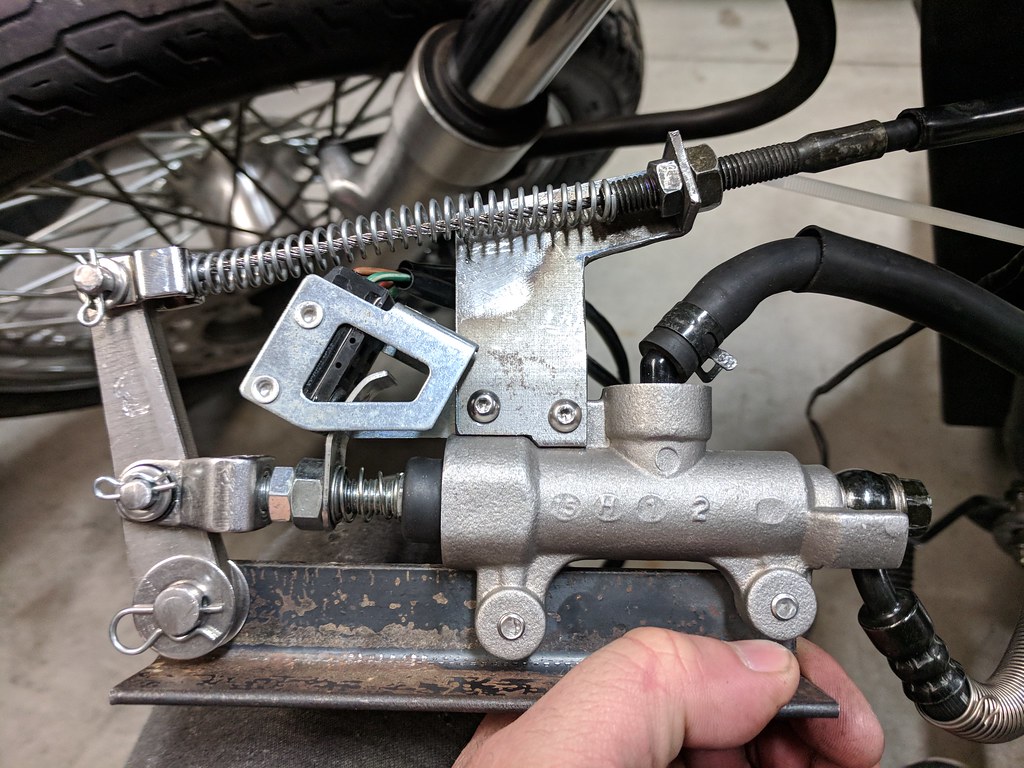
1. Purchase used master cylinder on ebay (I spent $30 on an 09 Goldwing rear master cylinder with a brake sensor so i could remove the wiring from my bars)(ensure to pick a suitable size, do your research)
2. Purchase levers (i bought 2 x SKU 007582 from Lowbrow)
3. Find a cable ( I used a stock VLX600 clutch cable and clevis from the stock clutch arm) (Do NOT use throttle cables, they are not thick enough)
4. Spend a stupid amount of time recreating the same brackets over and over with slightly different measurements until it works for your setup.
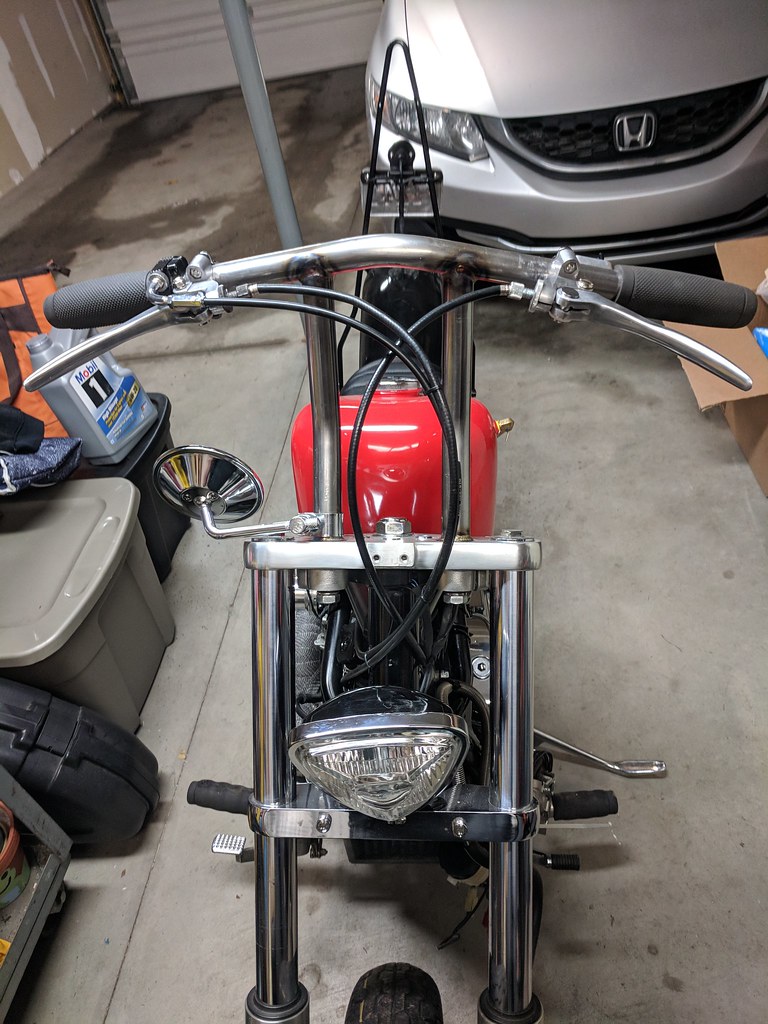
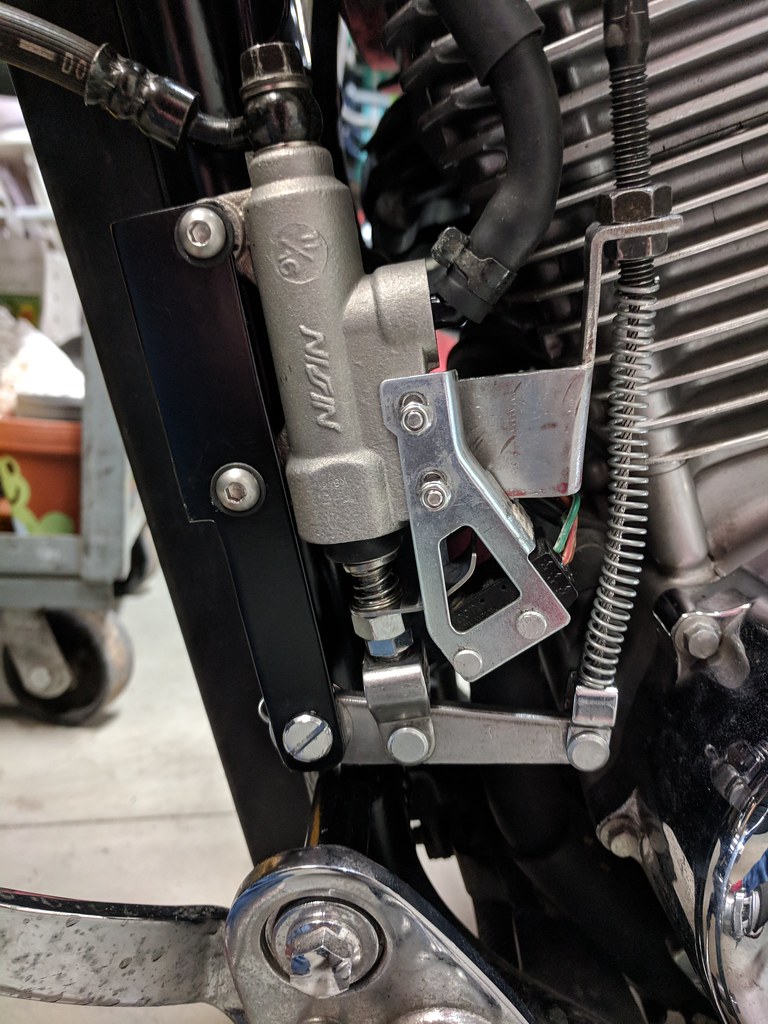
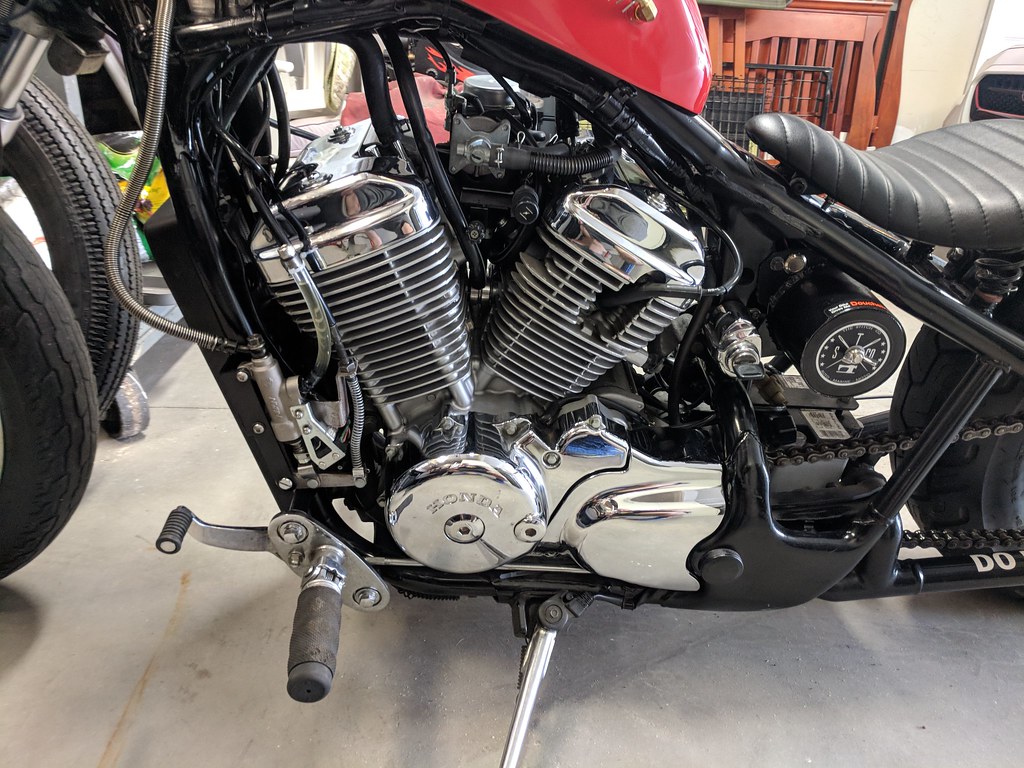
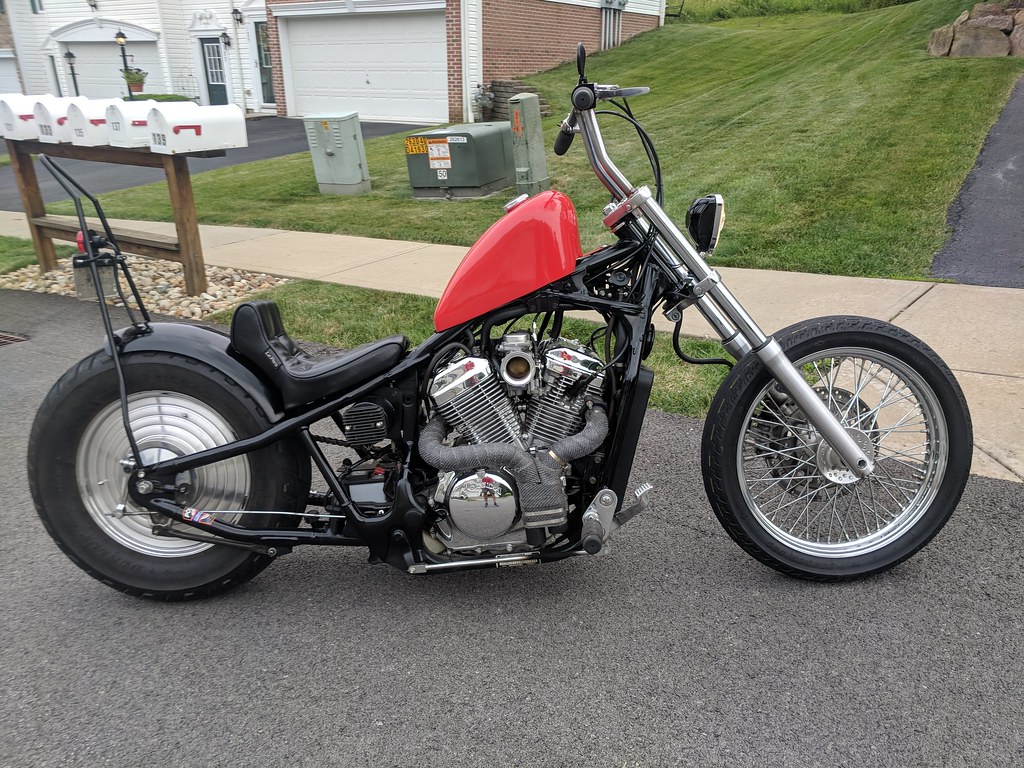
5. Weld to frame, paint, and follow the tiny reservoir how-to
6. You'll end up with something along these lines. It works great and doesn't feel noticeably different from stock.
 IMG_20180211_141501 by huviduc, on Flickr
 IMG_20180211_170512 by huviduc, on Flickr
 IMG_20180211_170519 by huviduc, on Flickr
 IMG_20180309_173537 by huviduc, on Flickr
 IMG_20180506_163636 by huviduc, on Flickr
 IMG_20180608_153918 by huviduc, on Flickr
Thought I would document how I set up my remote master cylinder setup for my VLX600. I am no expert by any means so there may be better ways to do this. As usual, i take no responsibility for what you do to your bike. This is simply documenting what i did.
1. Purchase used master cylinder on ebay (I spent $30 on an 09 Goldwing rear master cylinder with a brake sensor so i could remove the wiring from my bars)(ensure to pick a suitable size, do your research)
2. Purchase levers (i bought 2 x SKU 007582 from Lowbrow)
3. Find a cable ( I used a stock VLX600 clutch cable and clevis from the stock clutch arm) (Do NOT use throttle cables, they are not thick enough)
4. Spend a stupid amount of time recreating the same brackets over and over with slightly different measurements until it works for your setup.
5. Weld to frame, paint, and follow the tiny reservoir how-to
6. You'll end up with something along these lines. It works great and doesn't feel noticeably different from stock.
IMG_20180211_141501 by huviduc, on FlickrIMG_20180211_170512 by huviduc, on FlickrIMG_20180211_170519 by huviduc, on FlickrIMG_20180309_173537 by huviduc, on FlickrIMG_20180506_163636 by huviduc, on FlickrIMG_20180608_153918 by huviduc, on Flickr


Comment